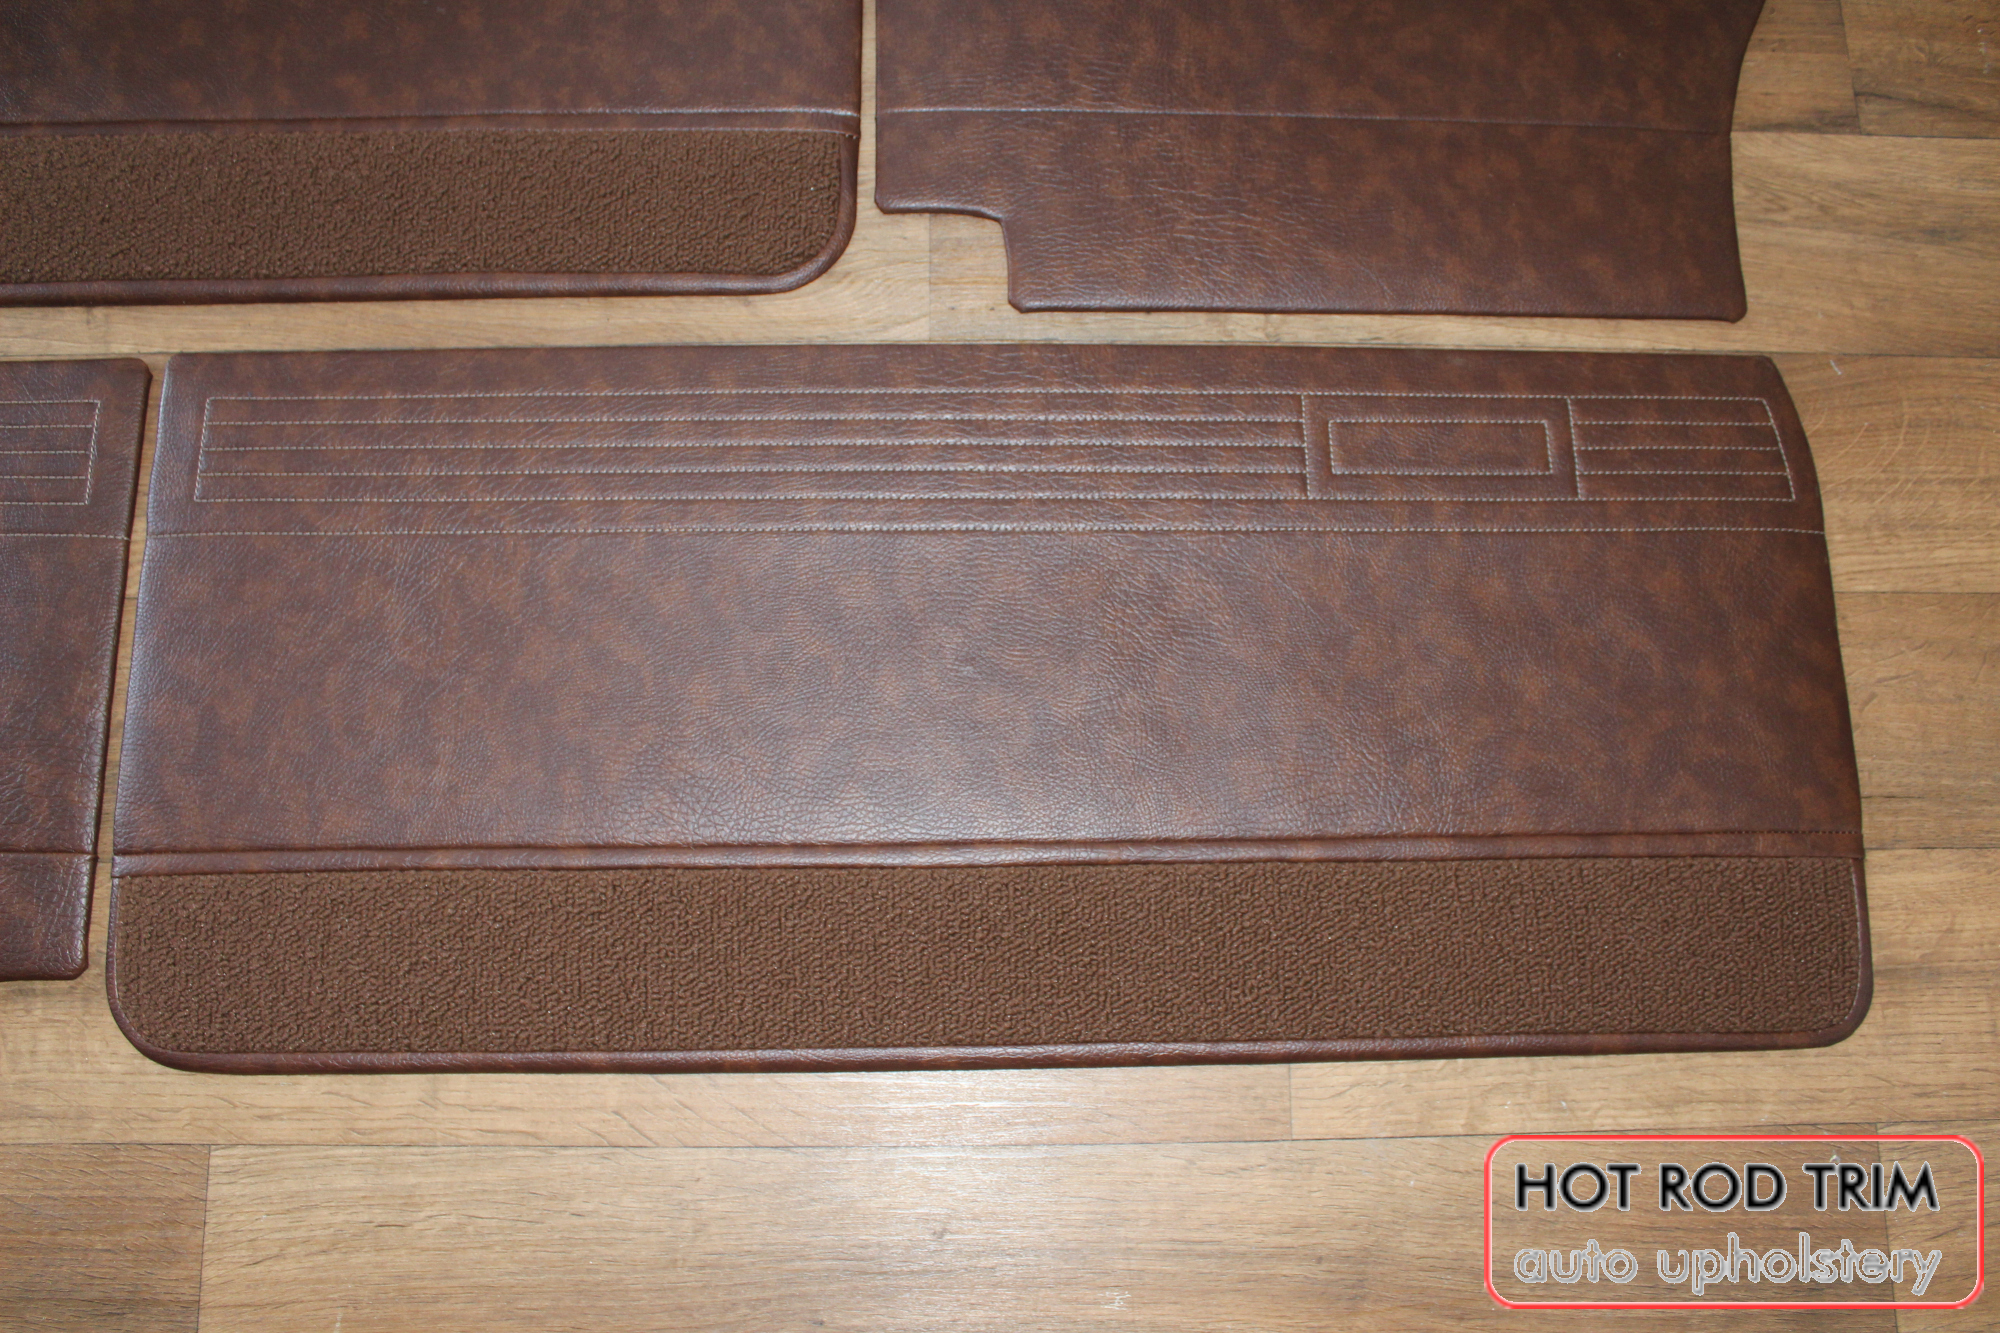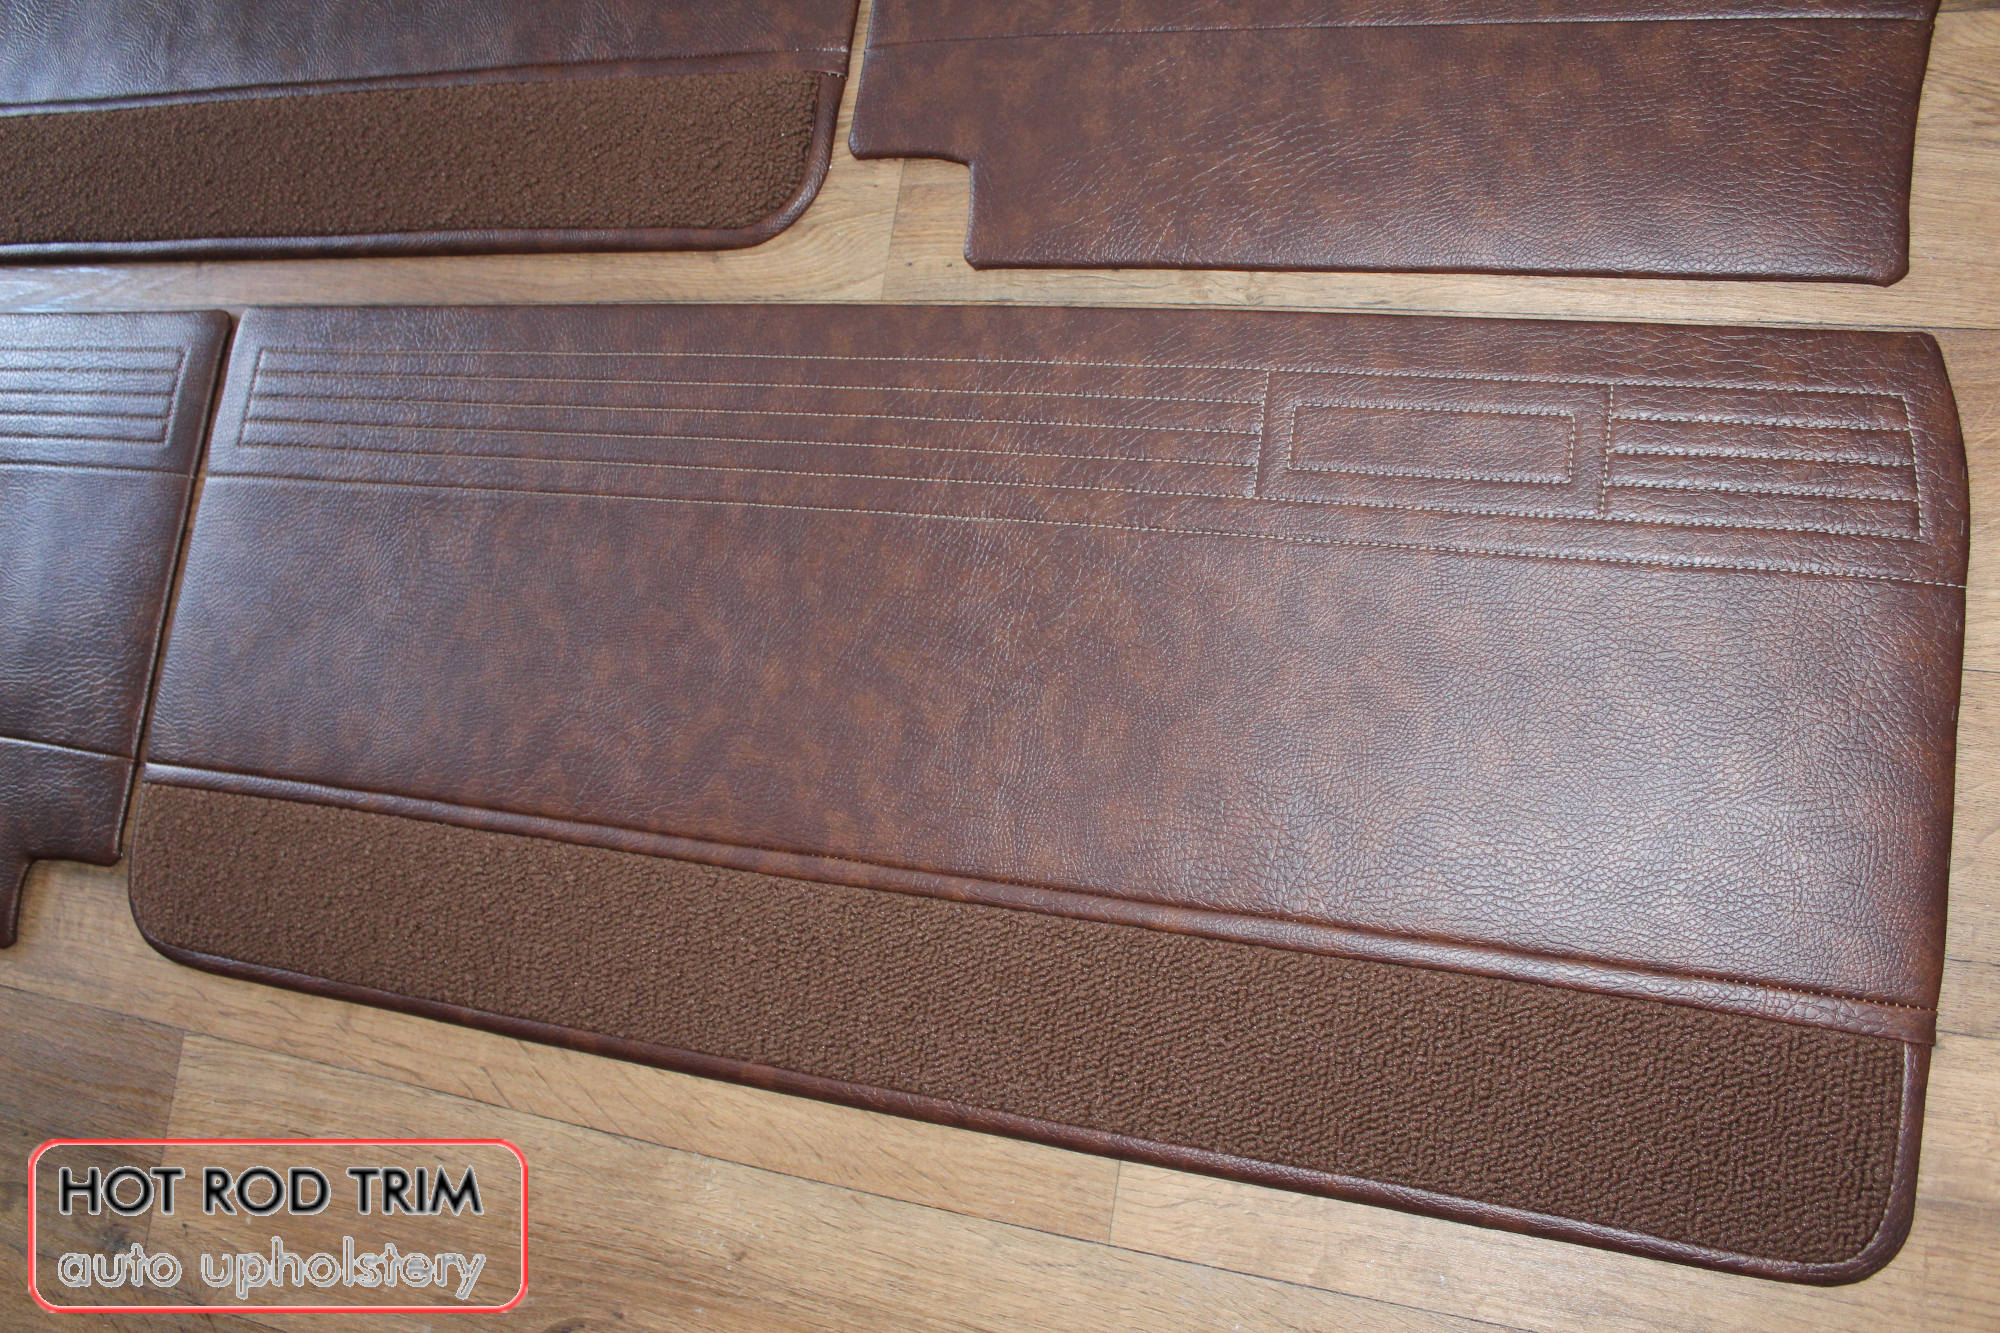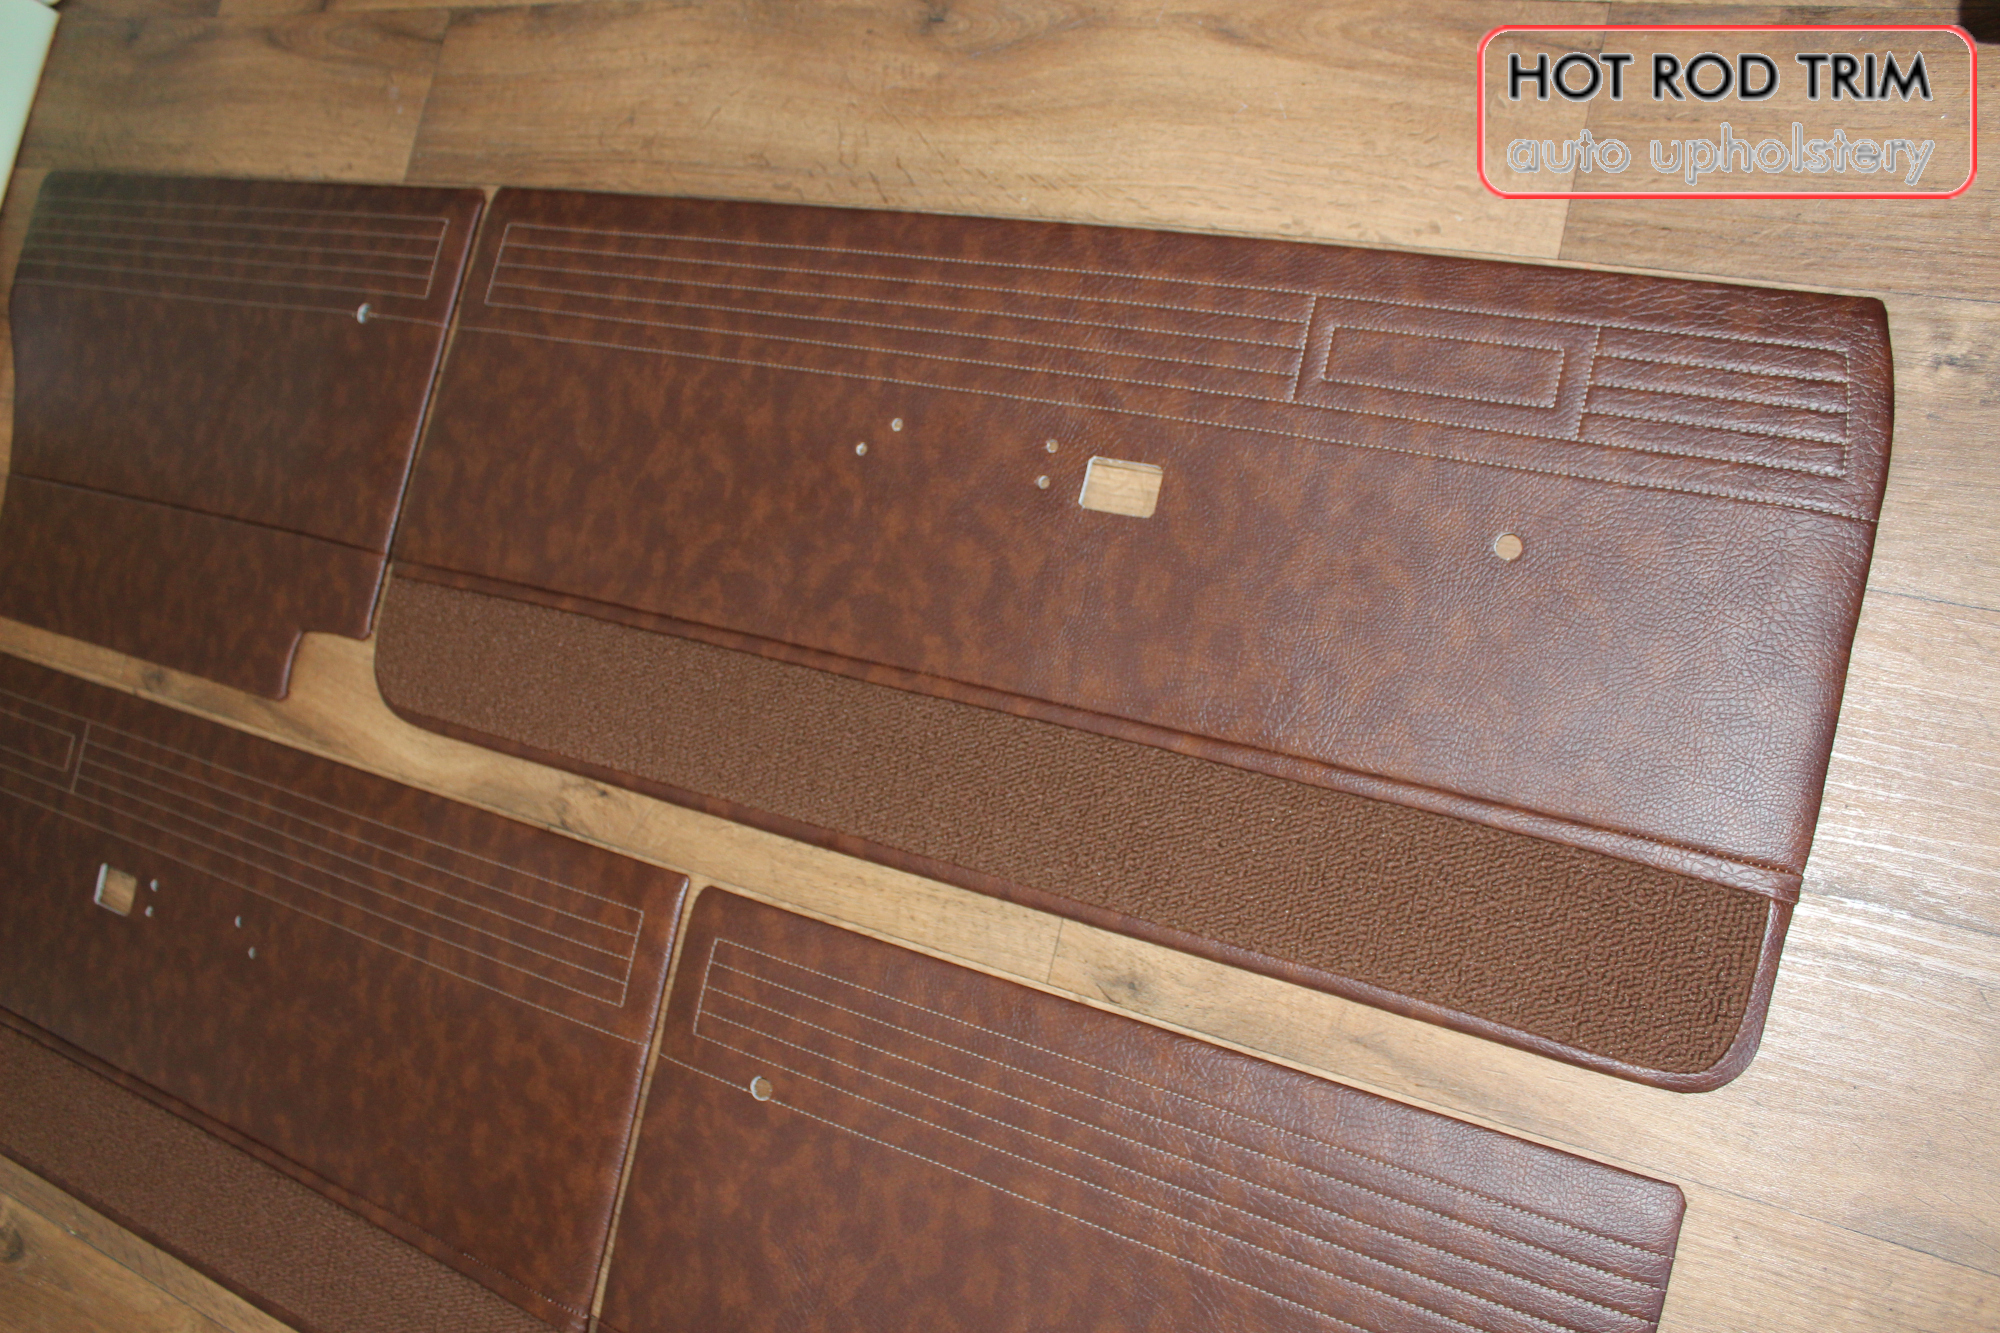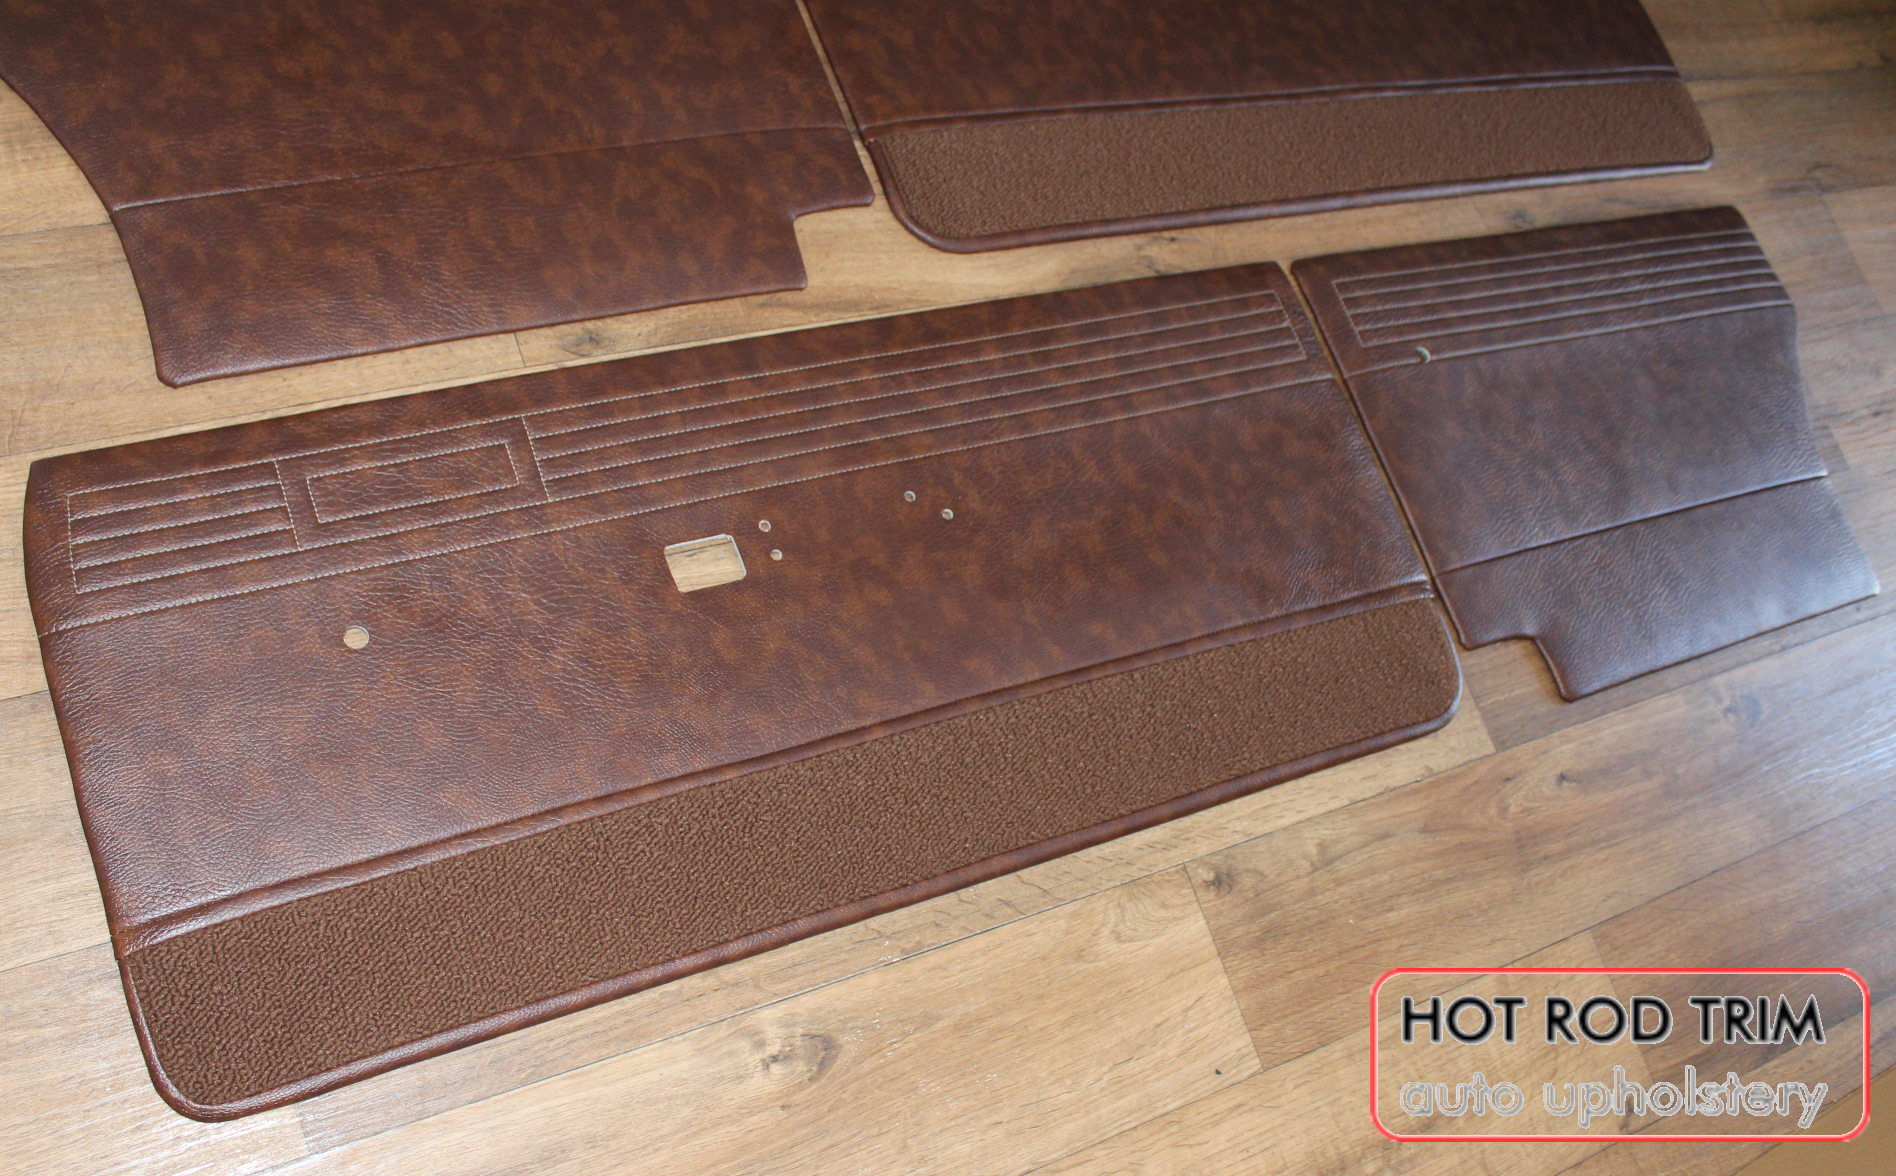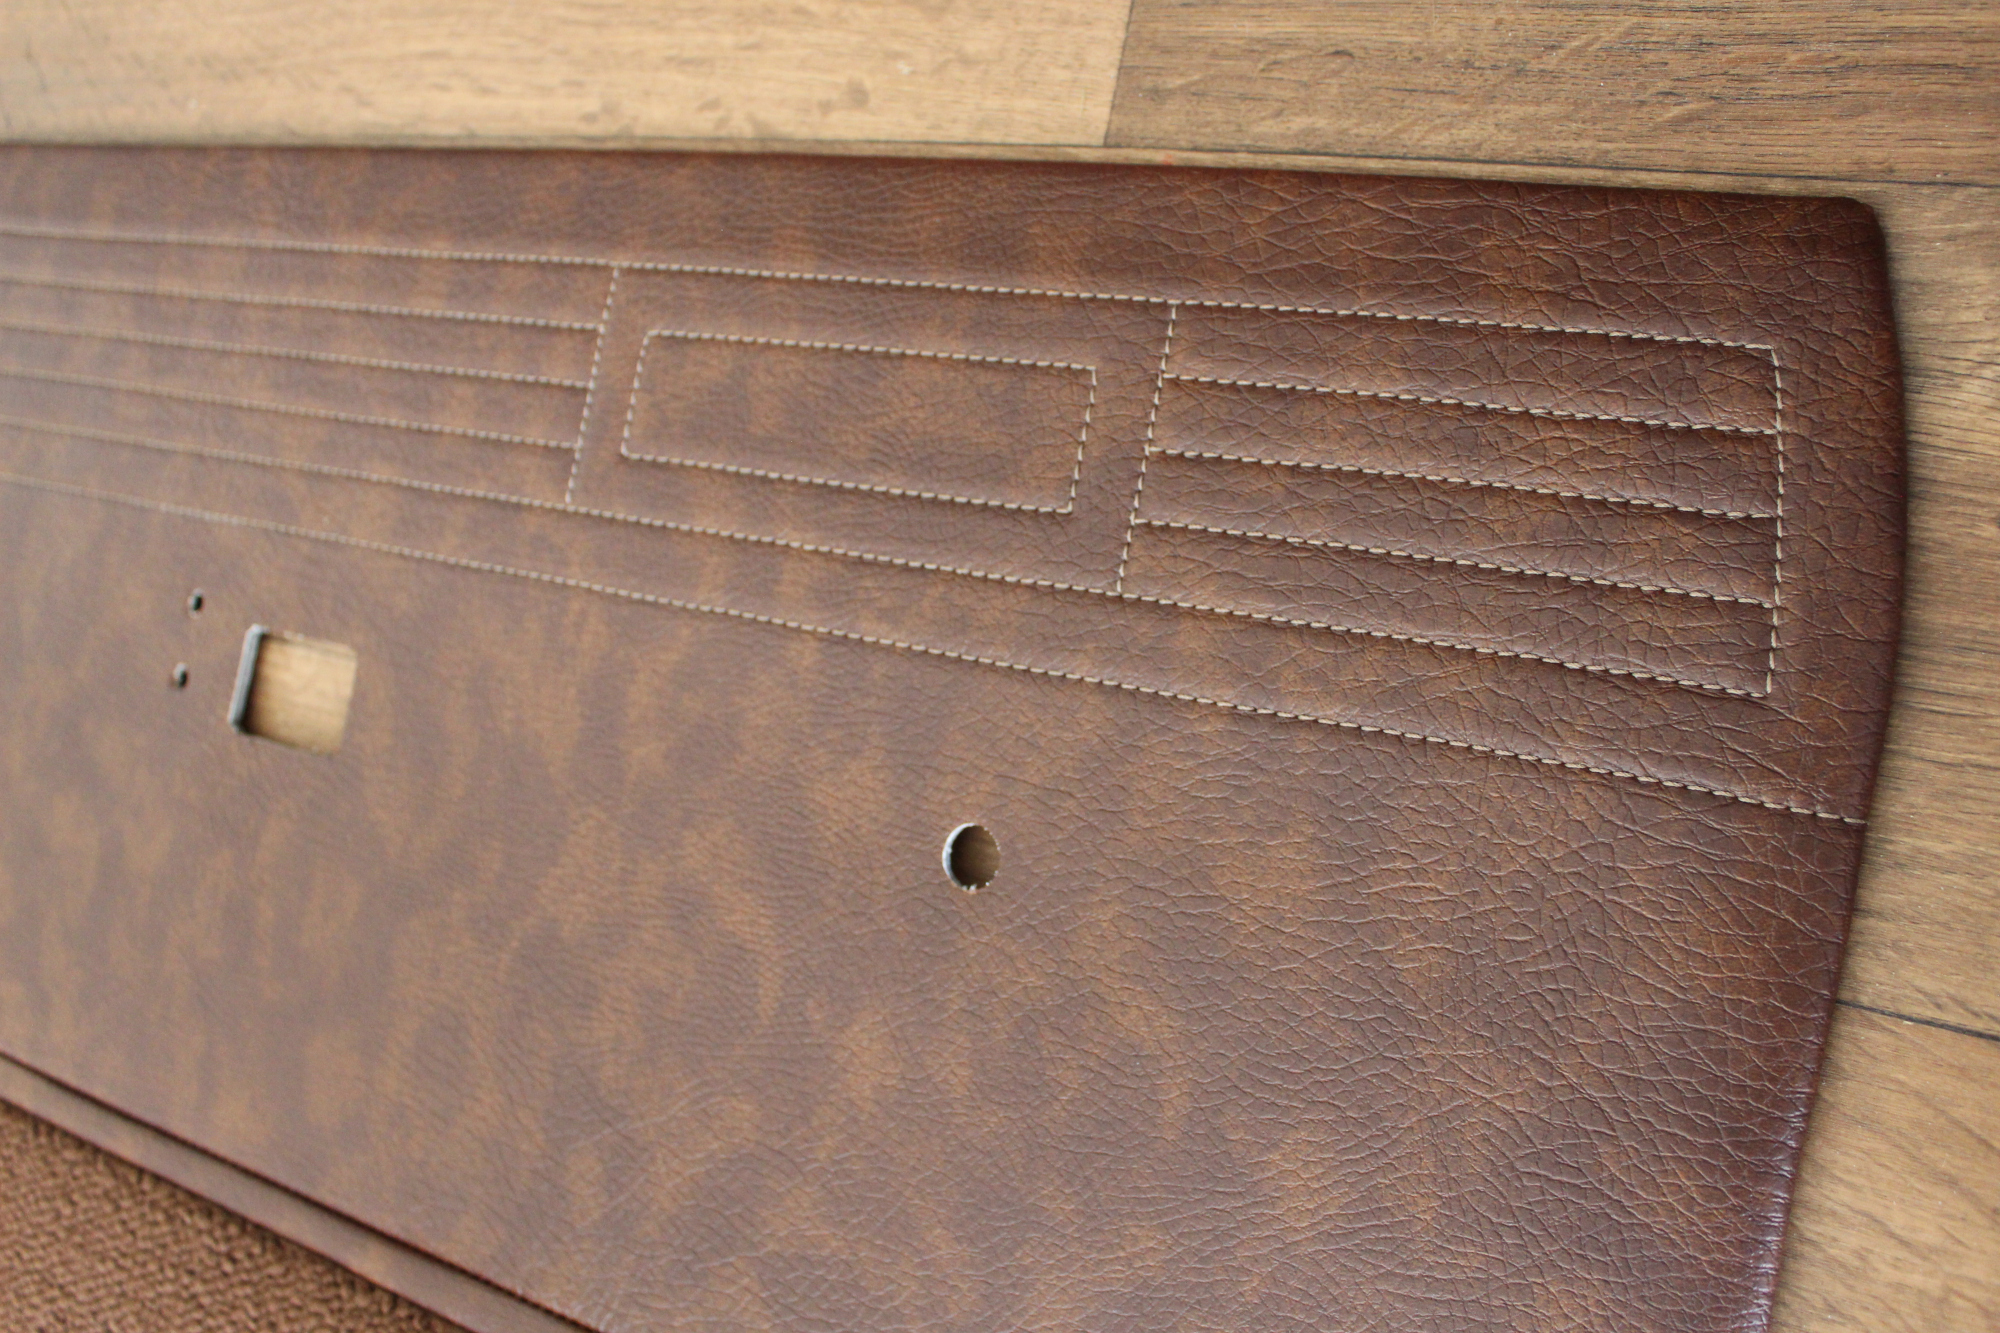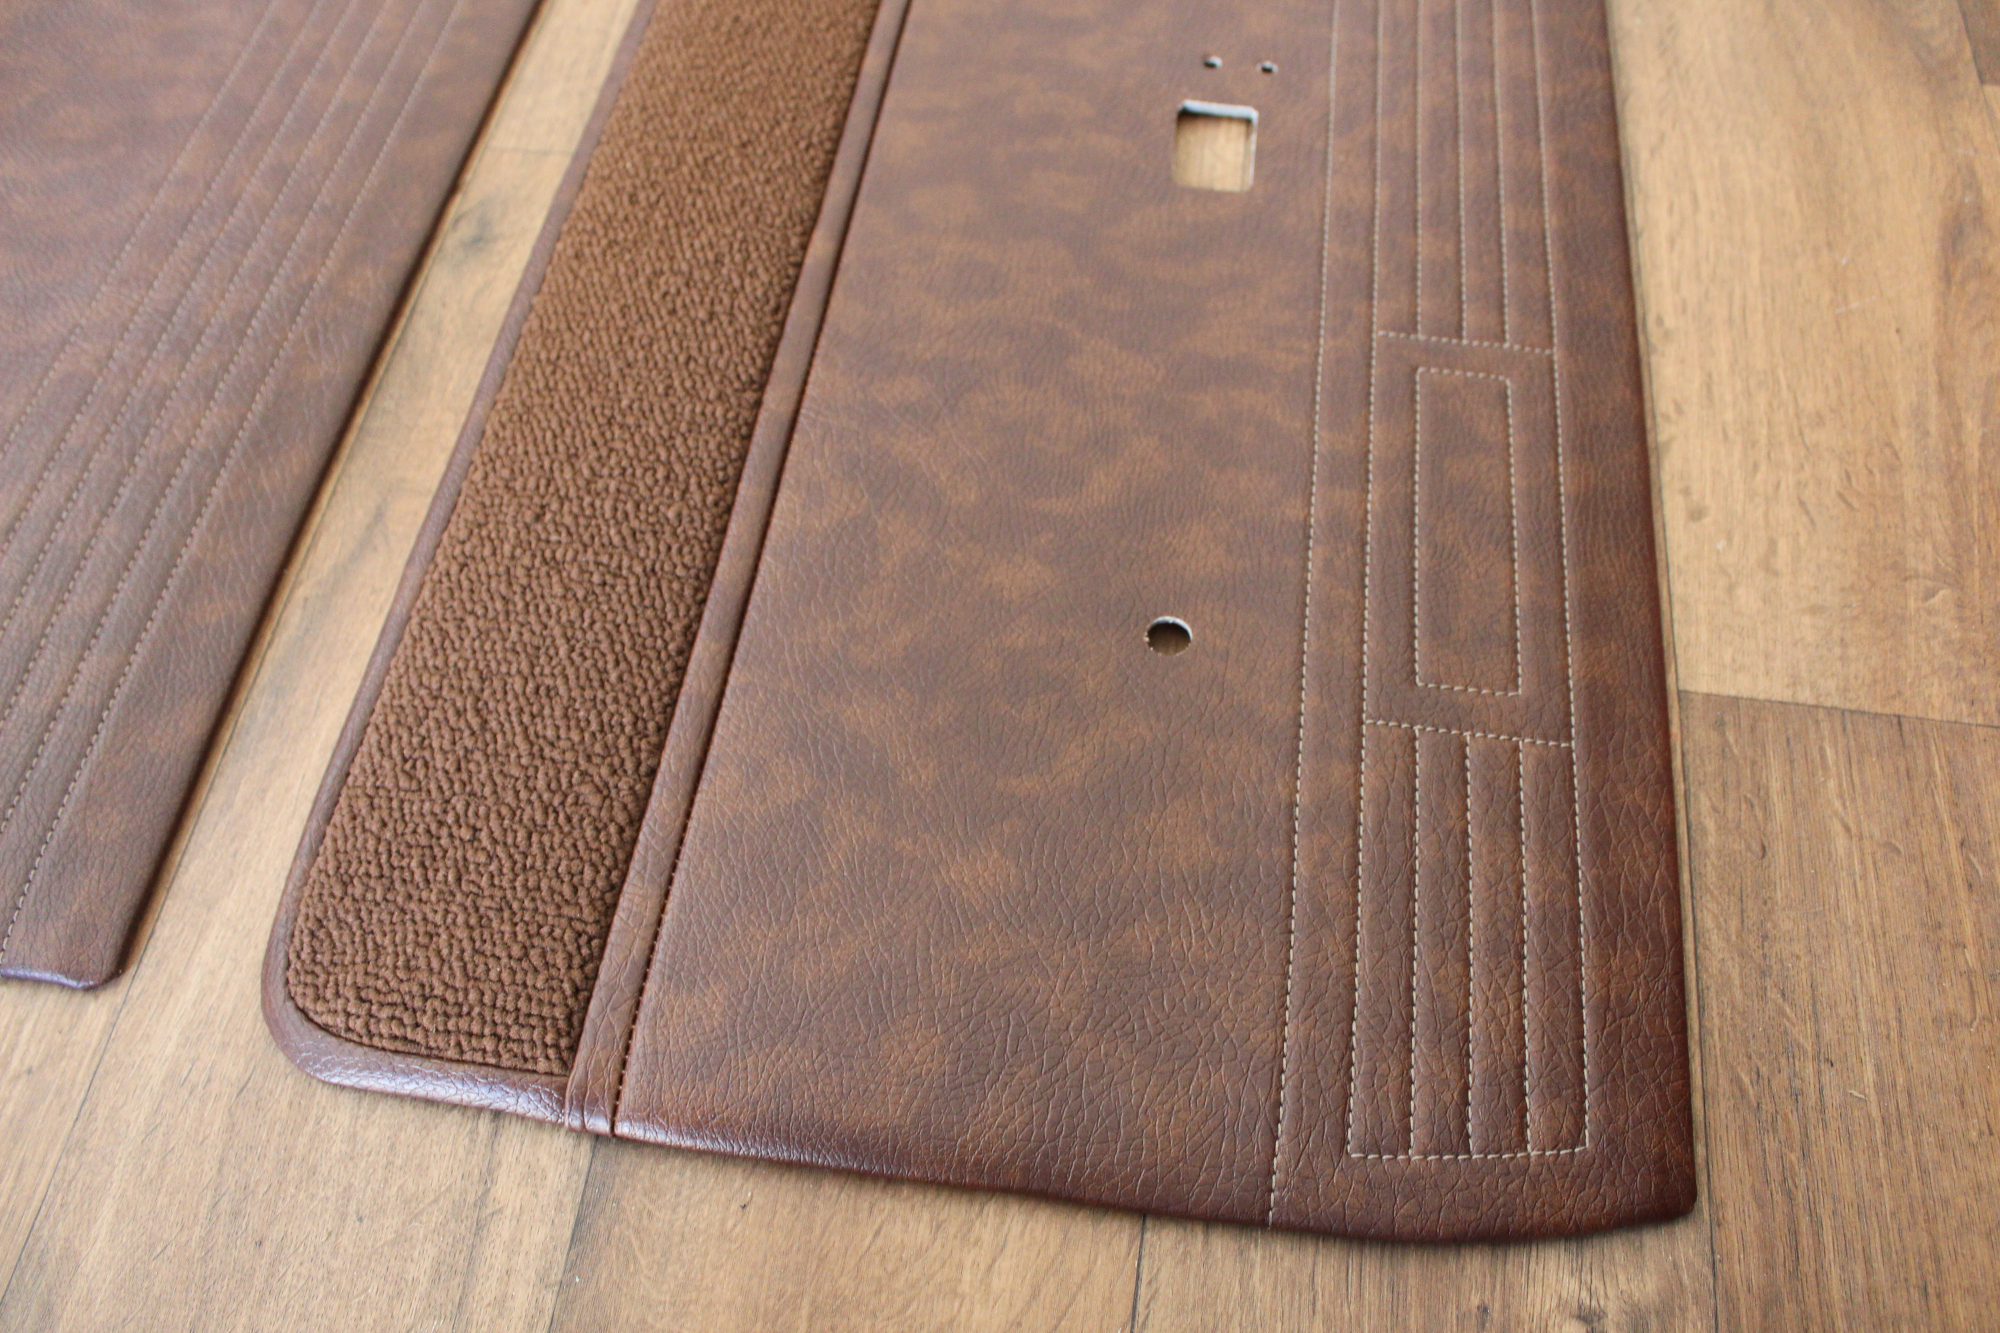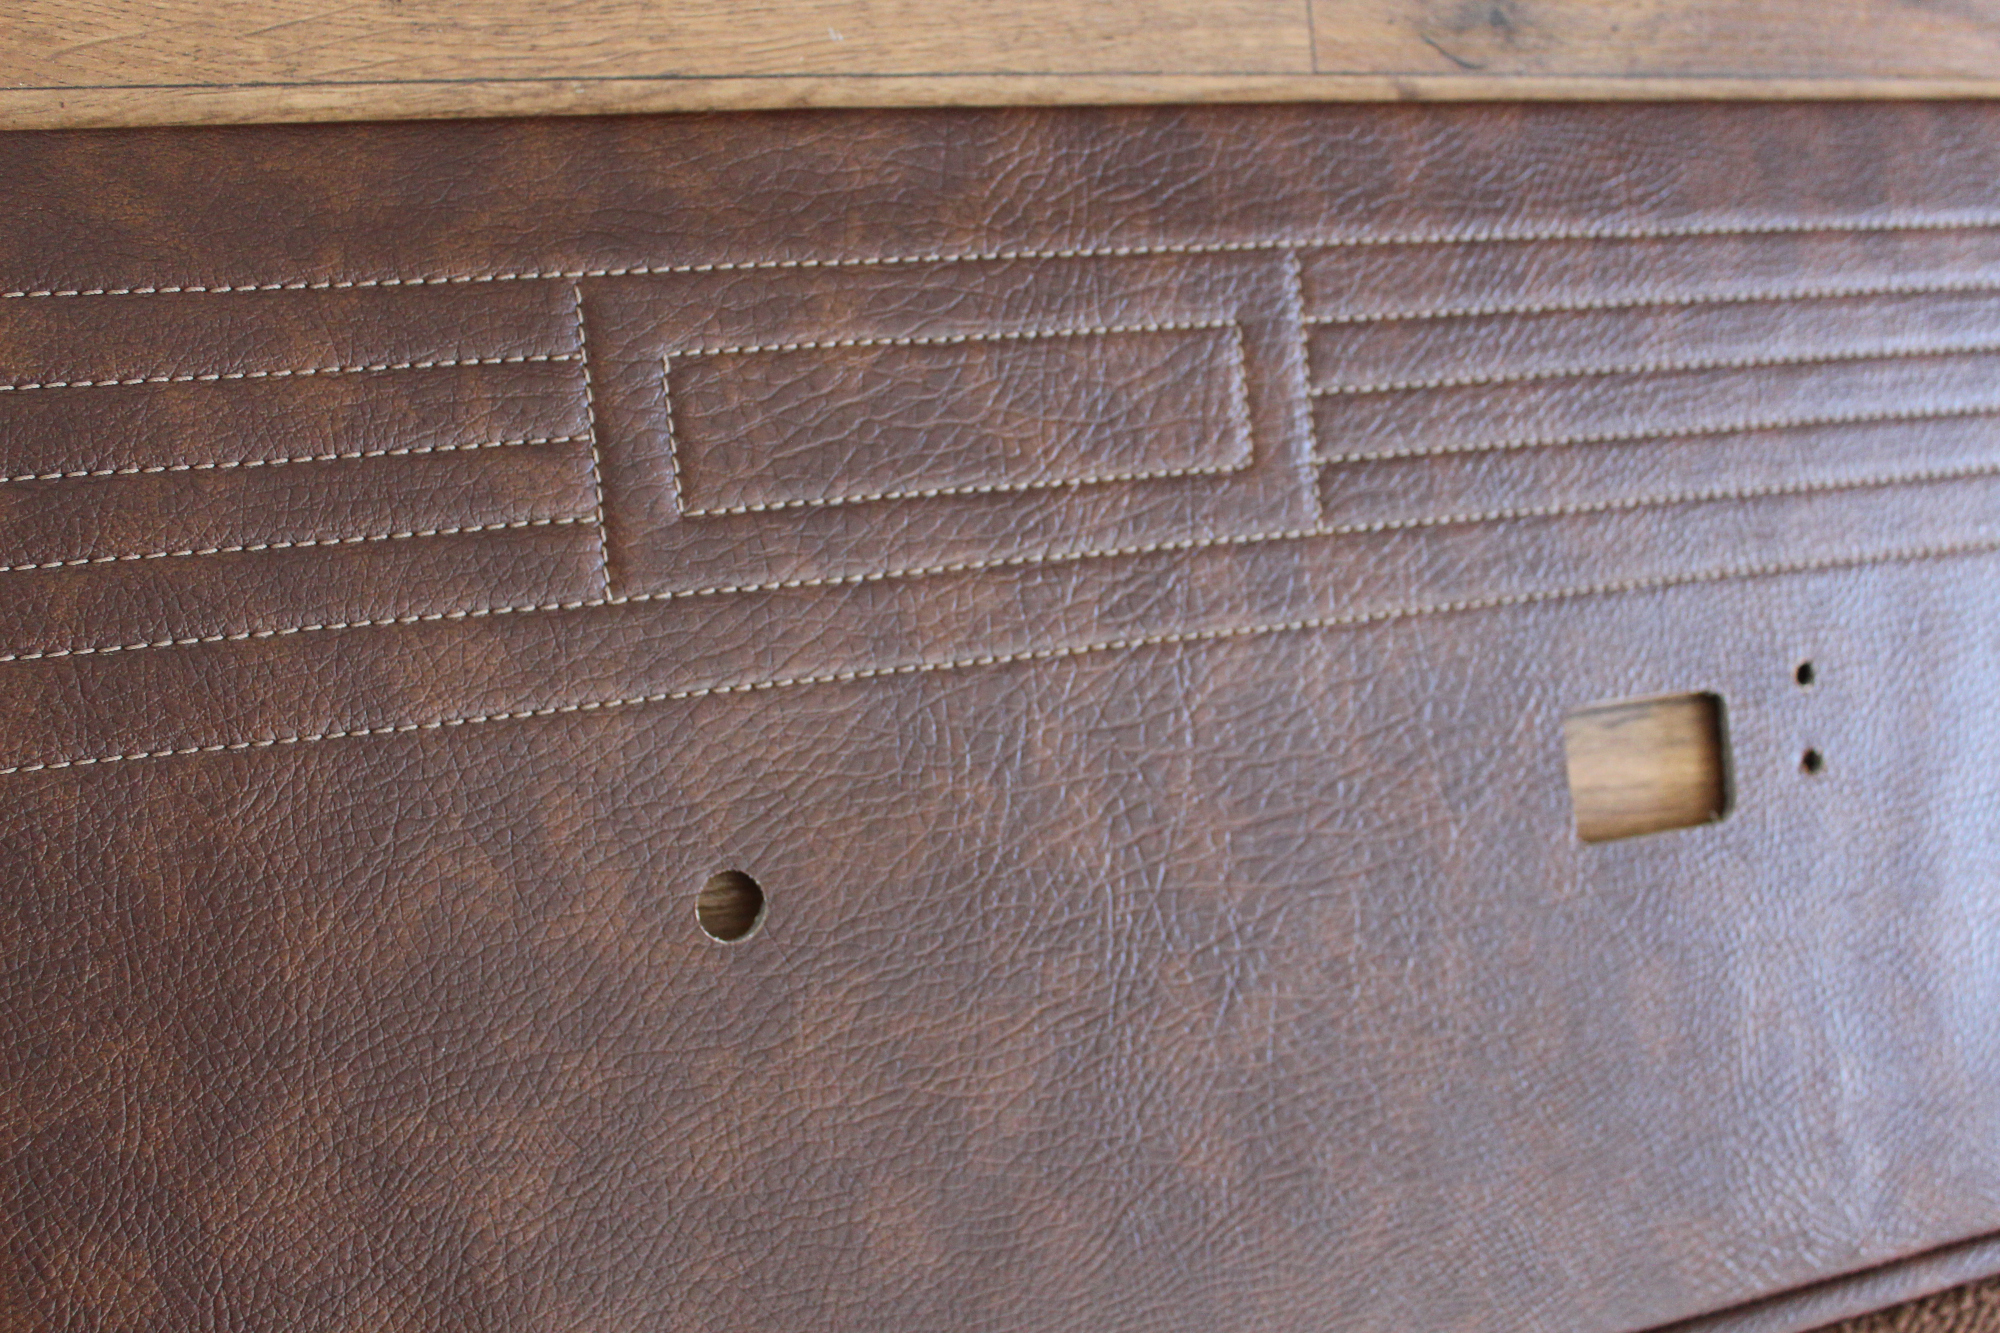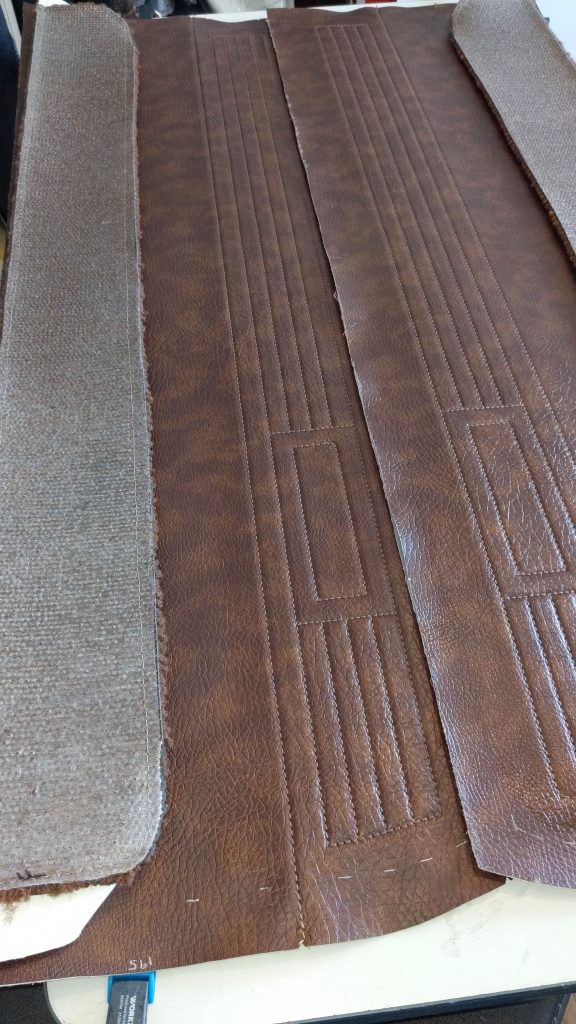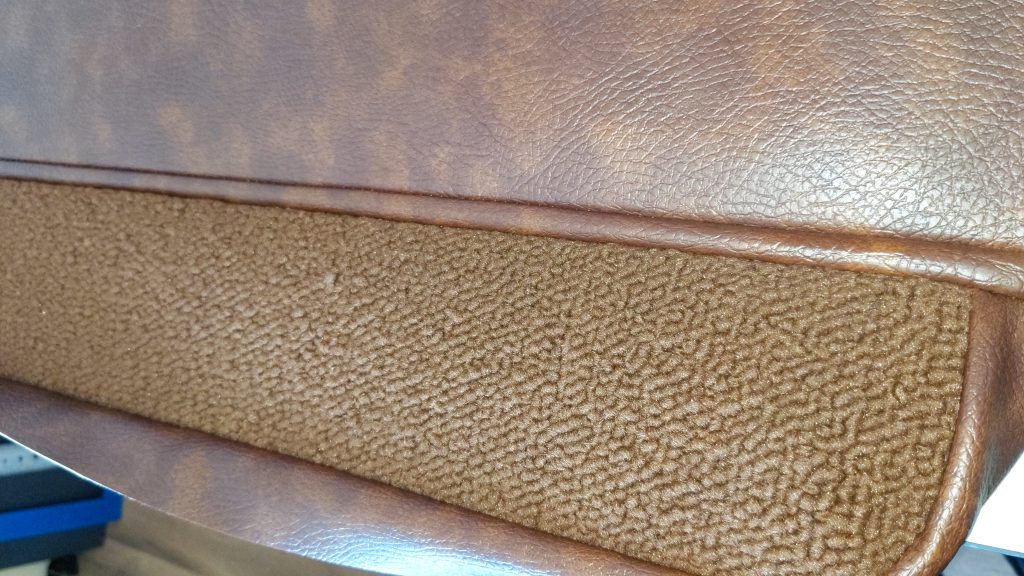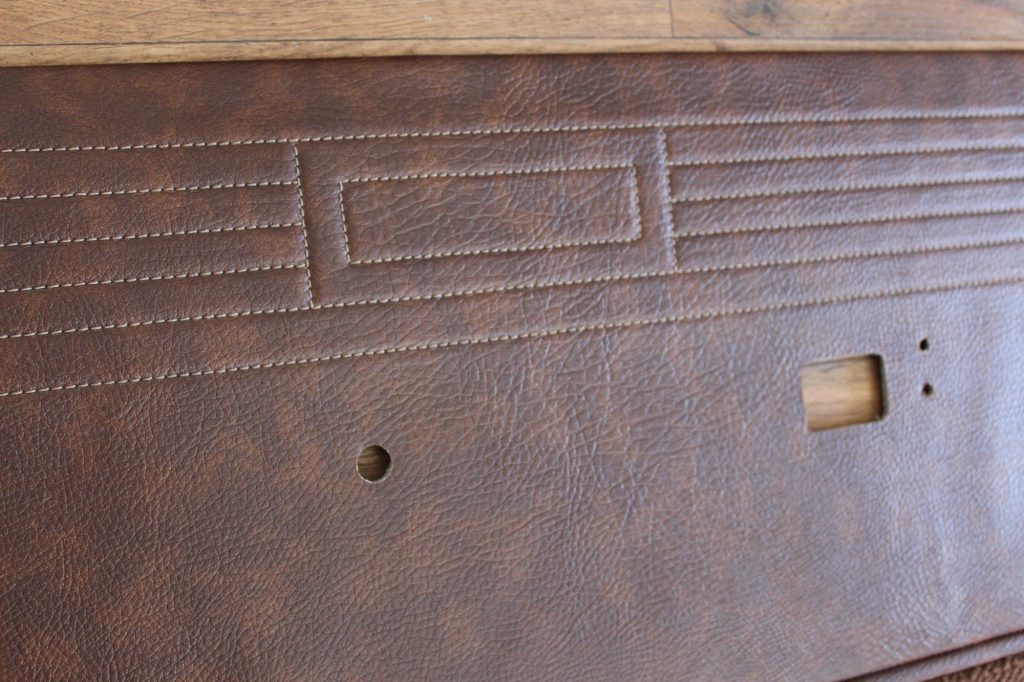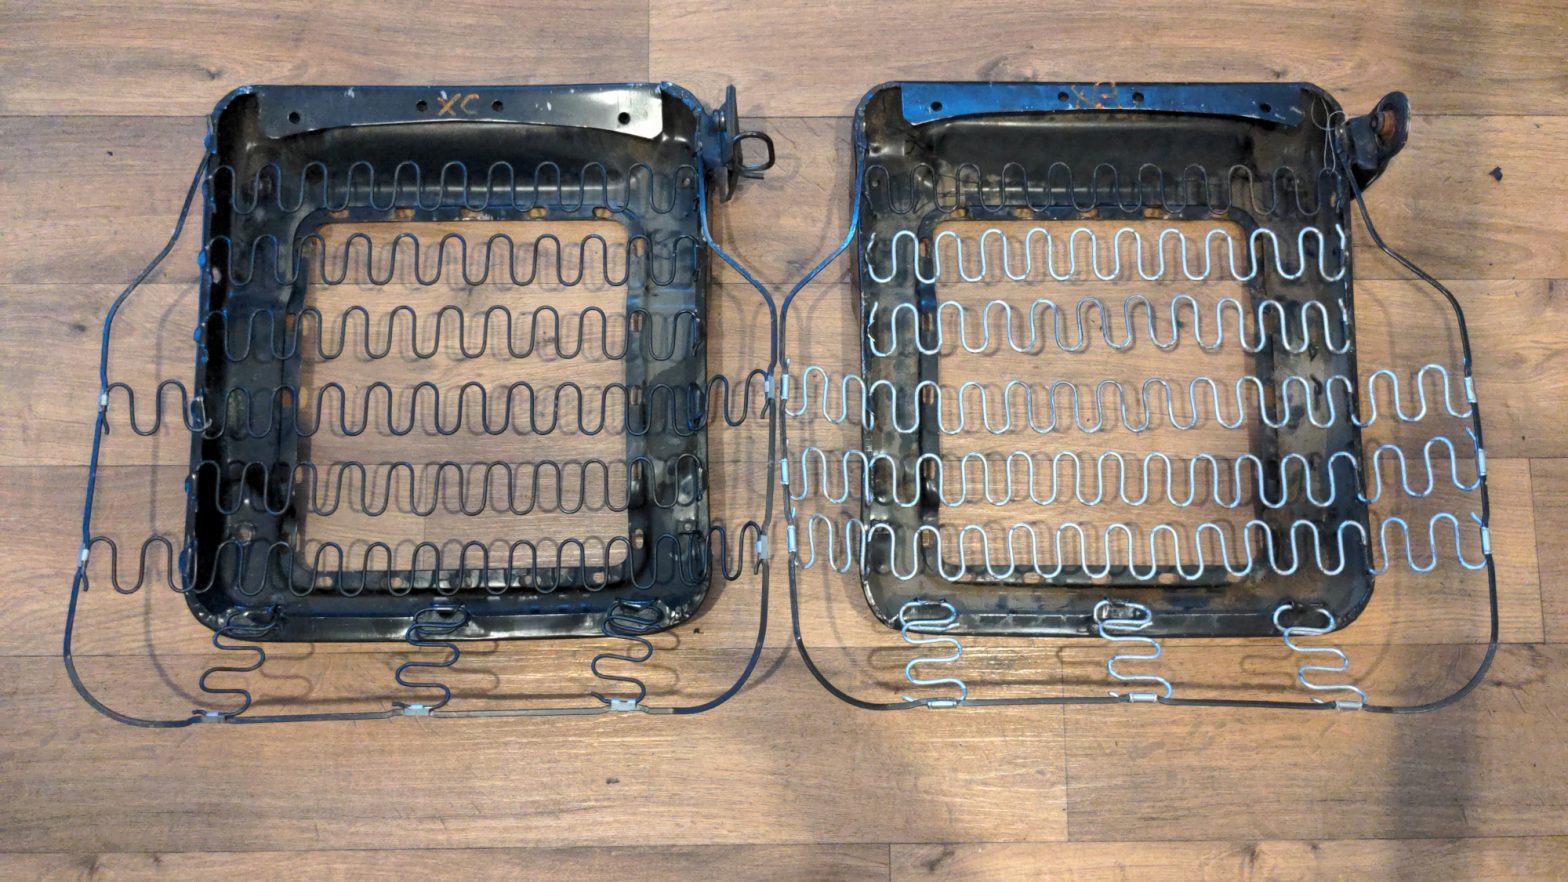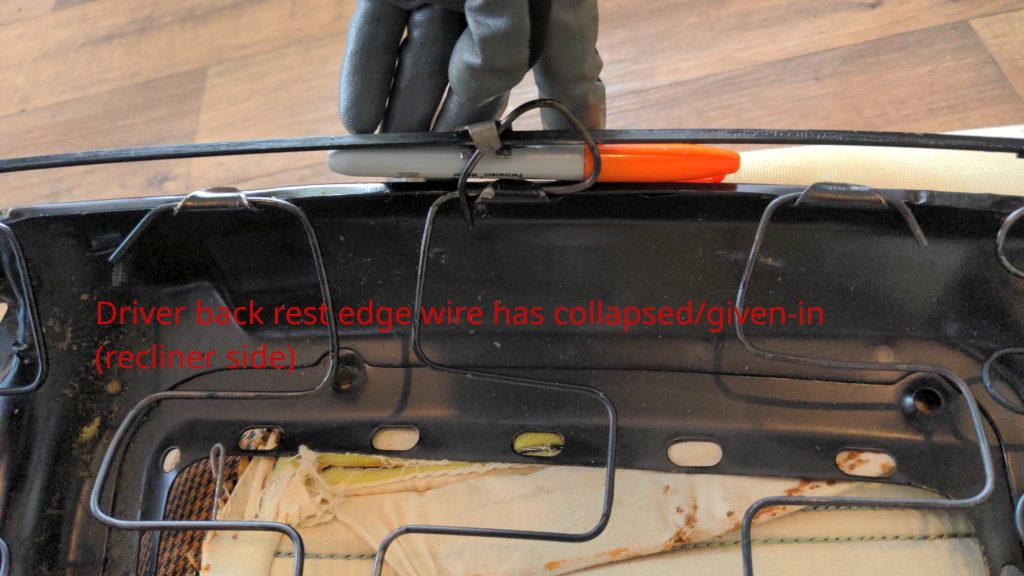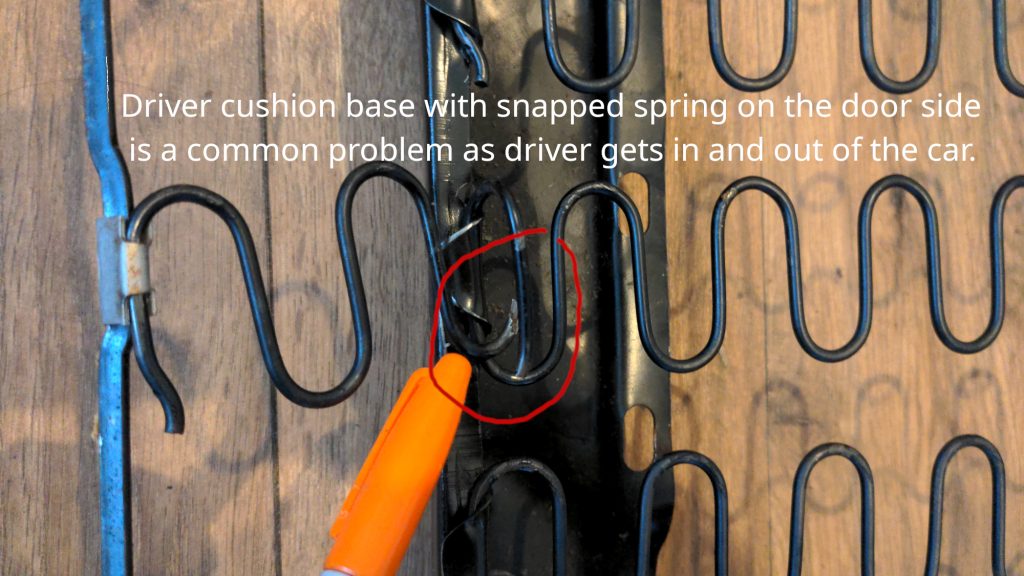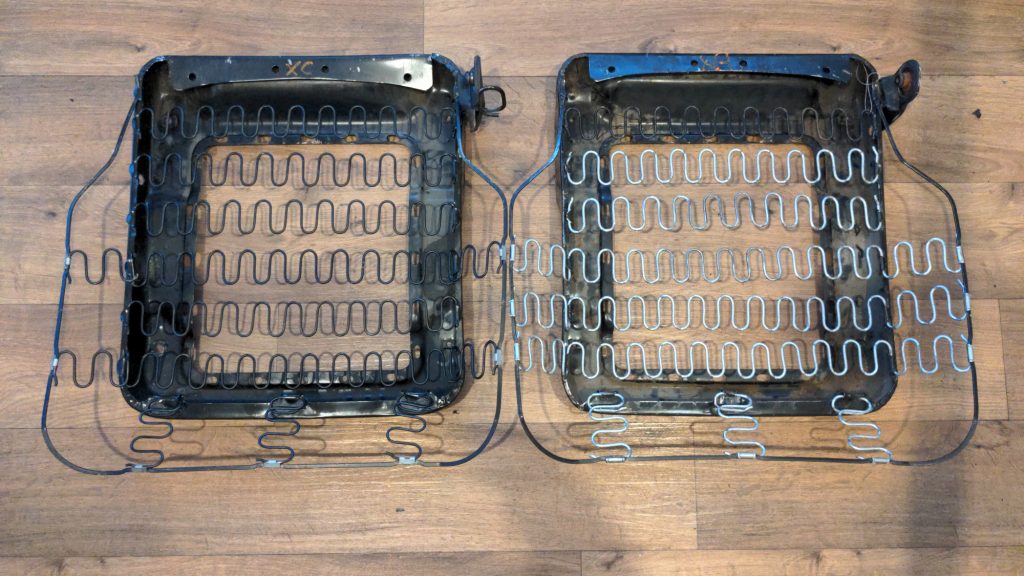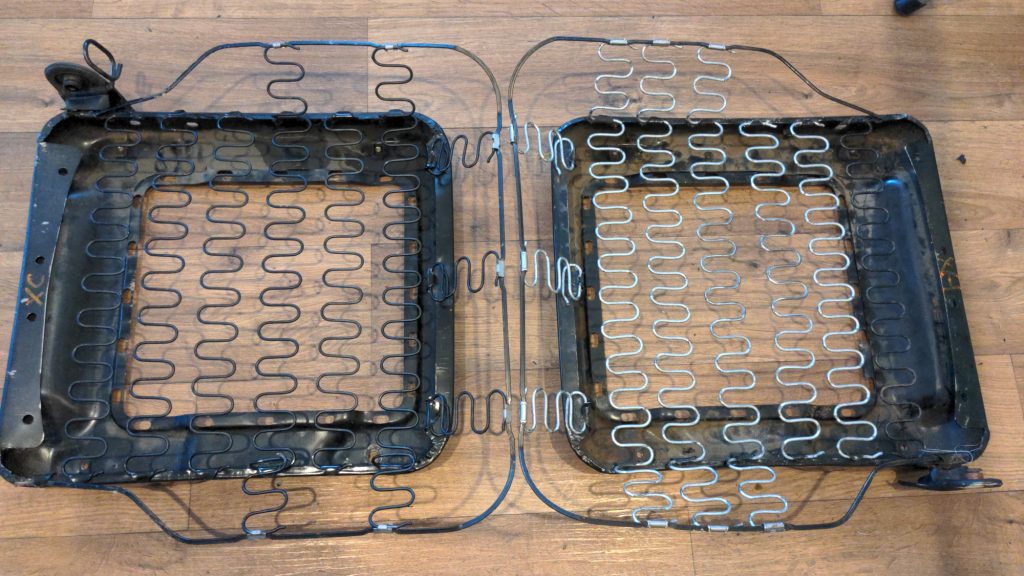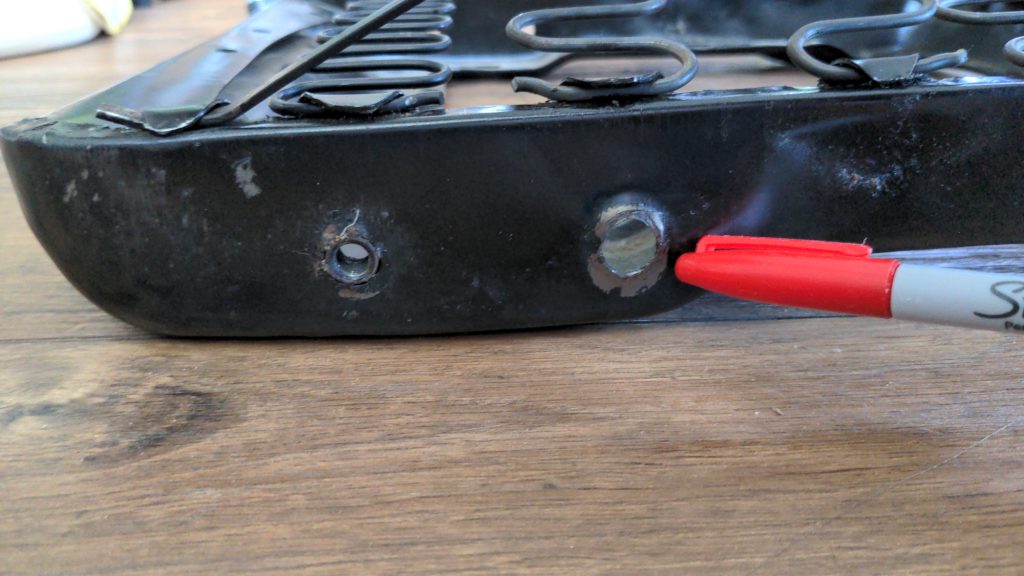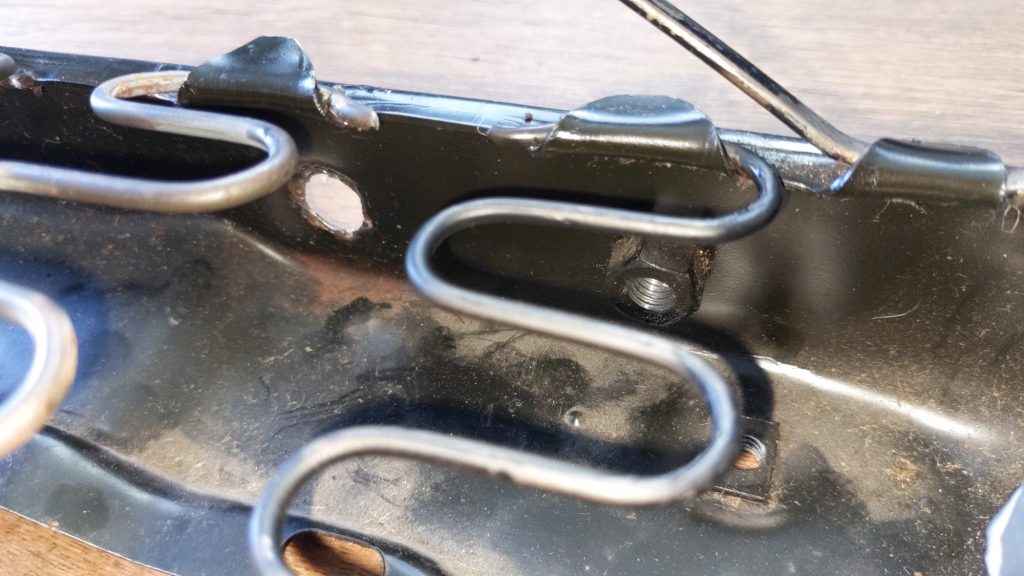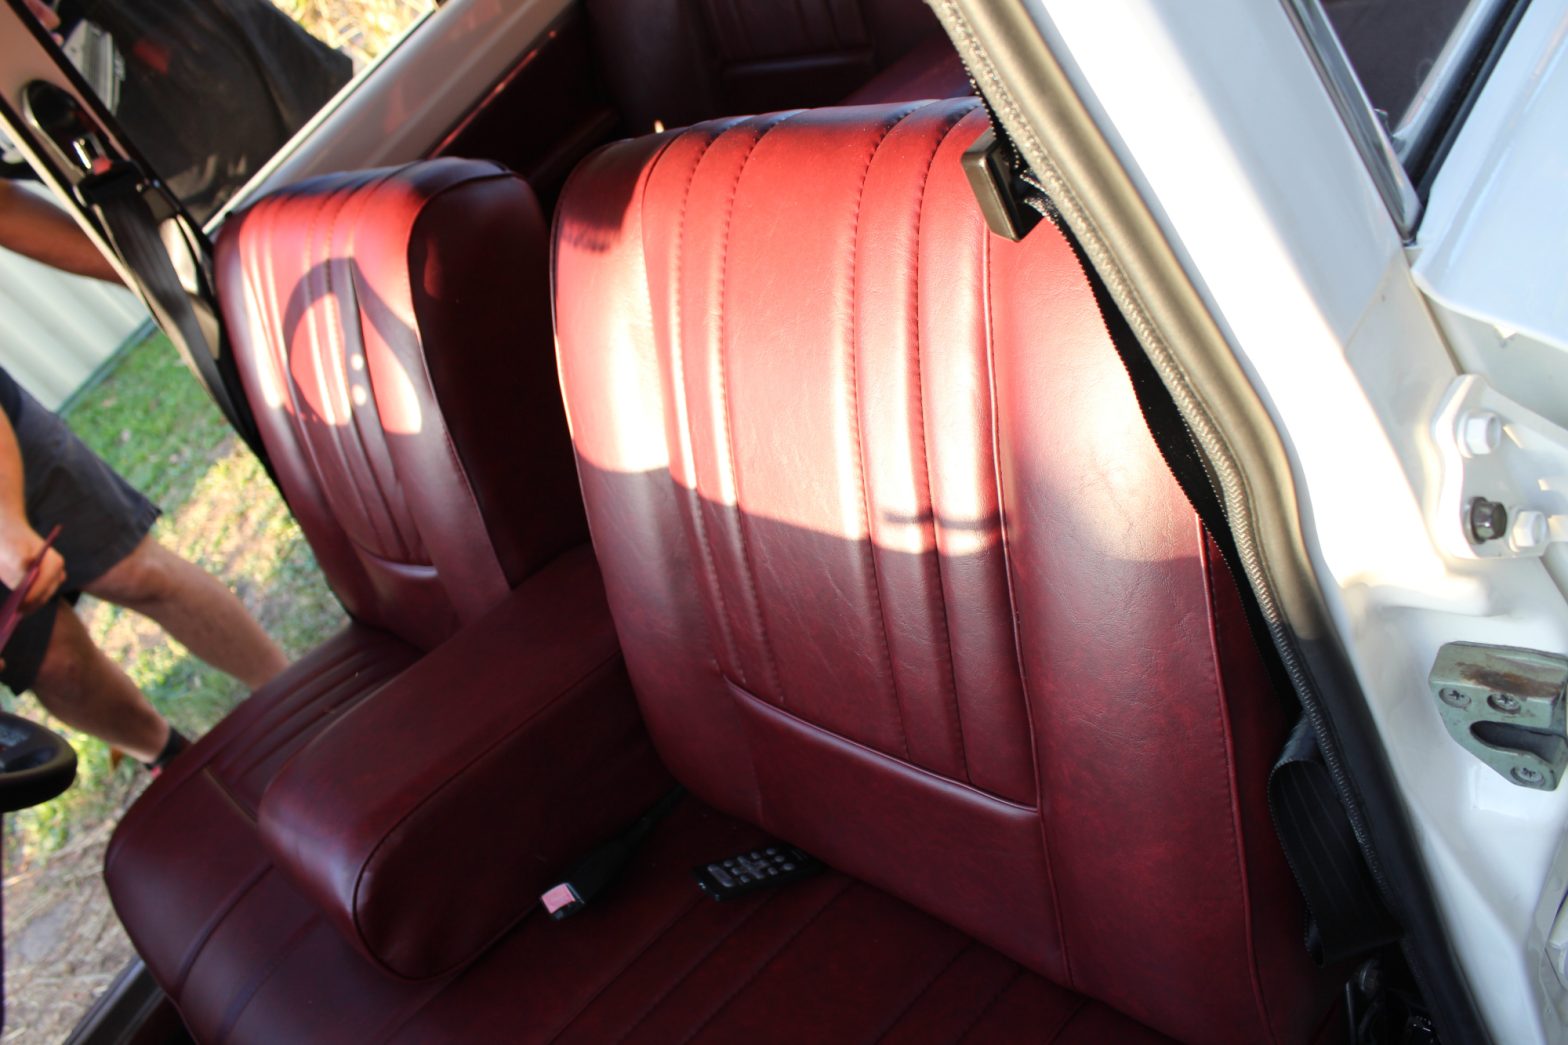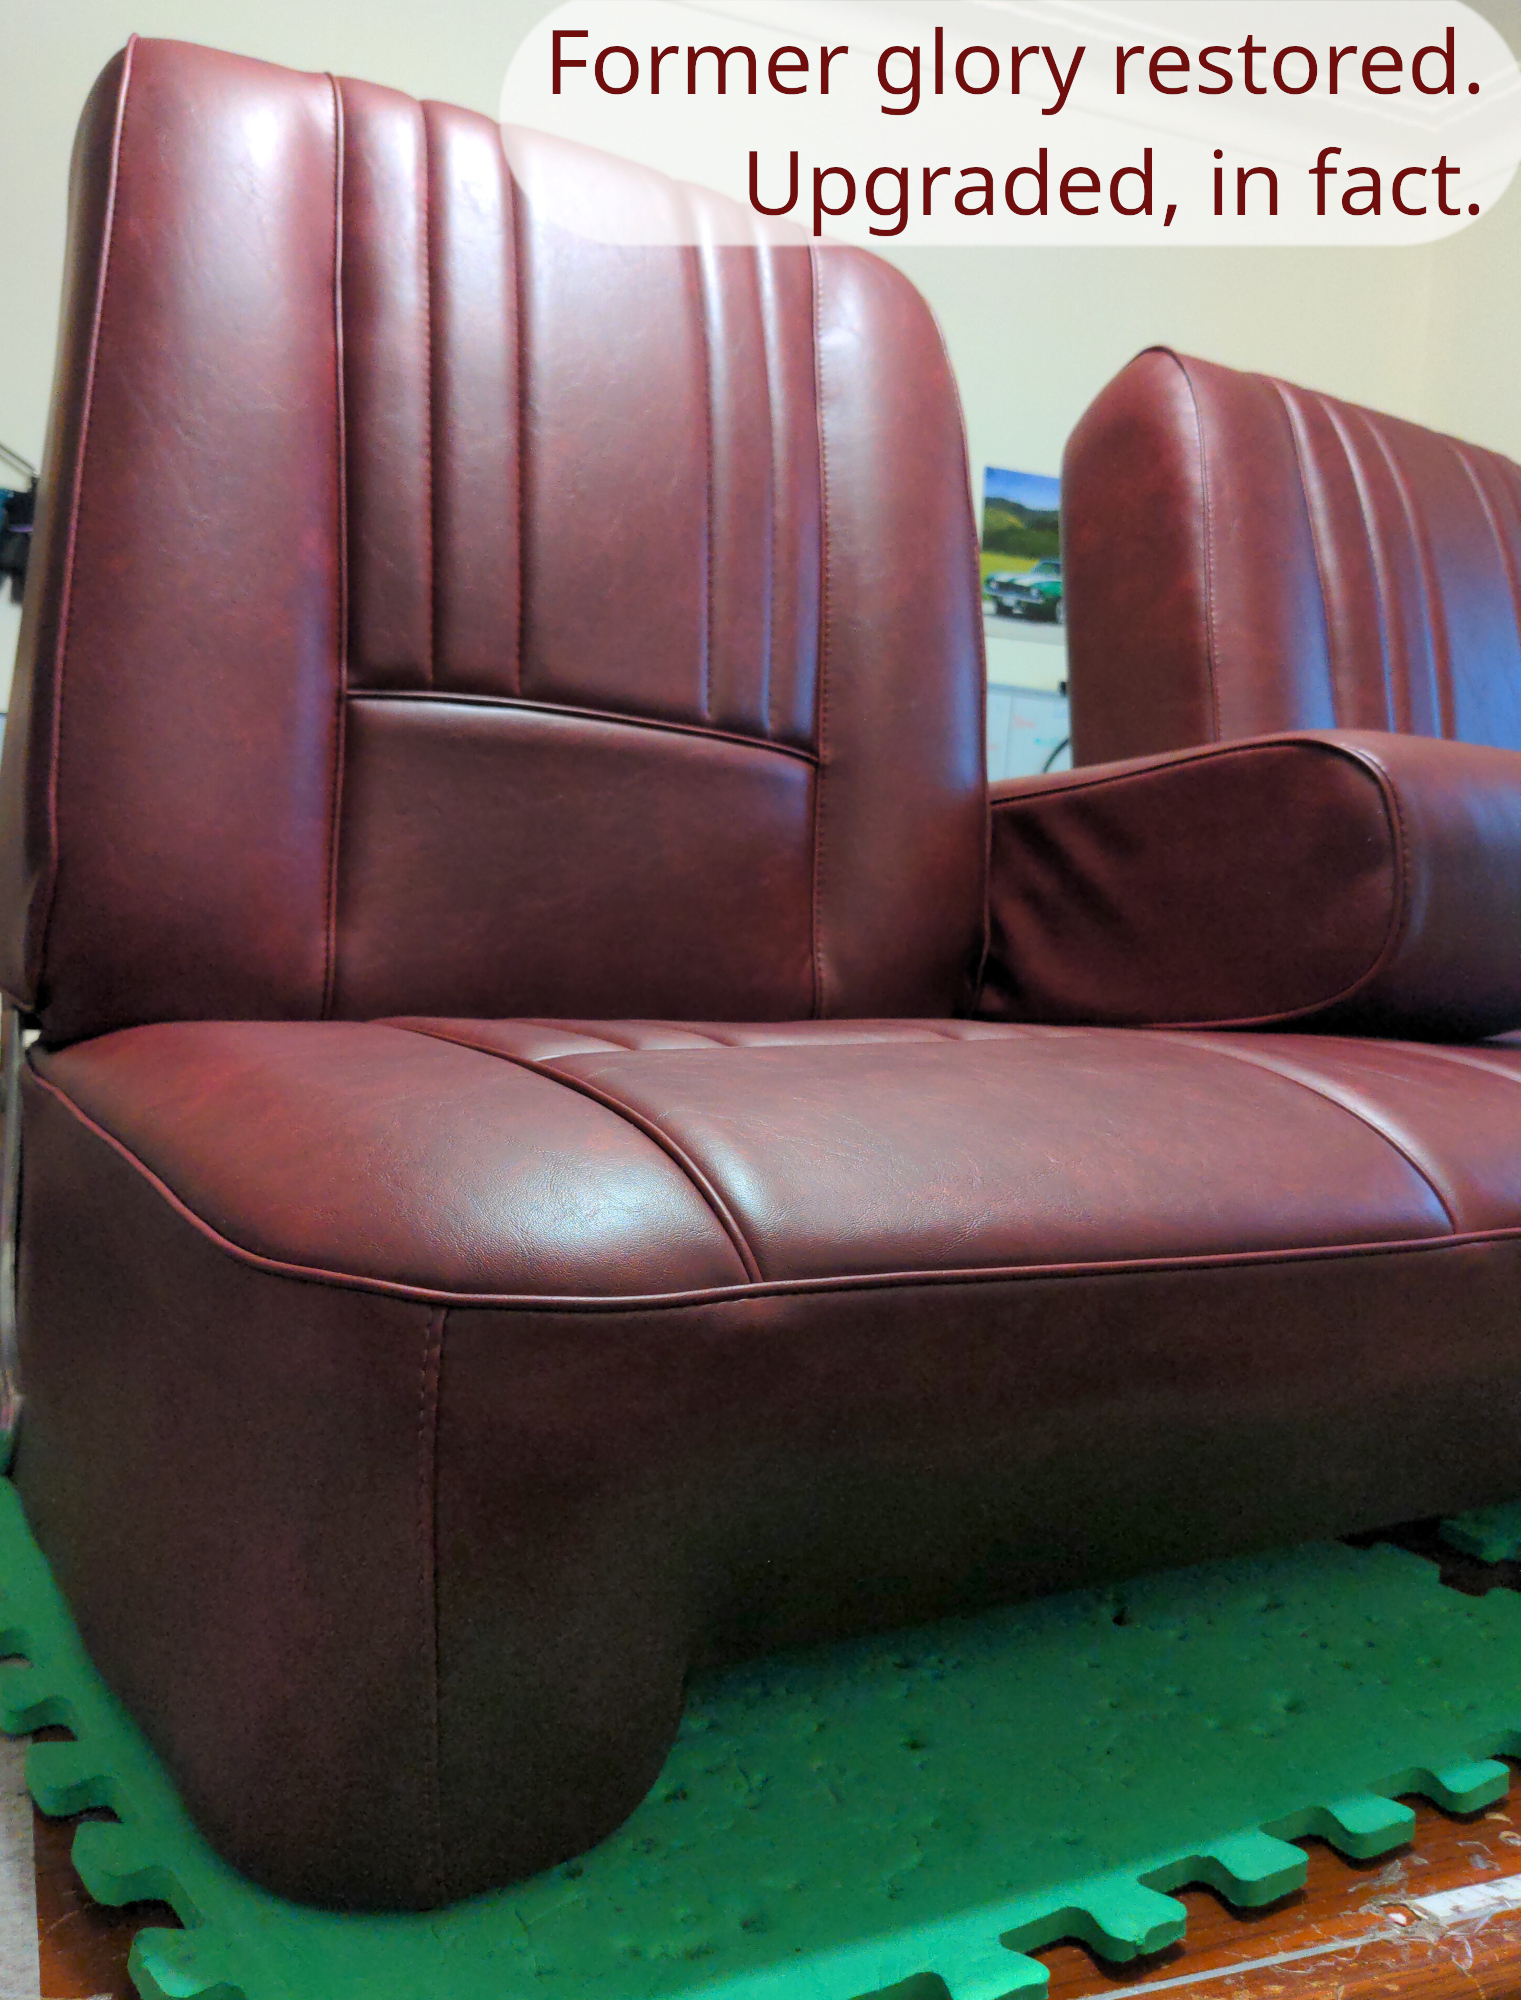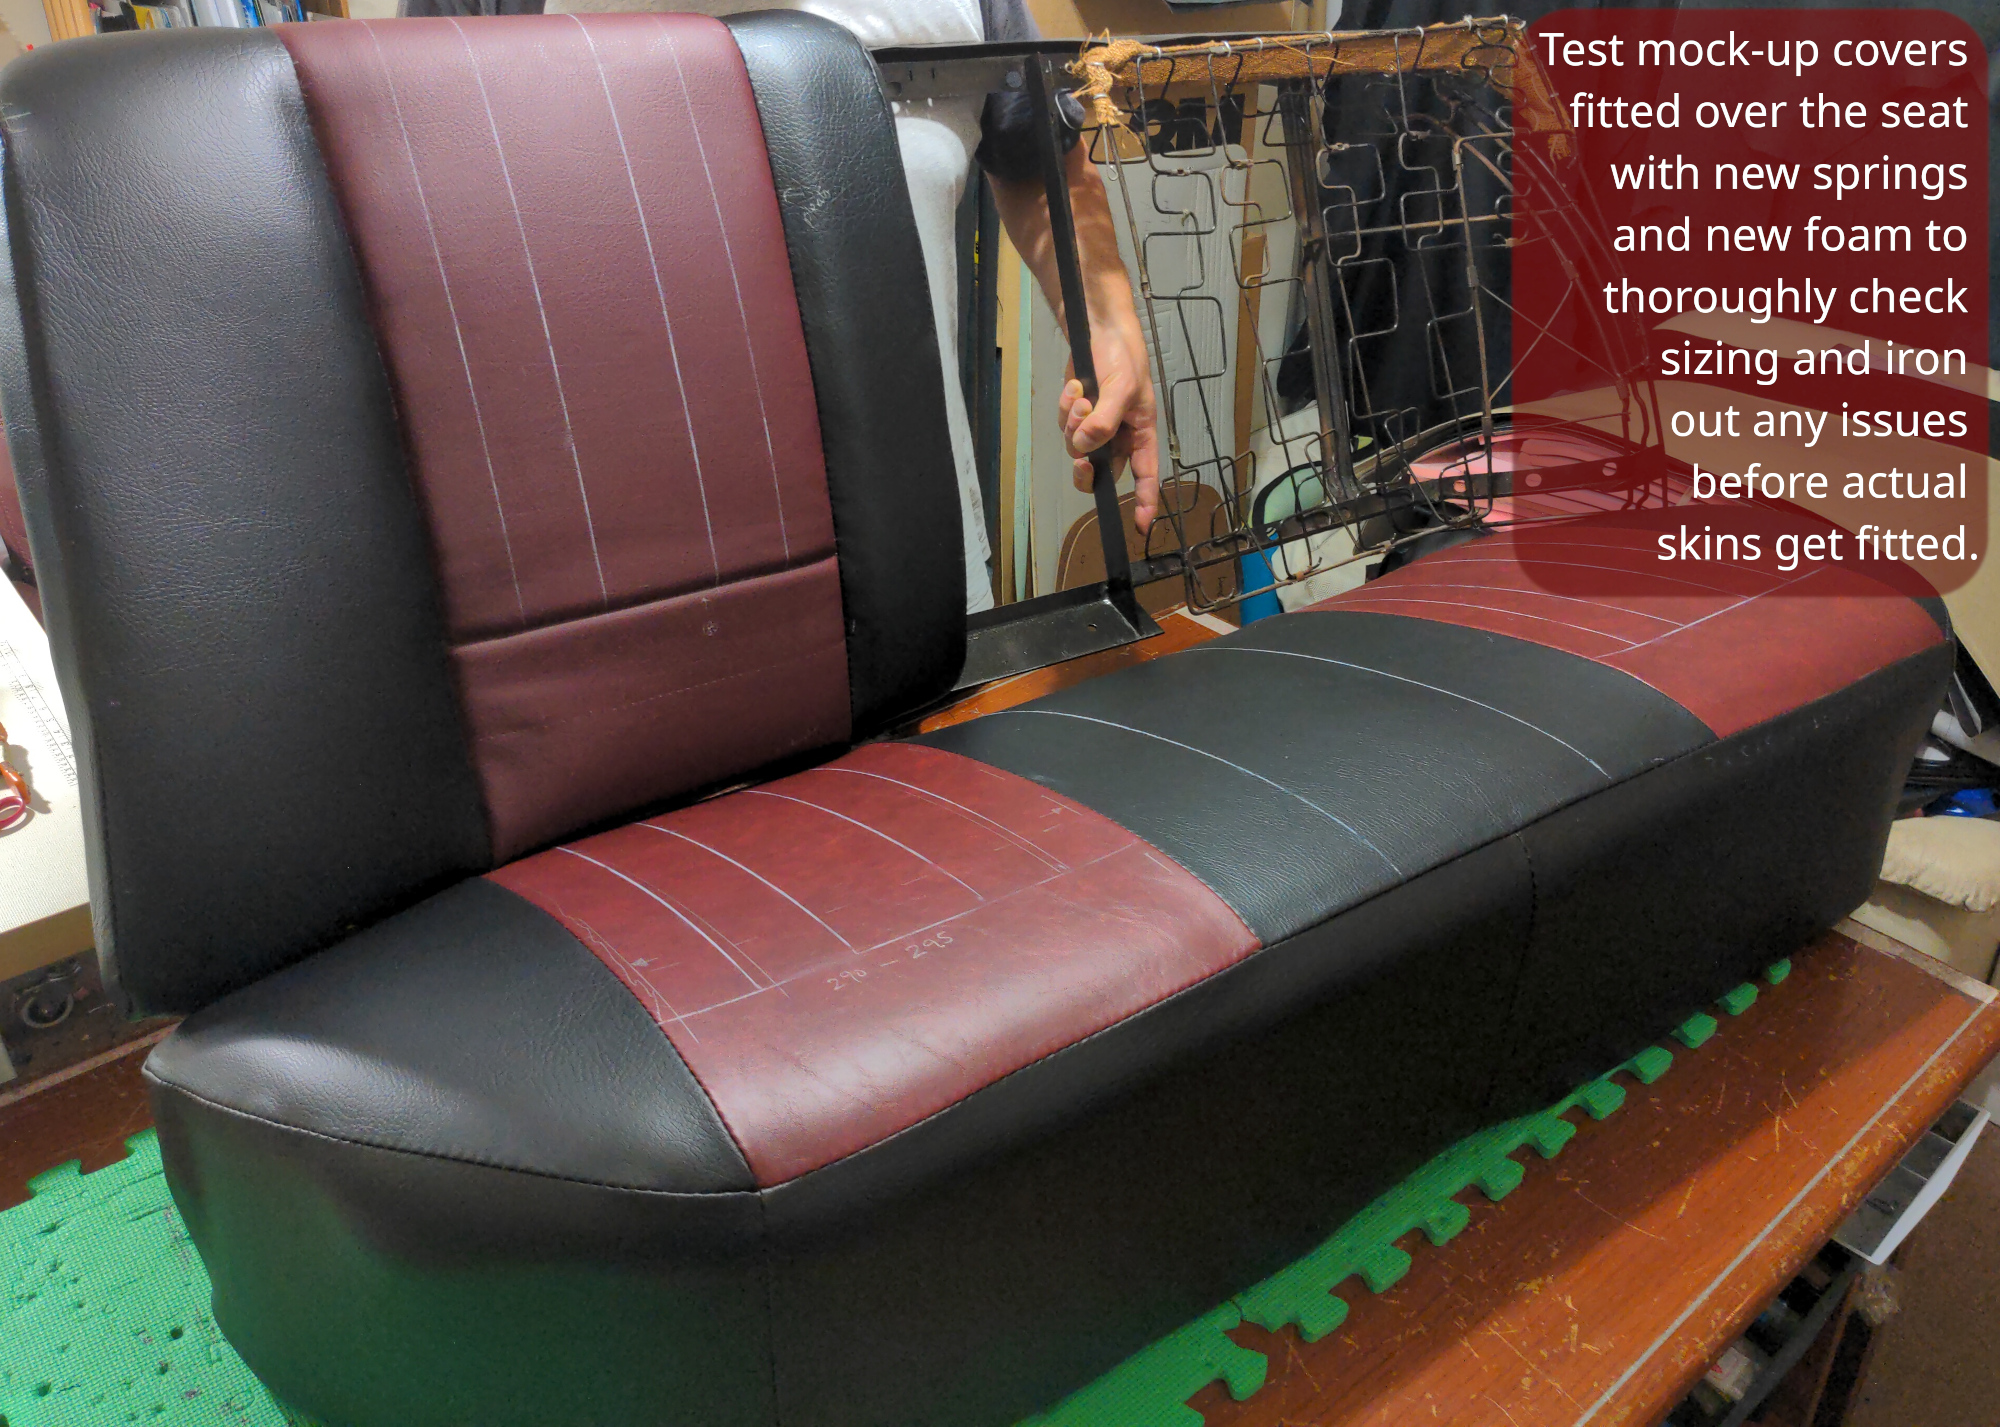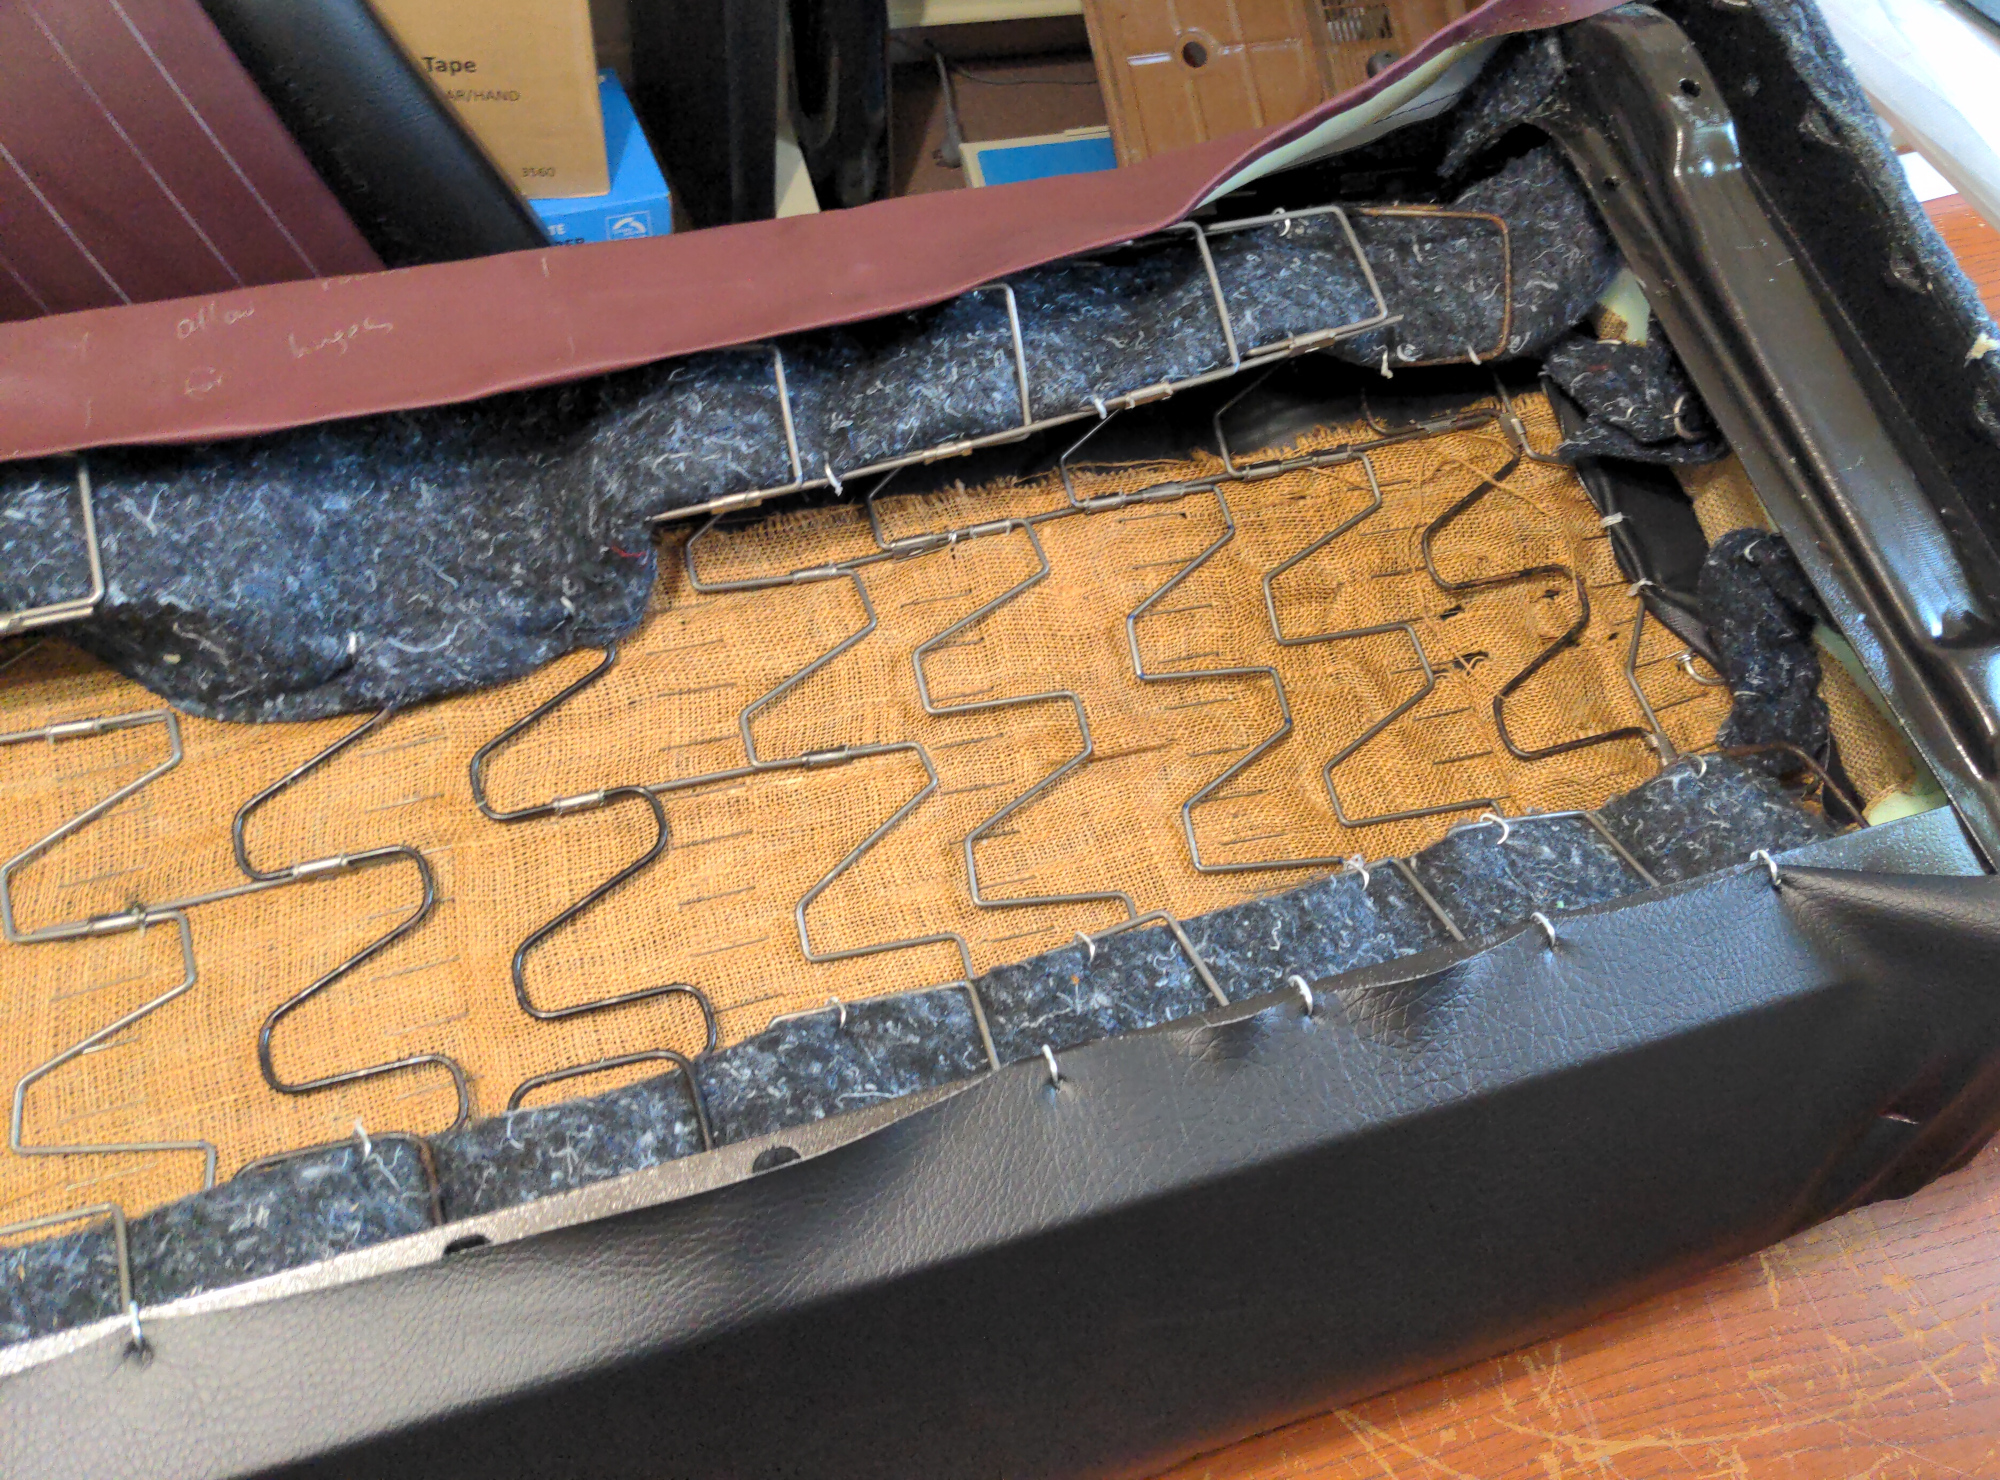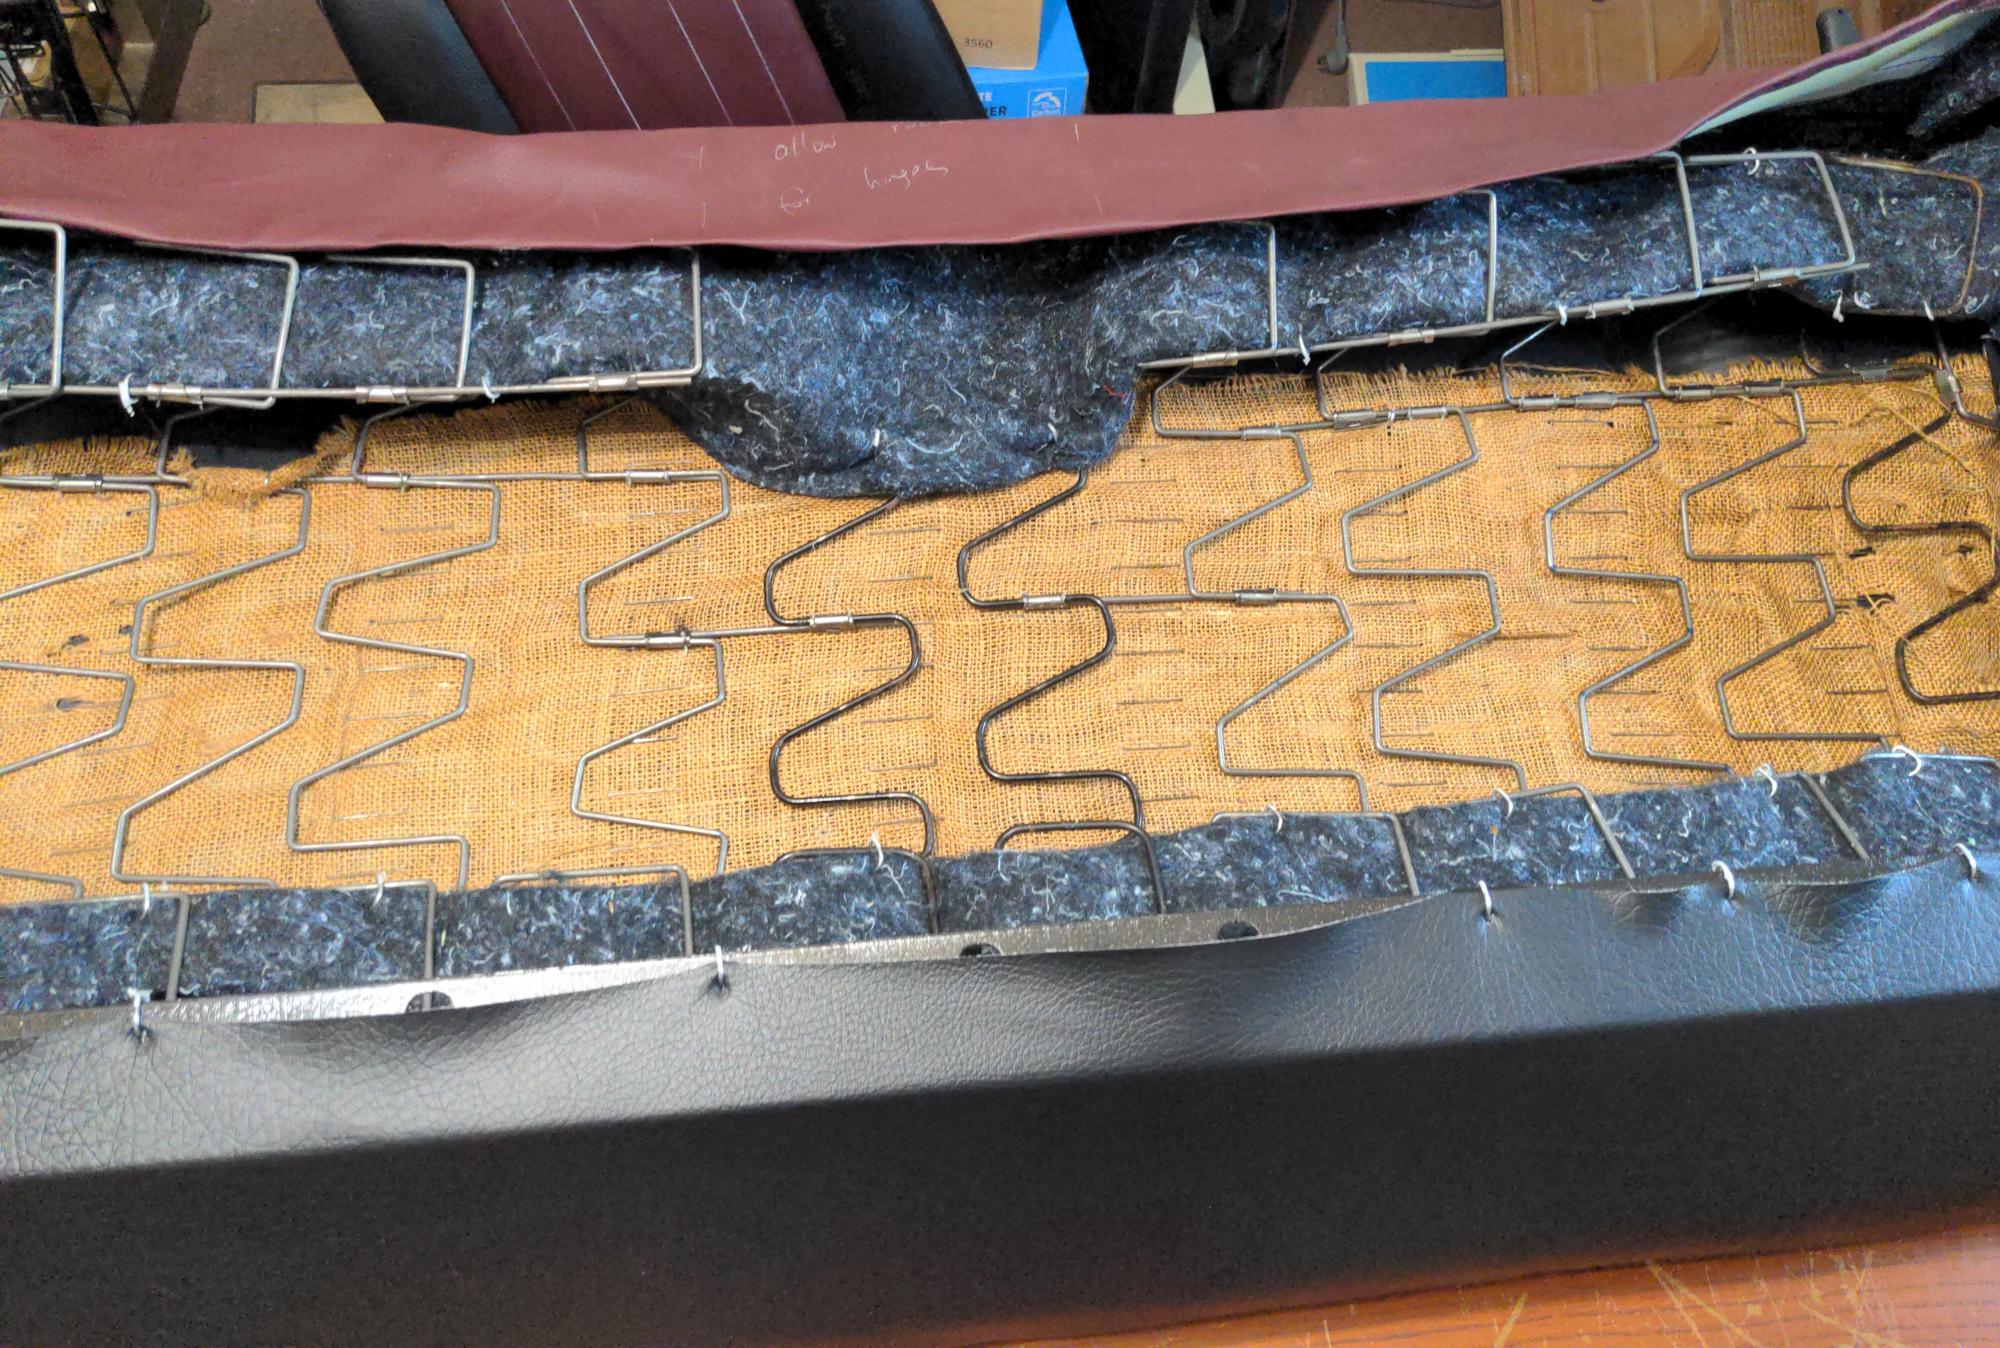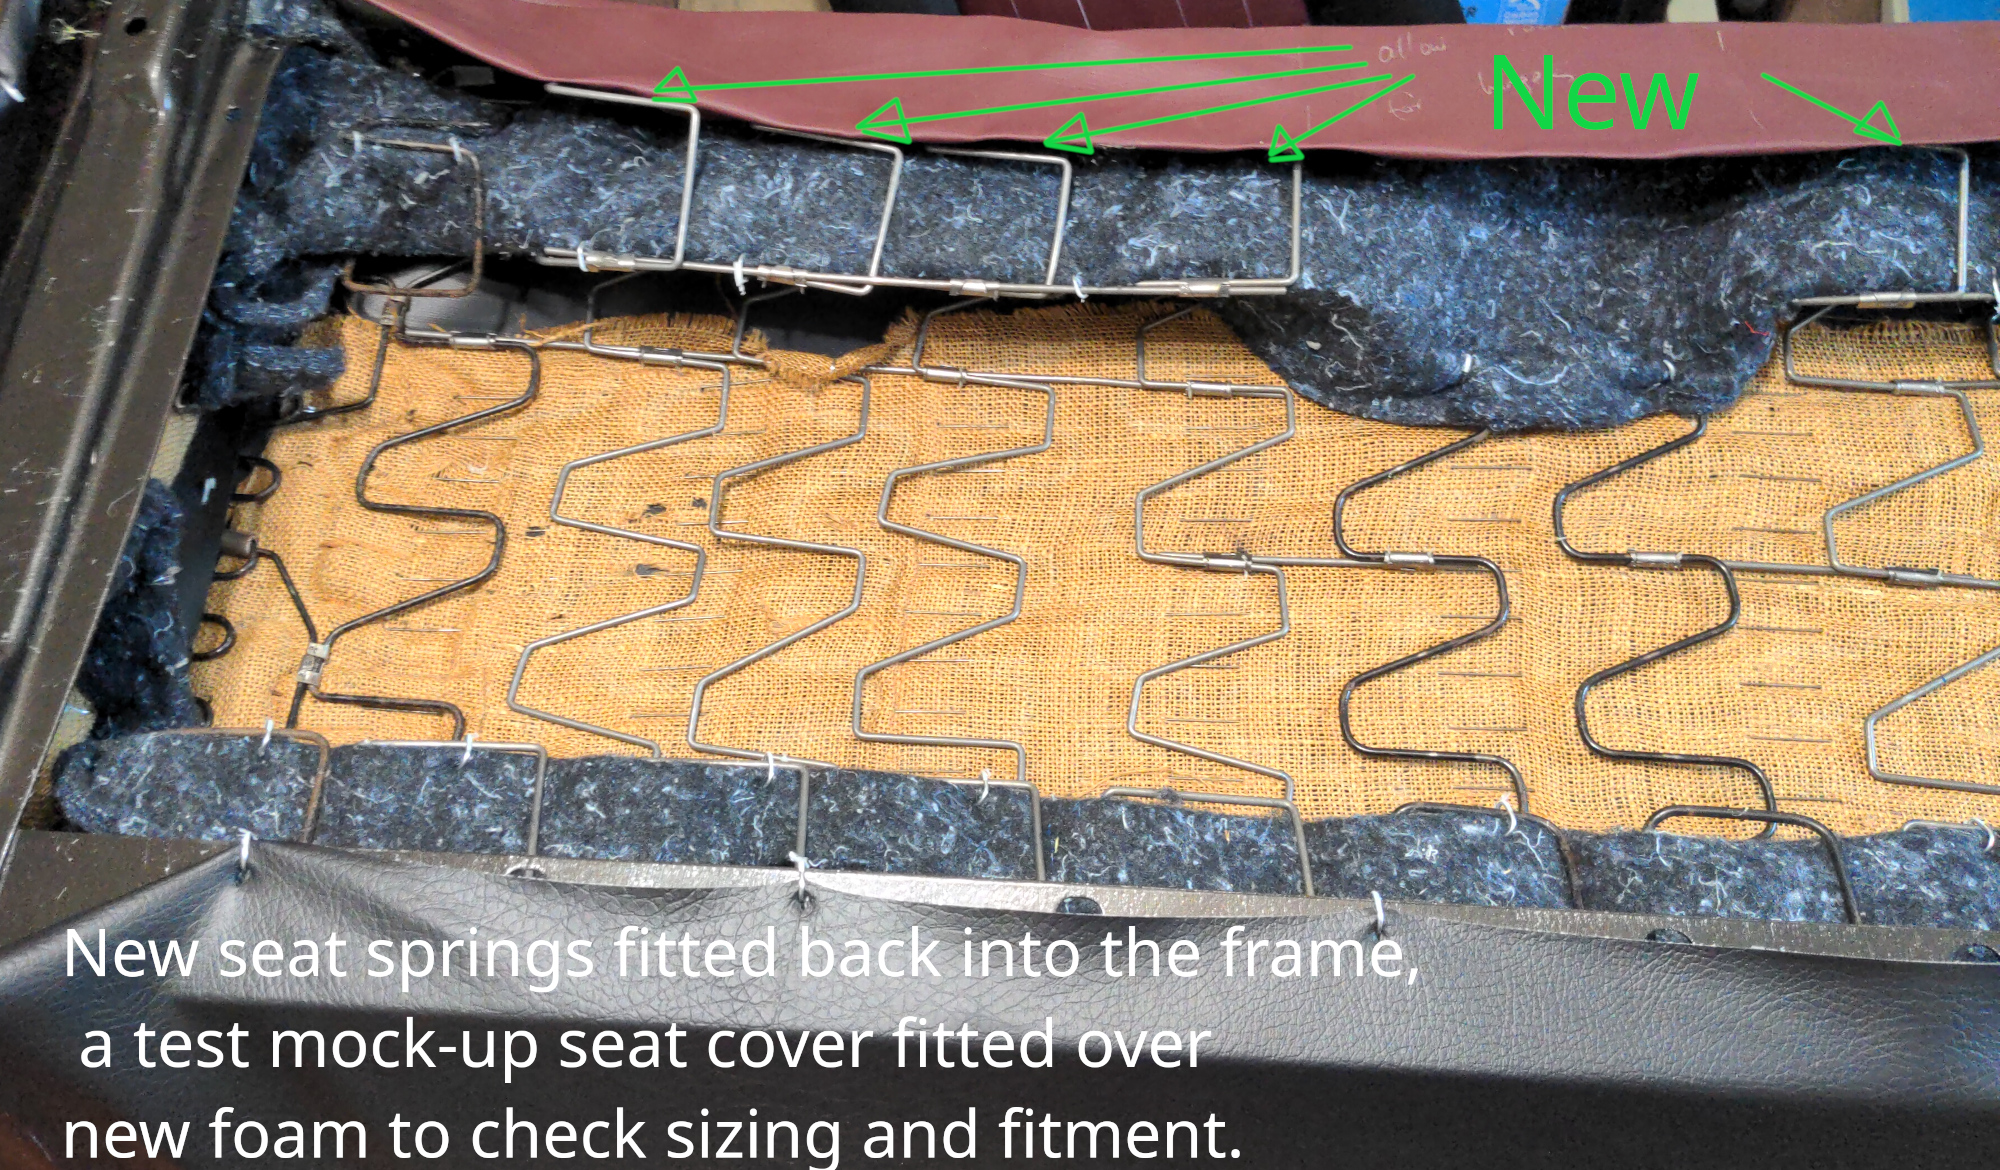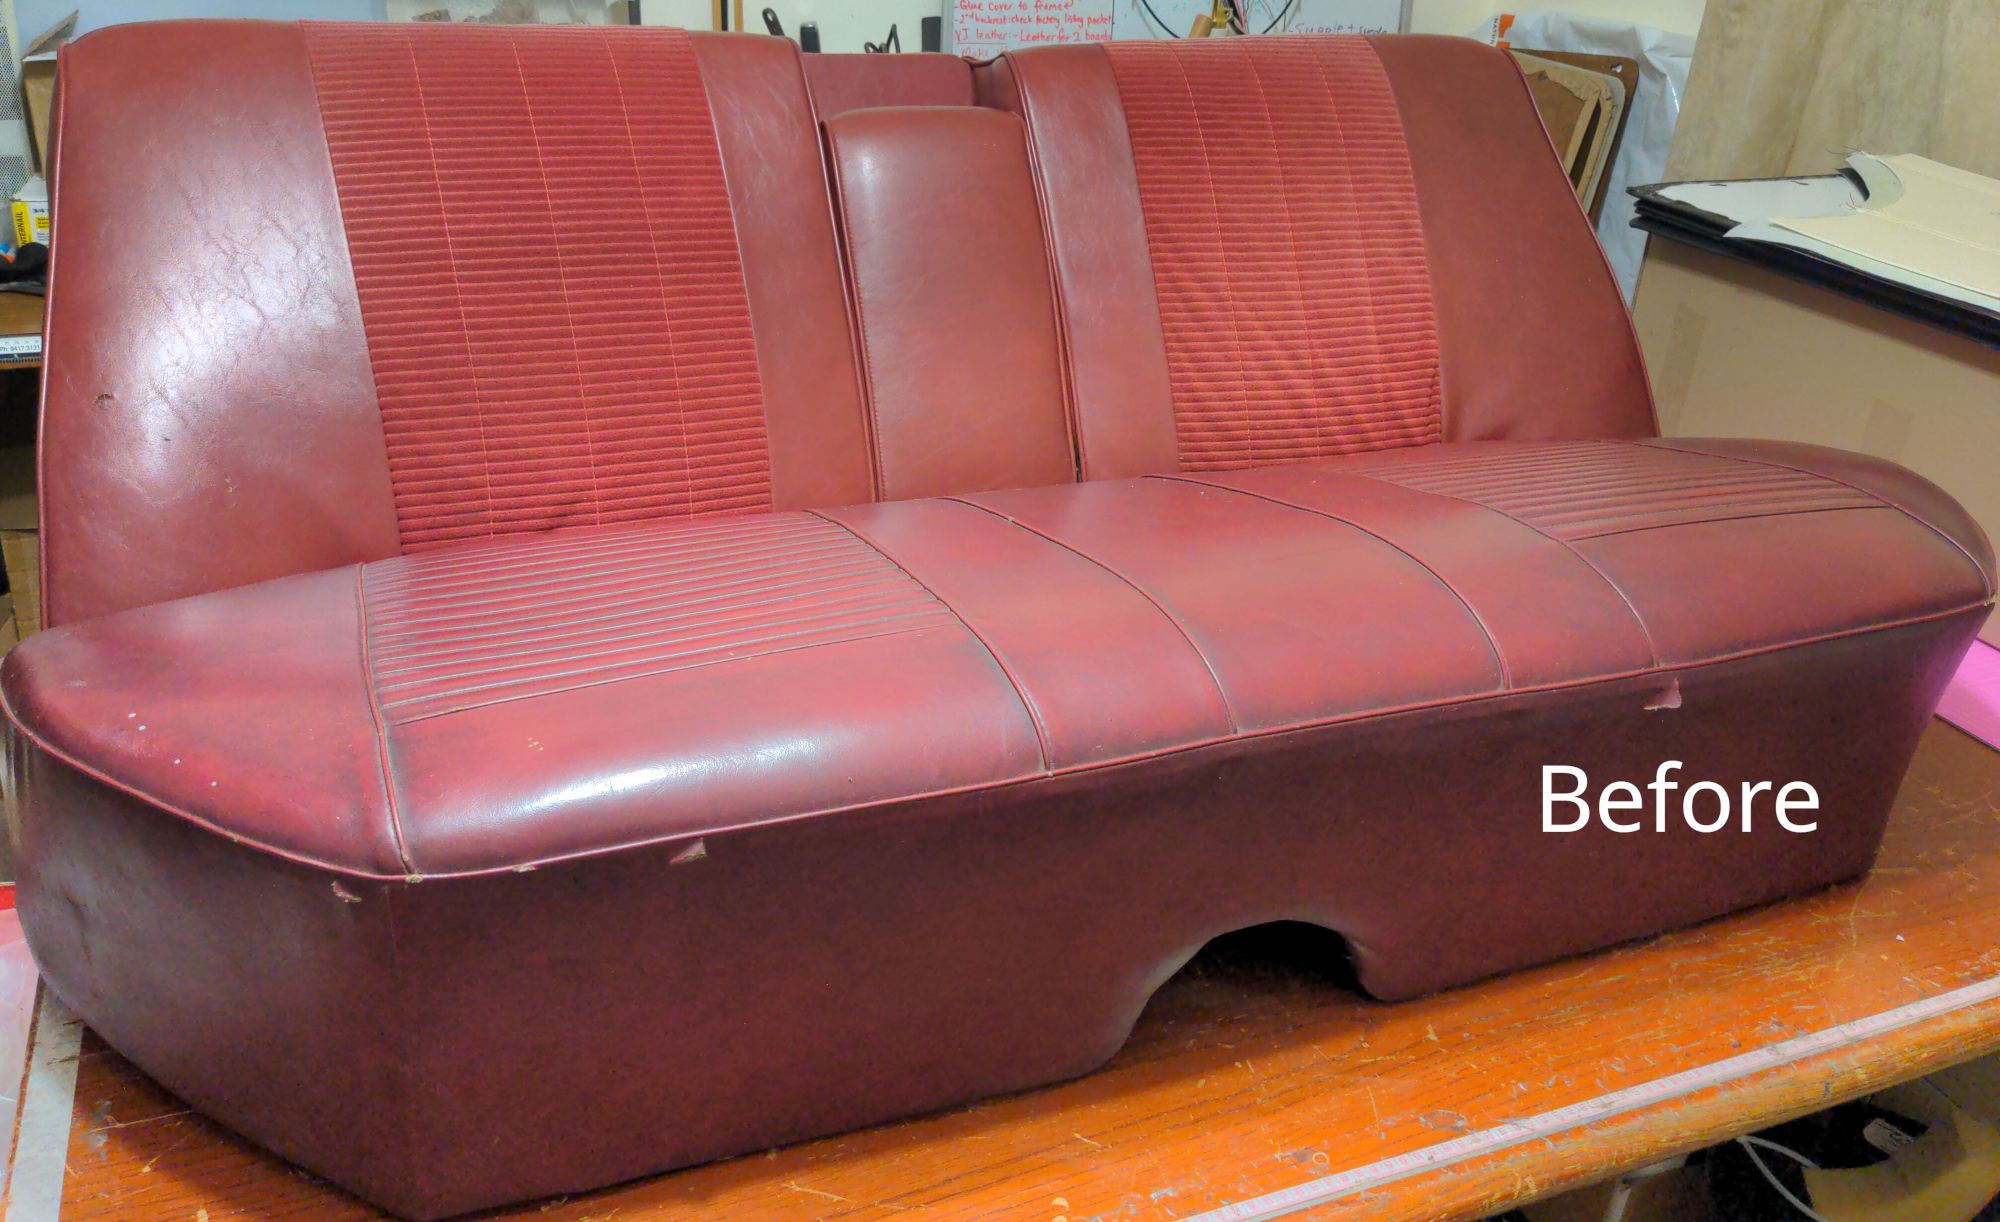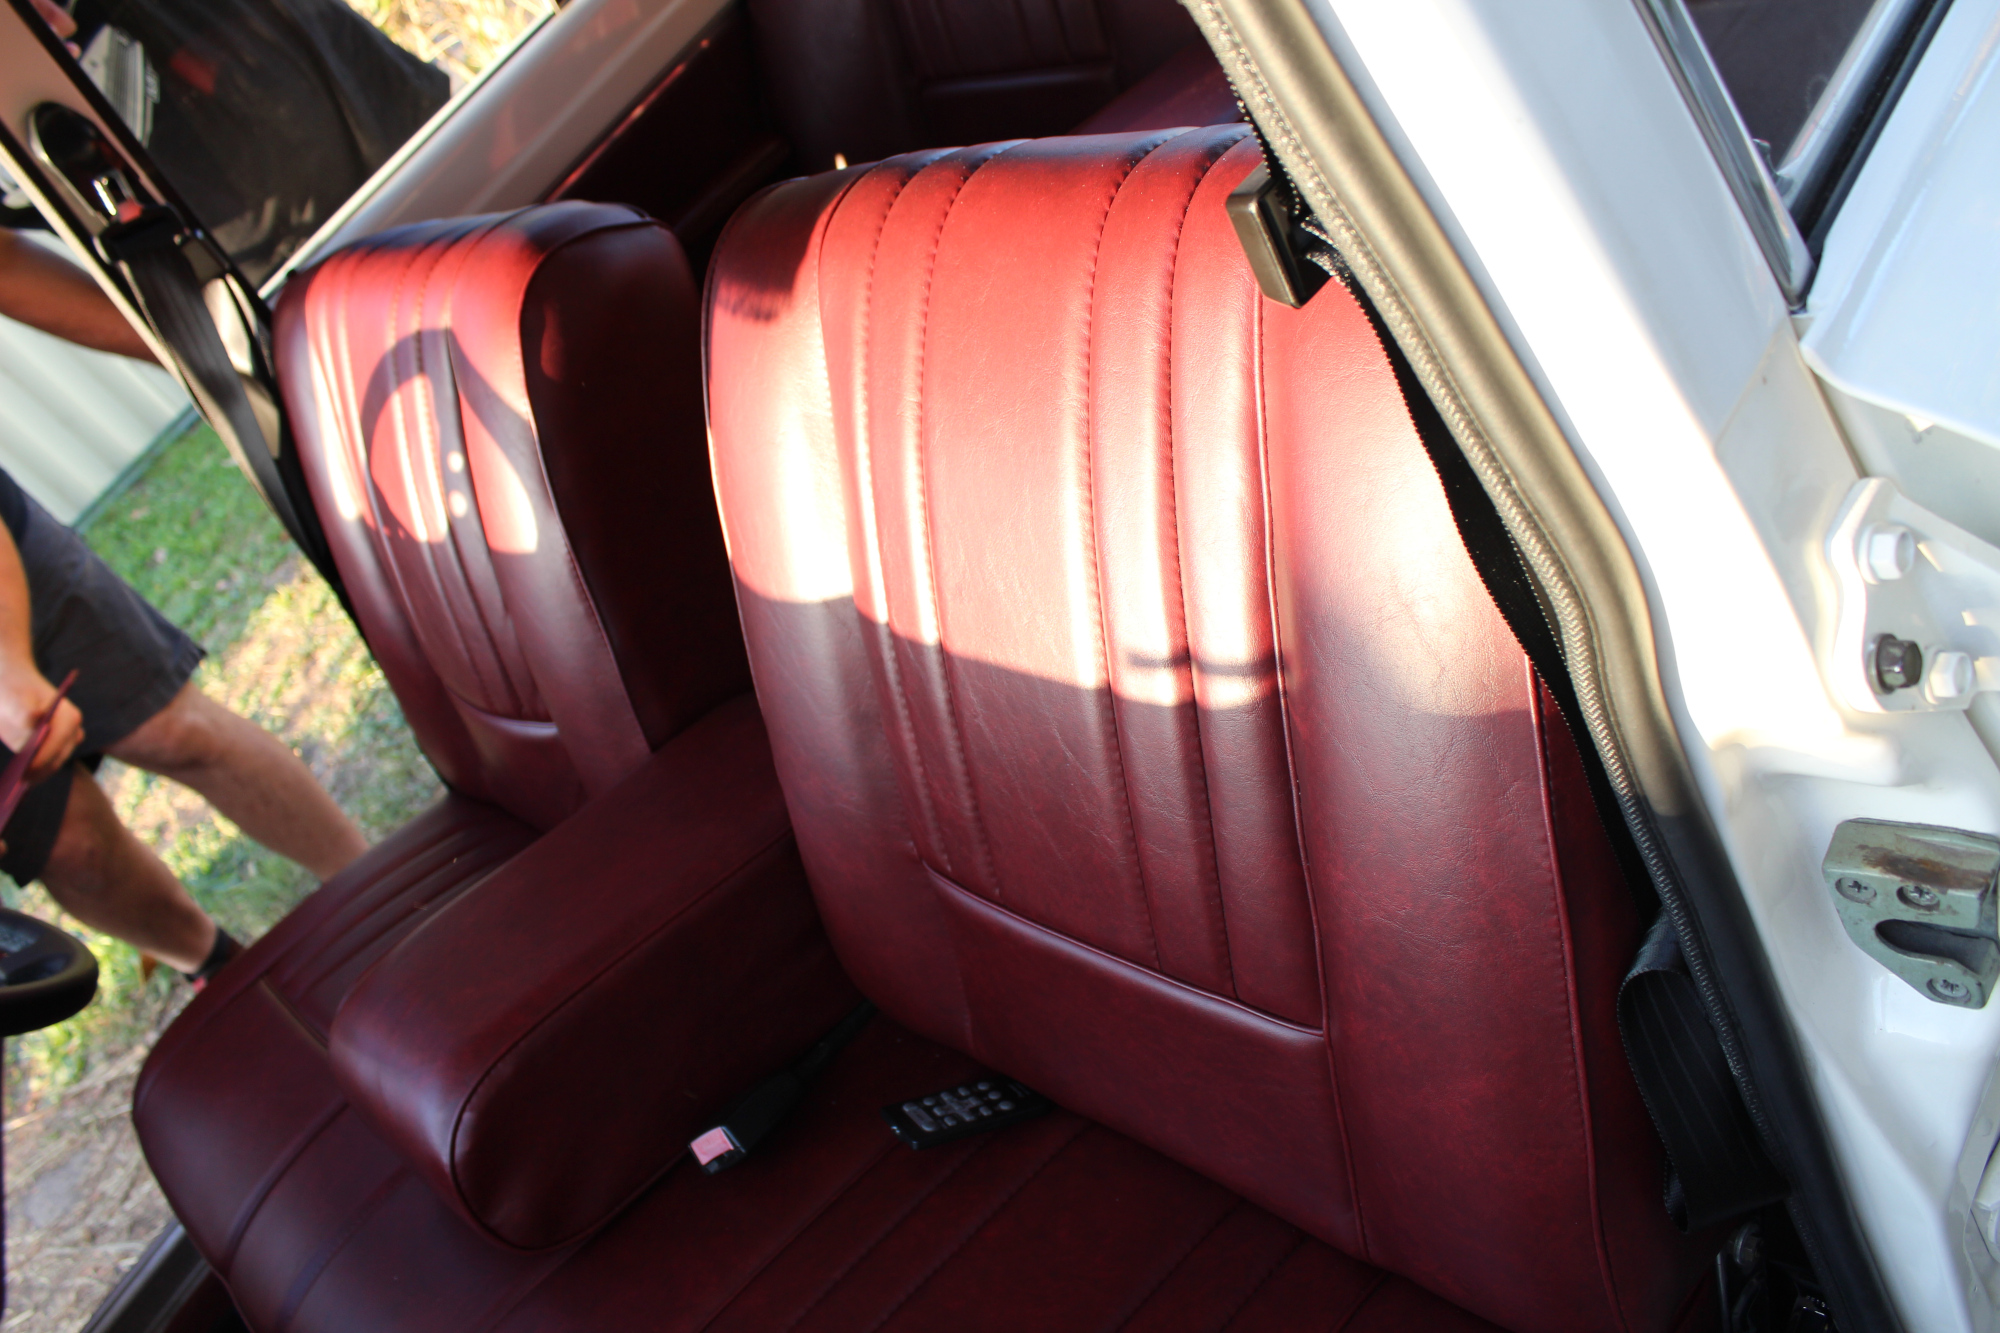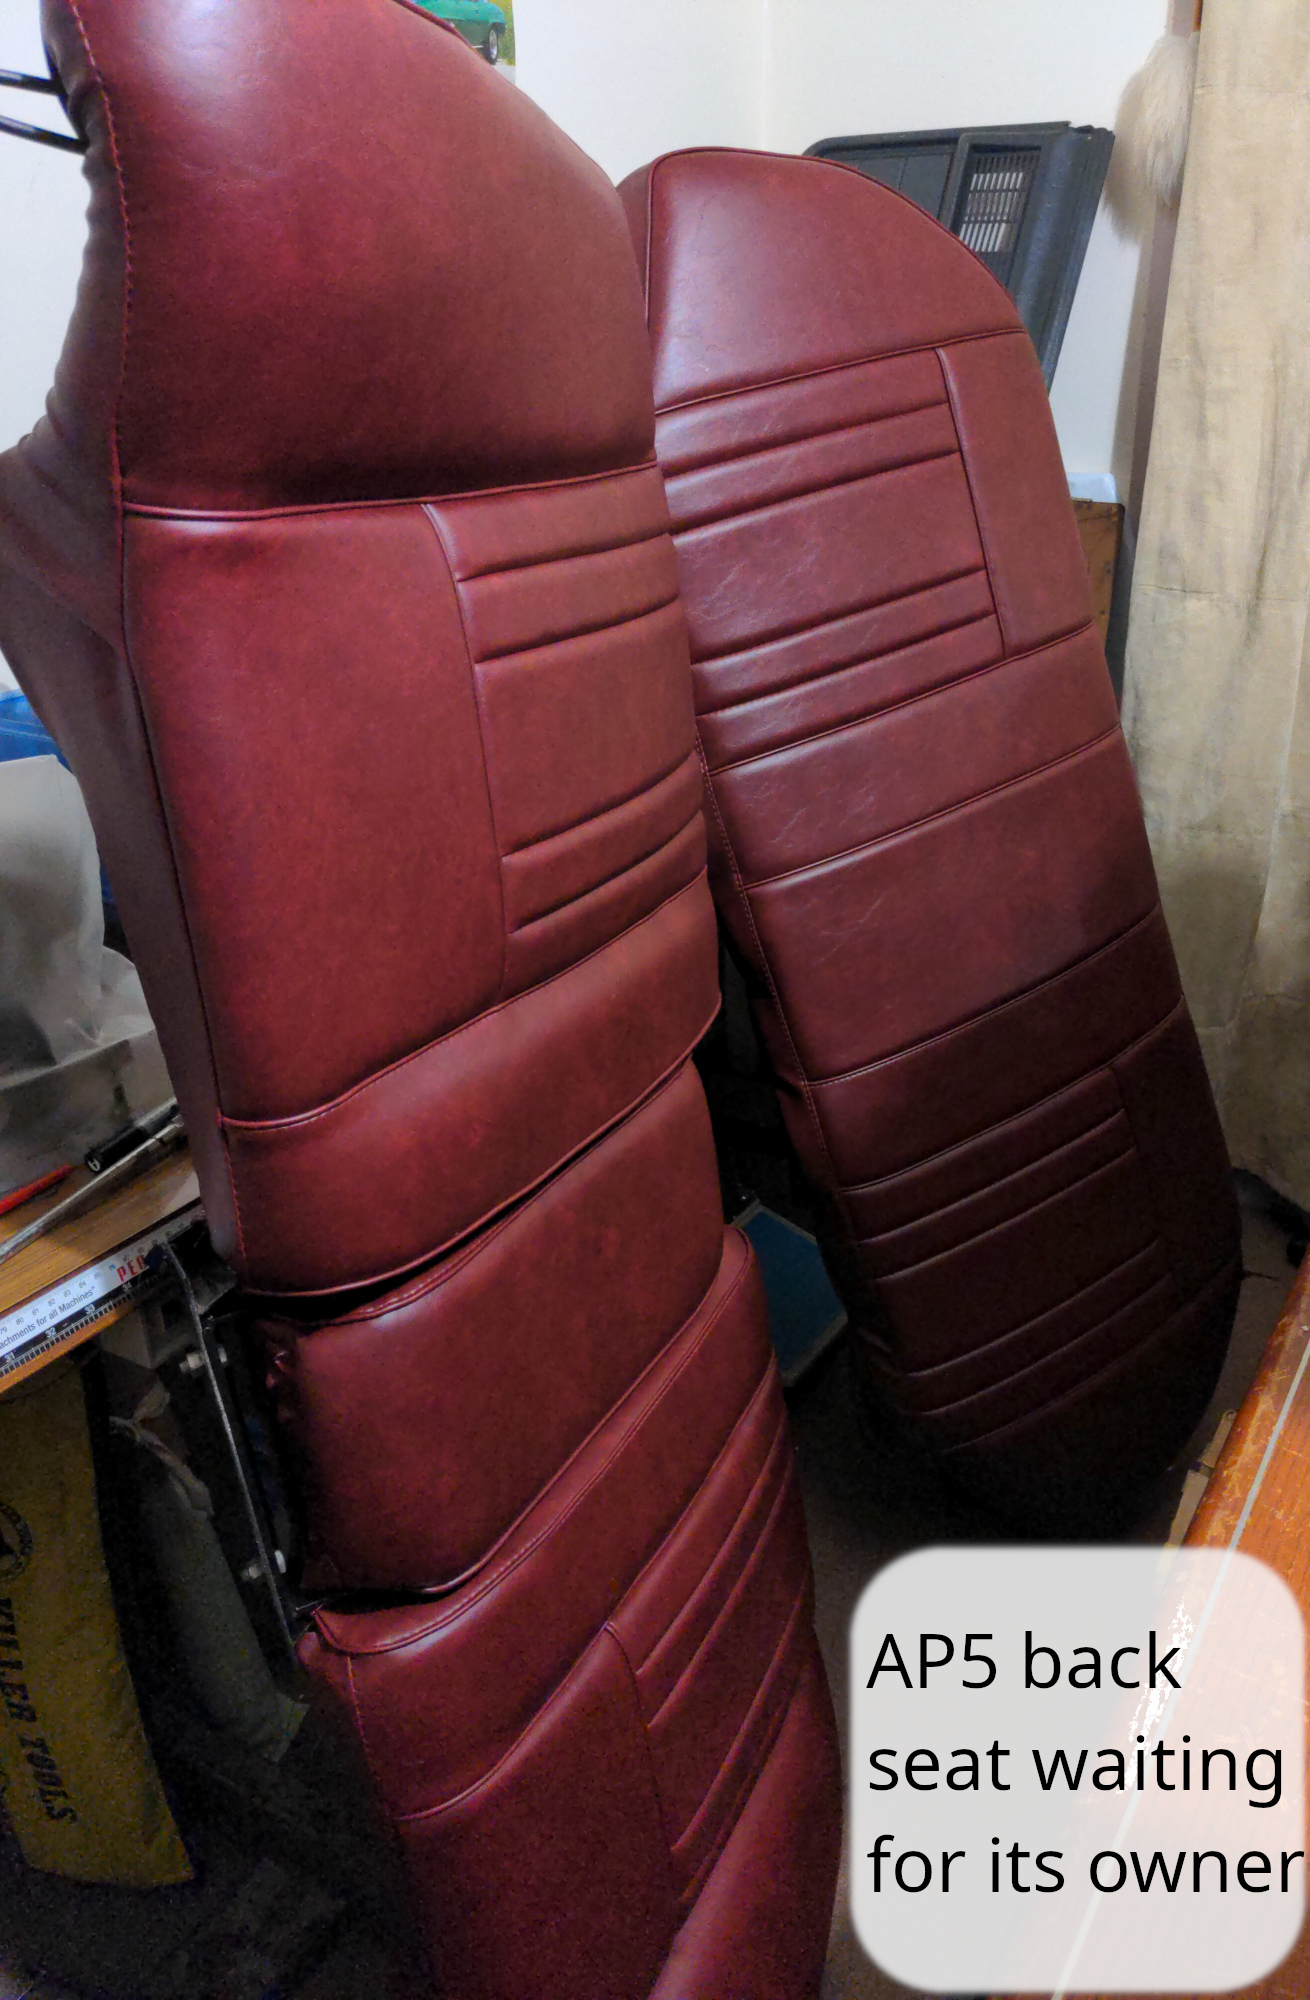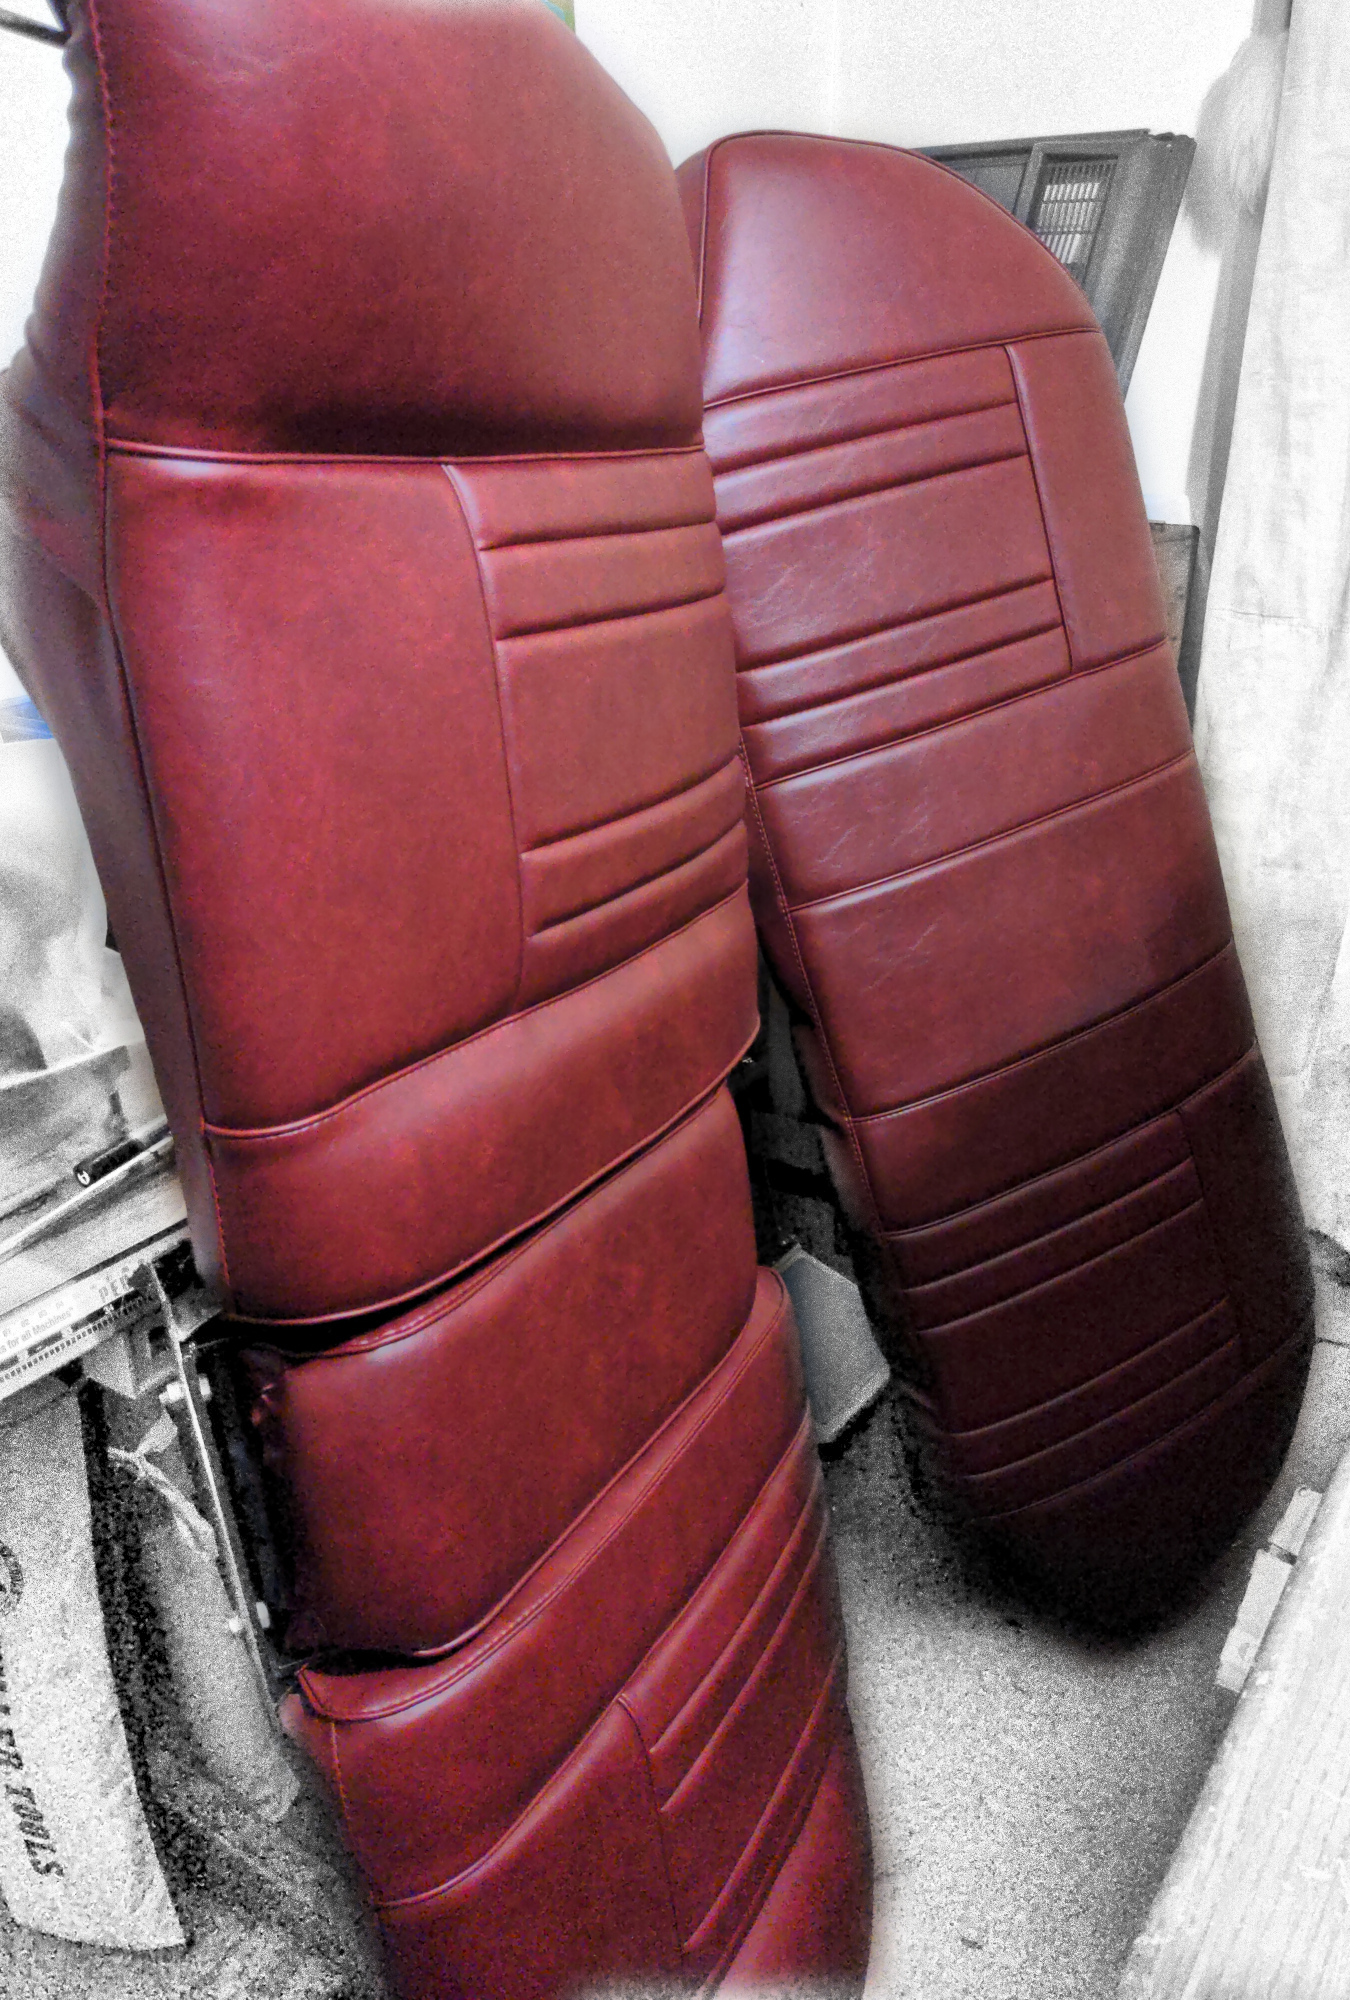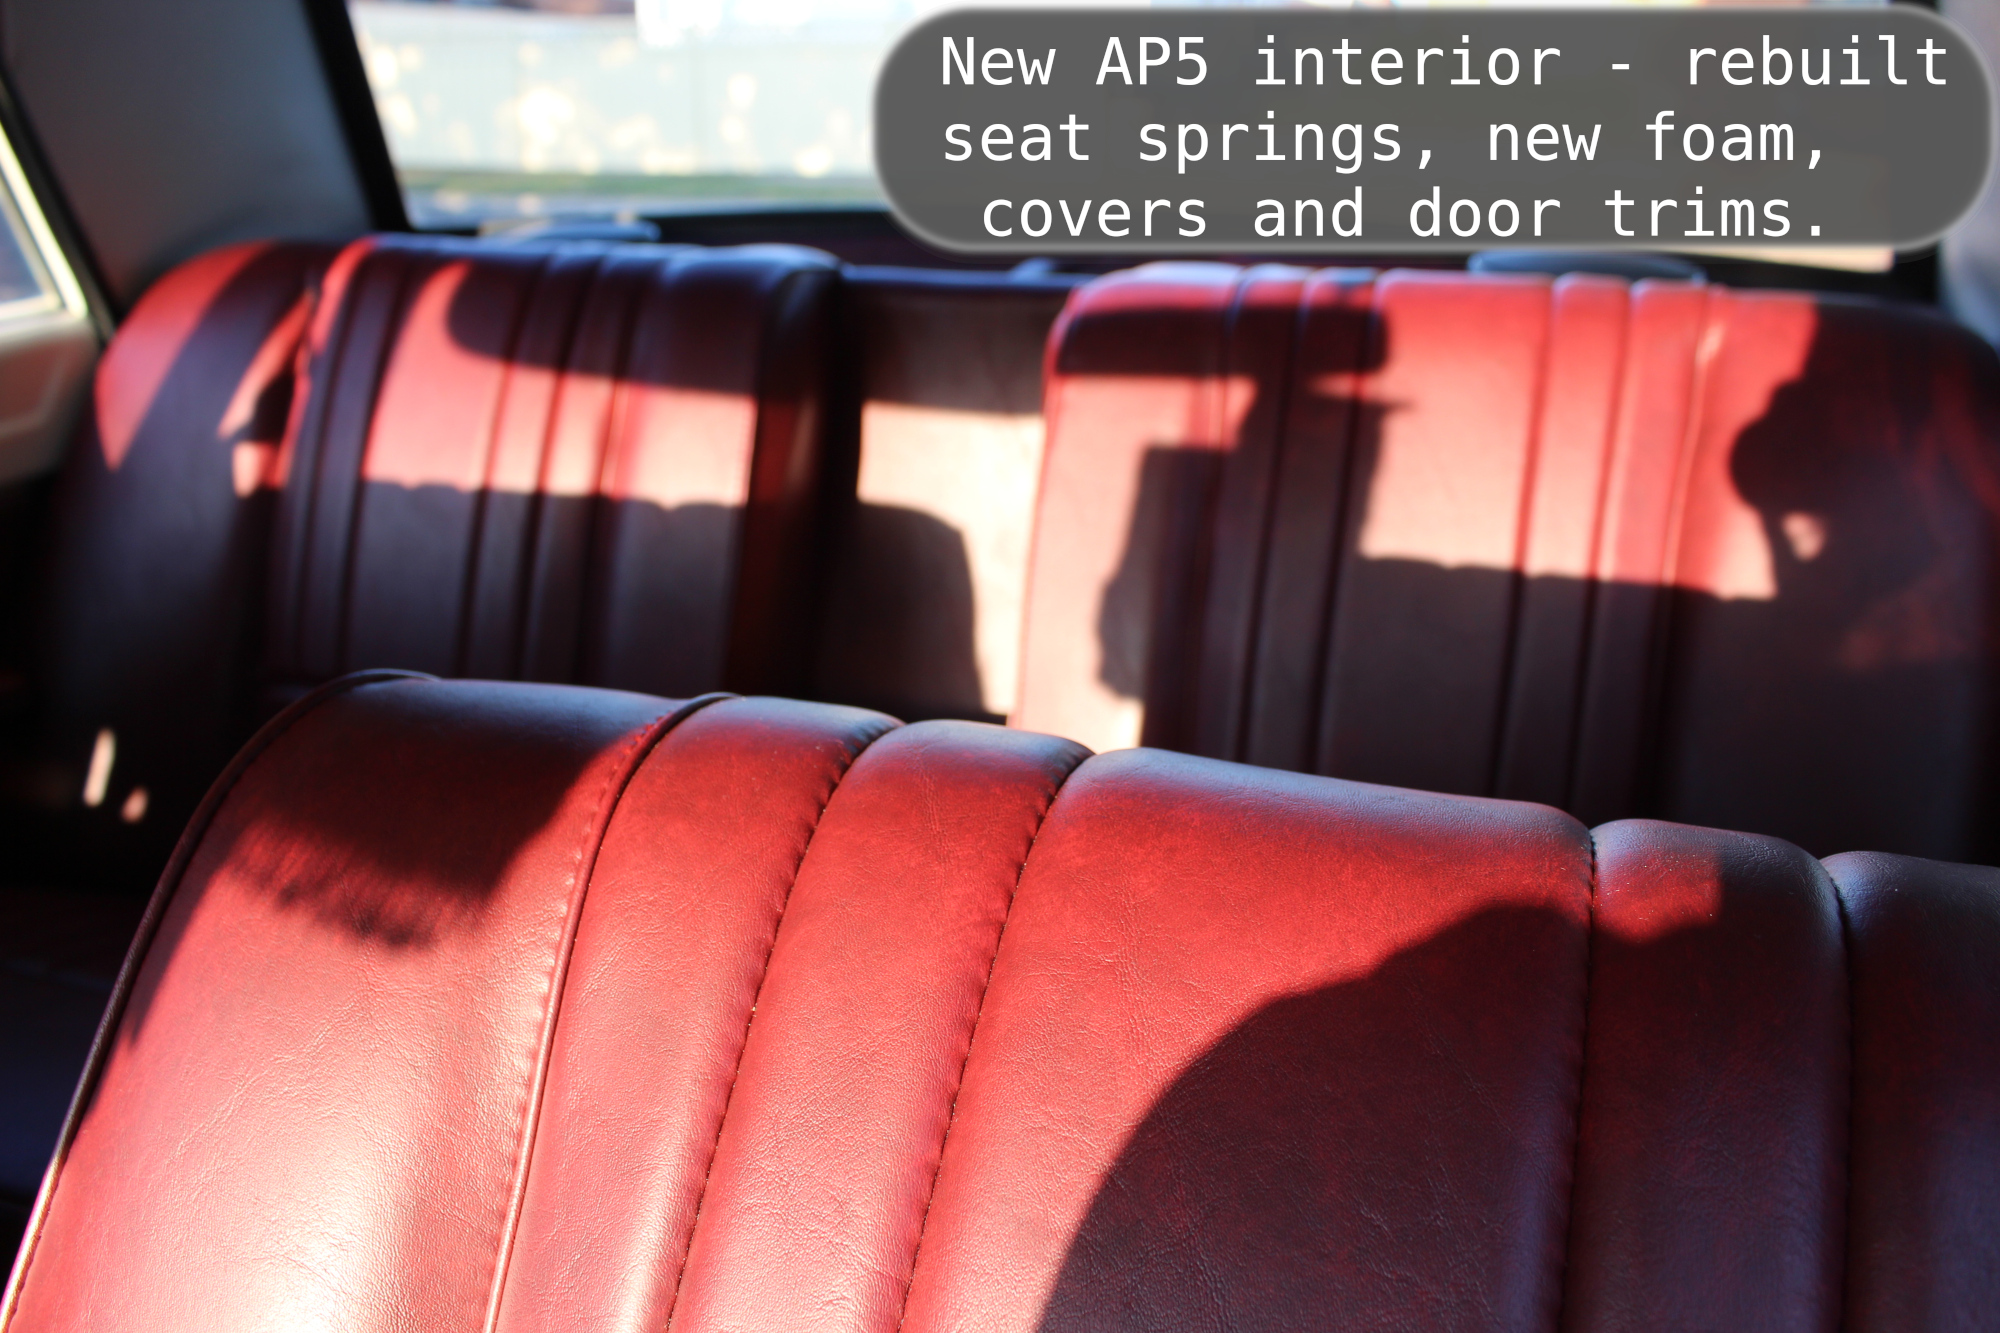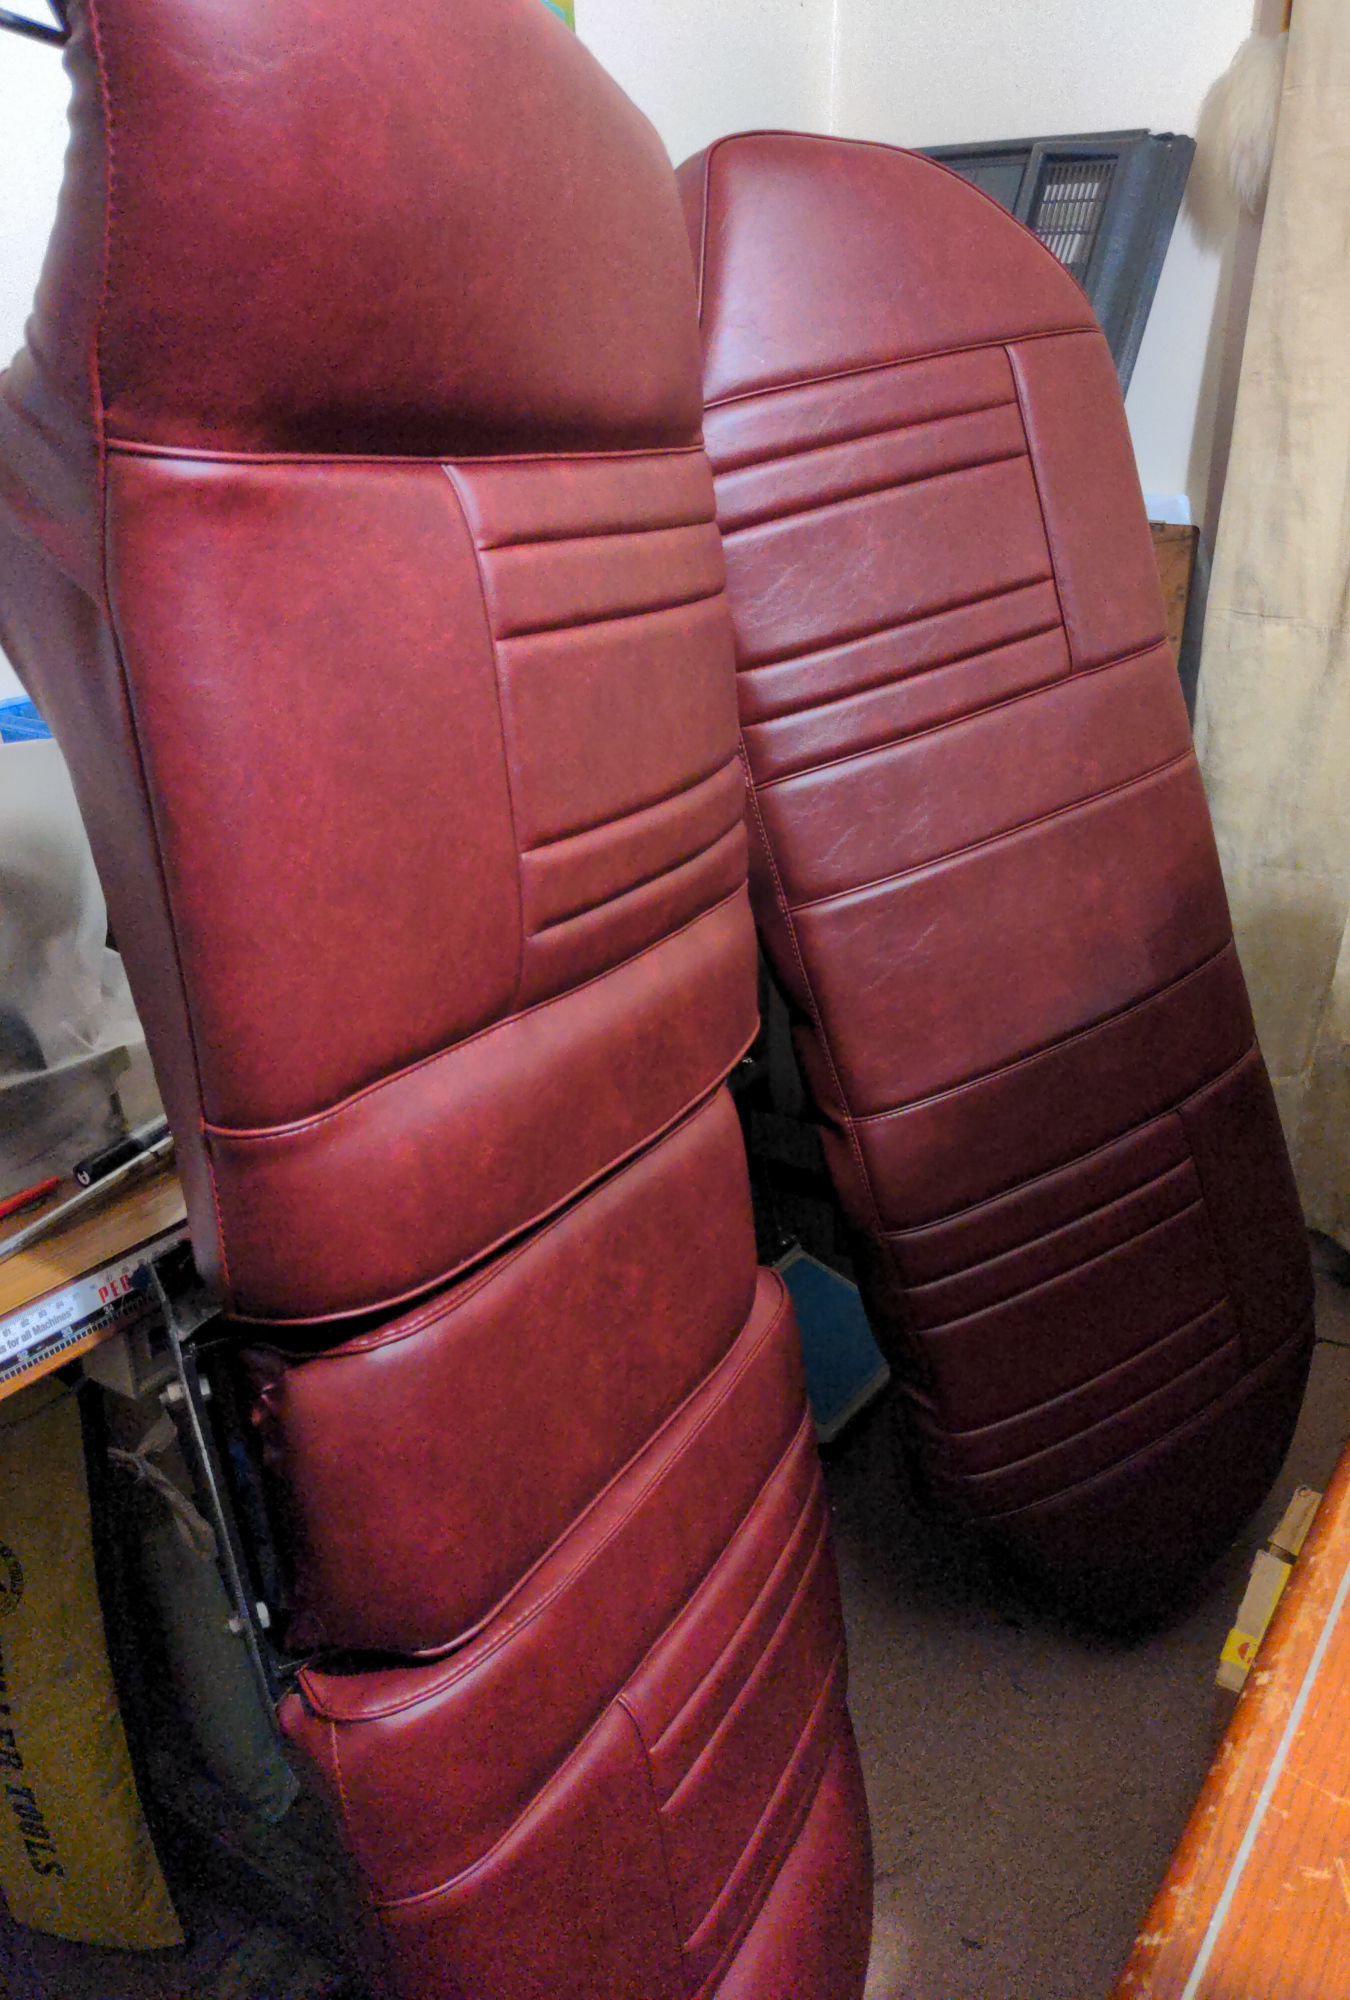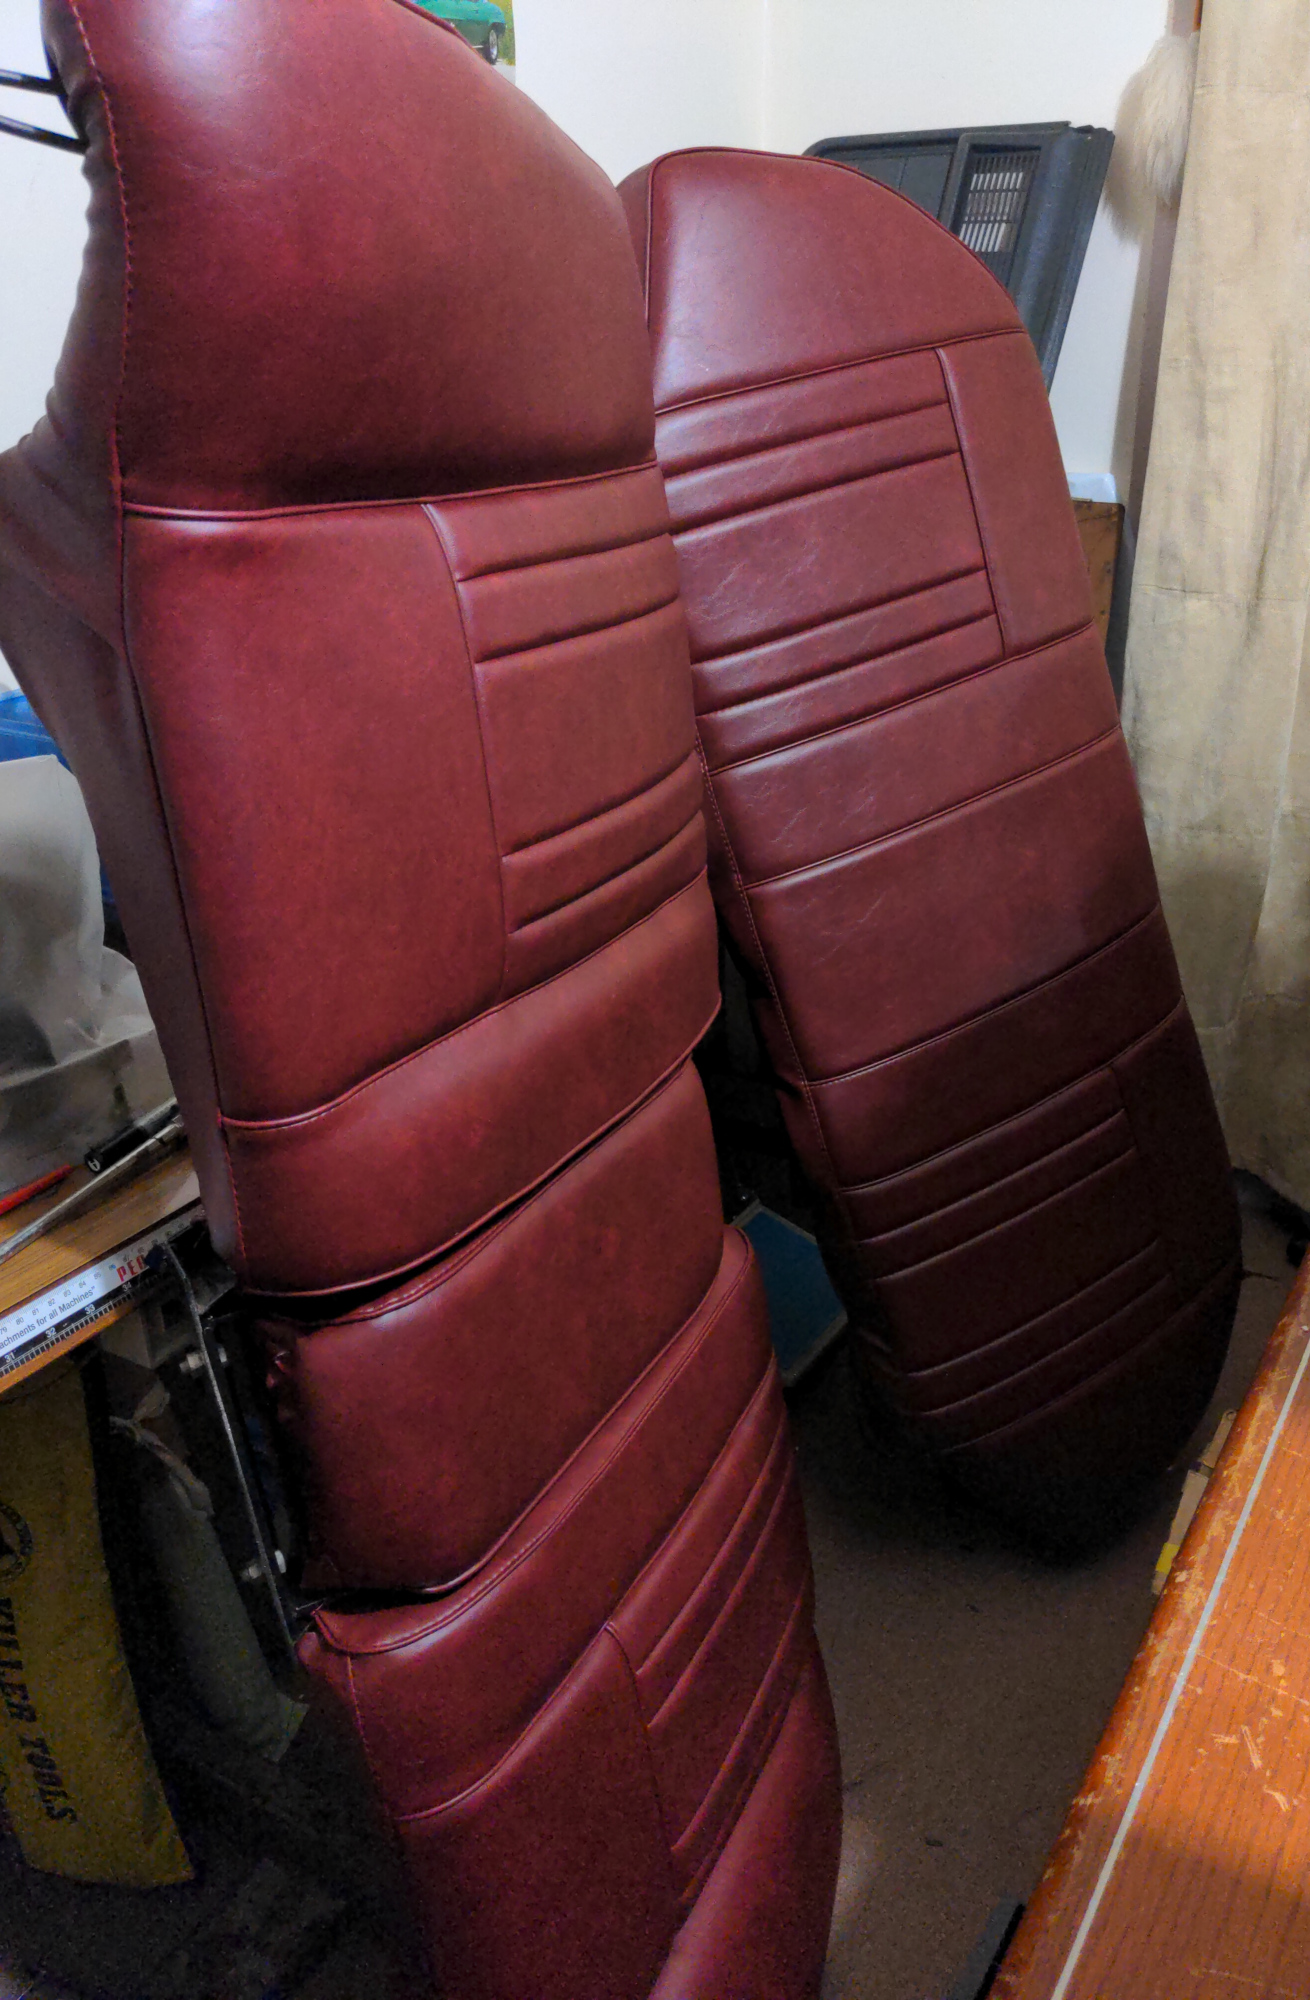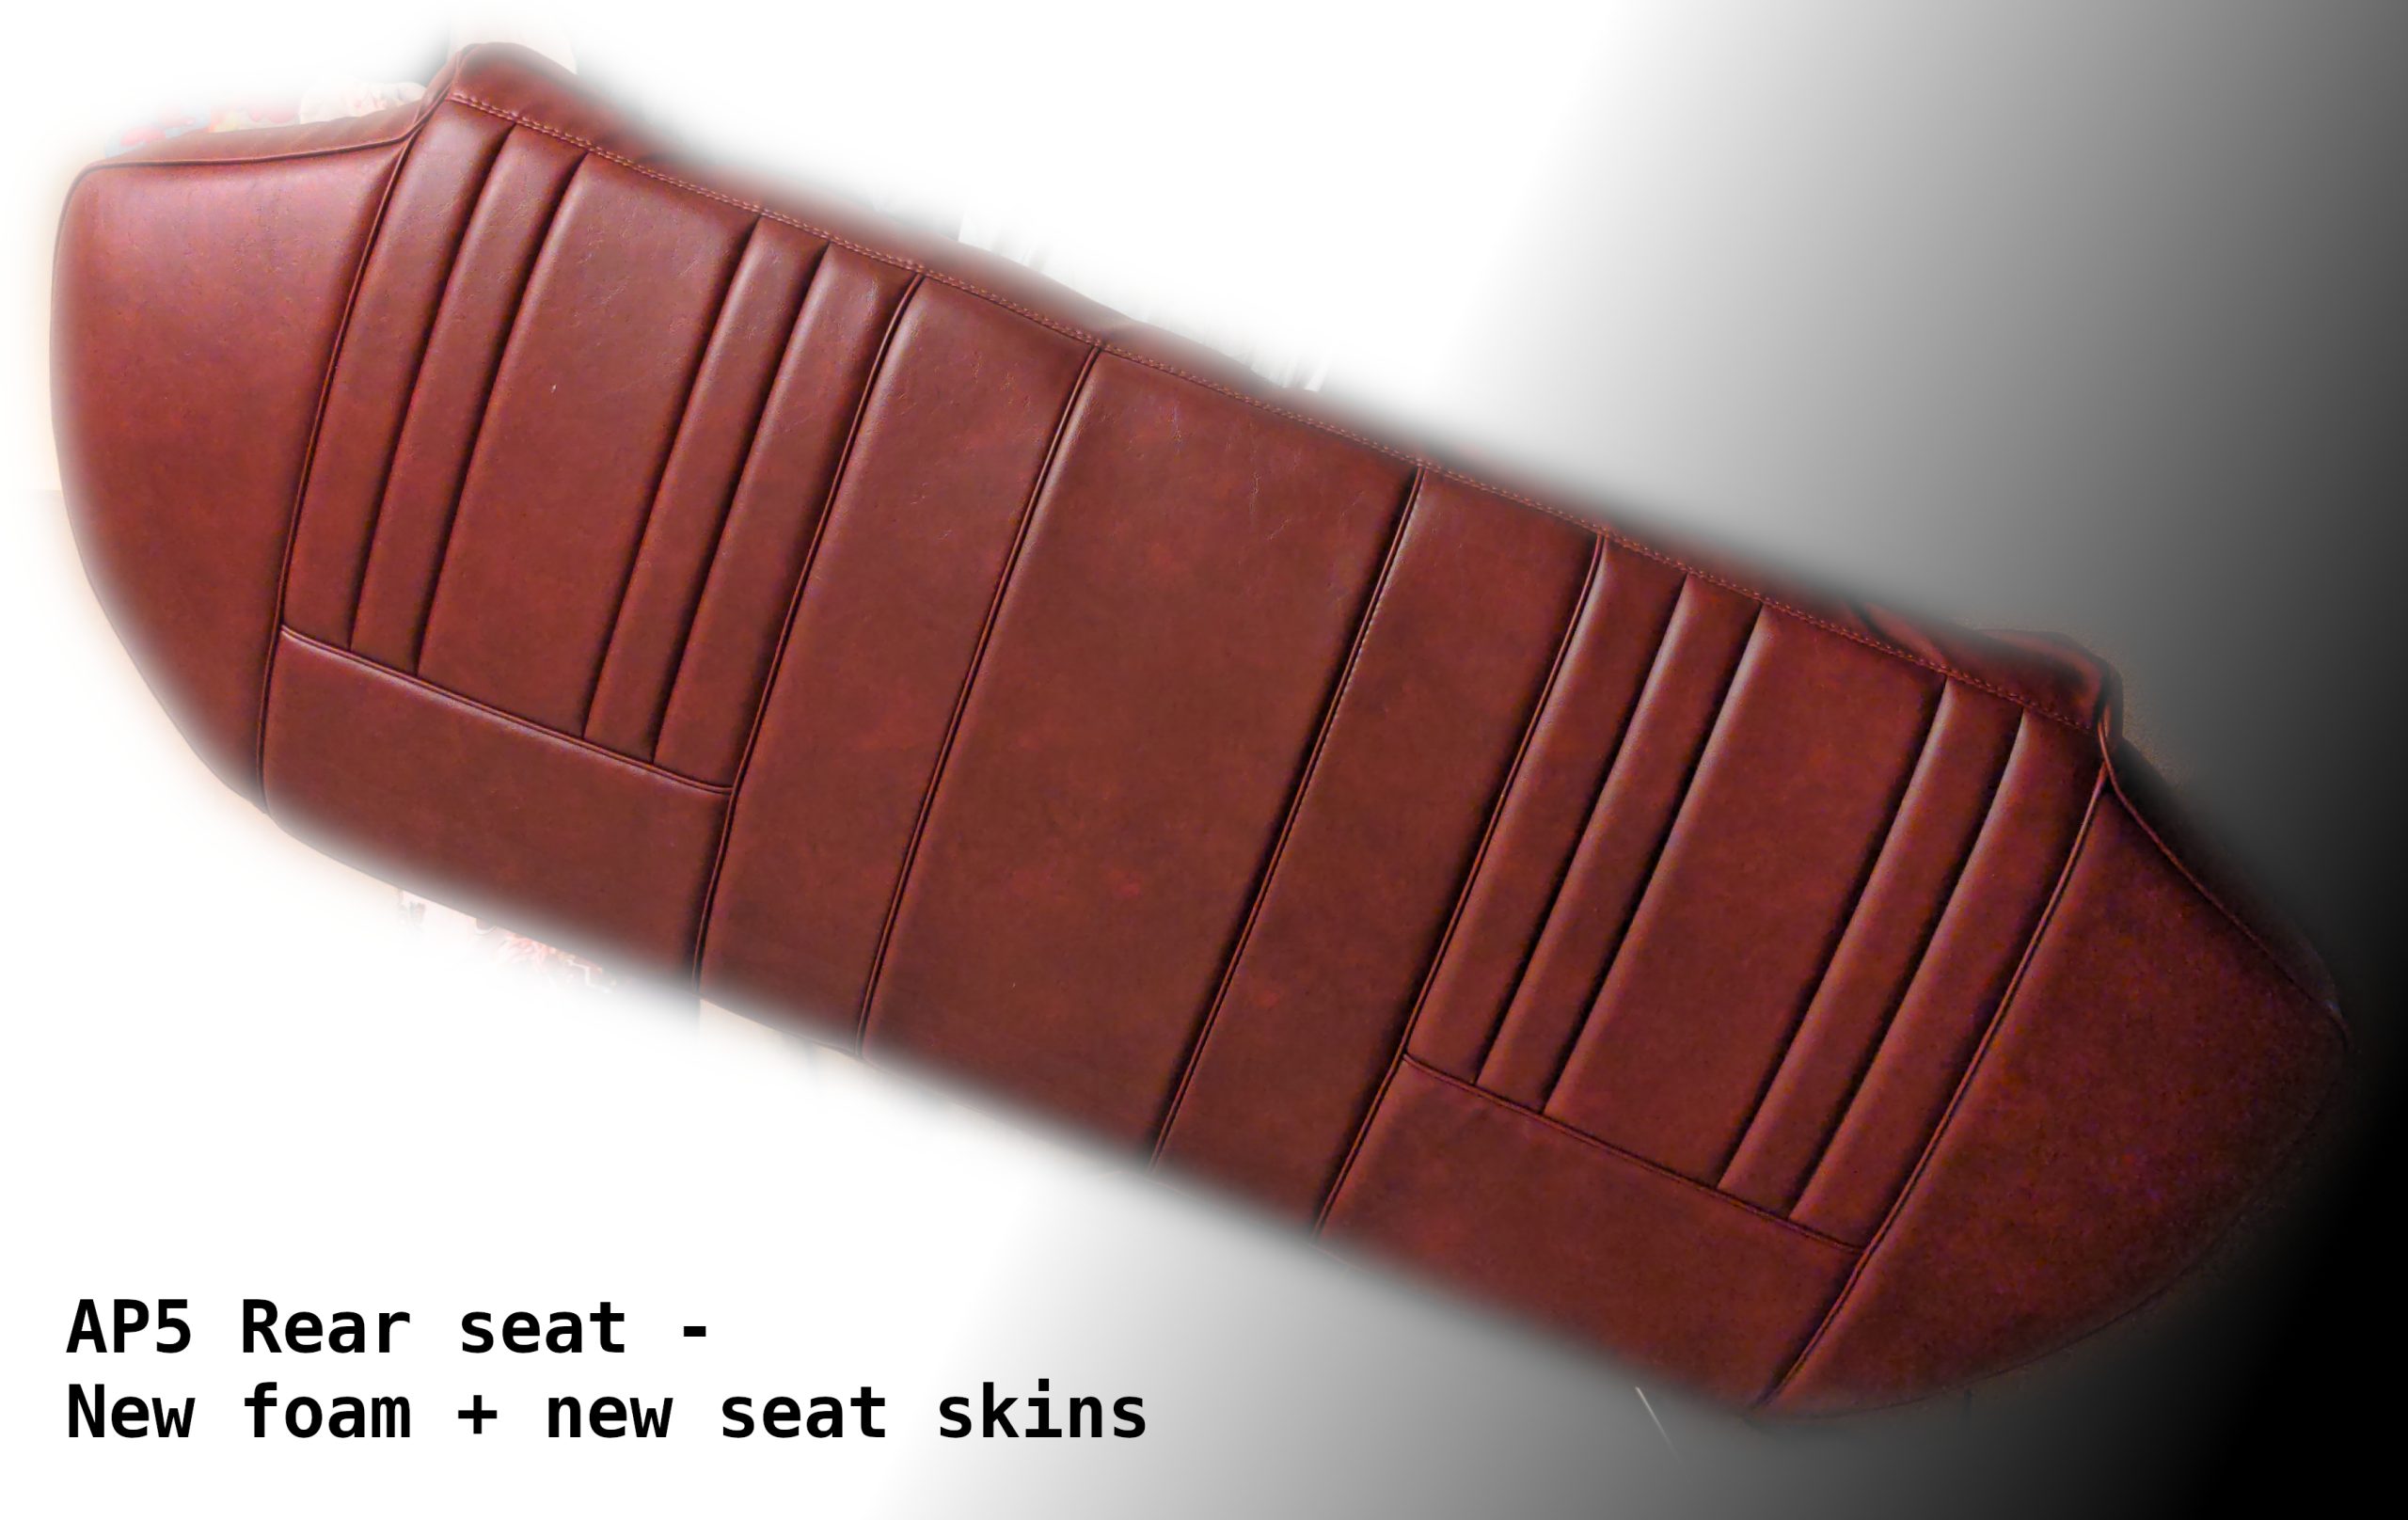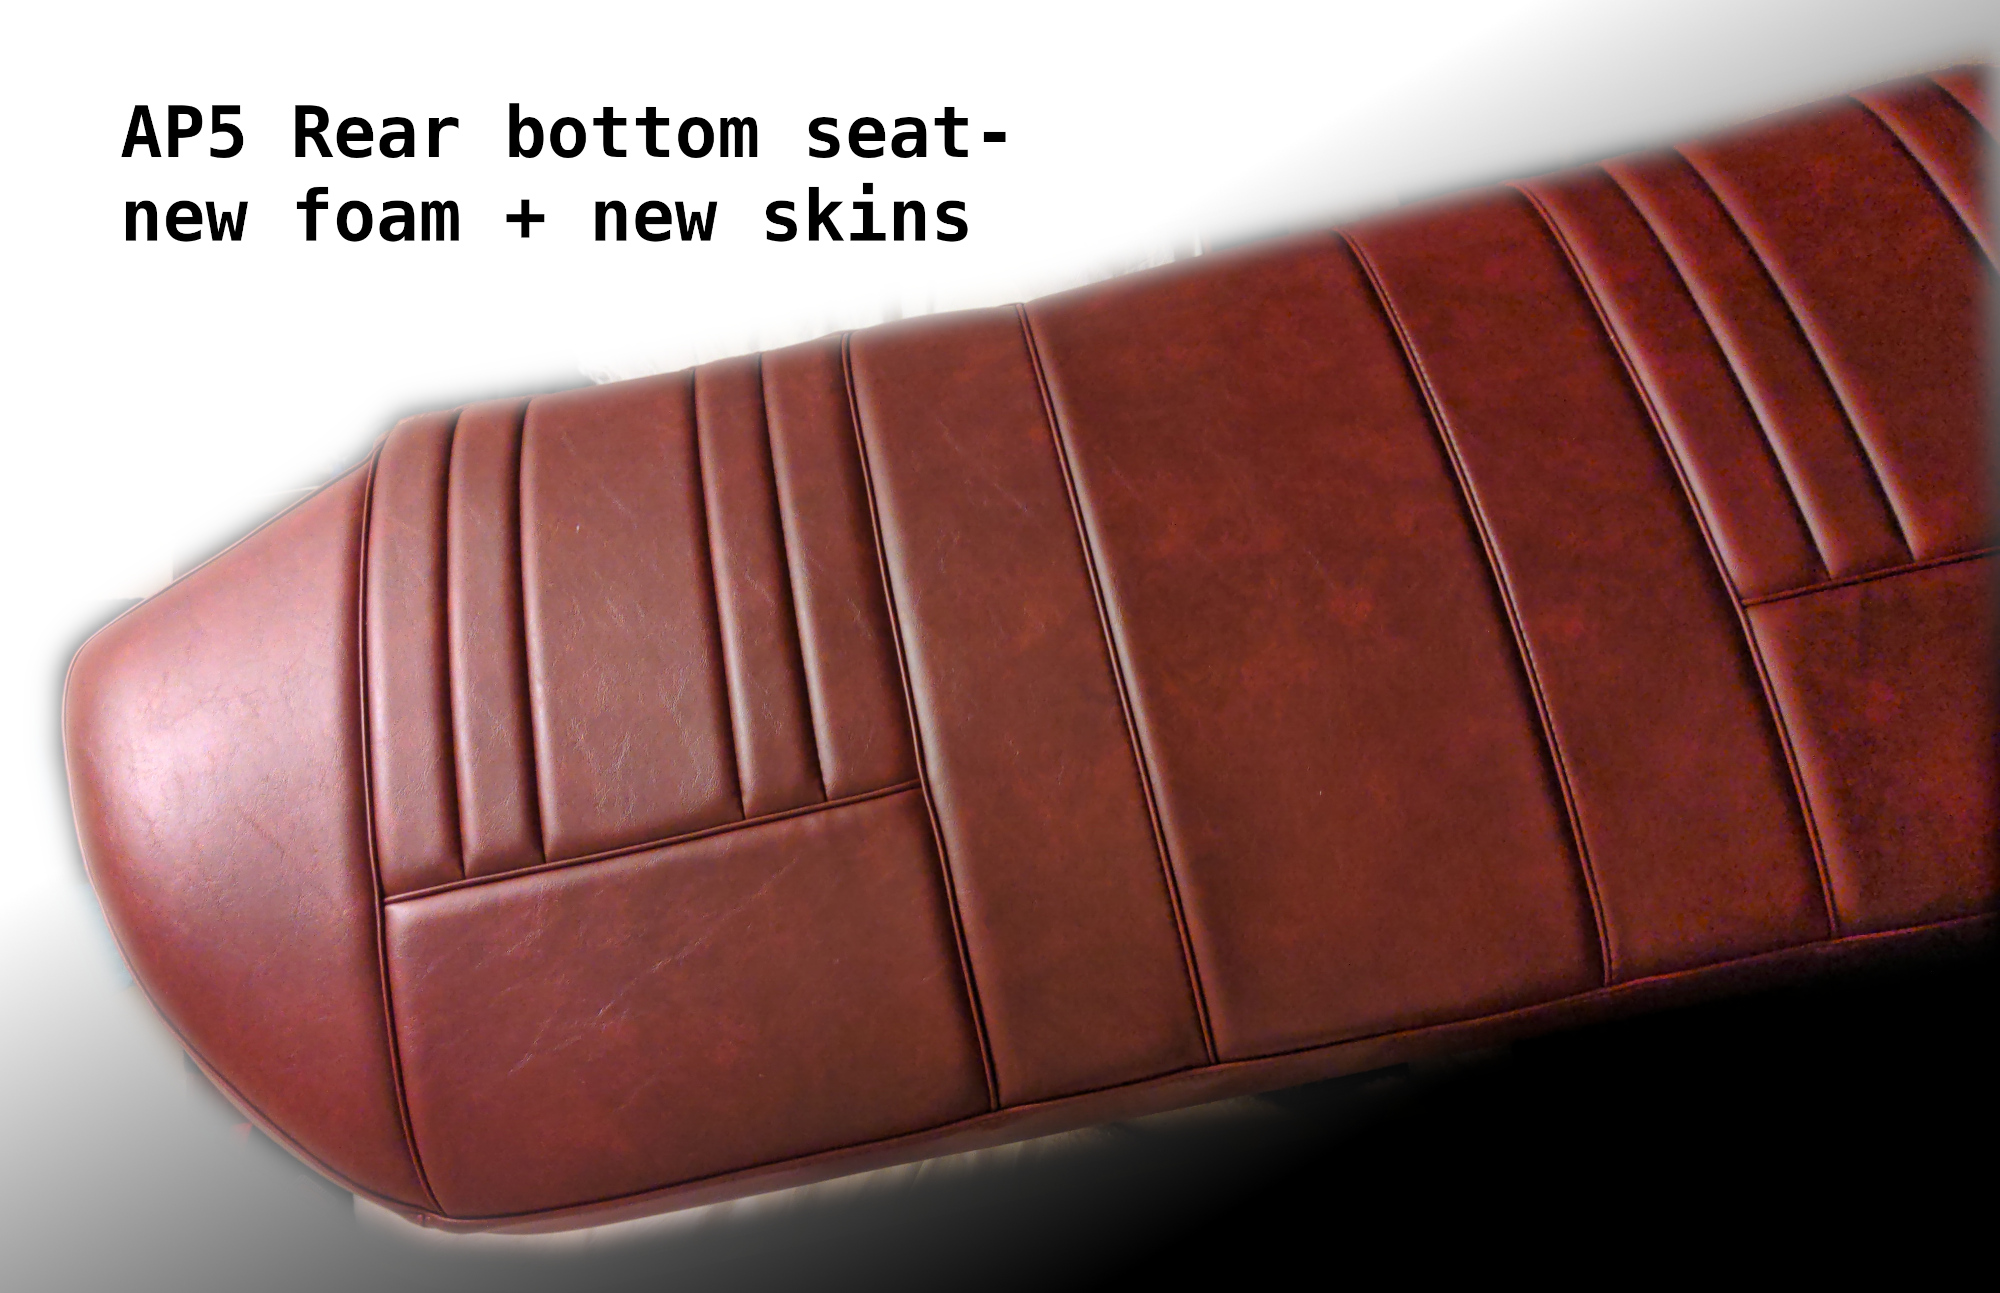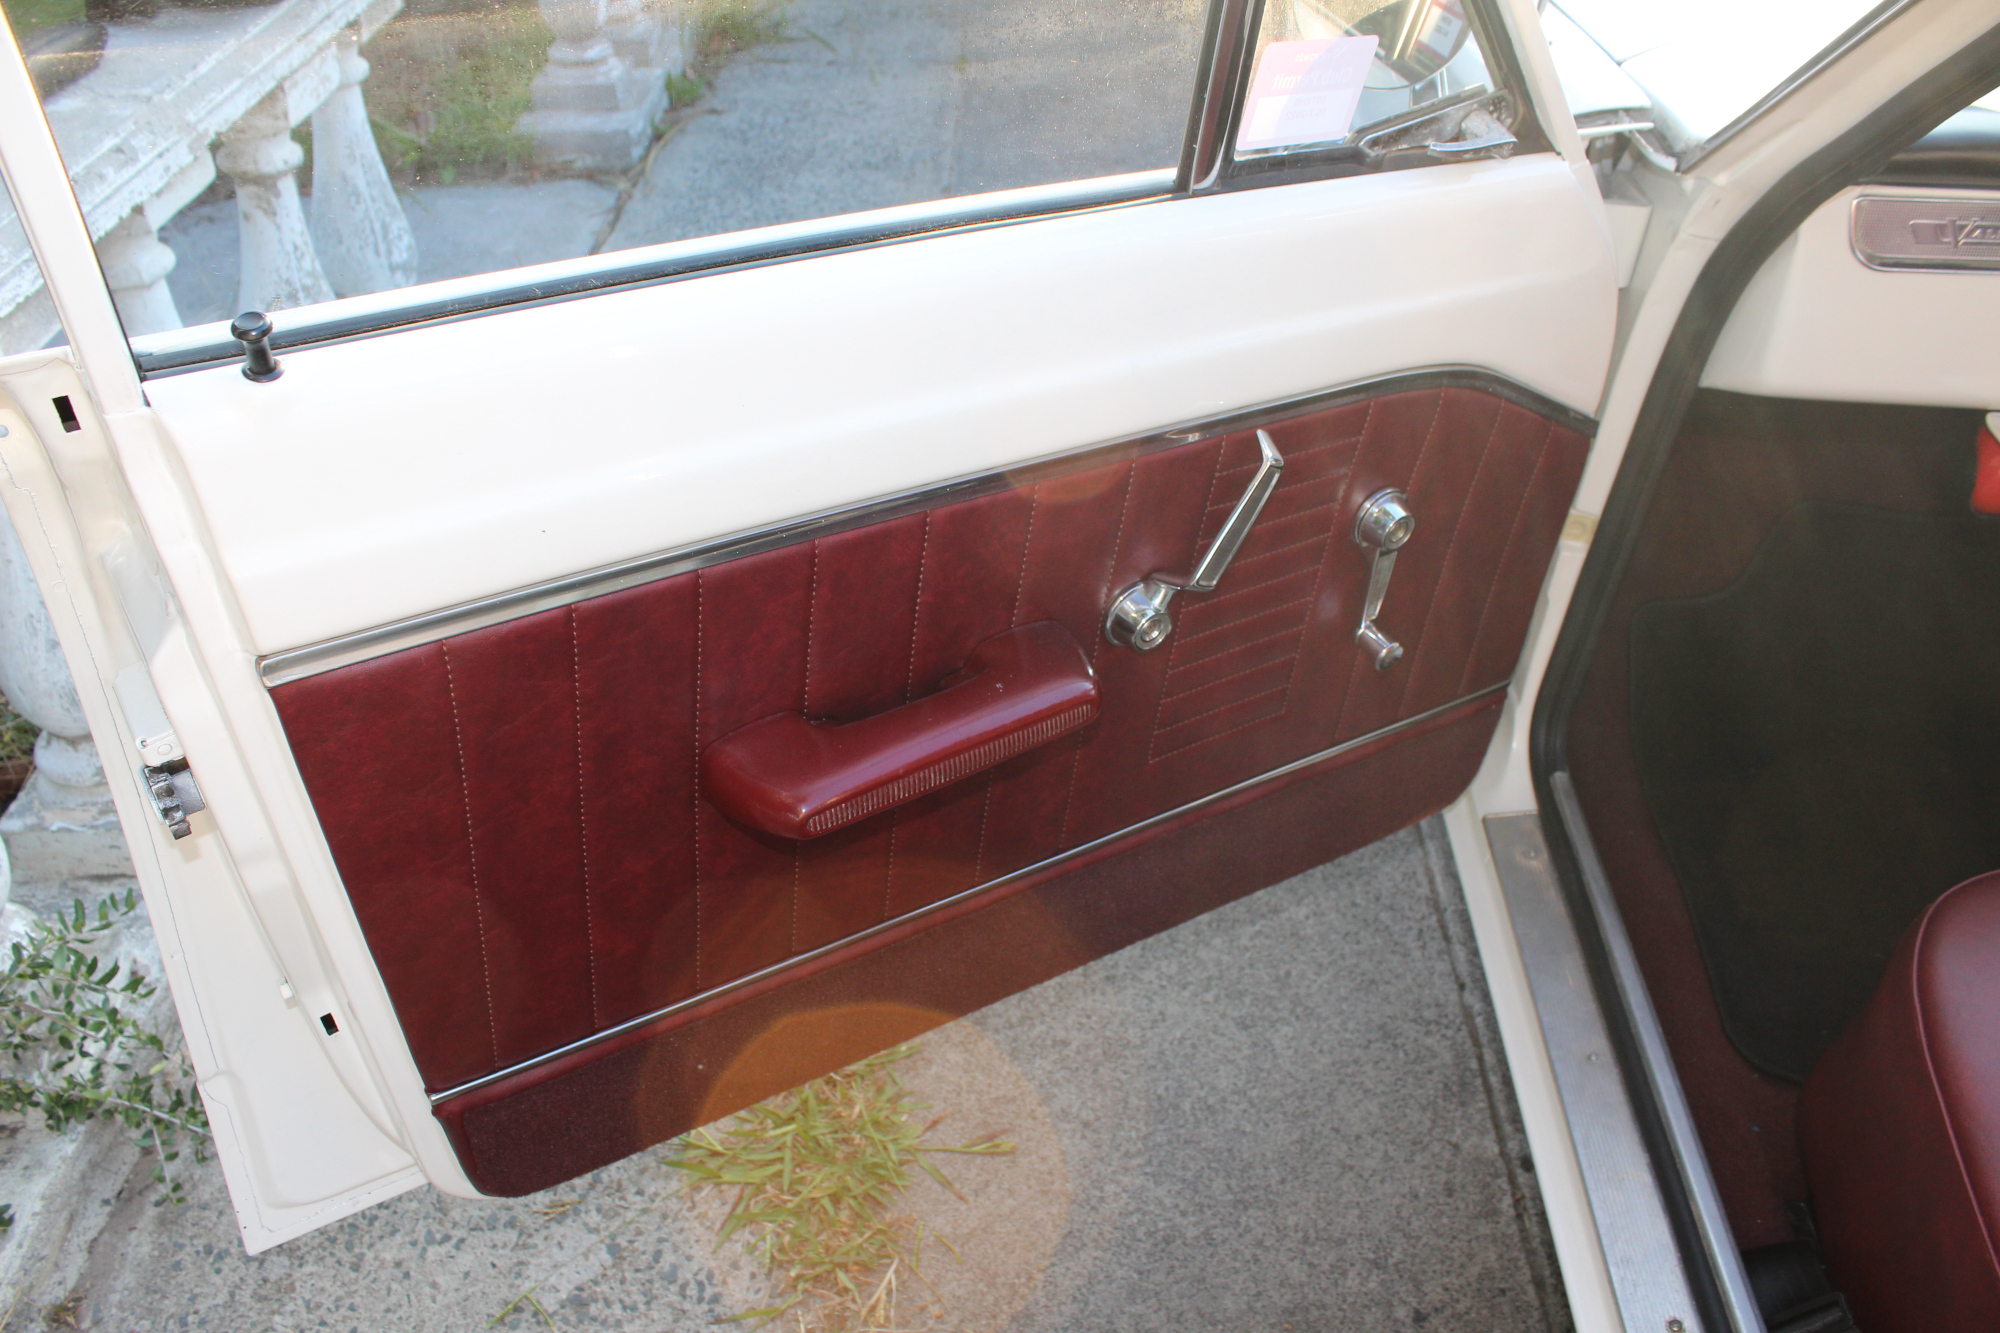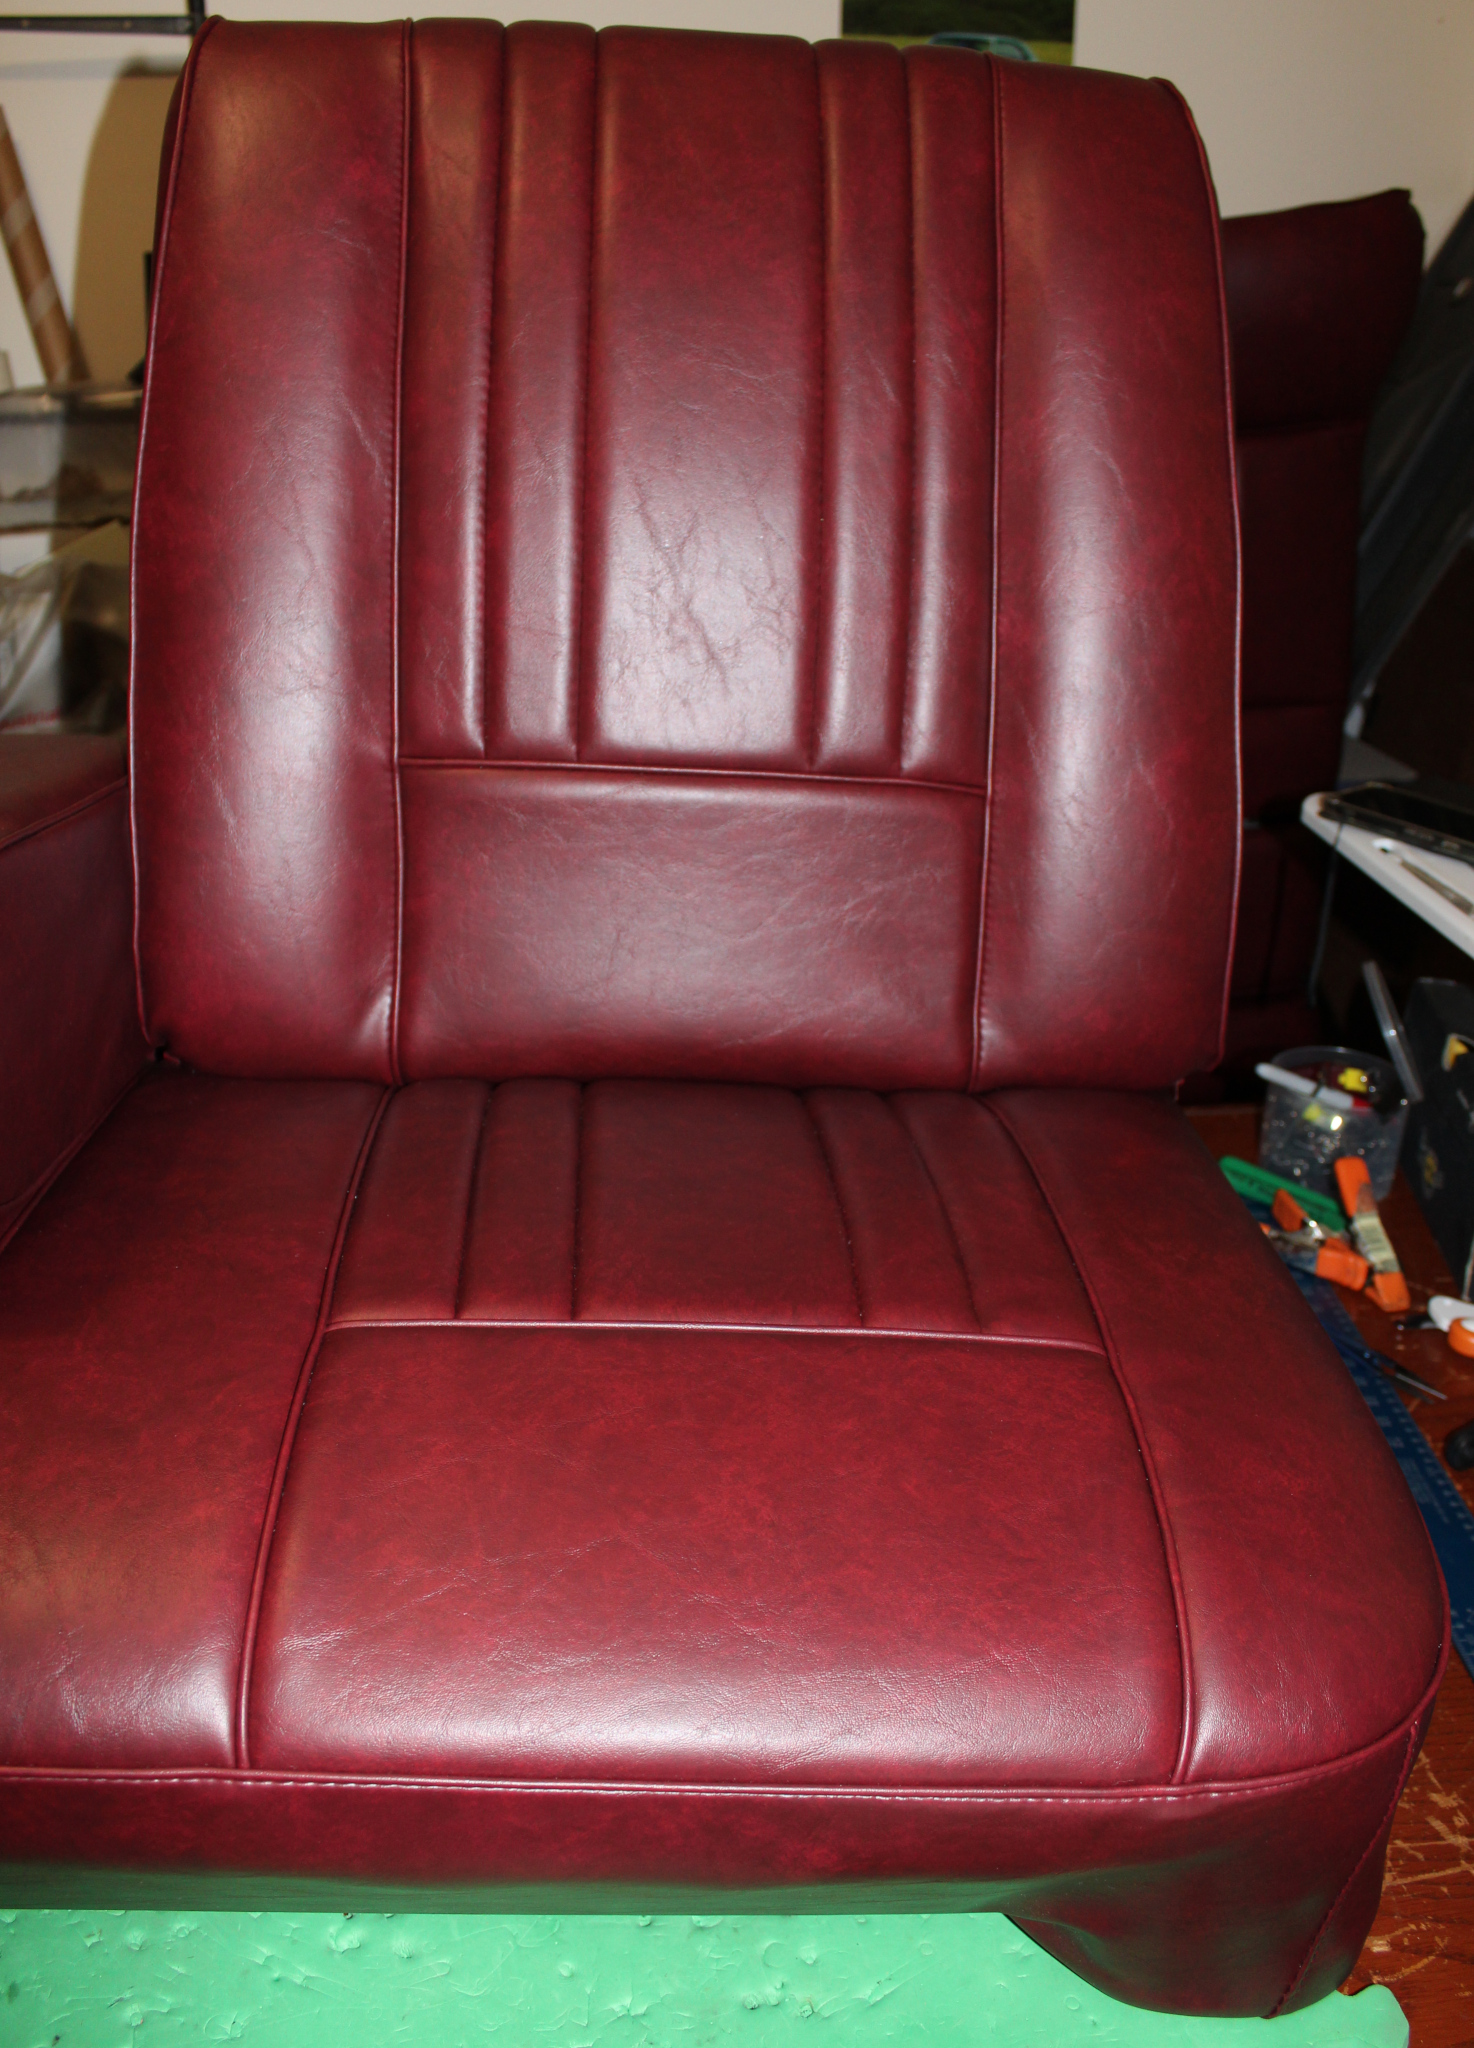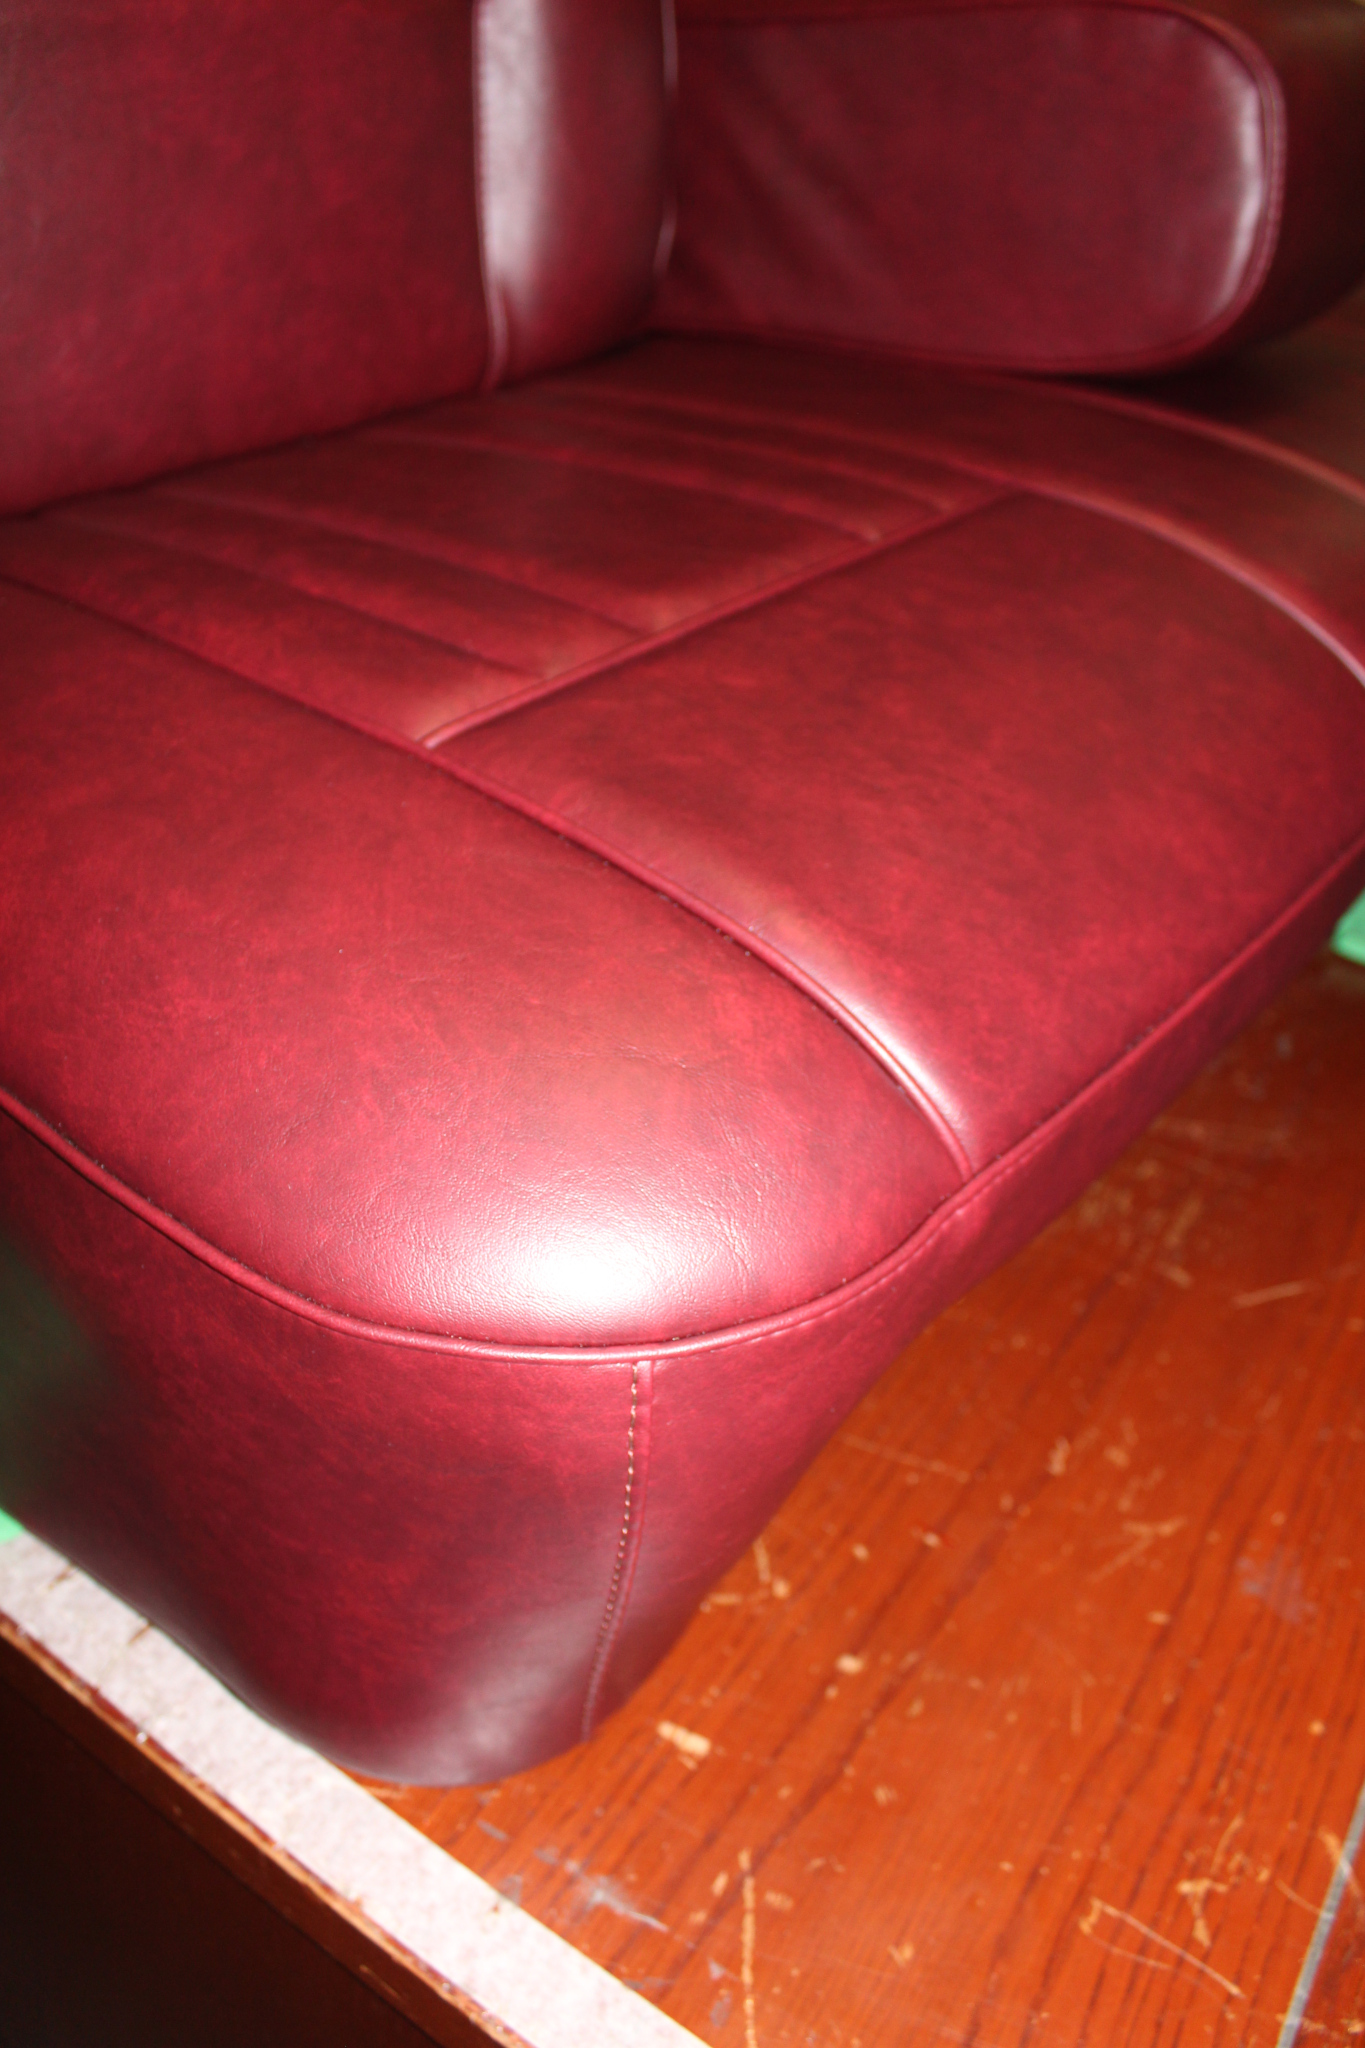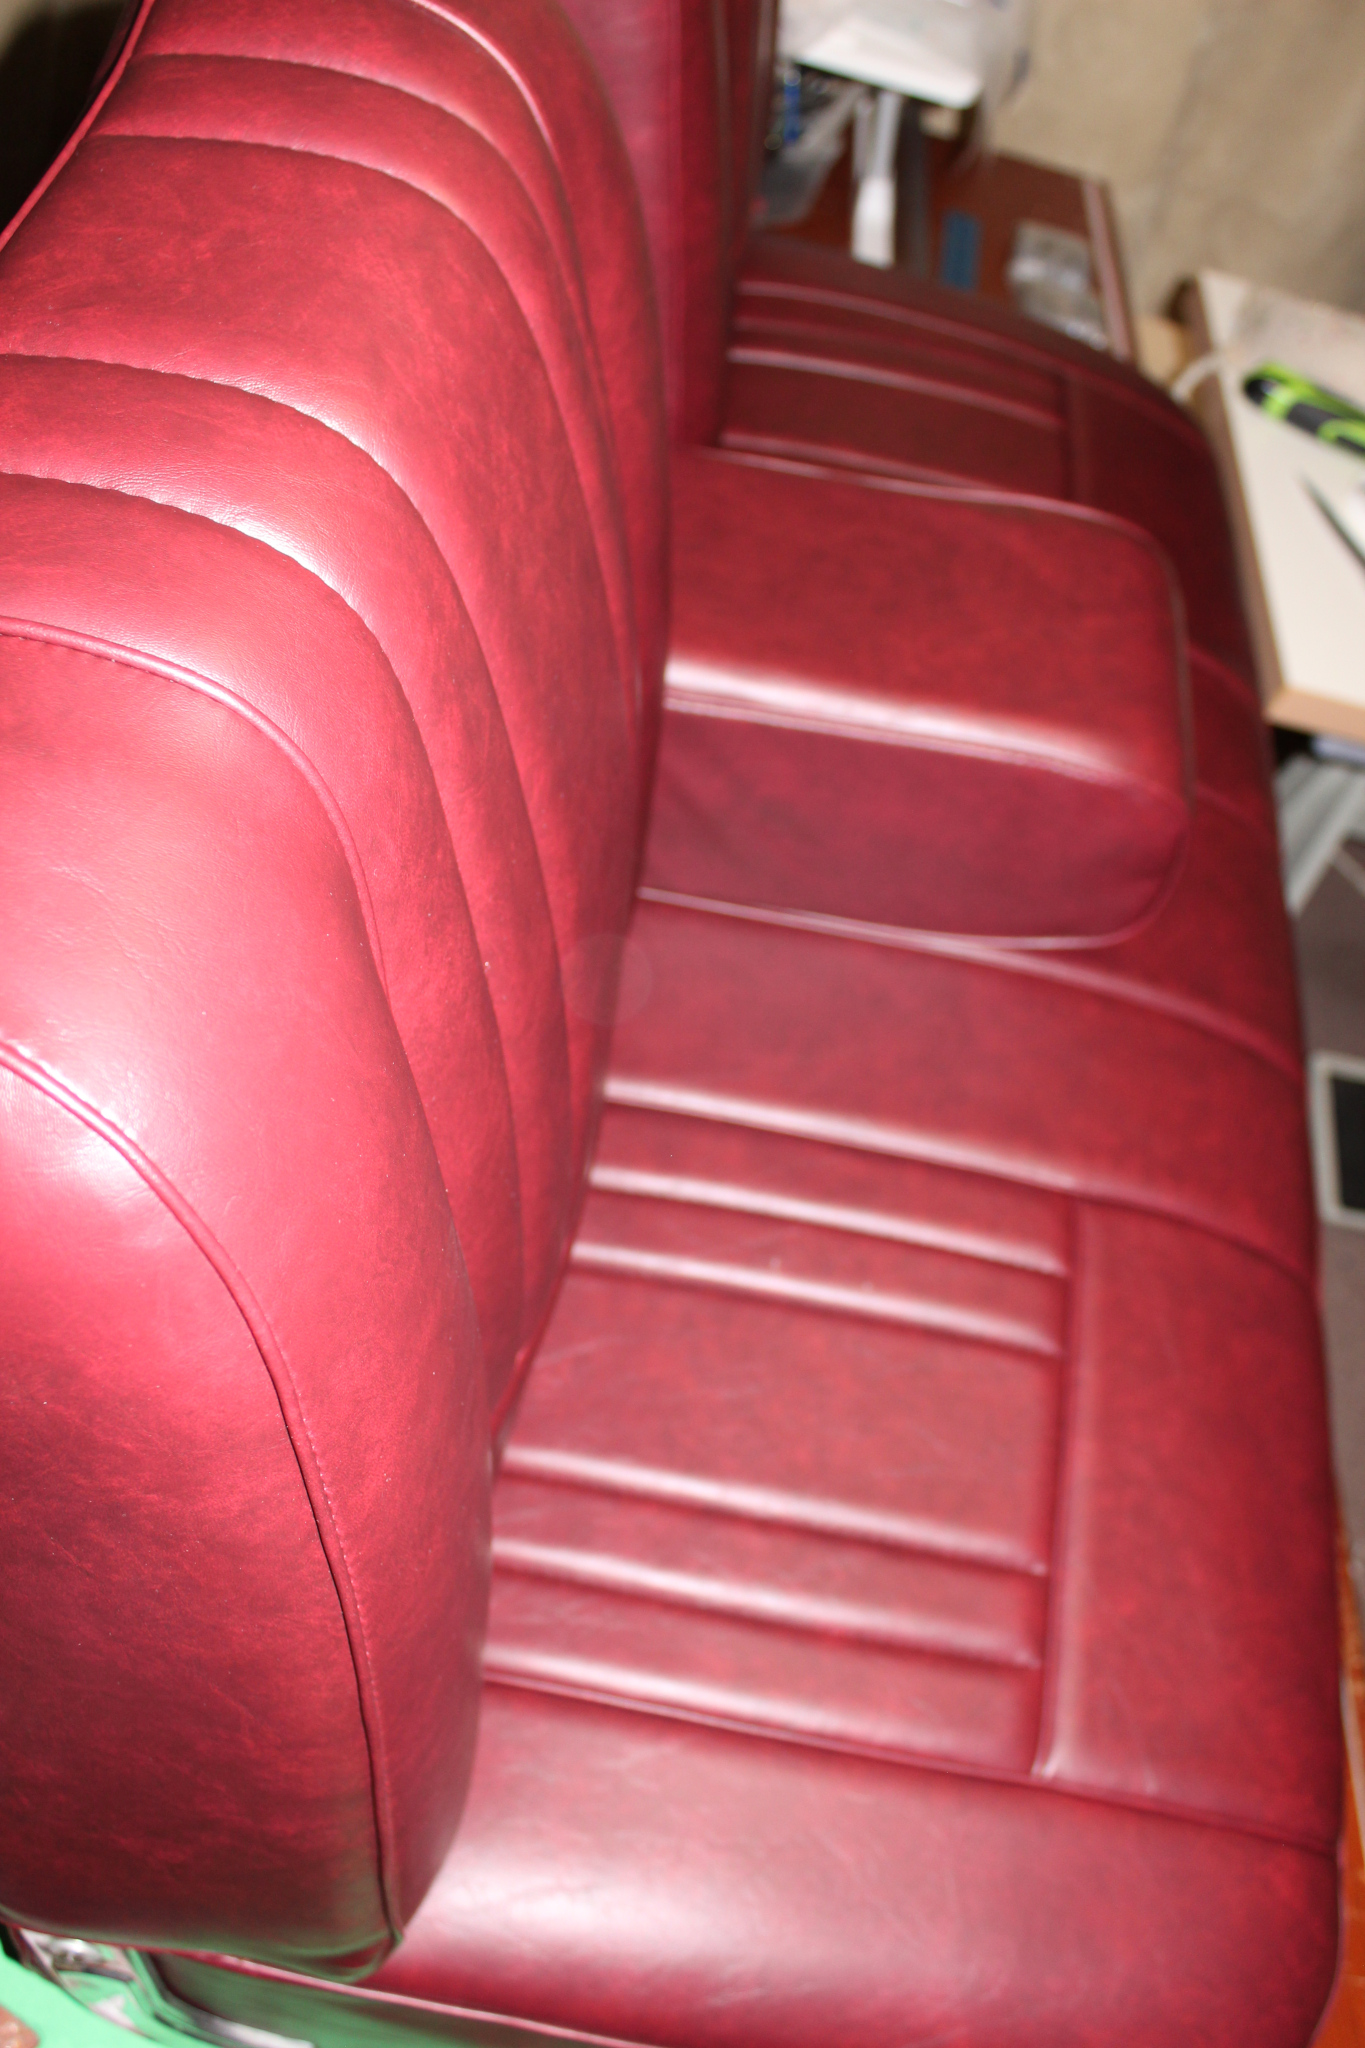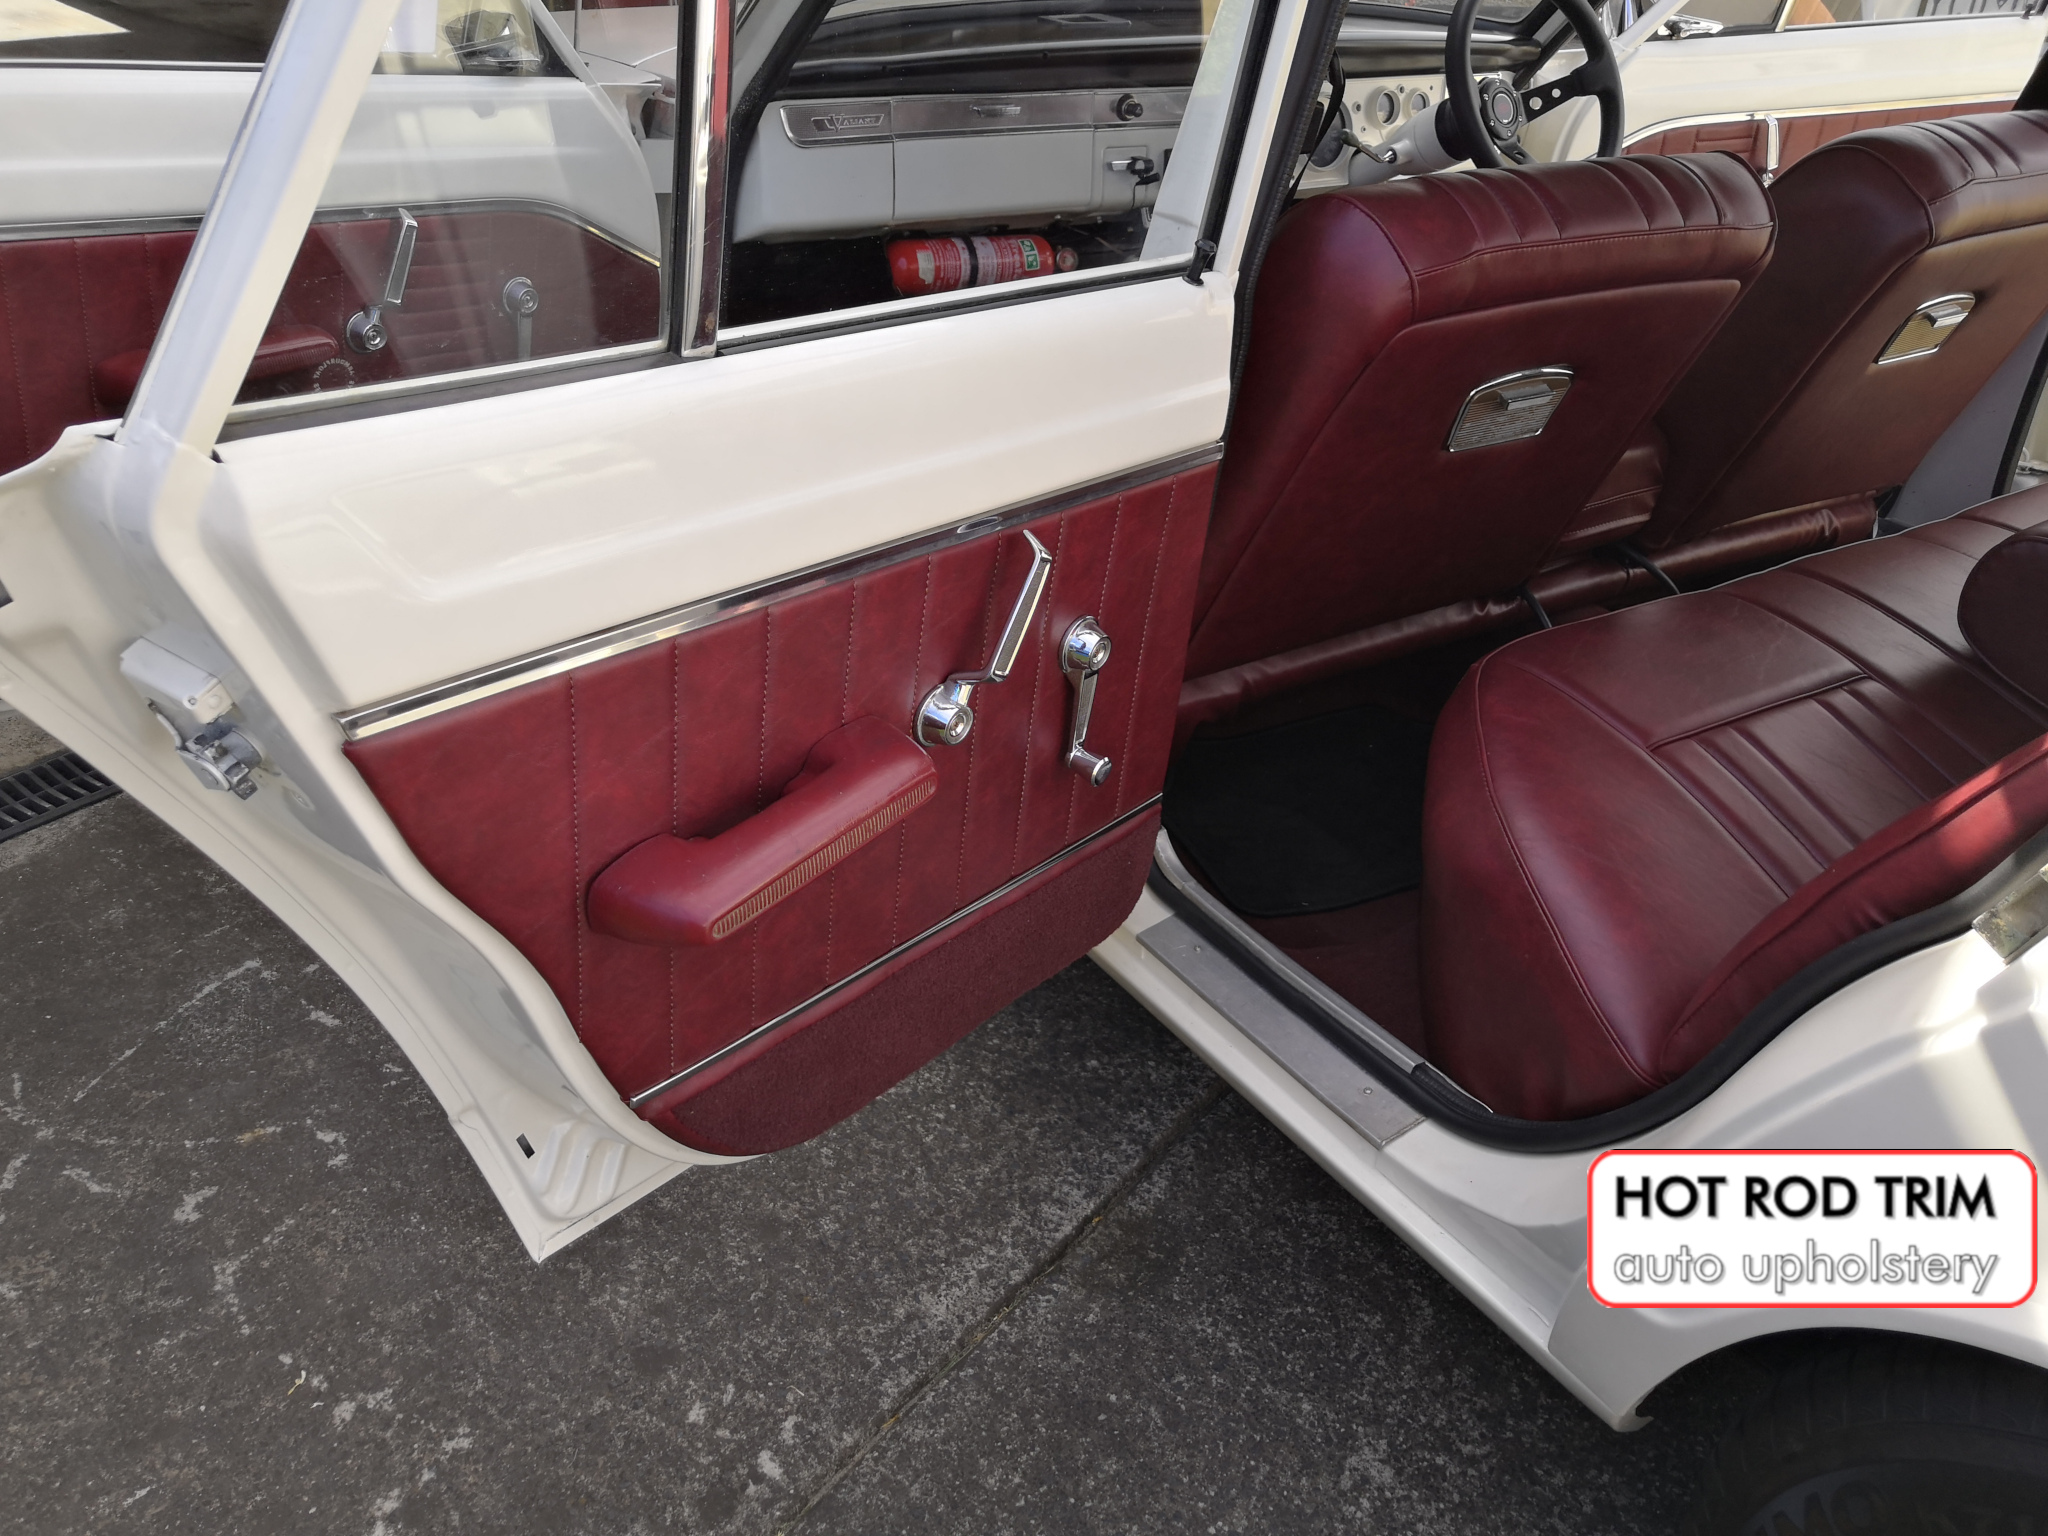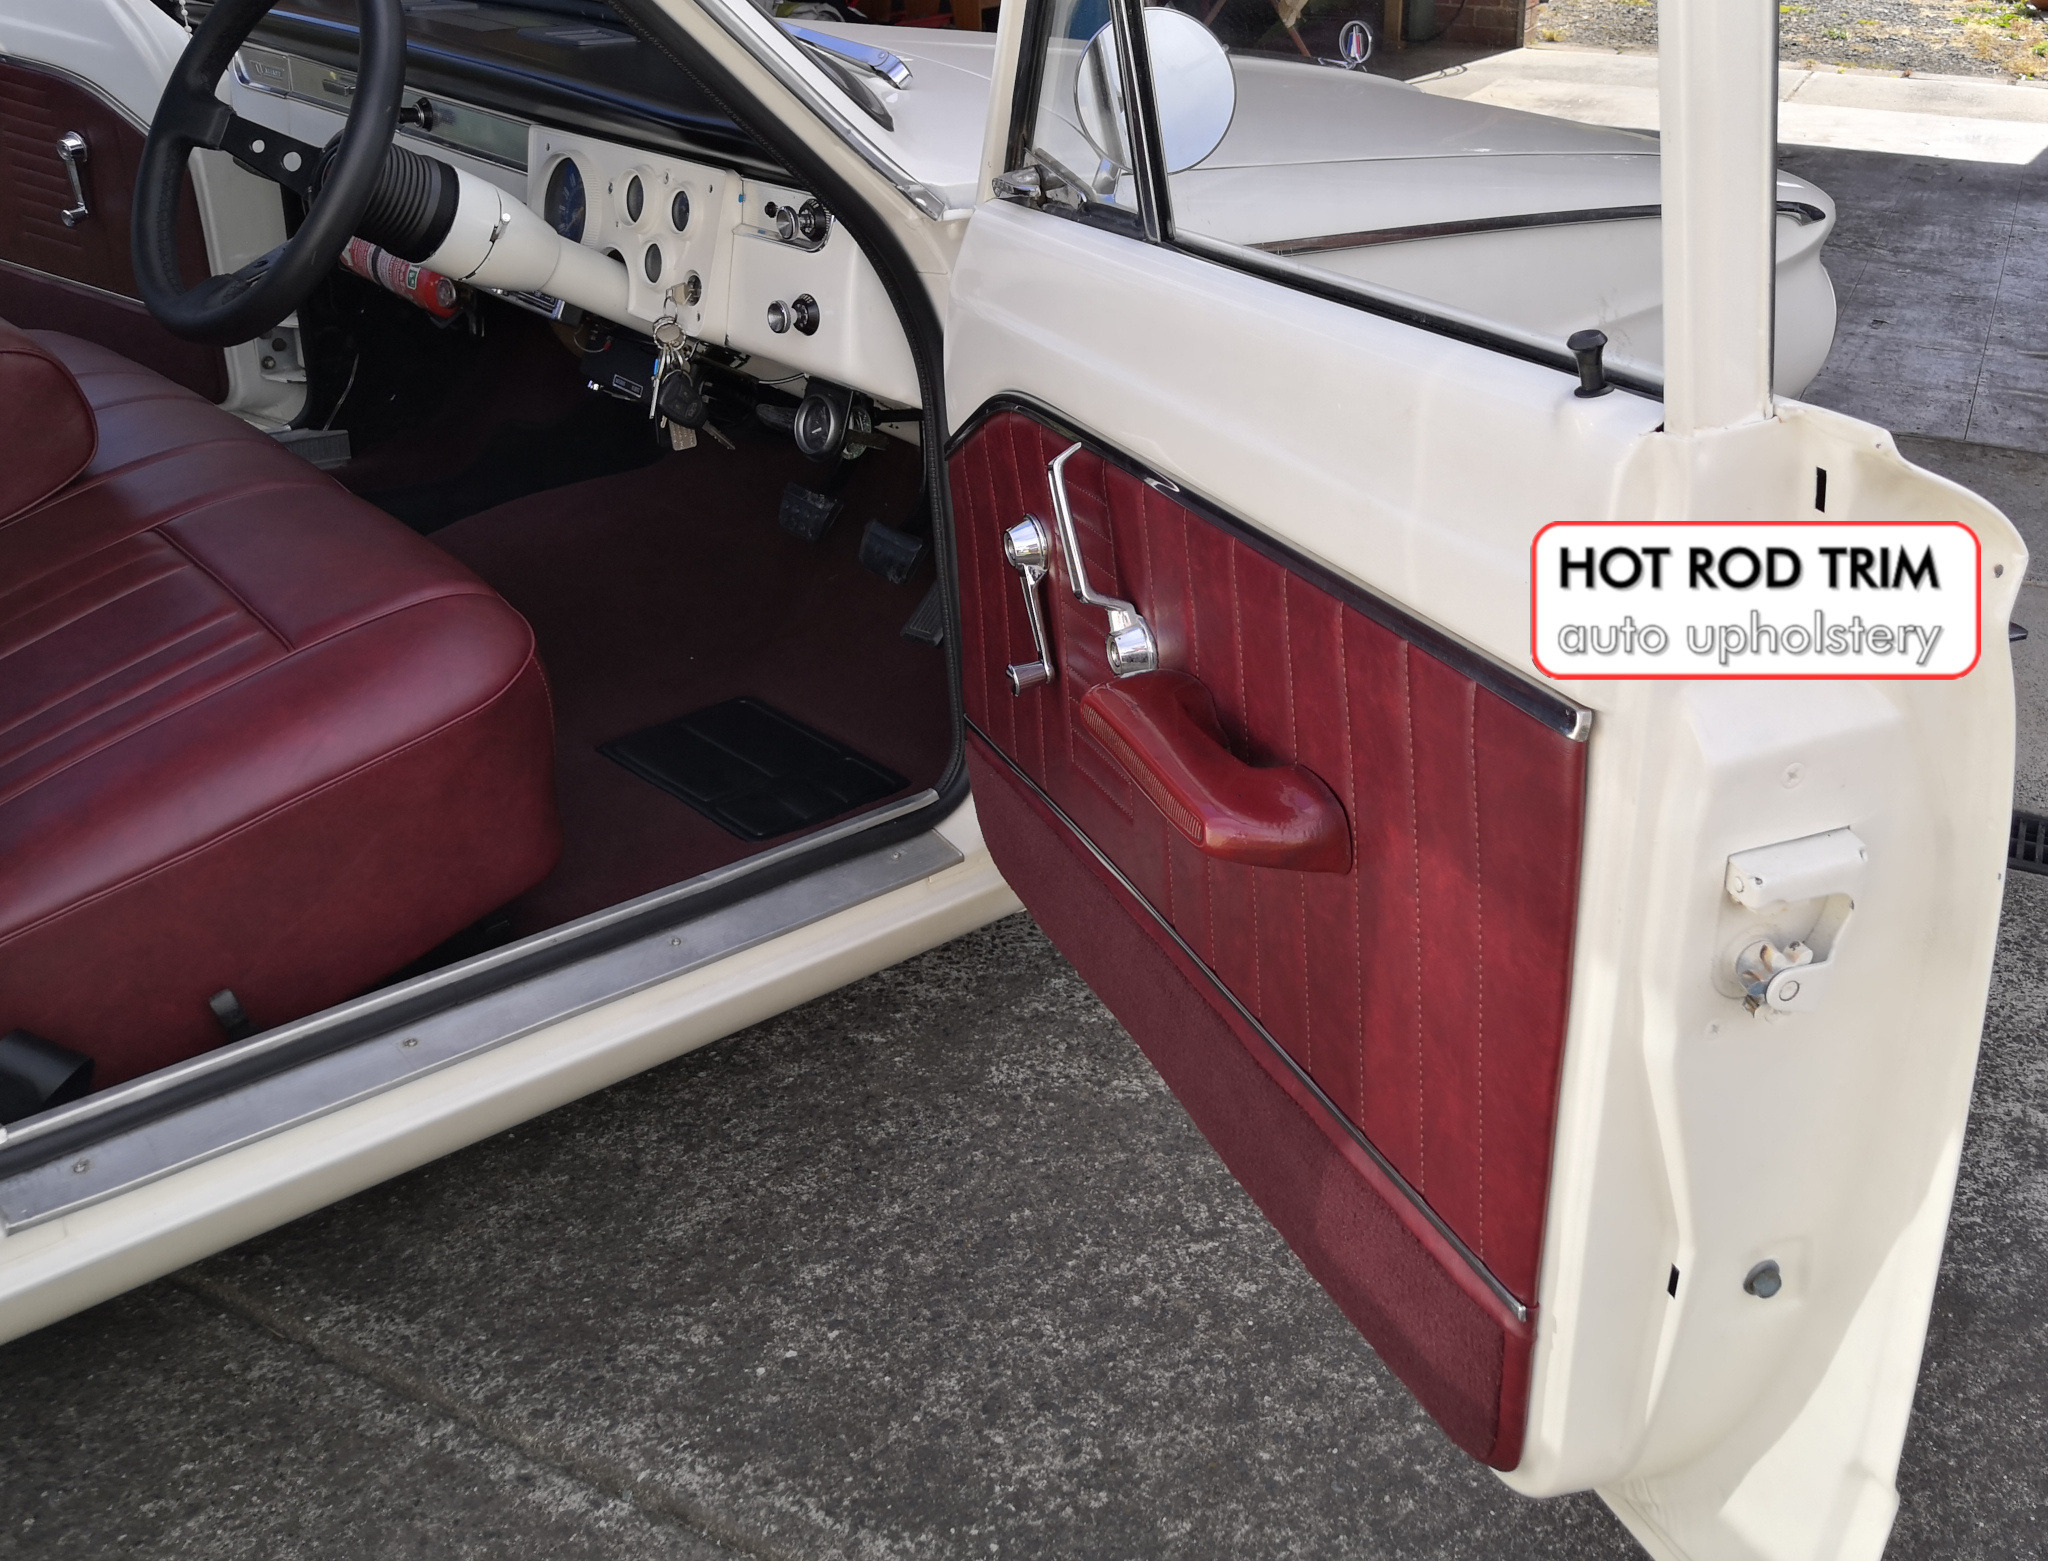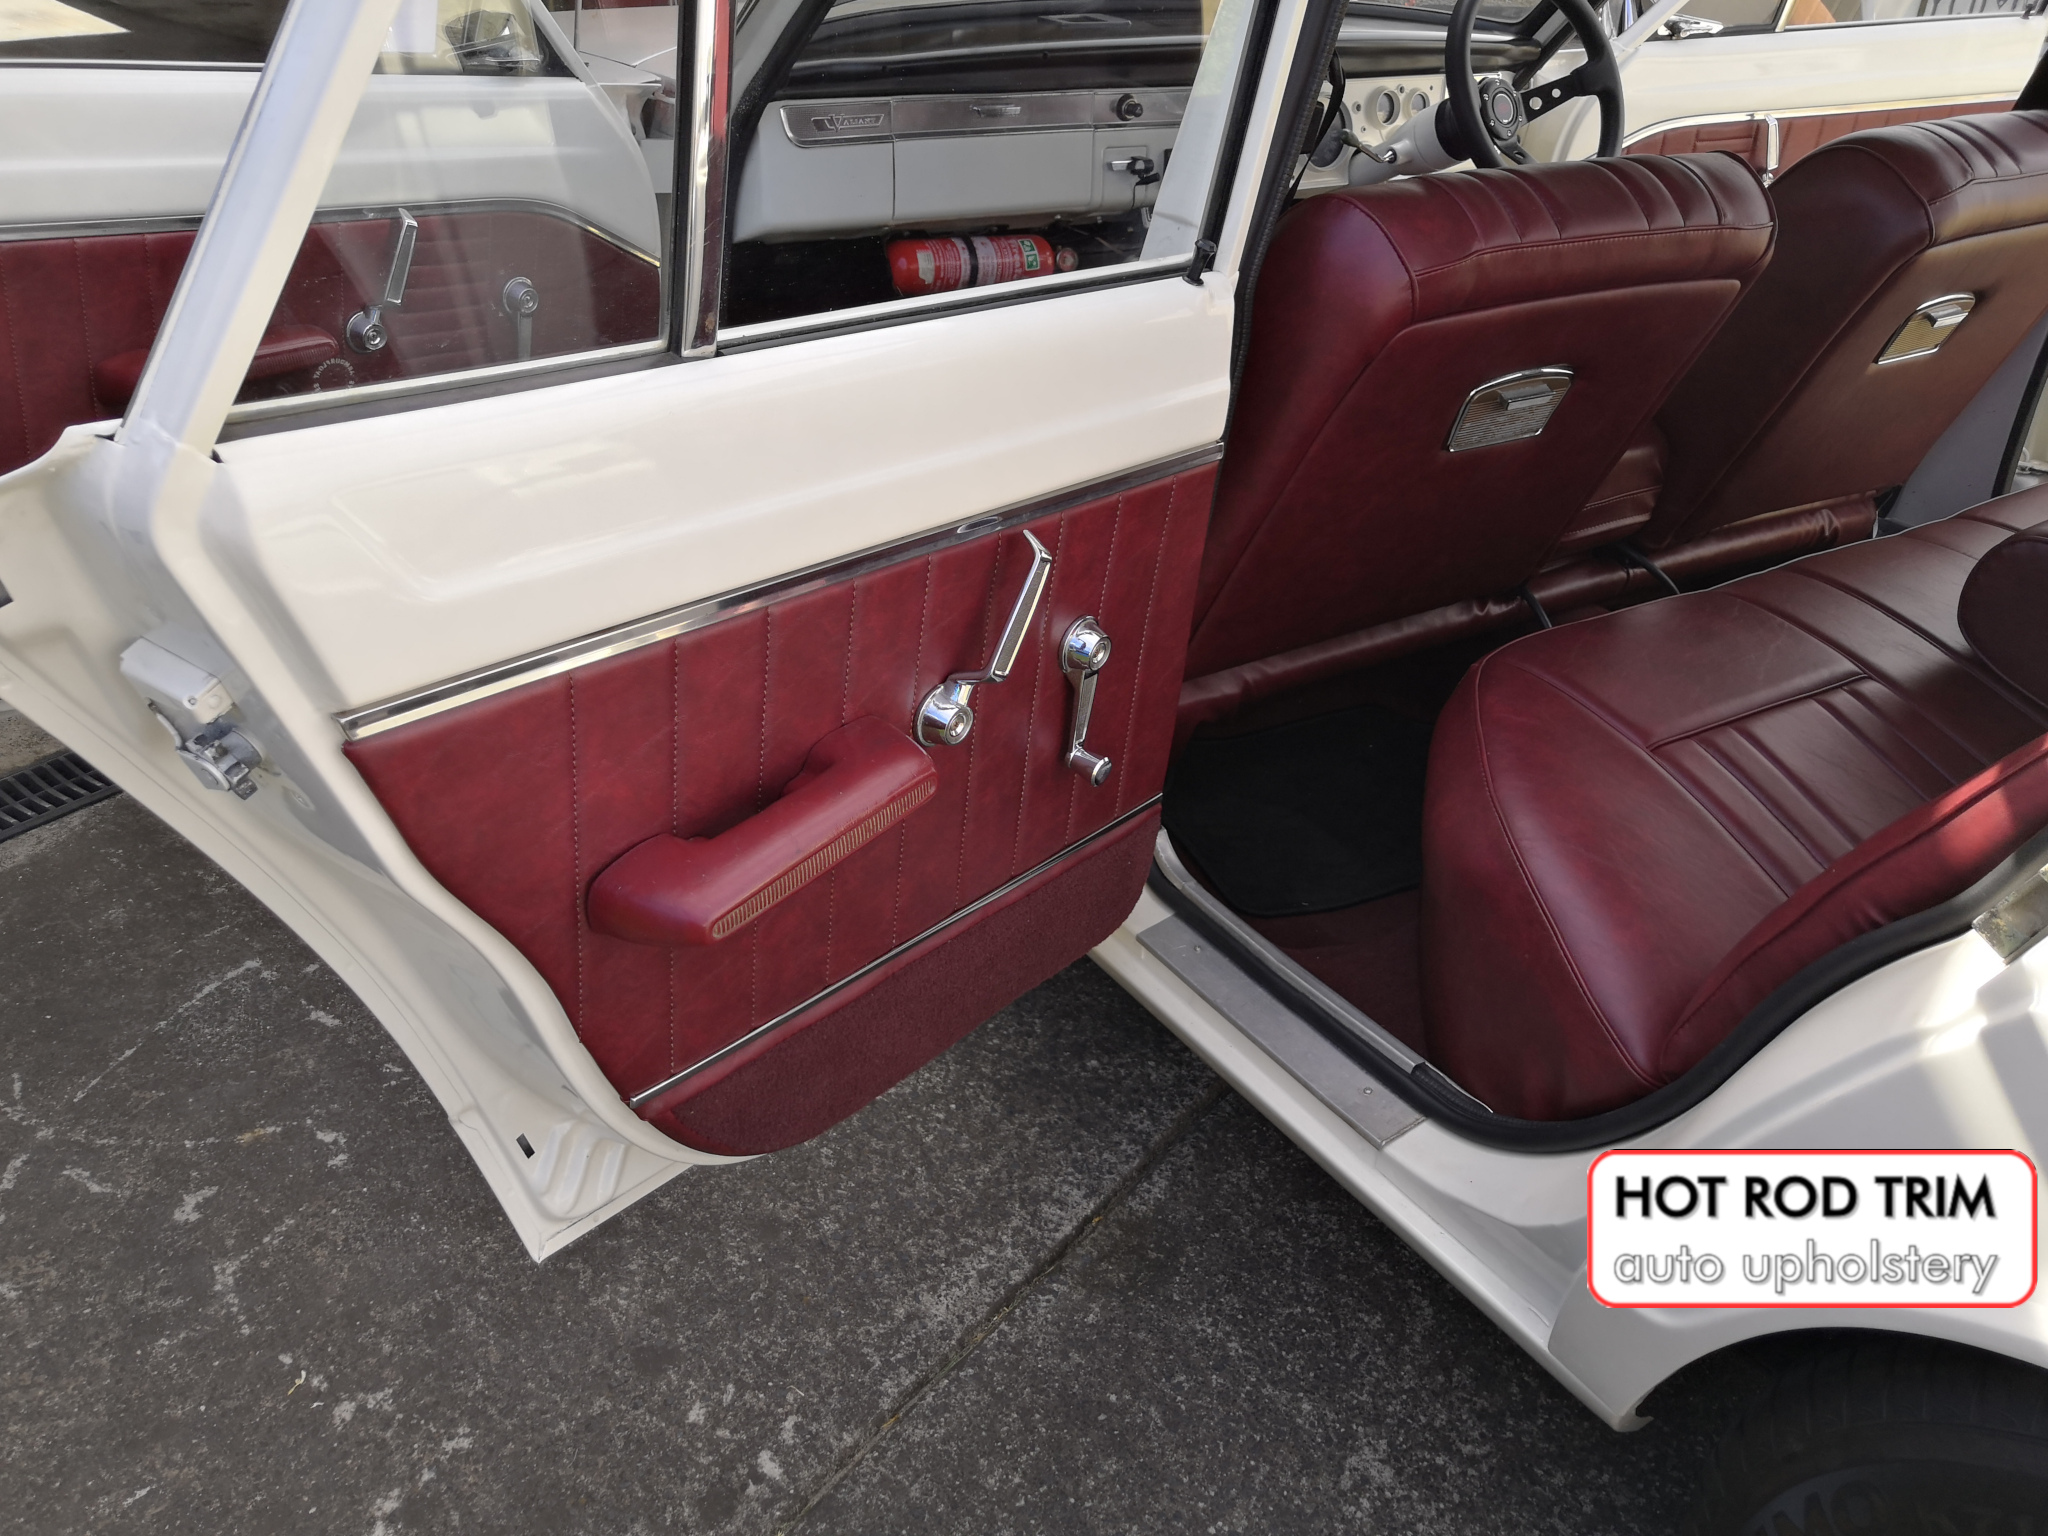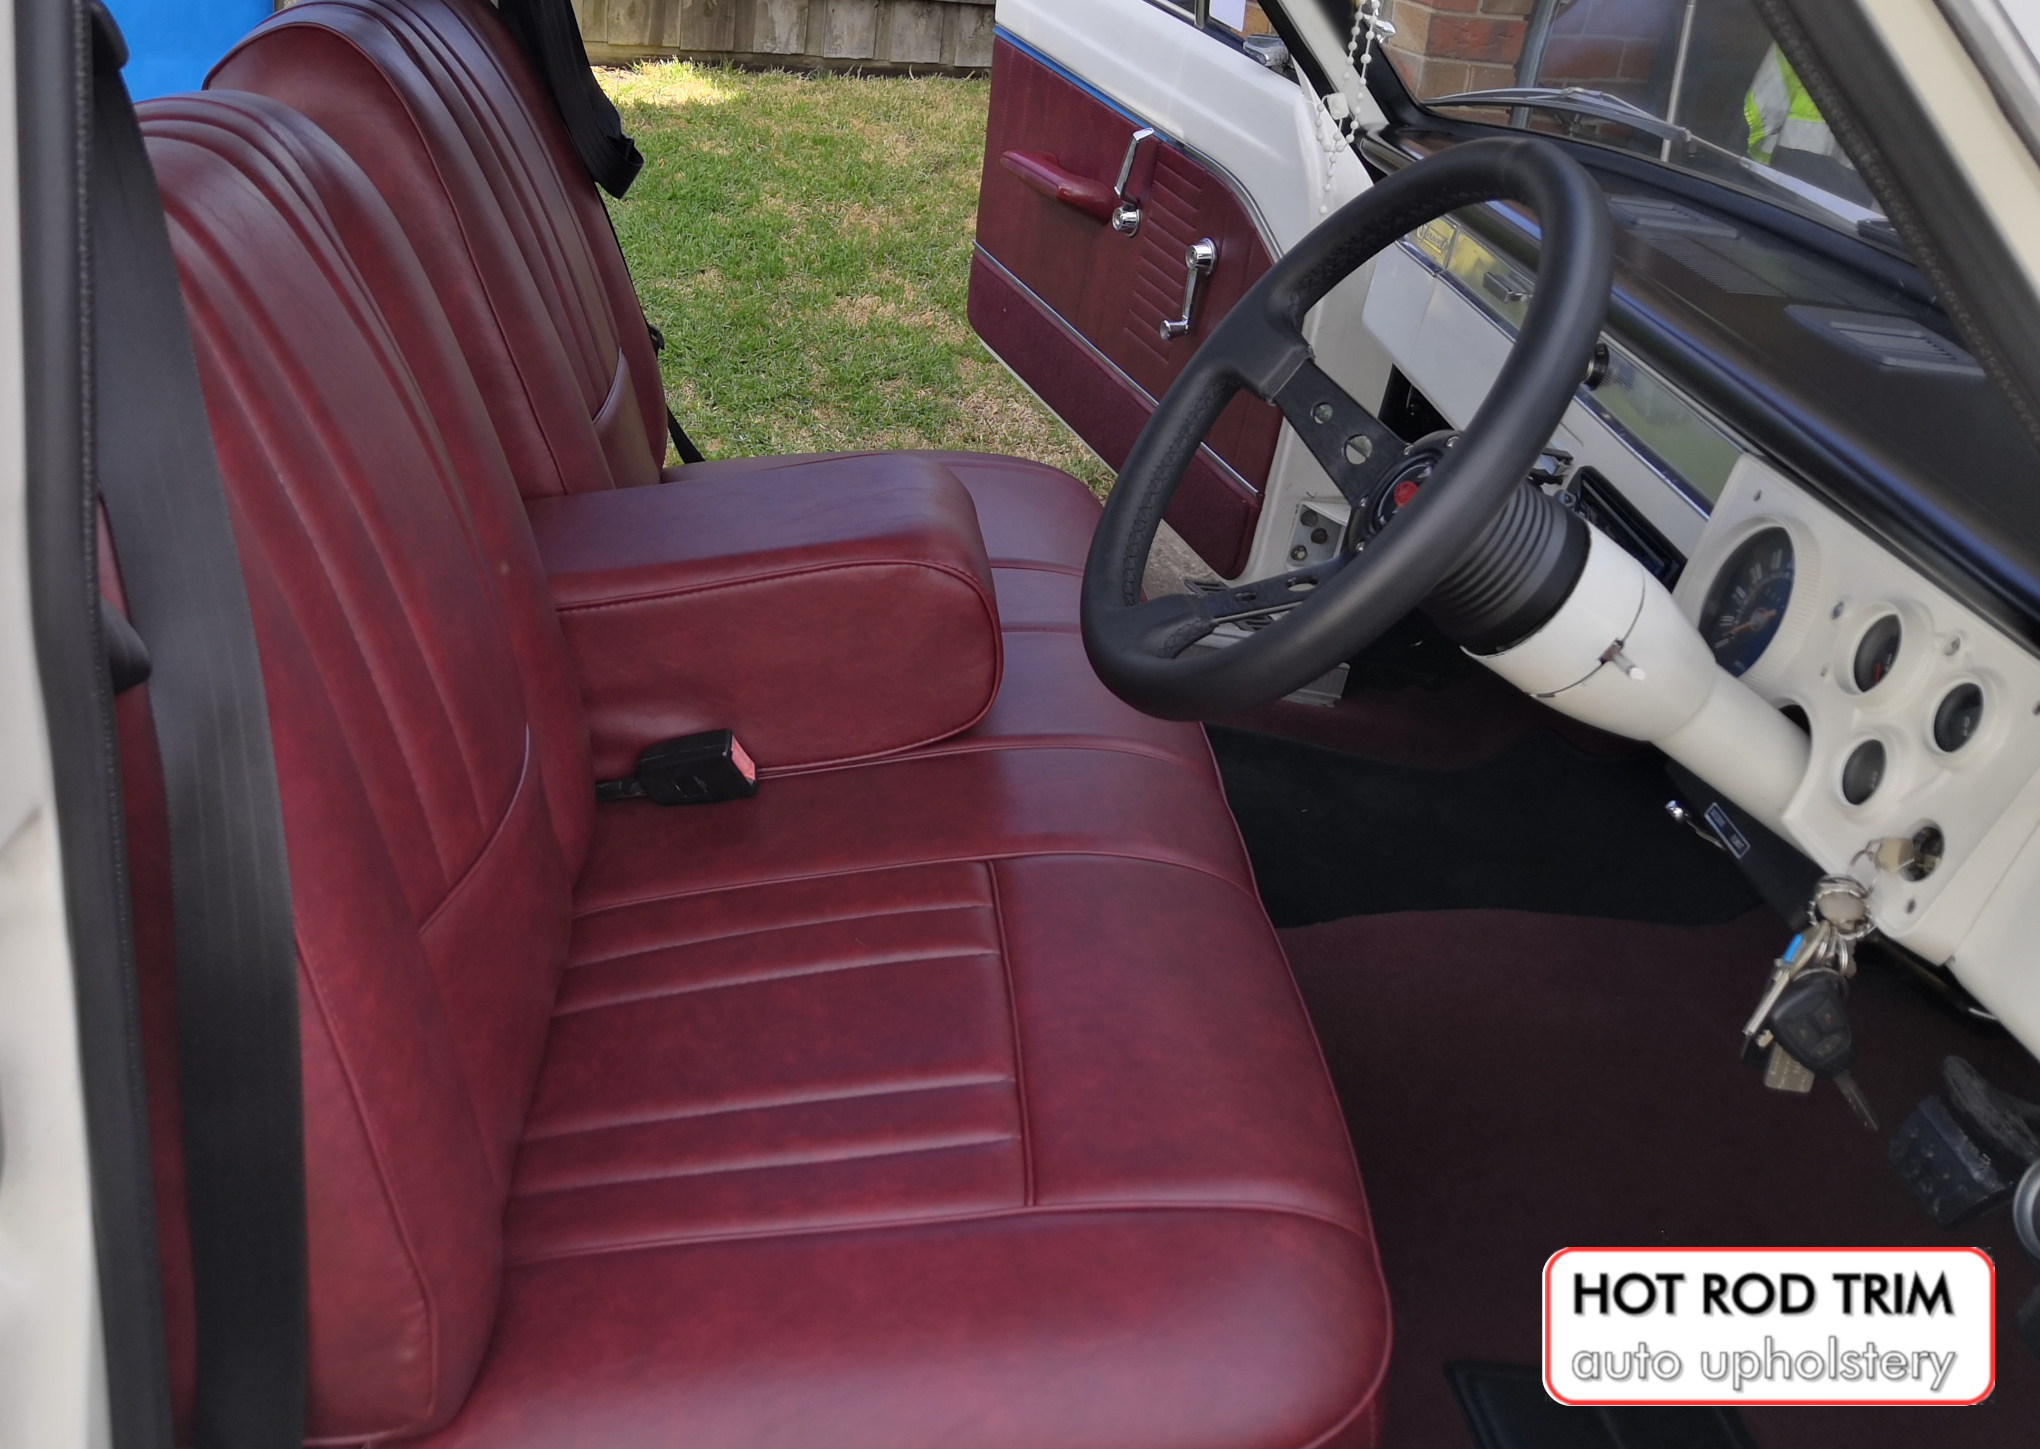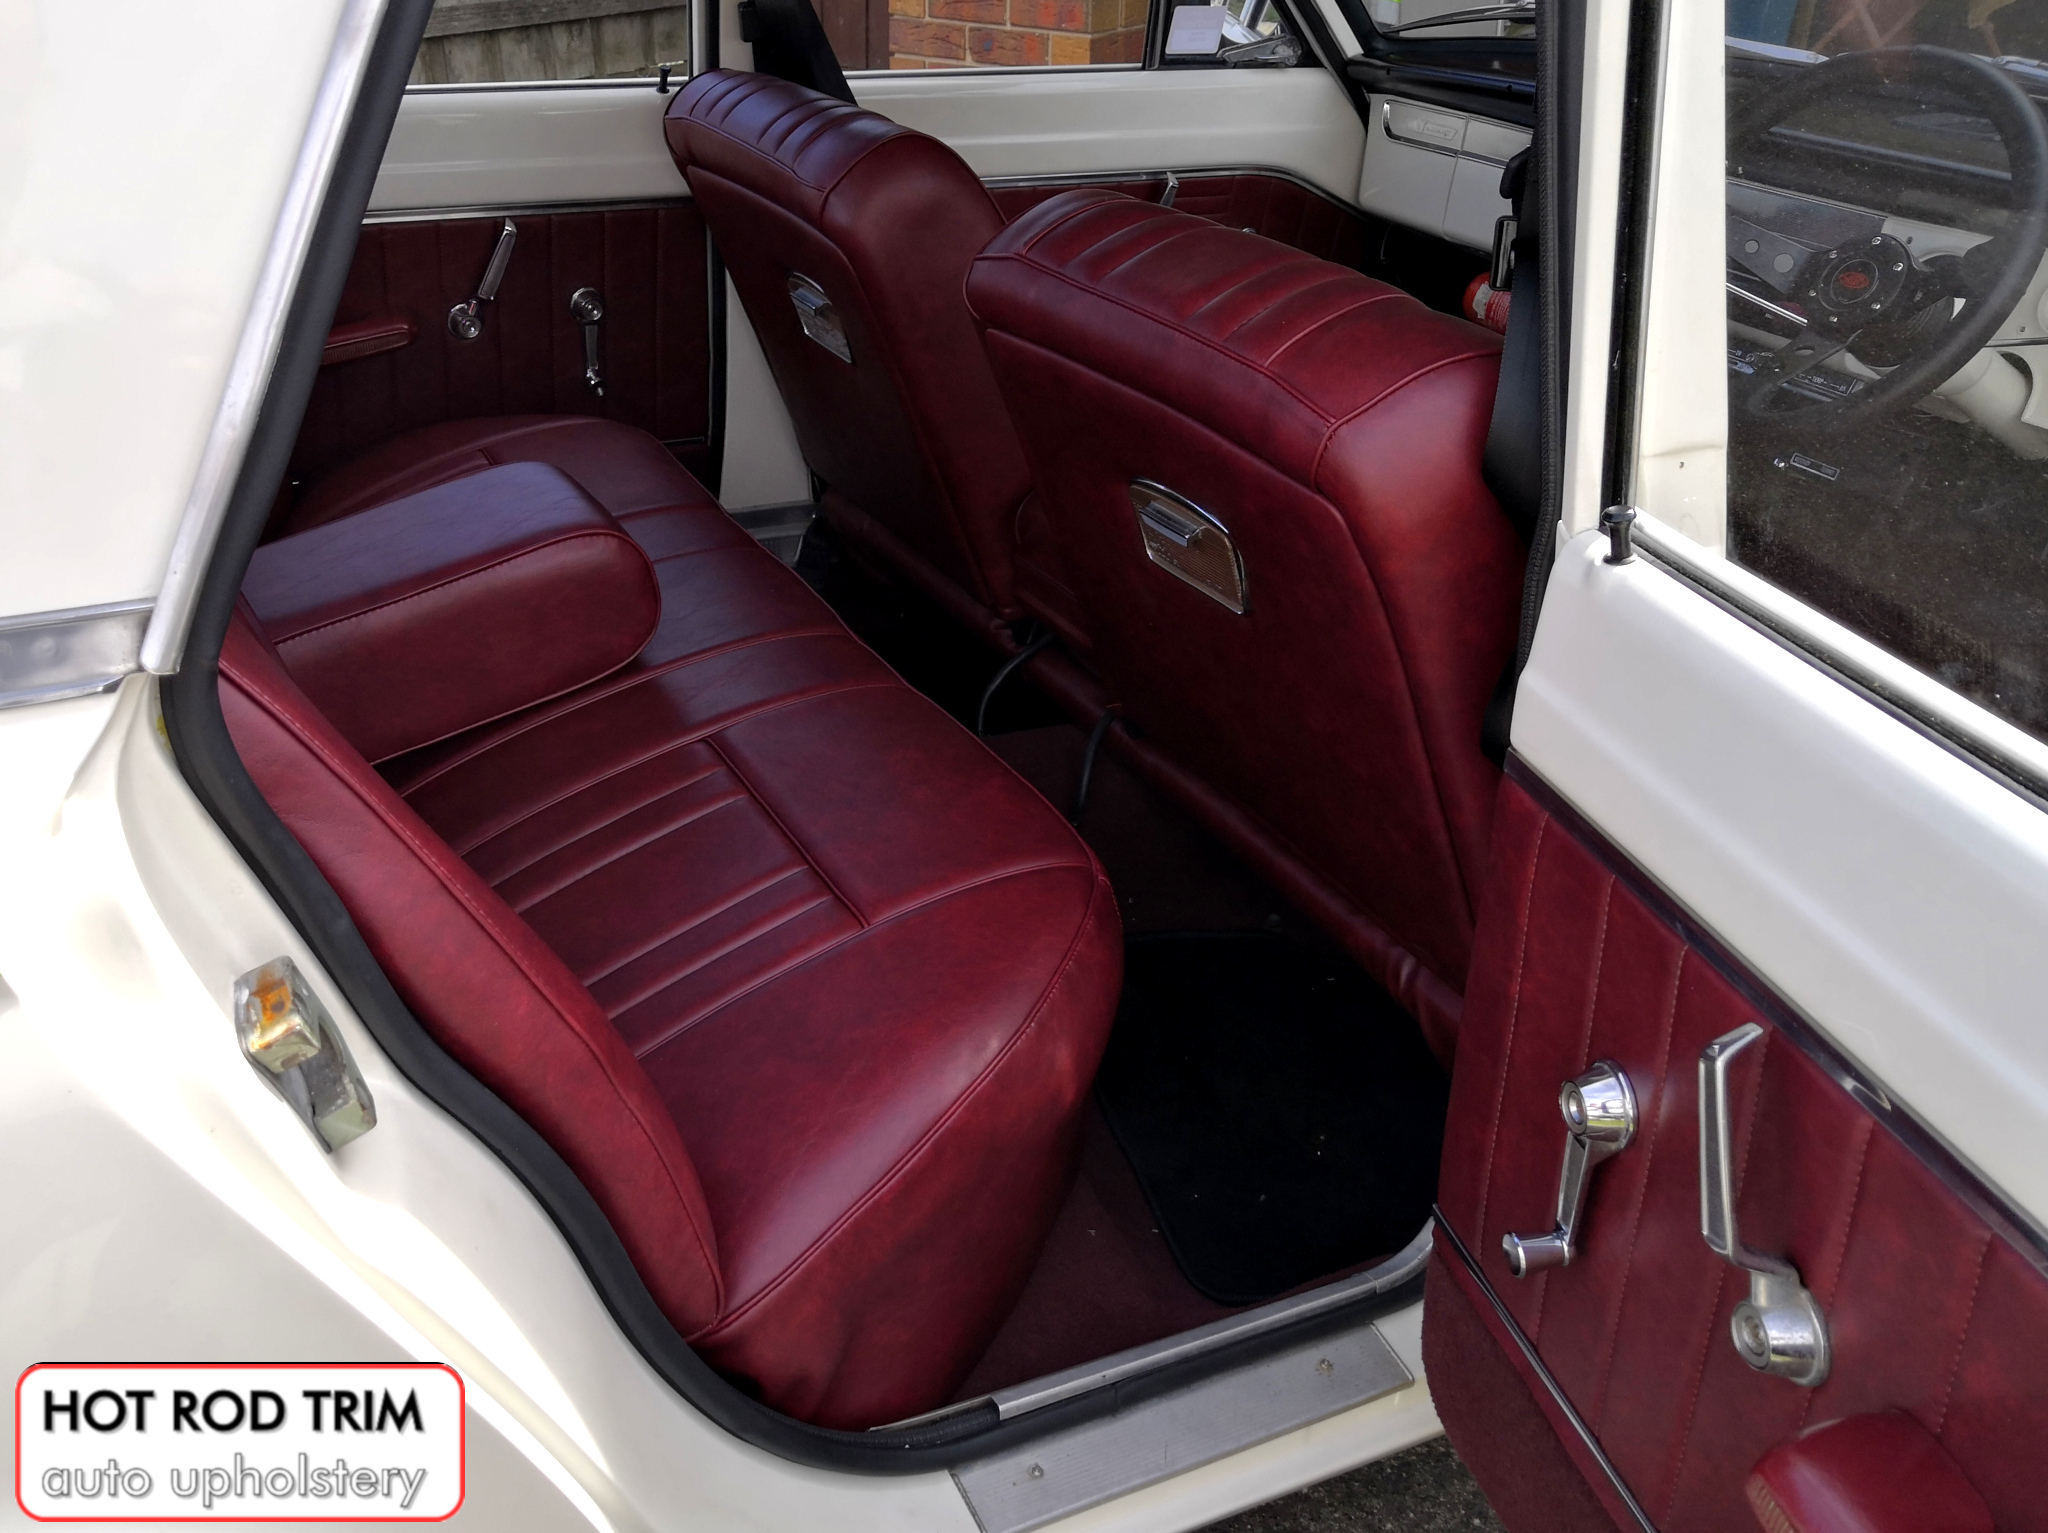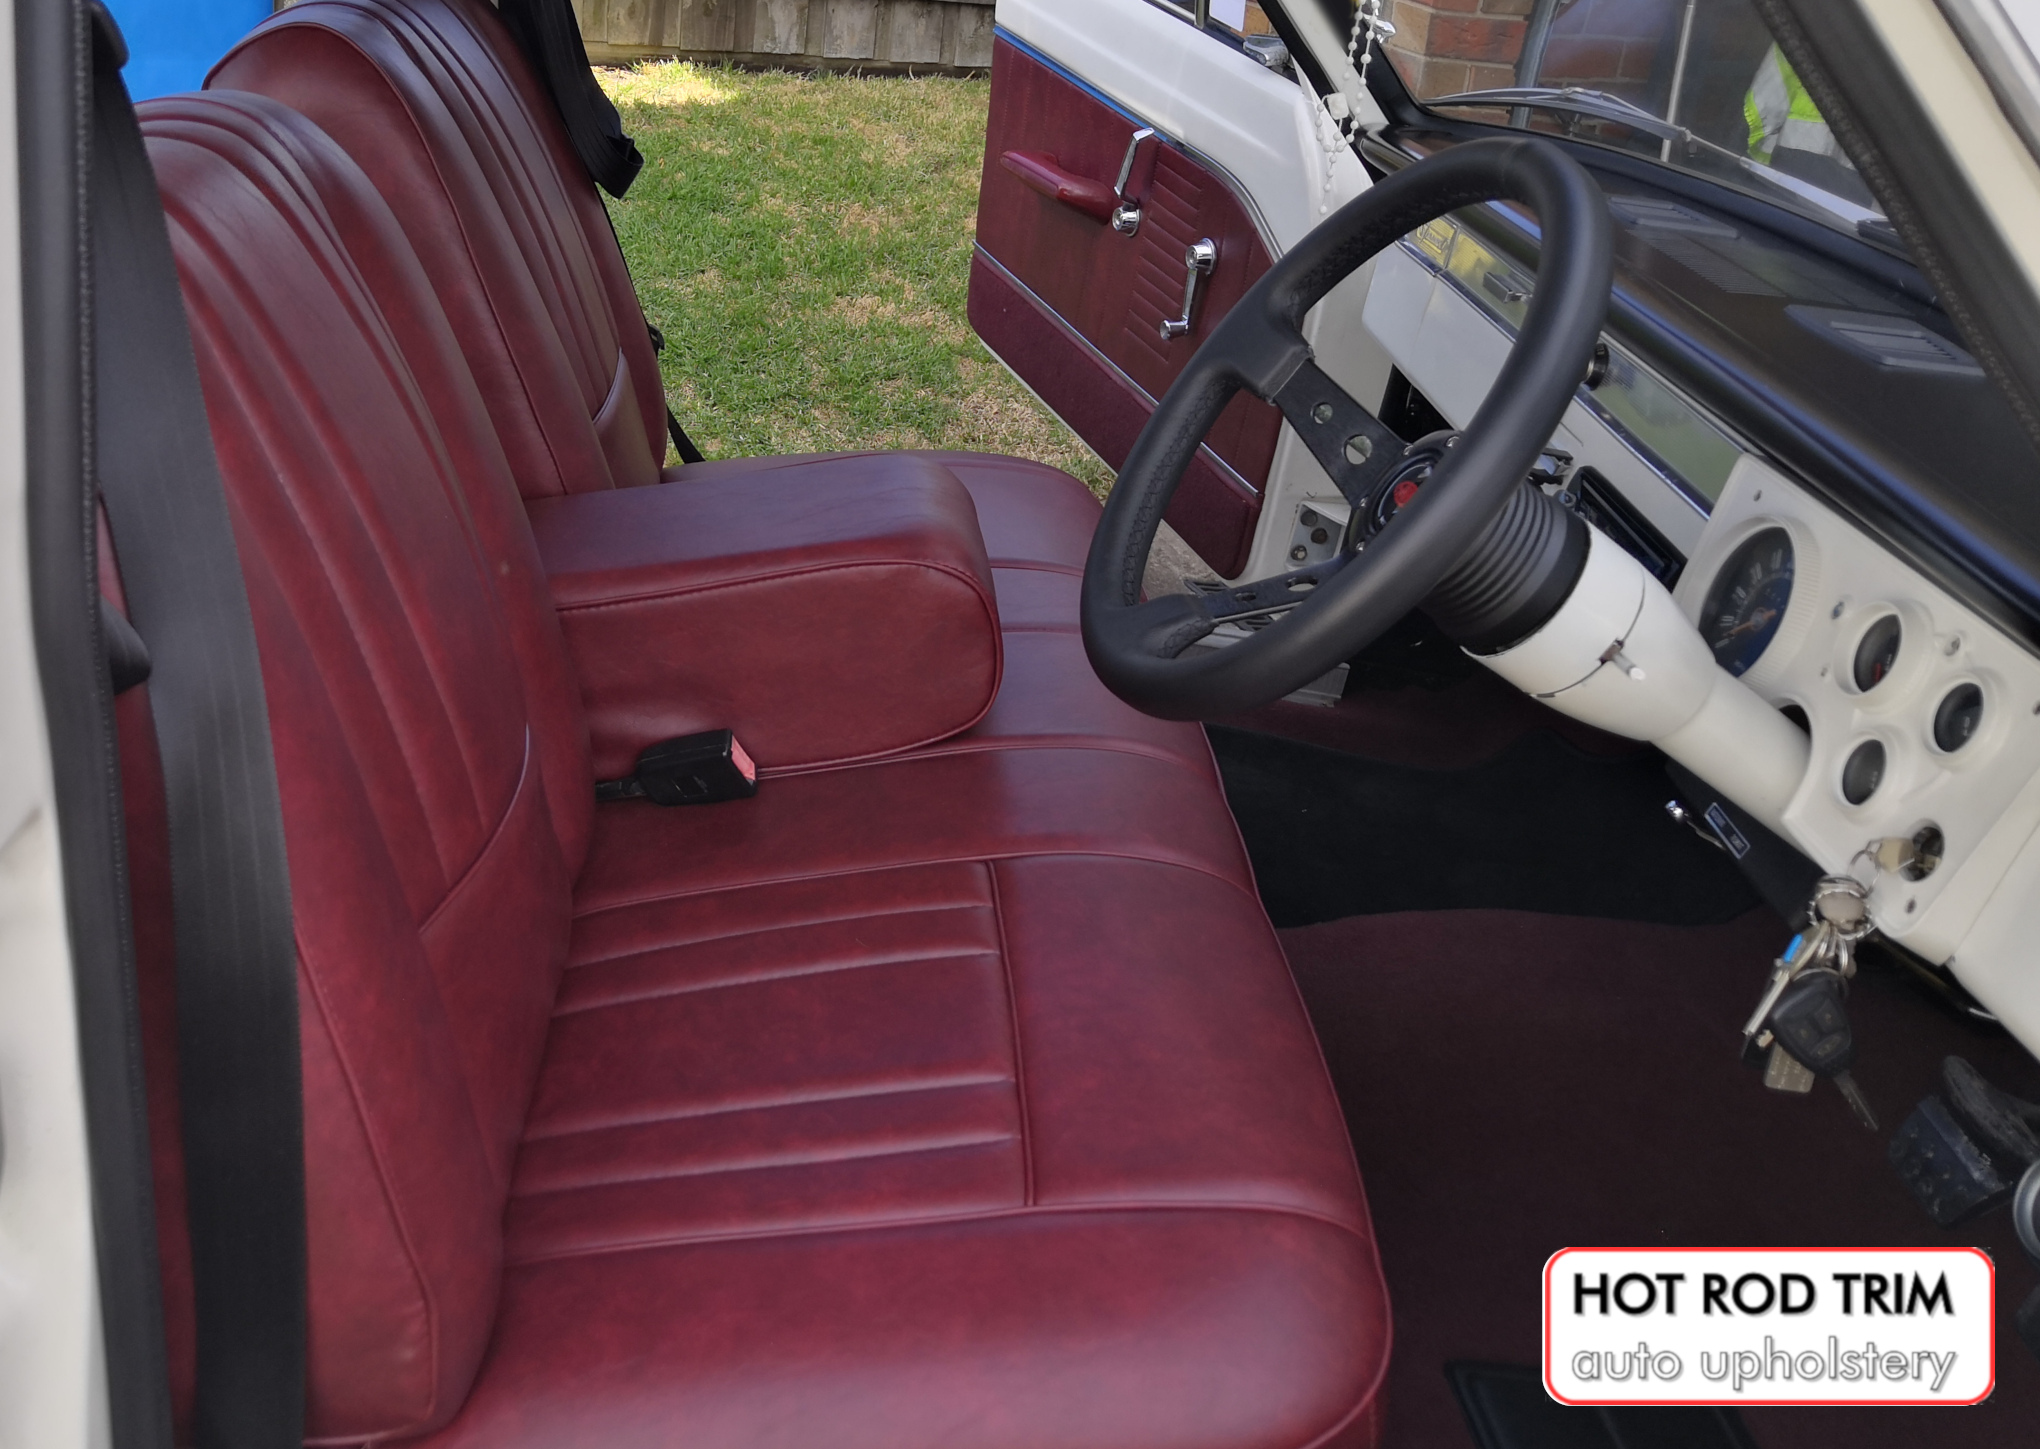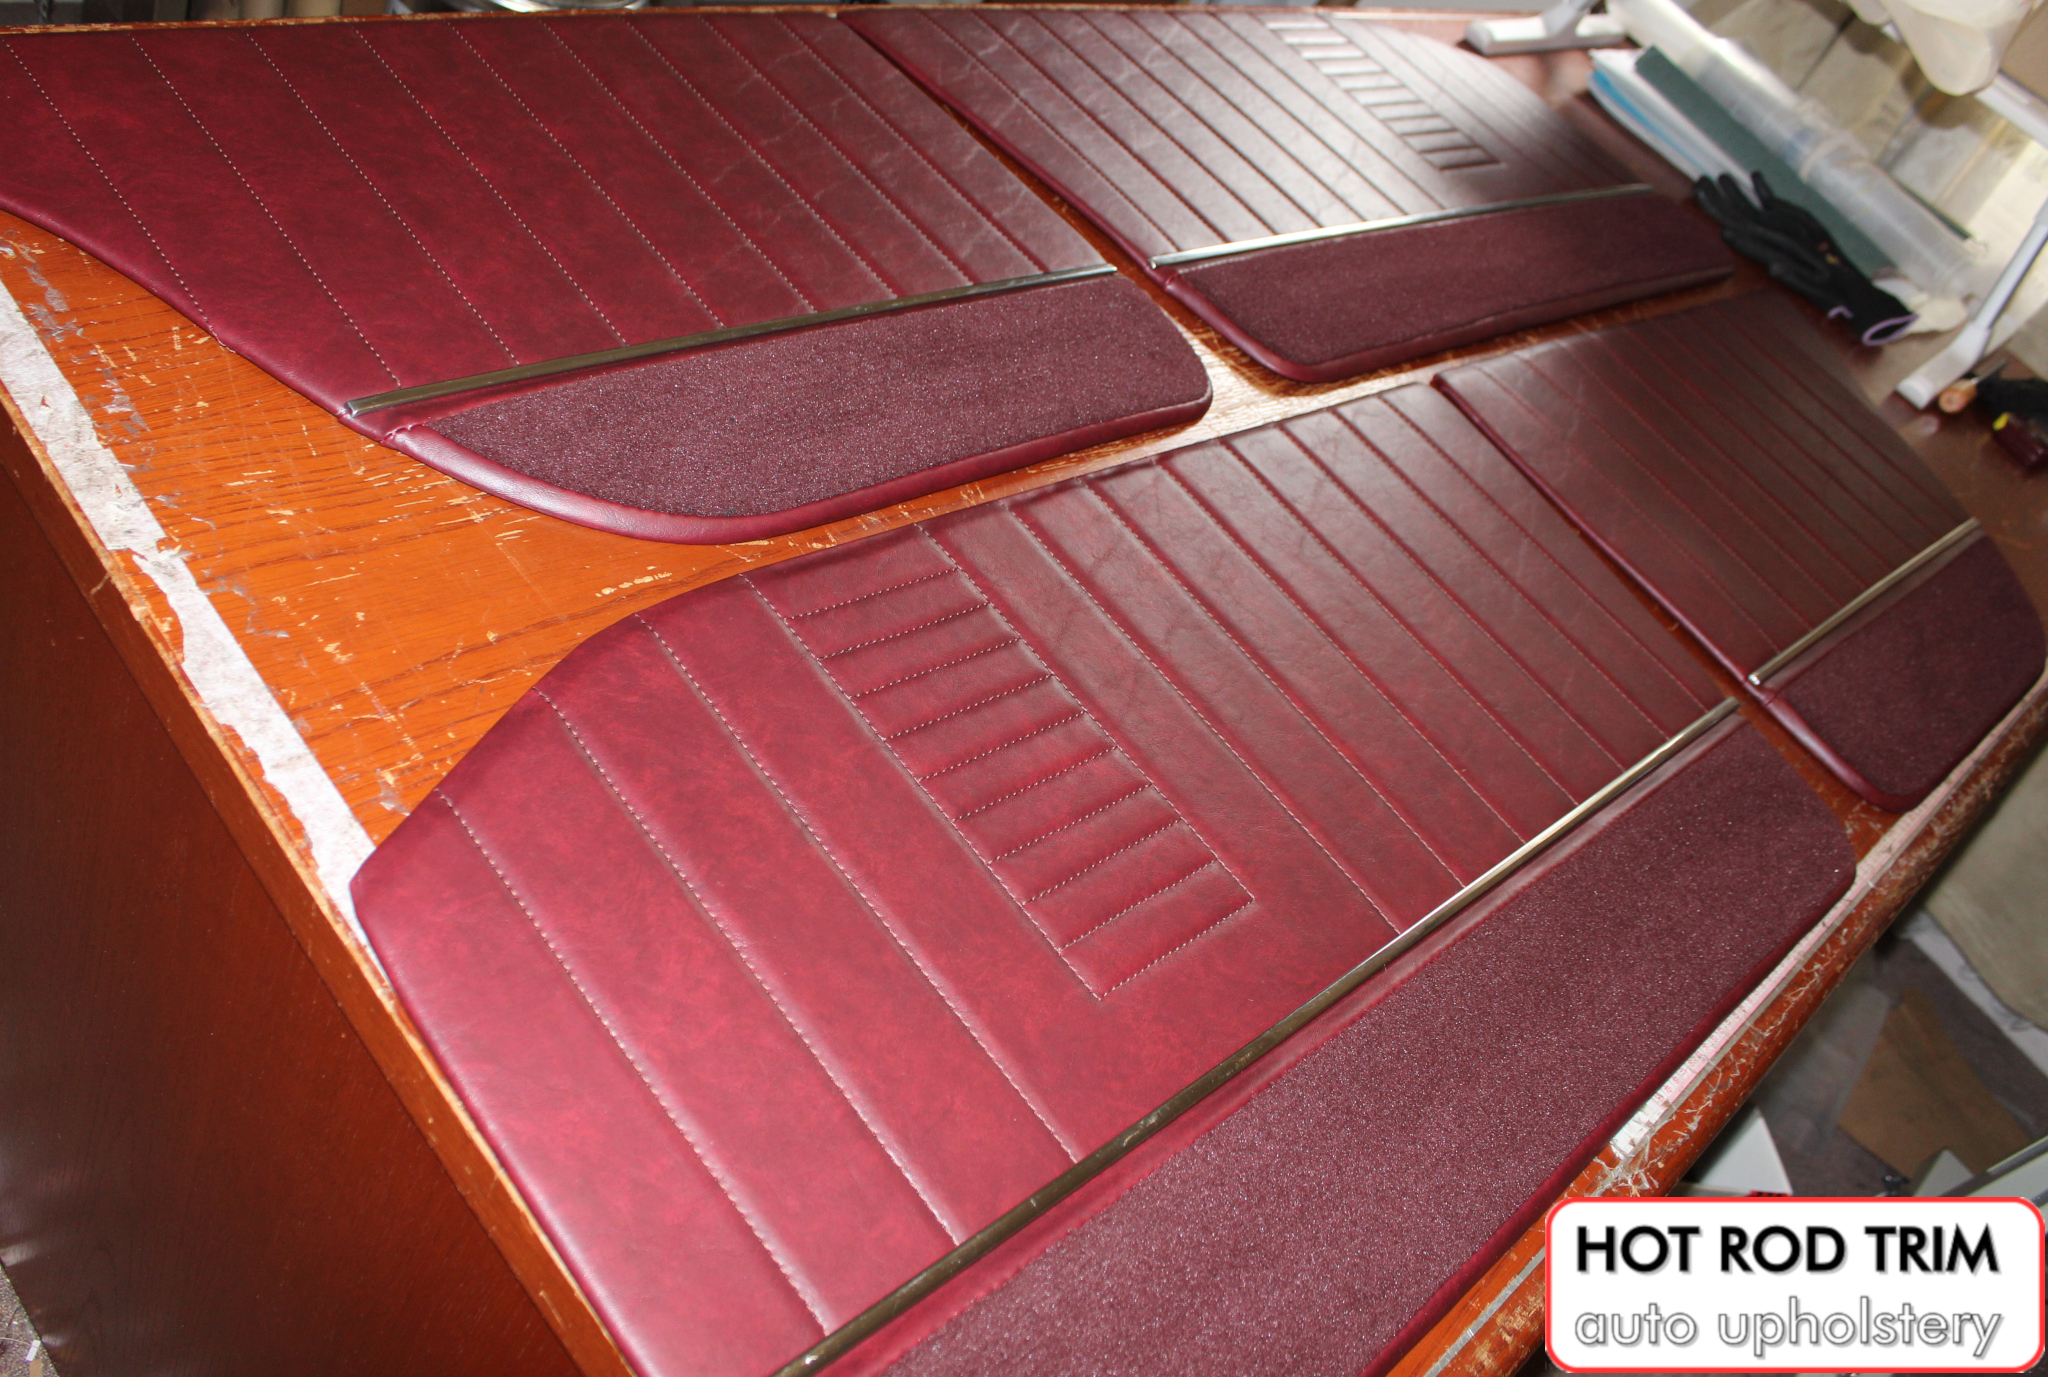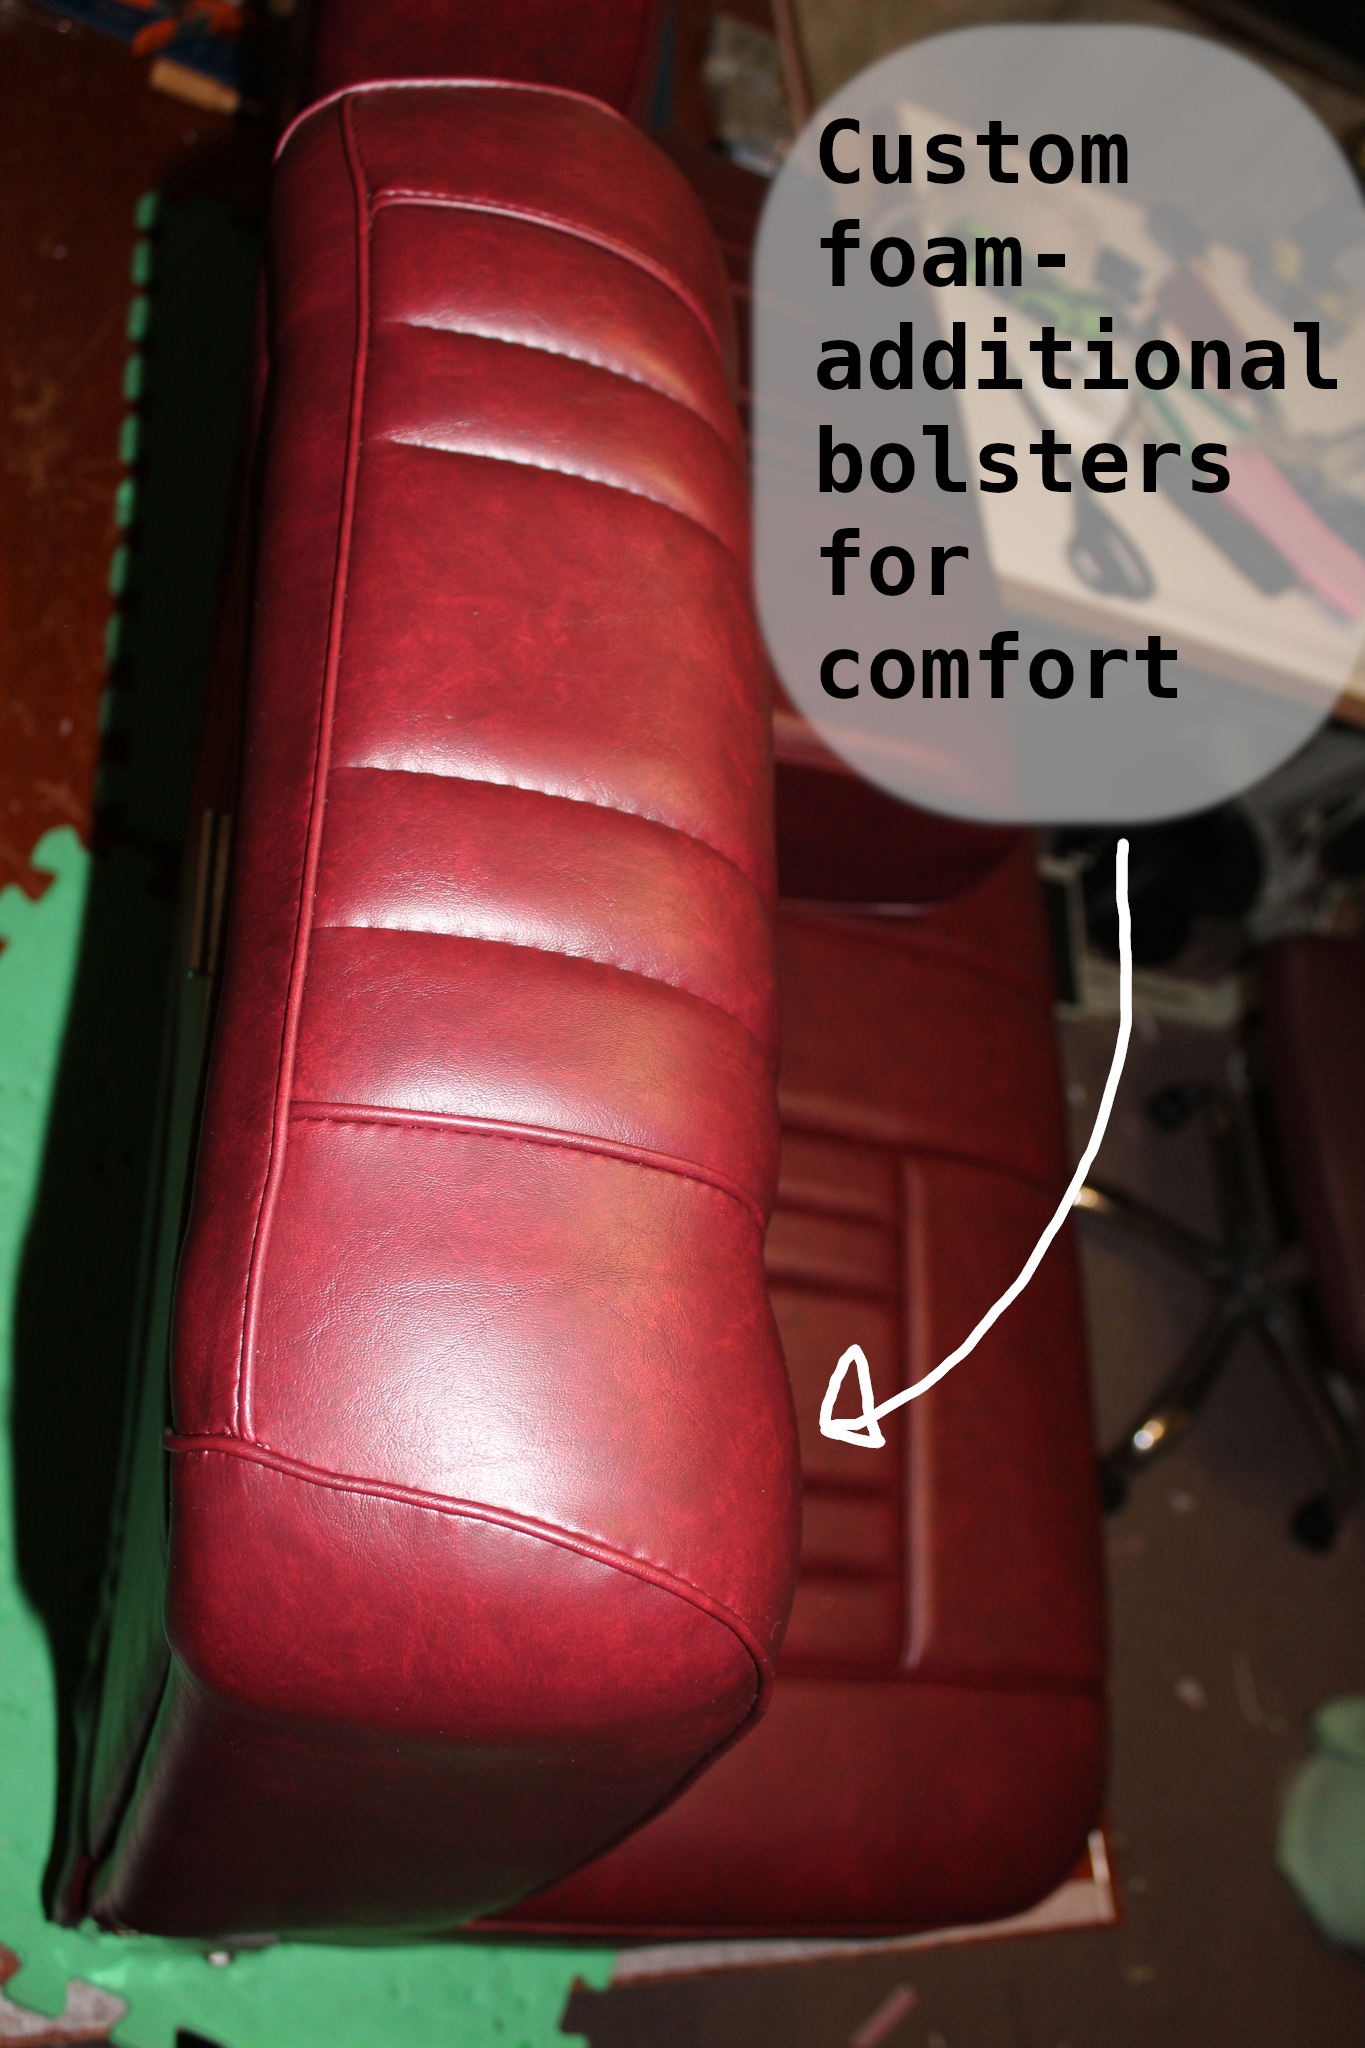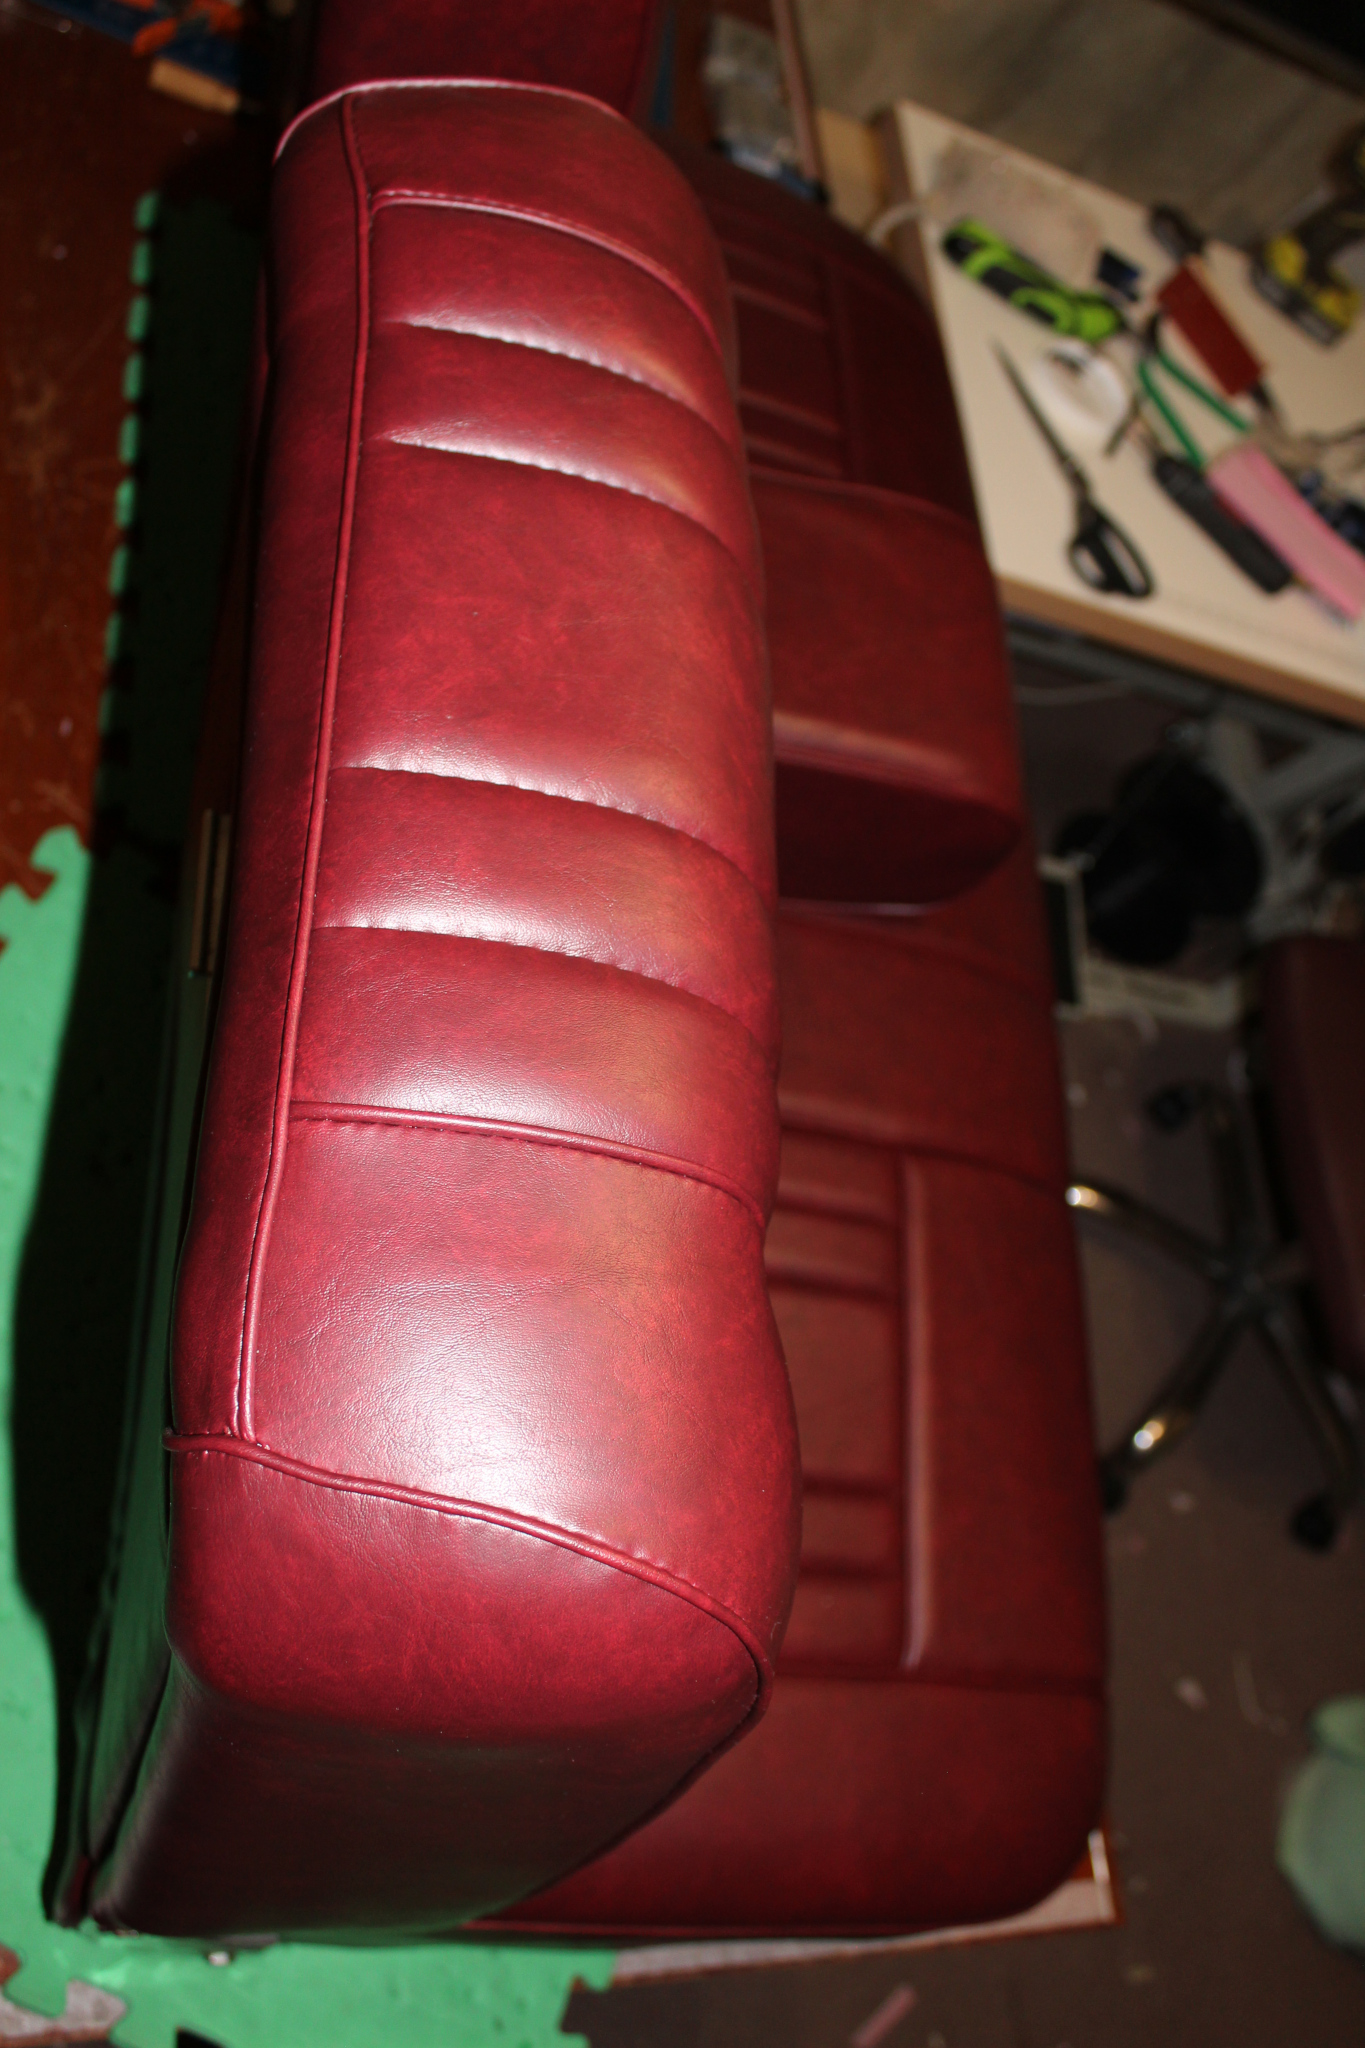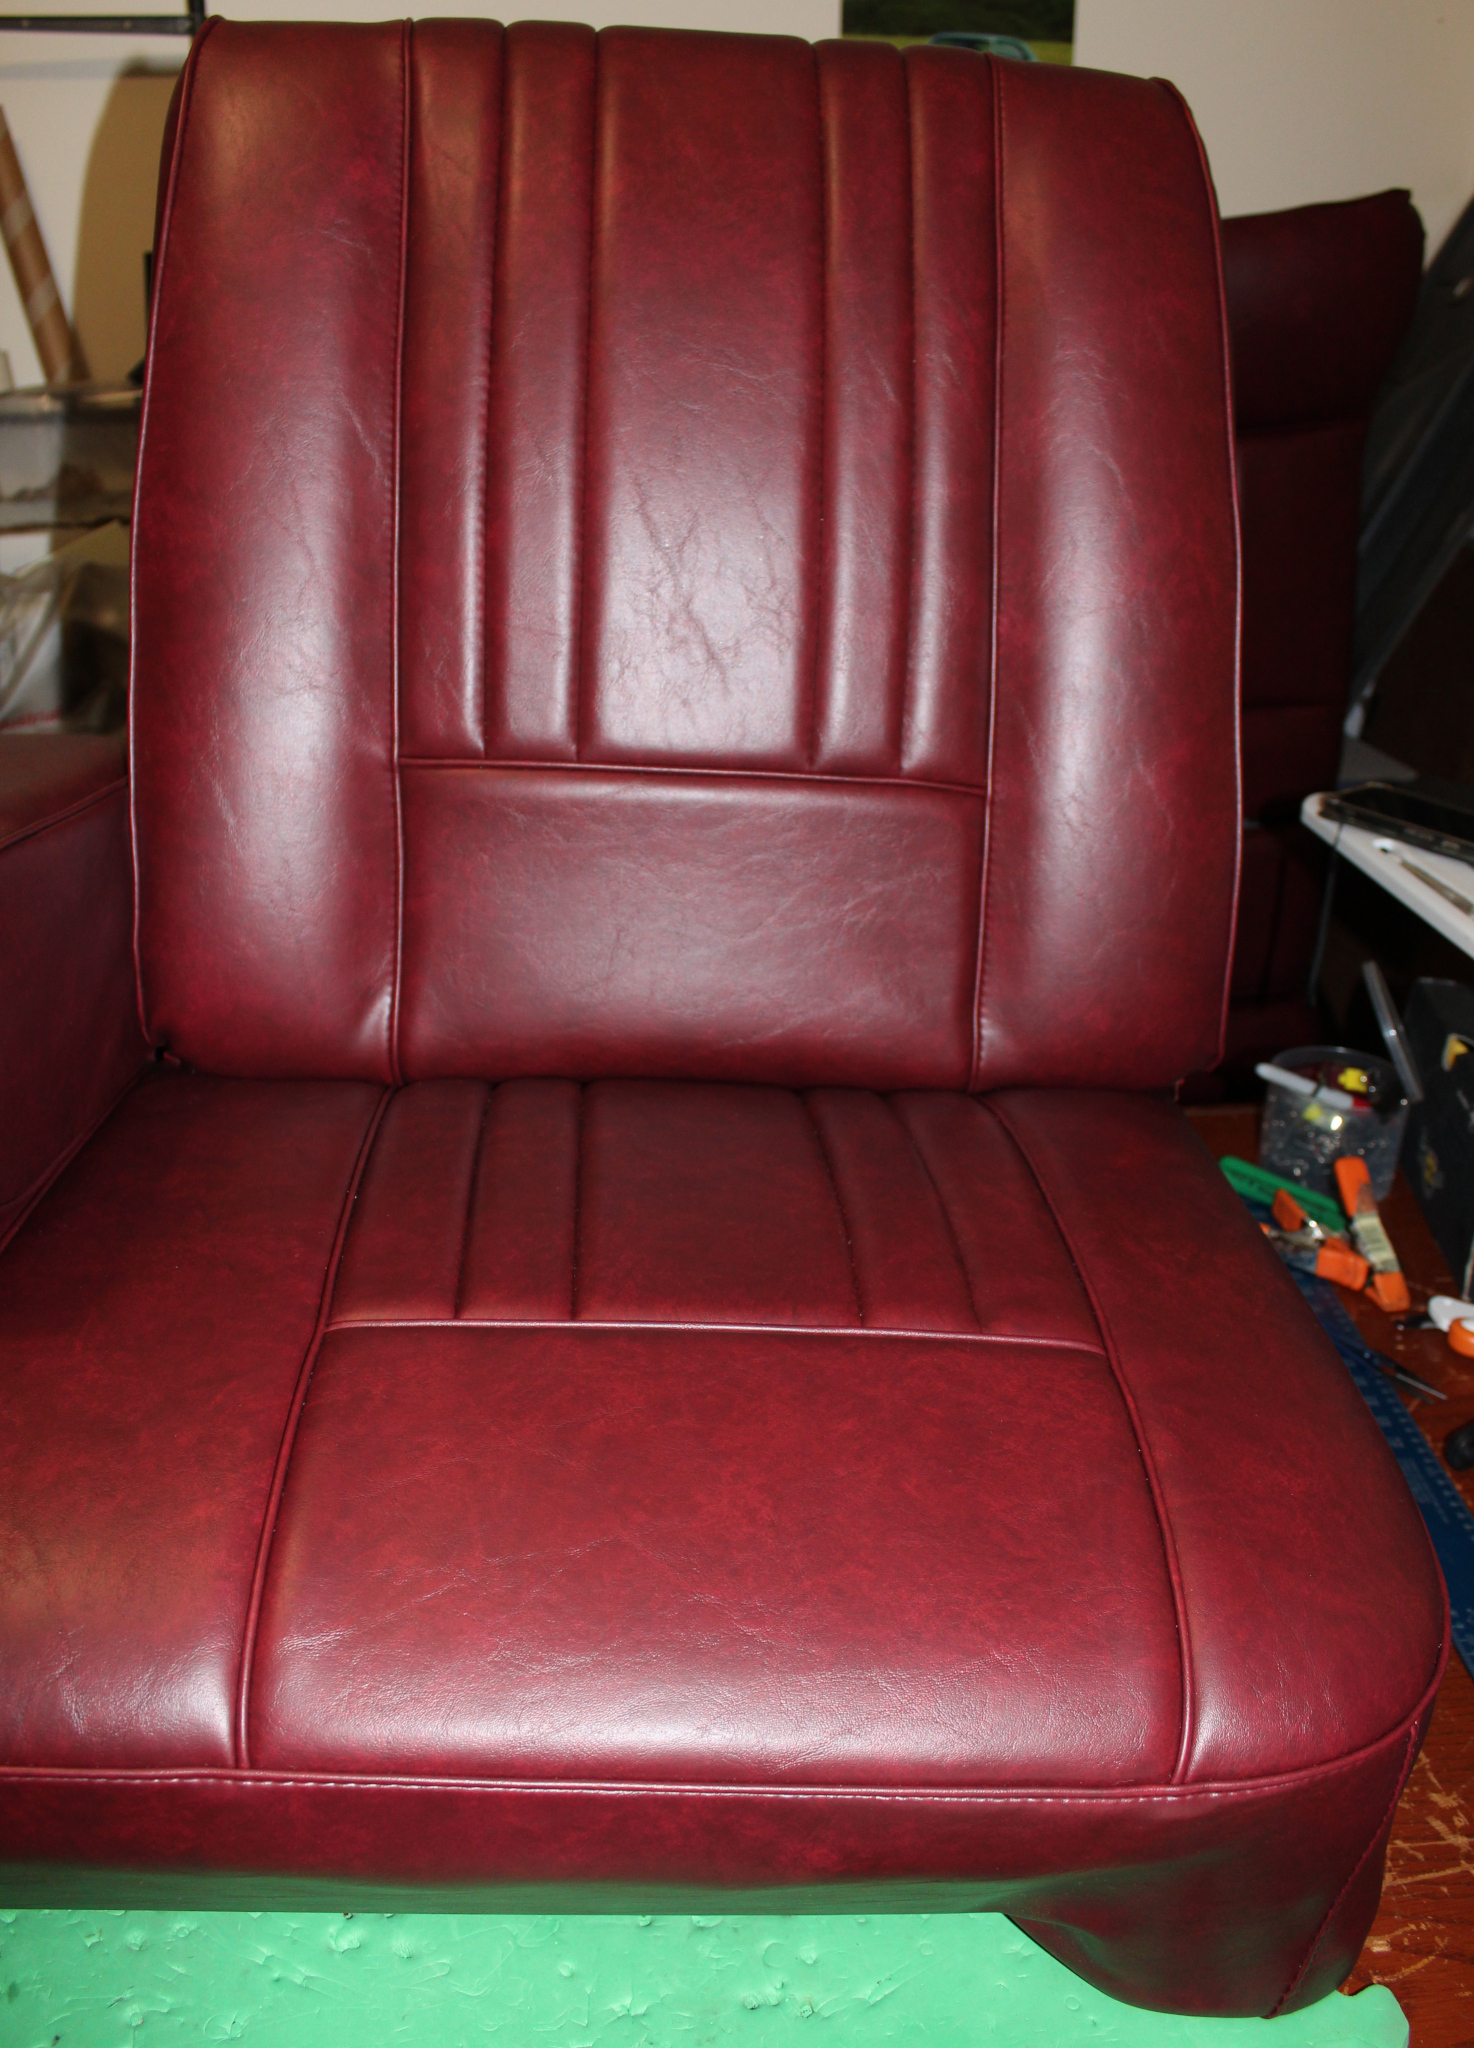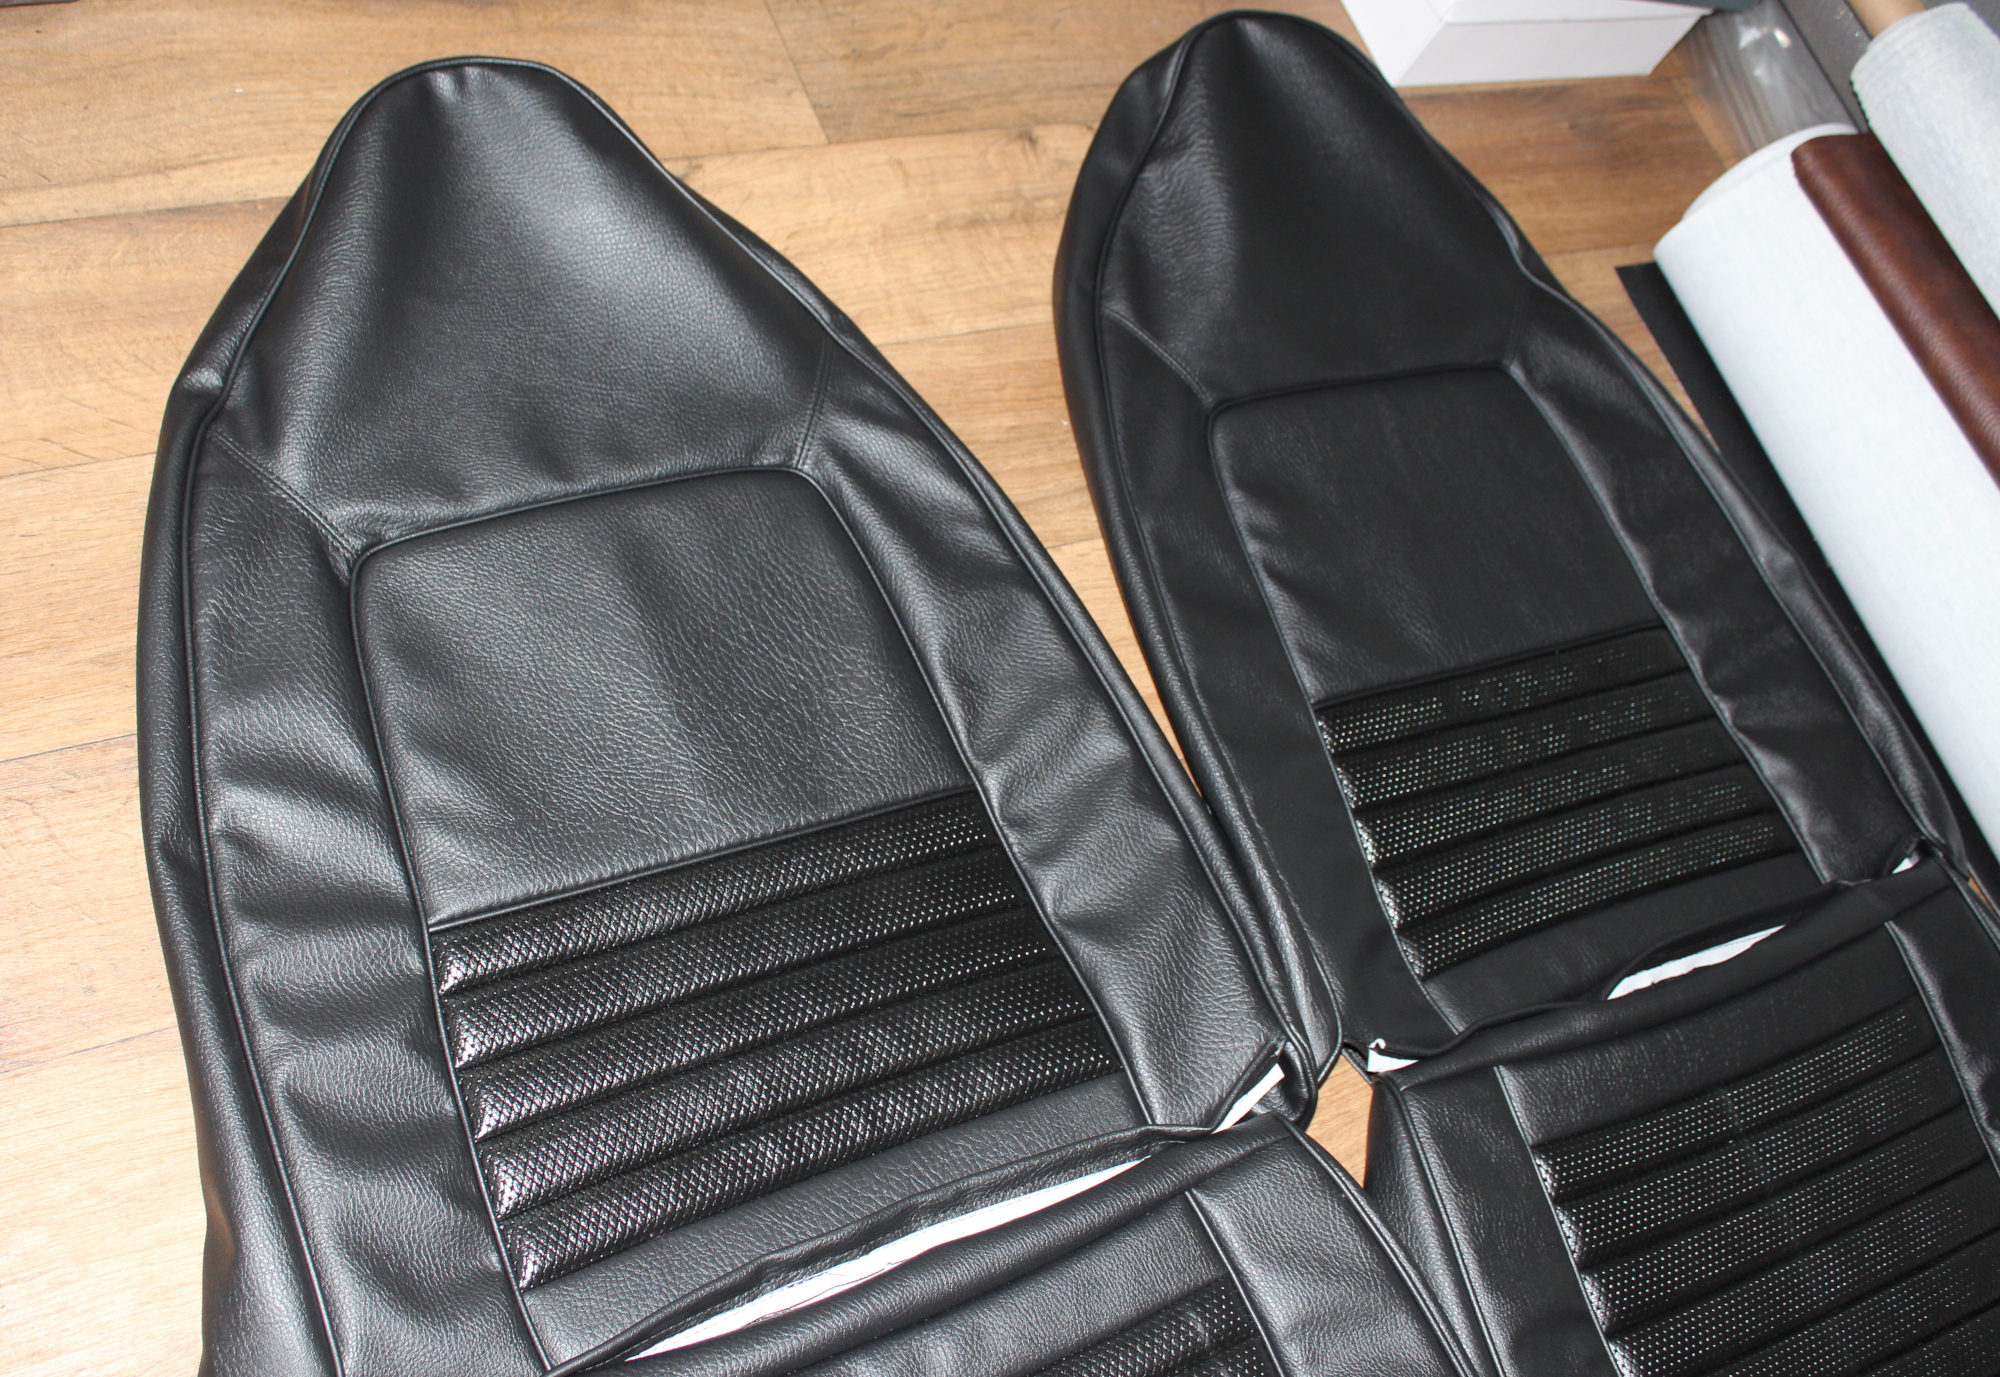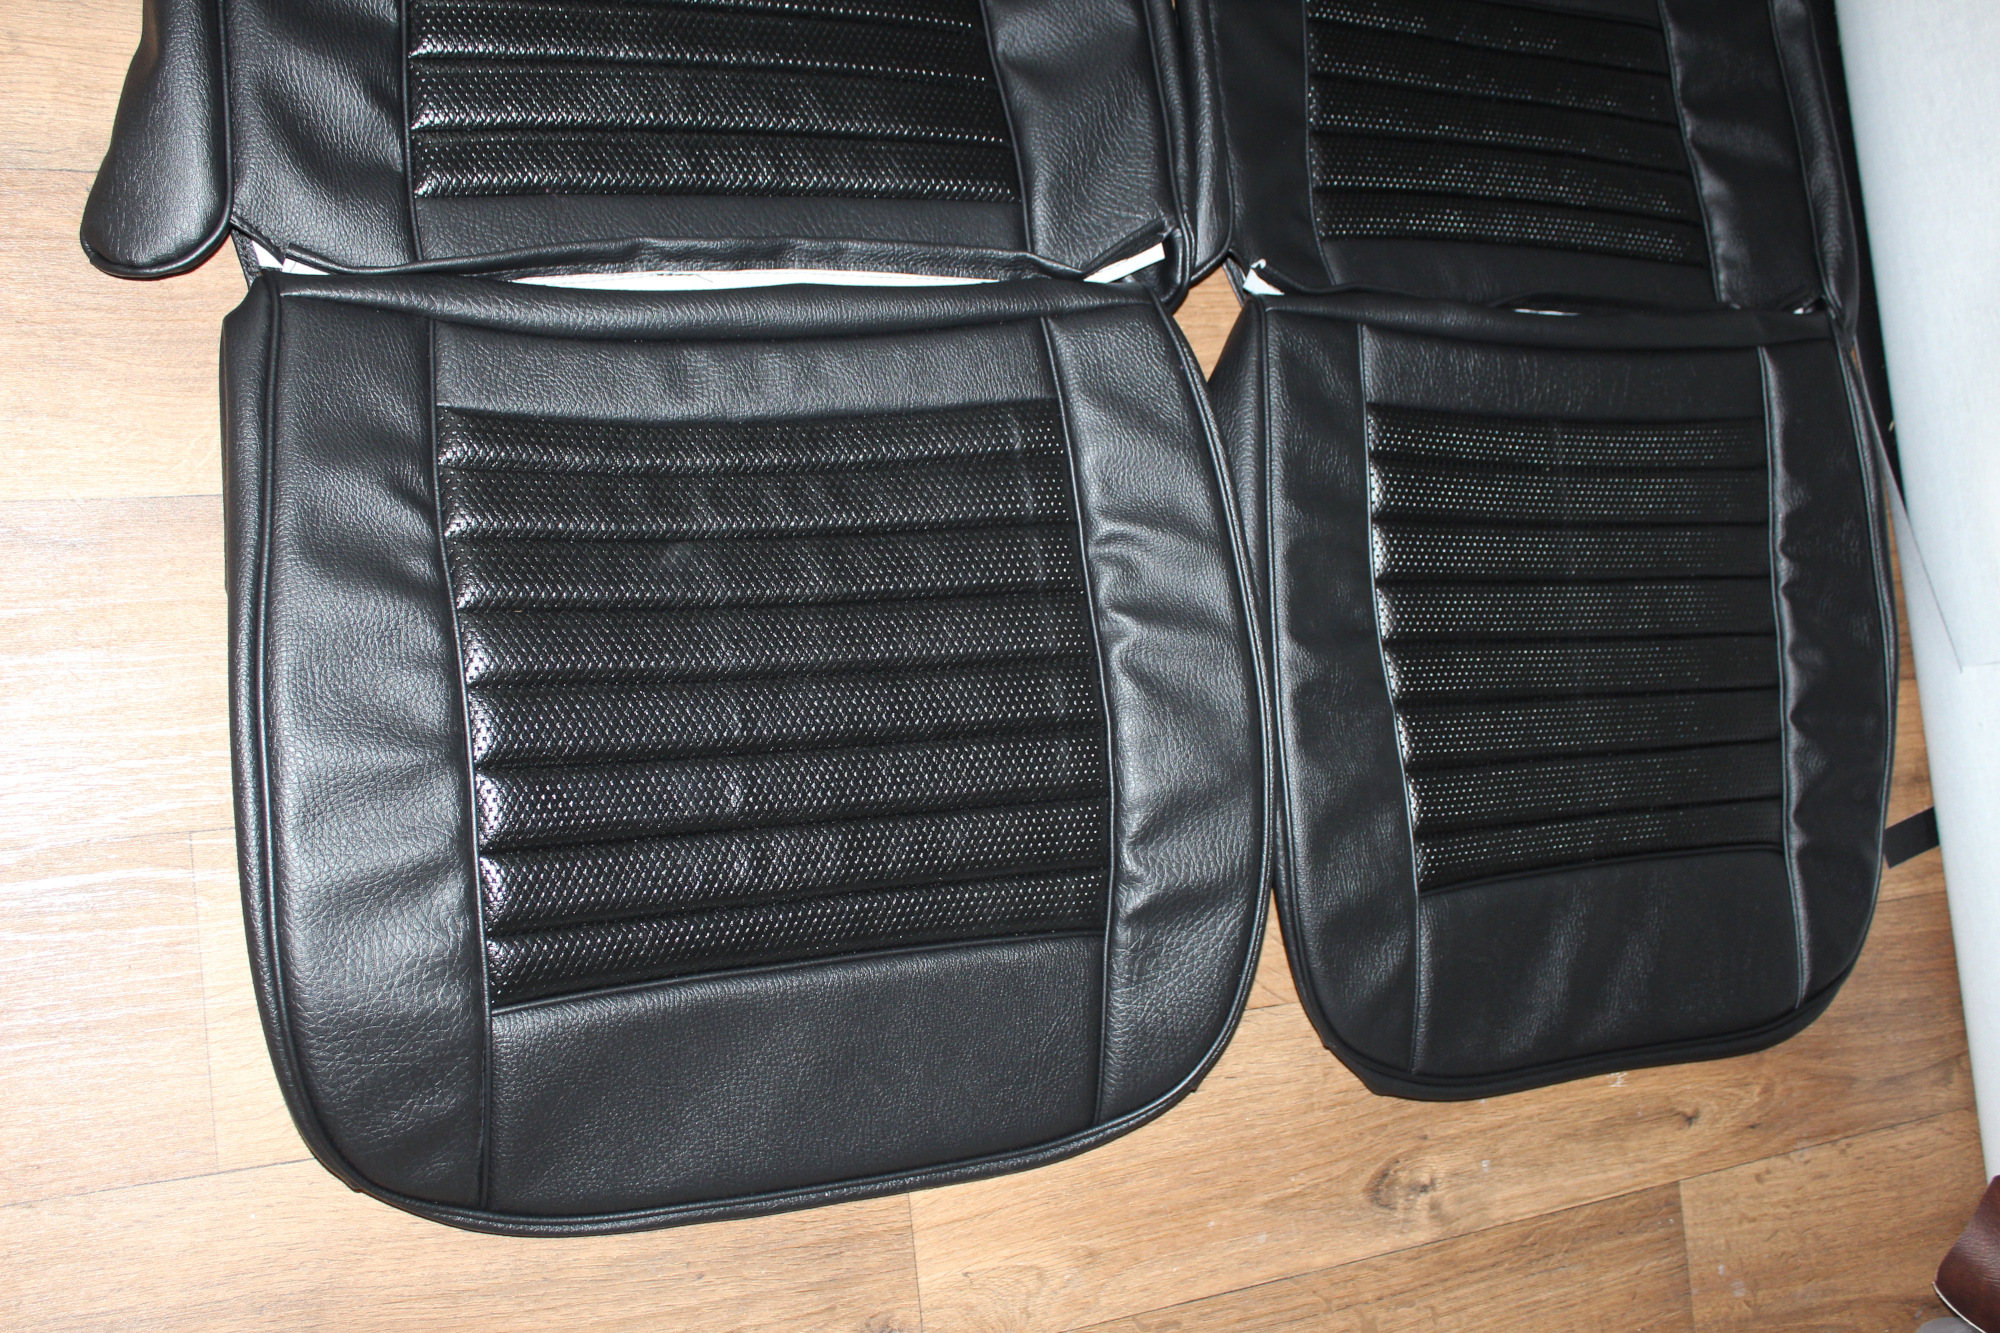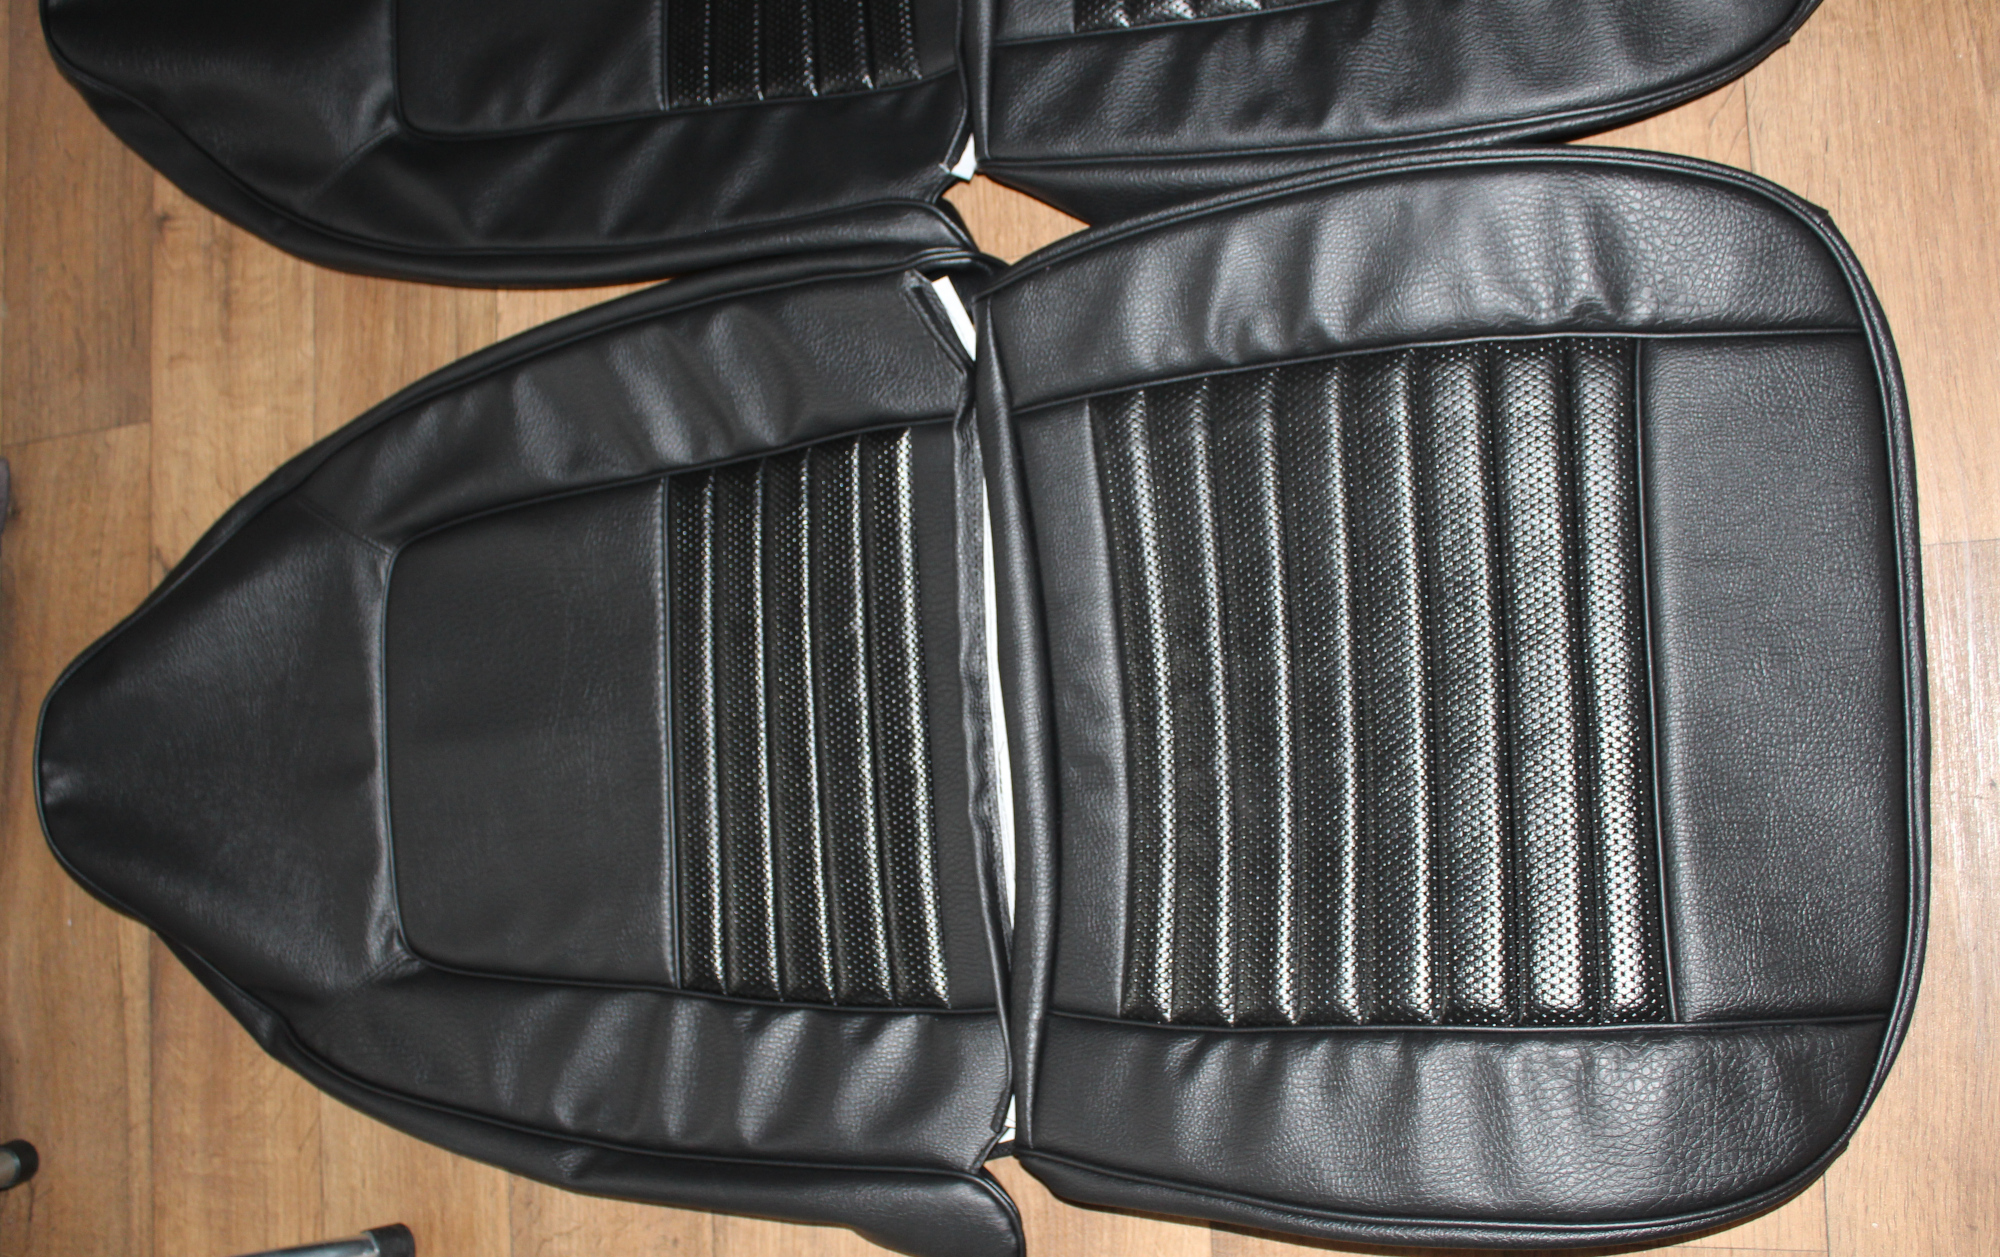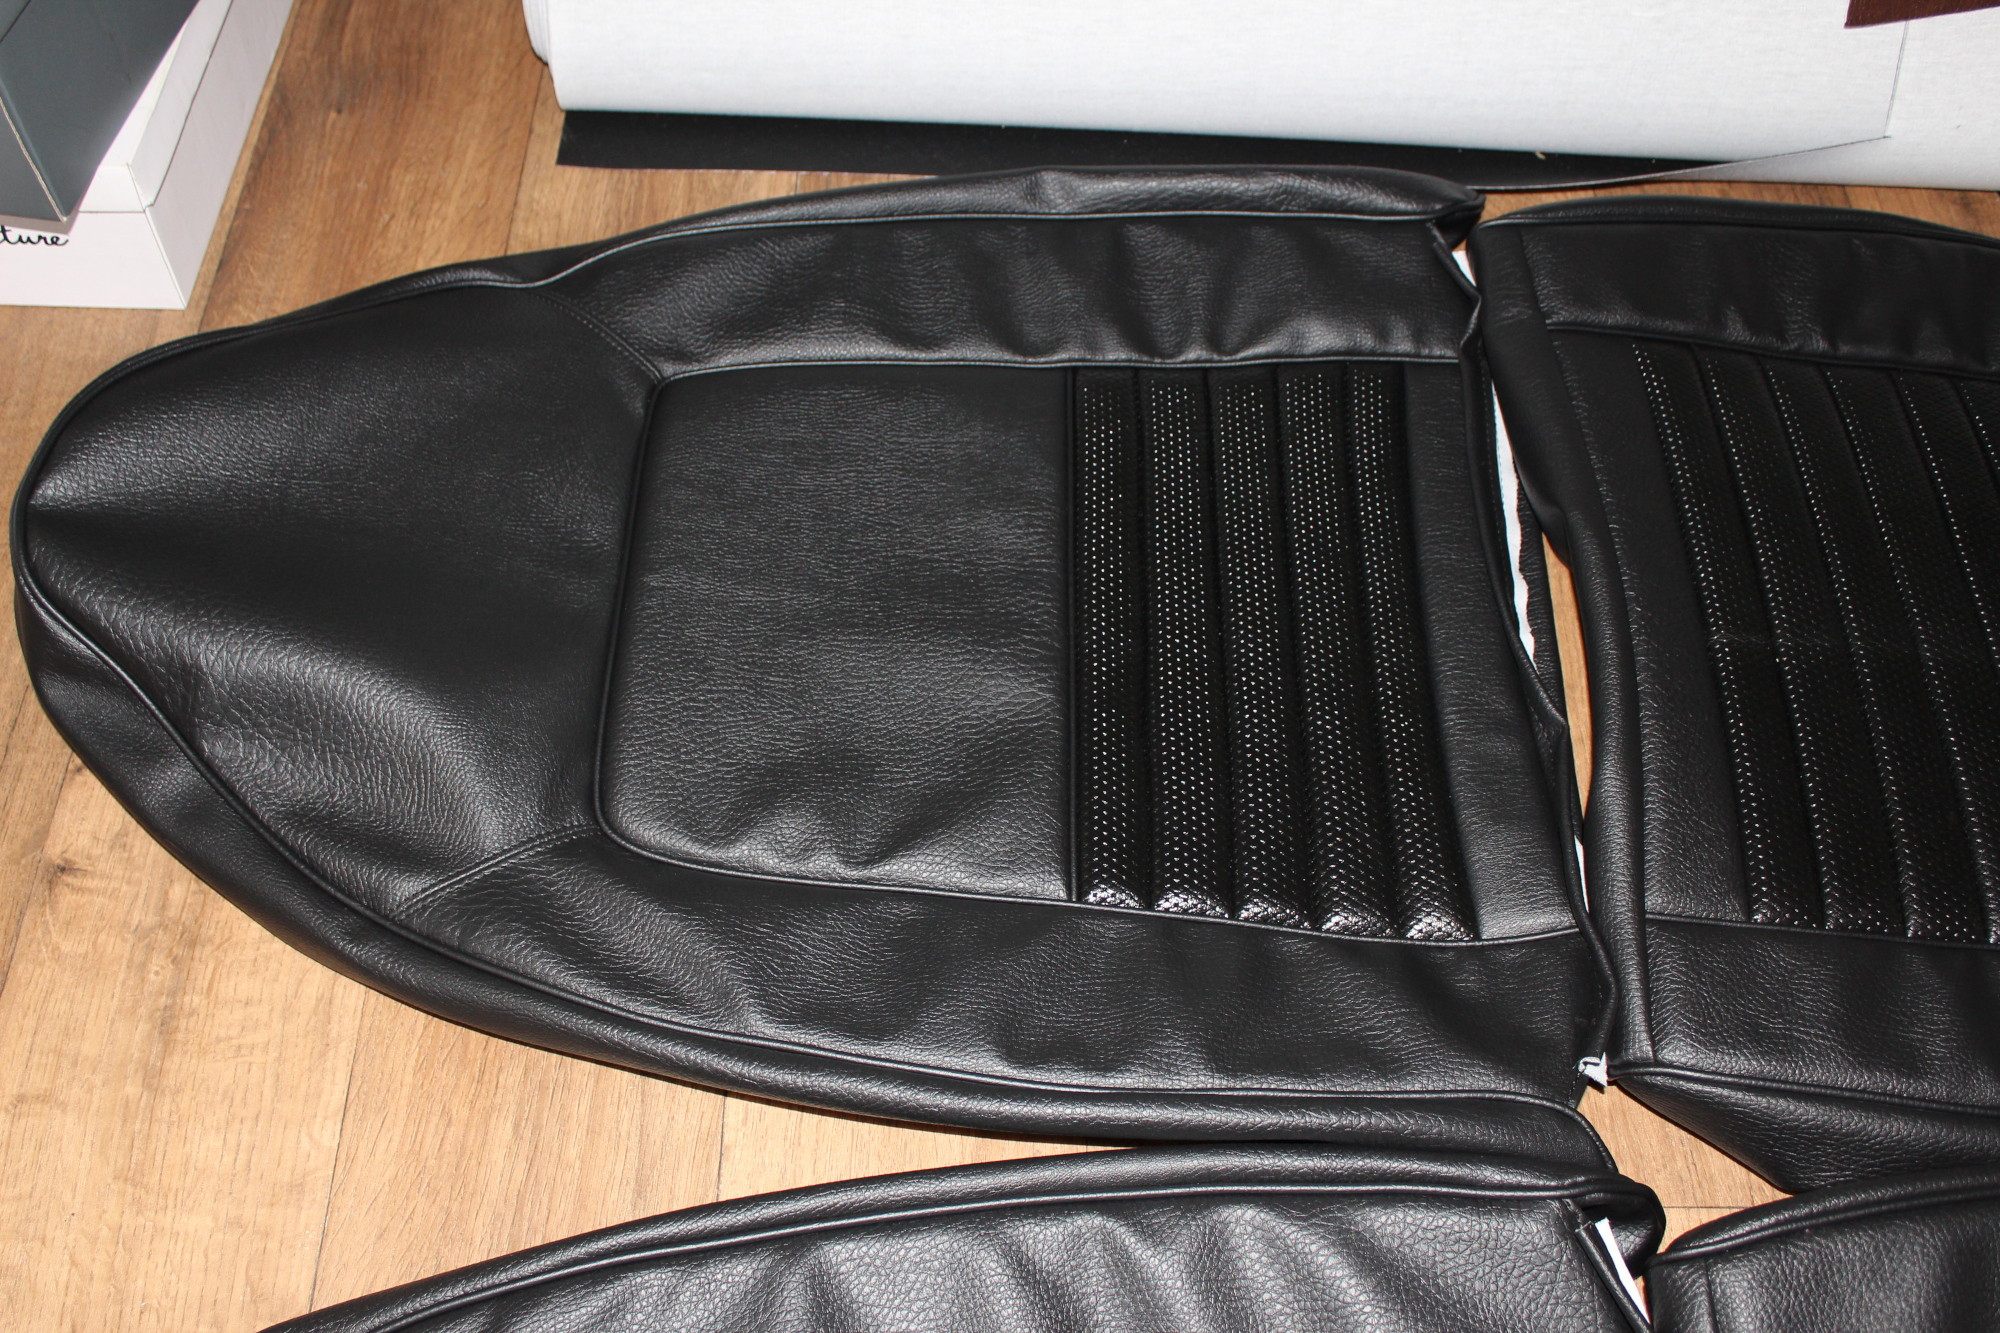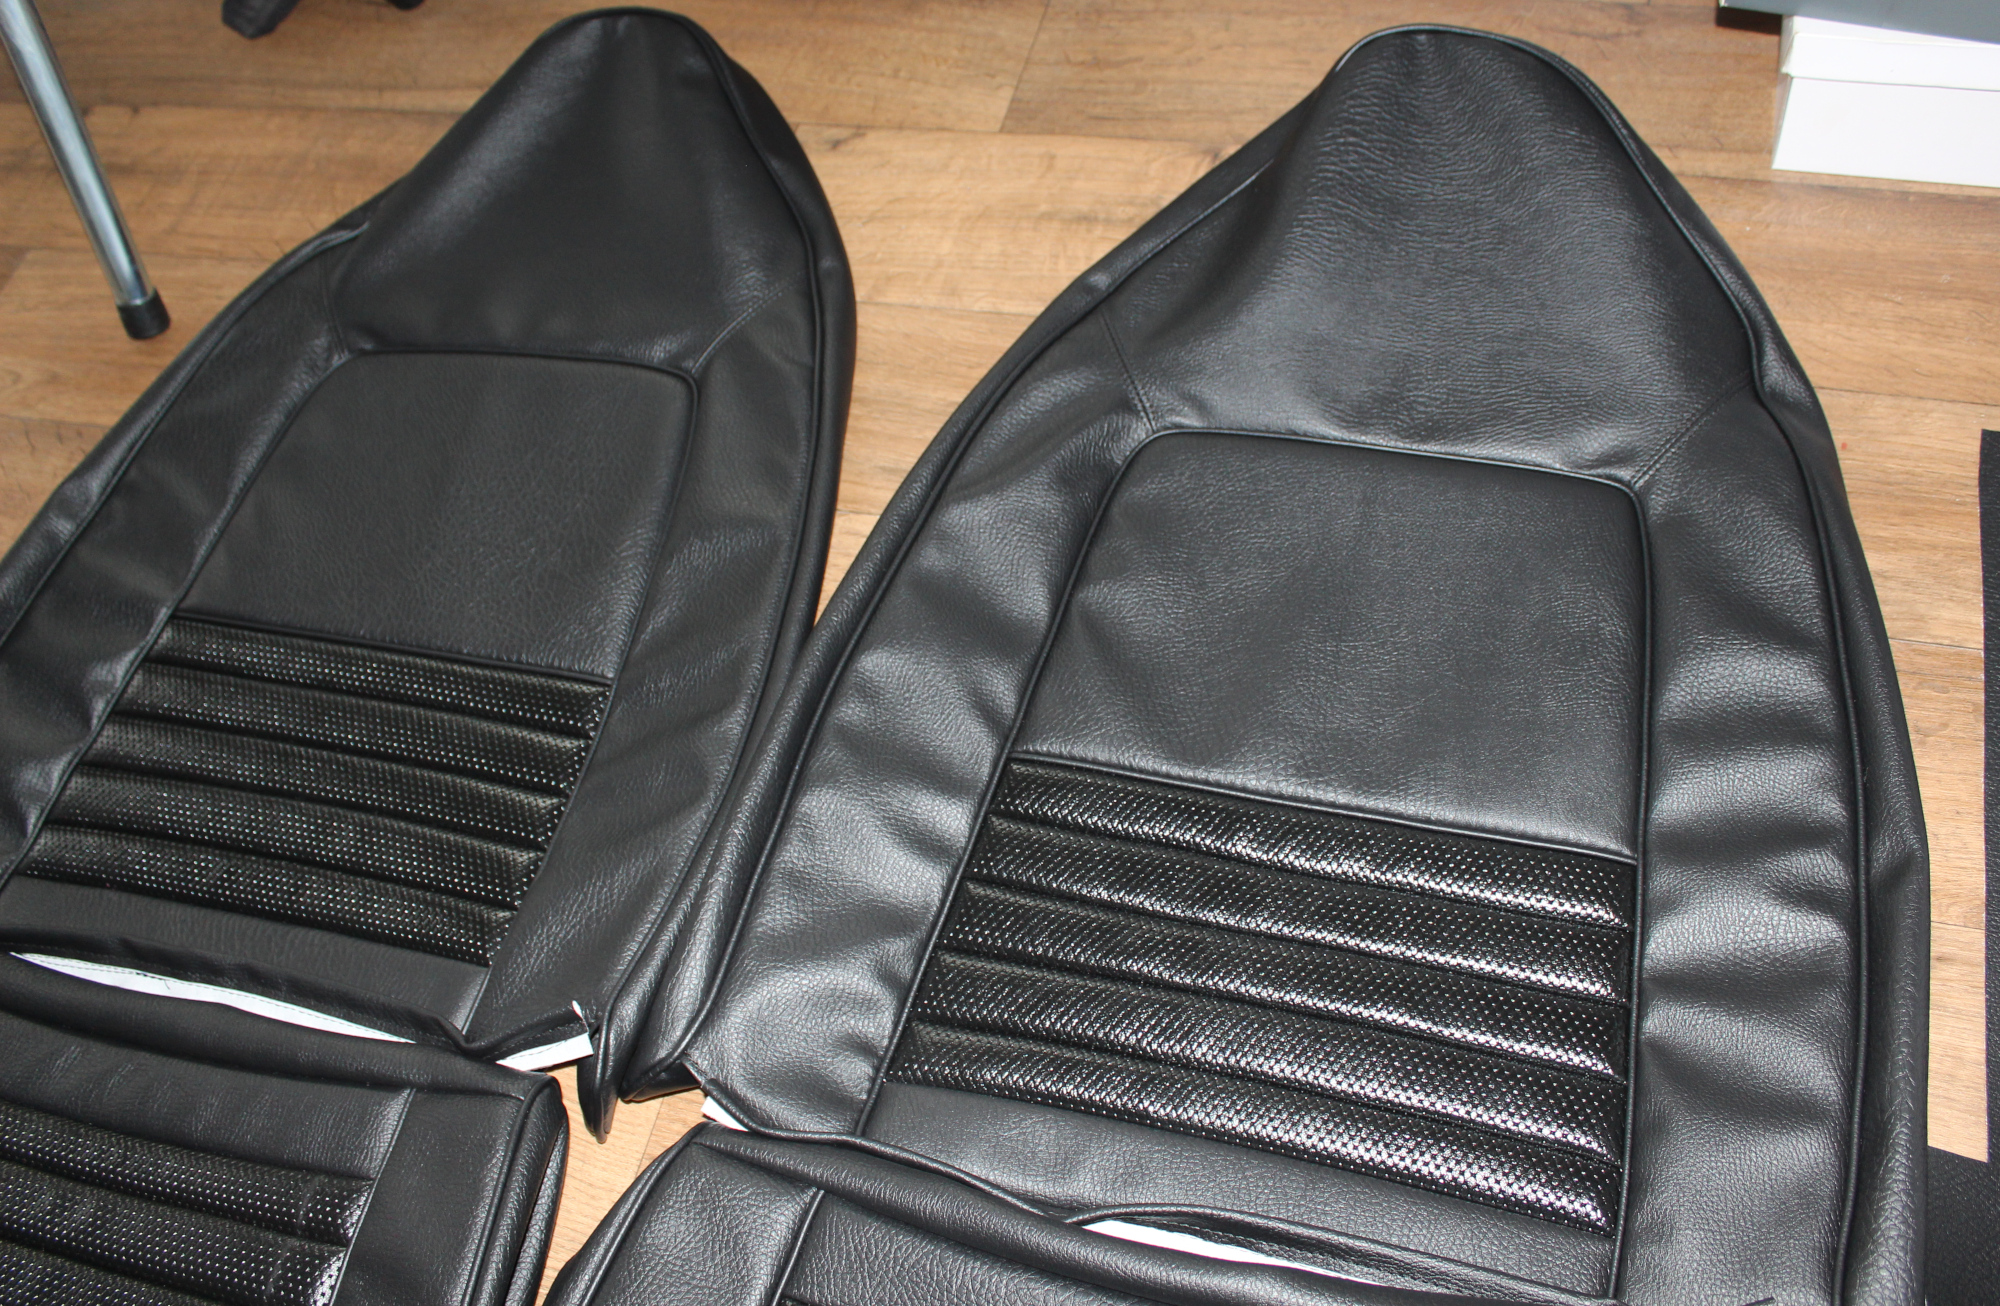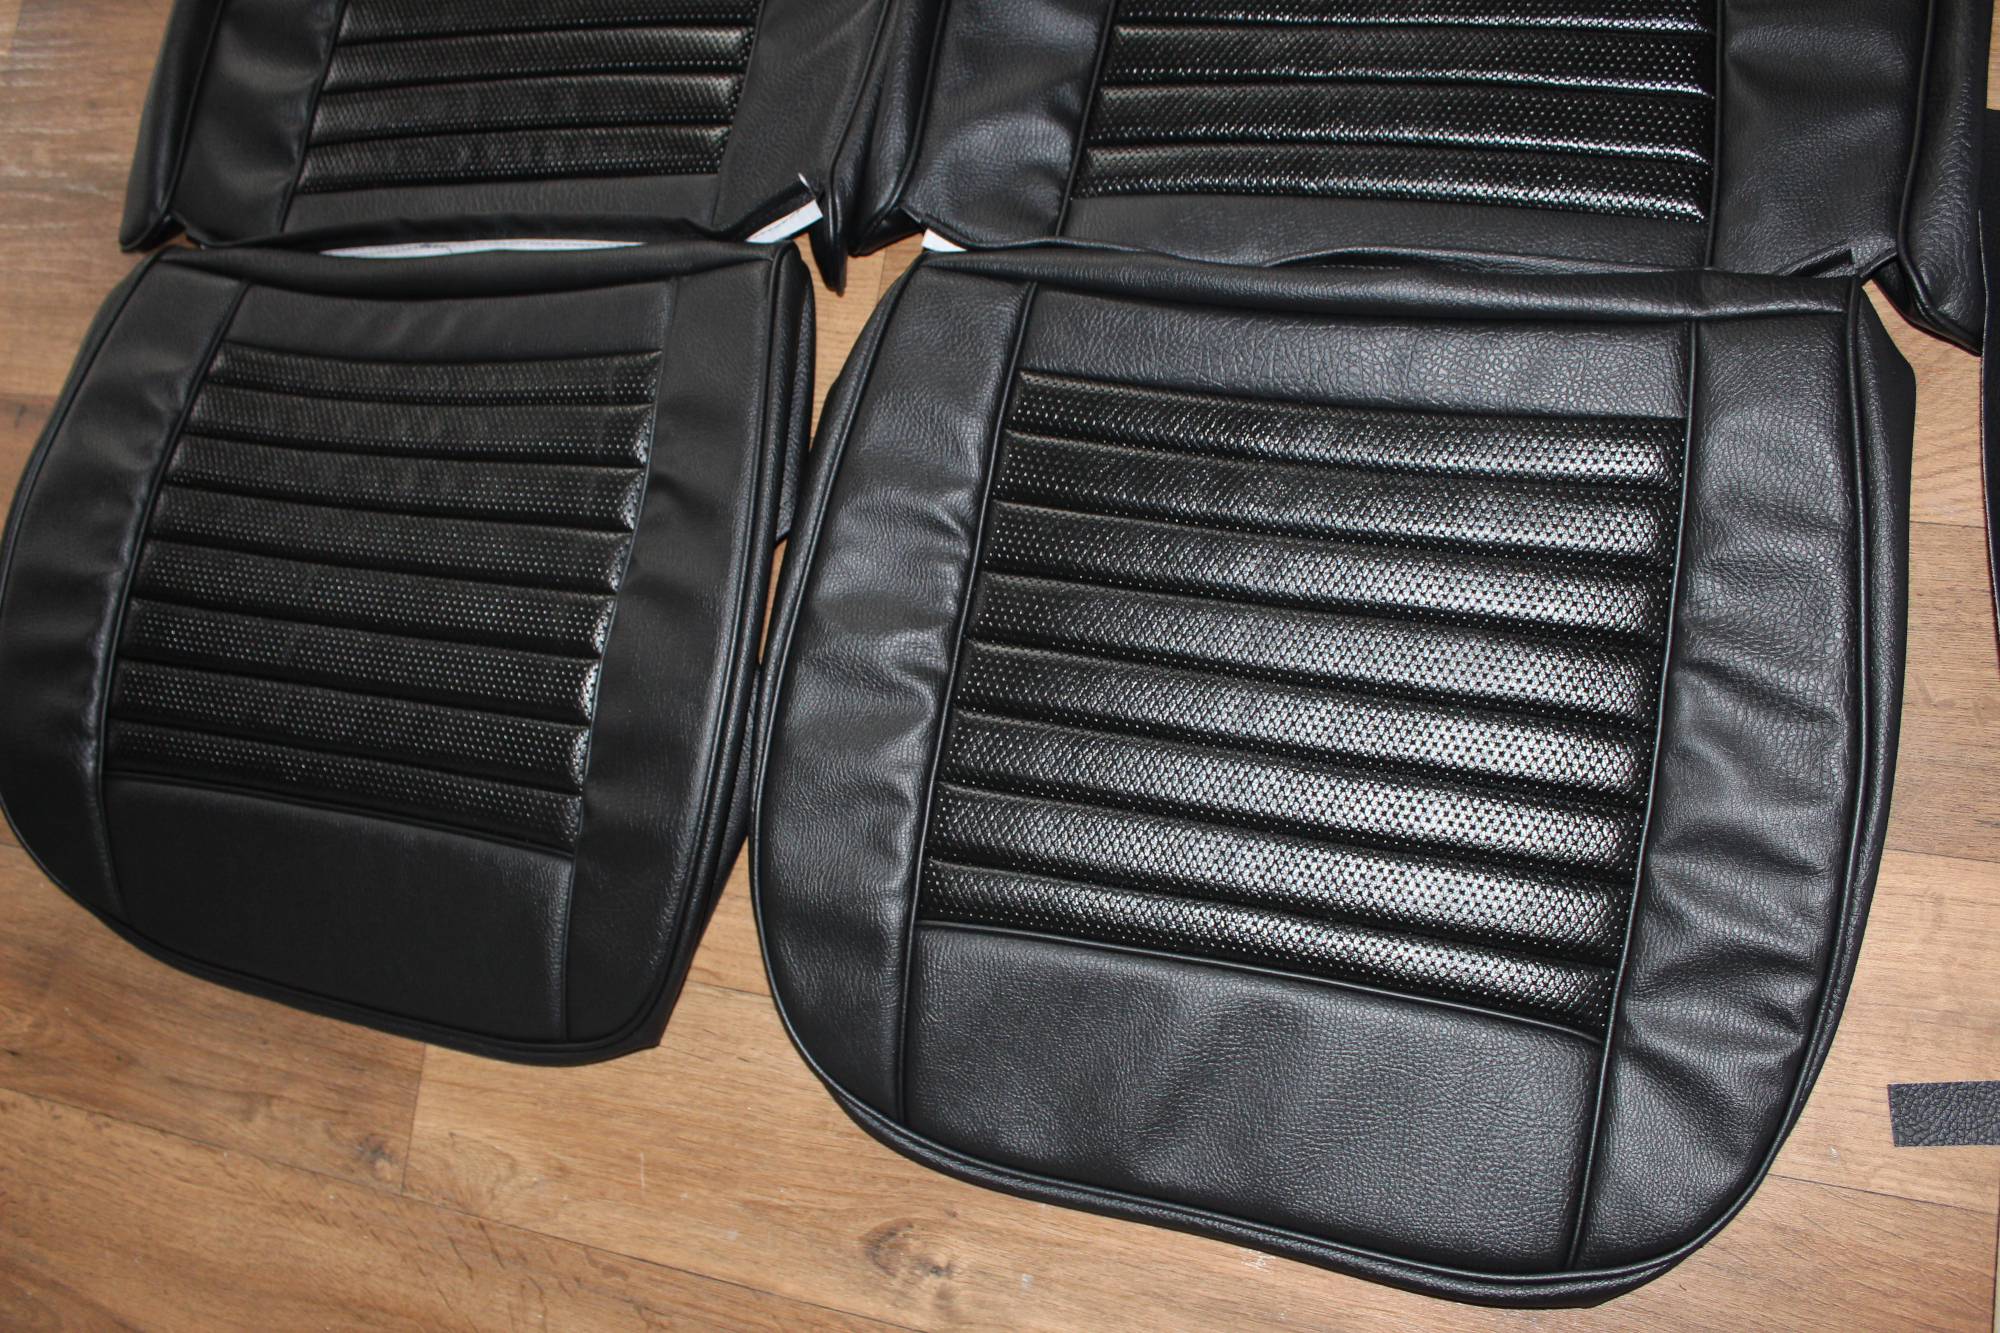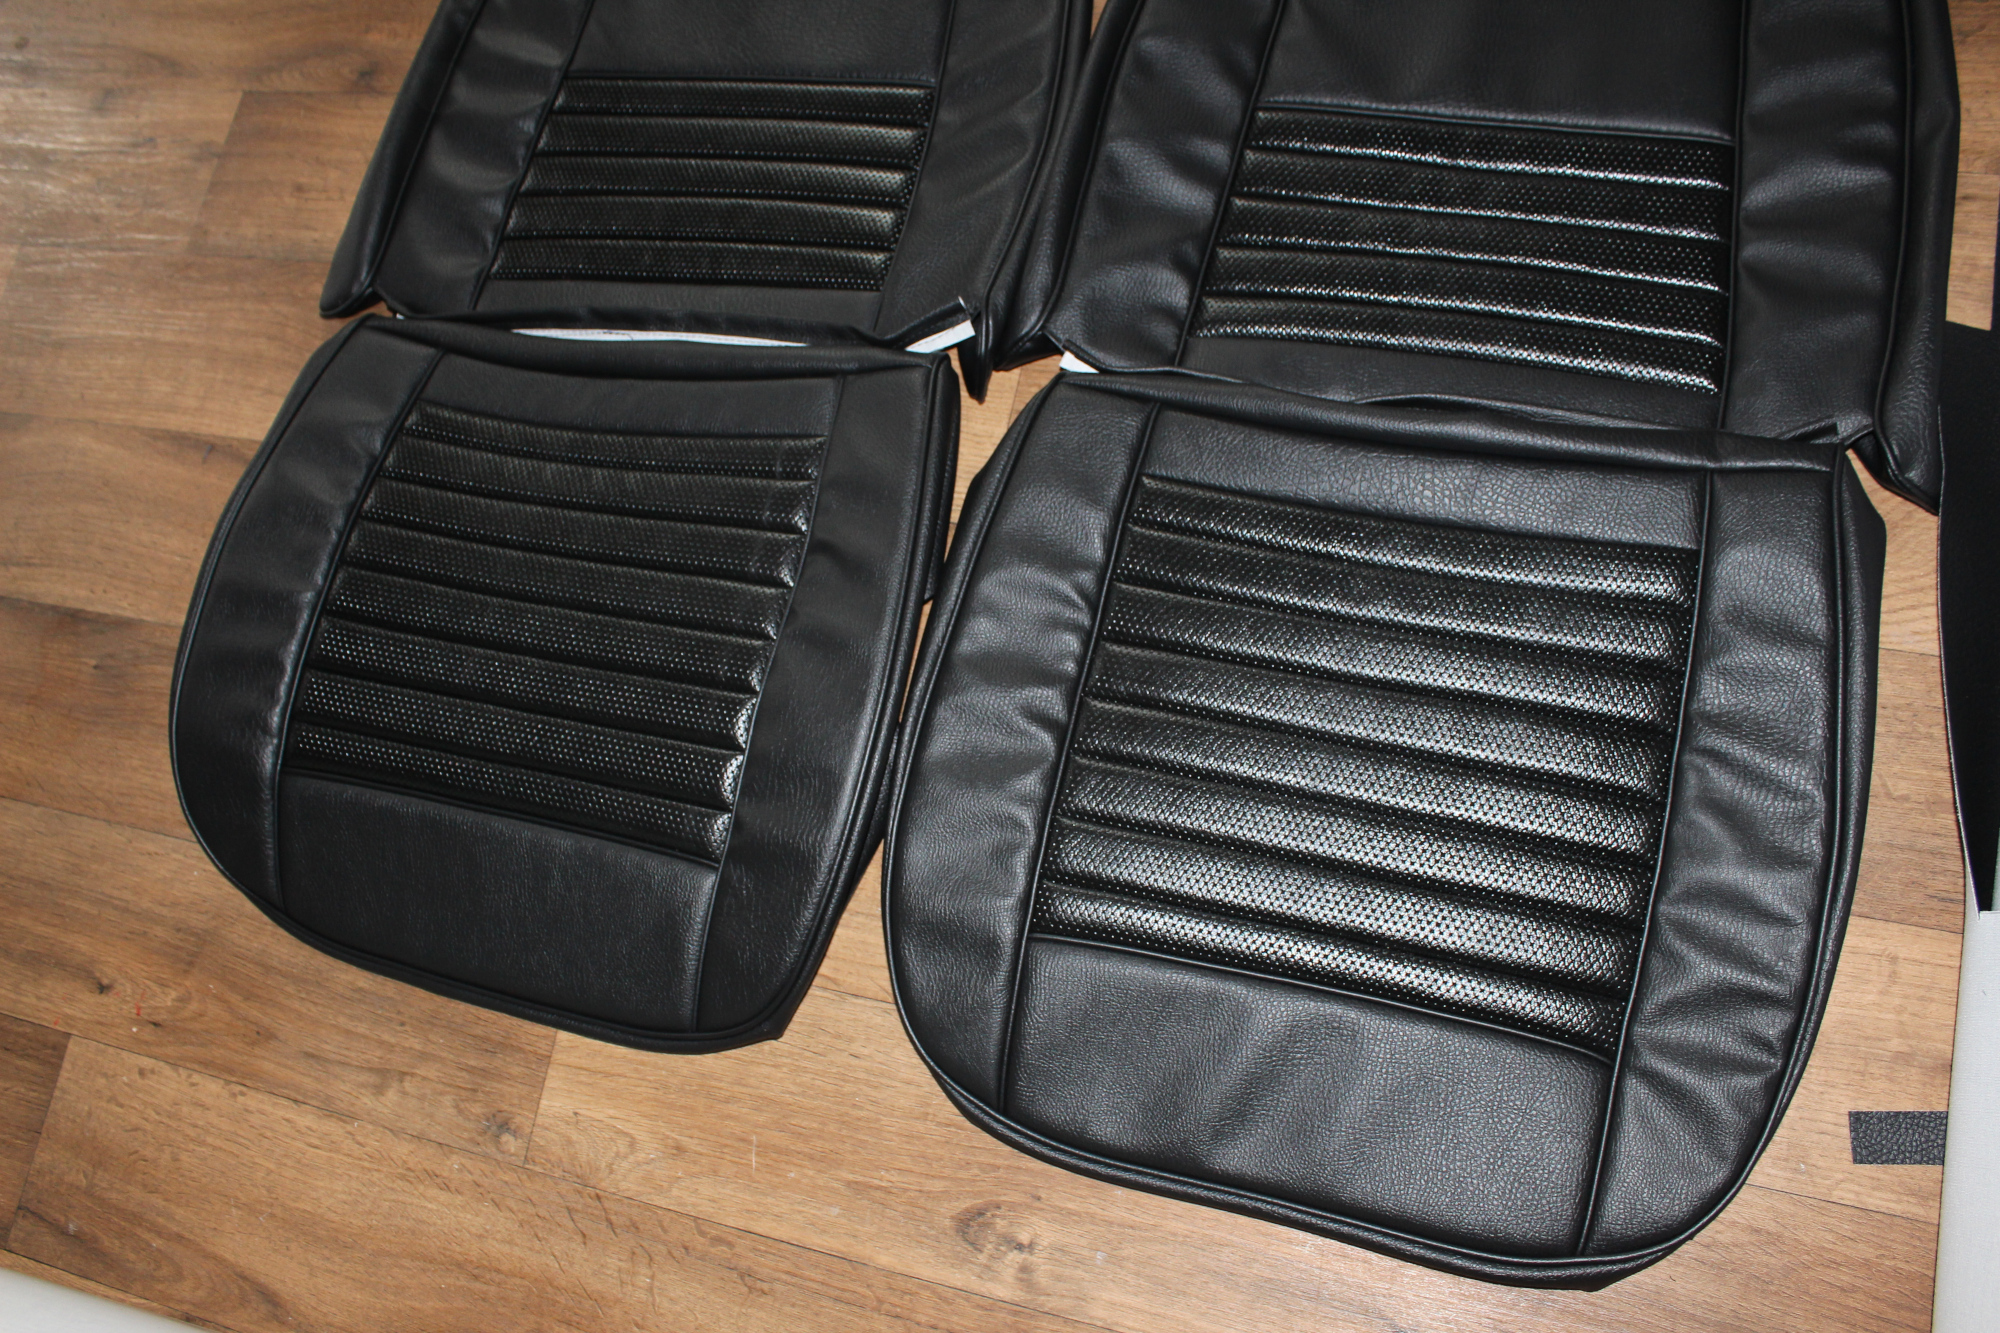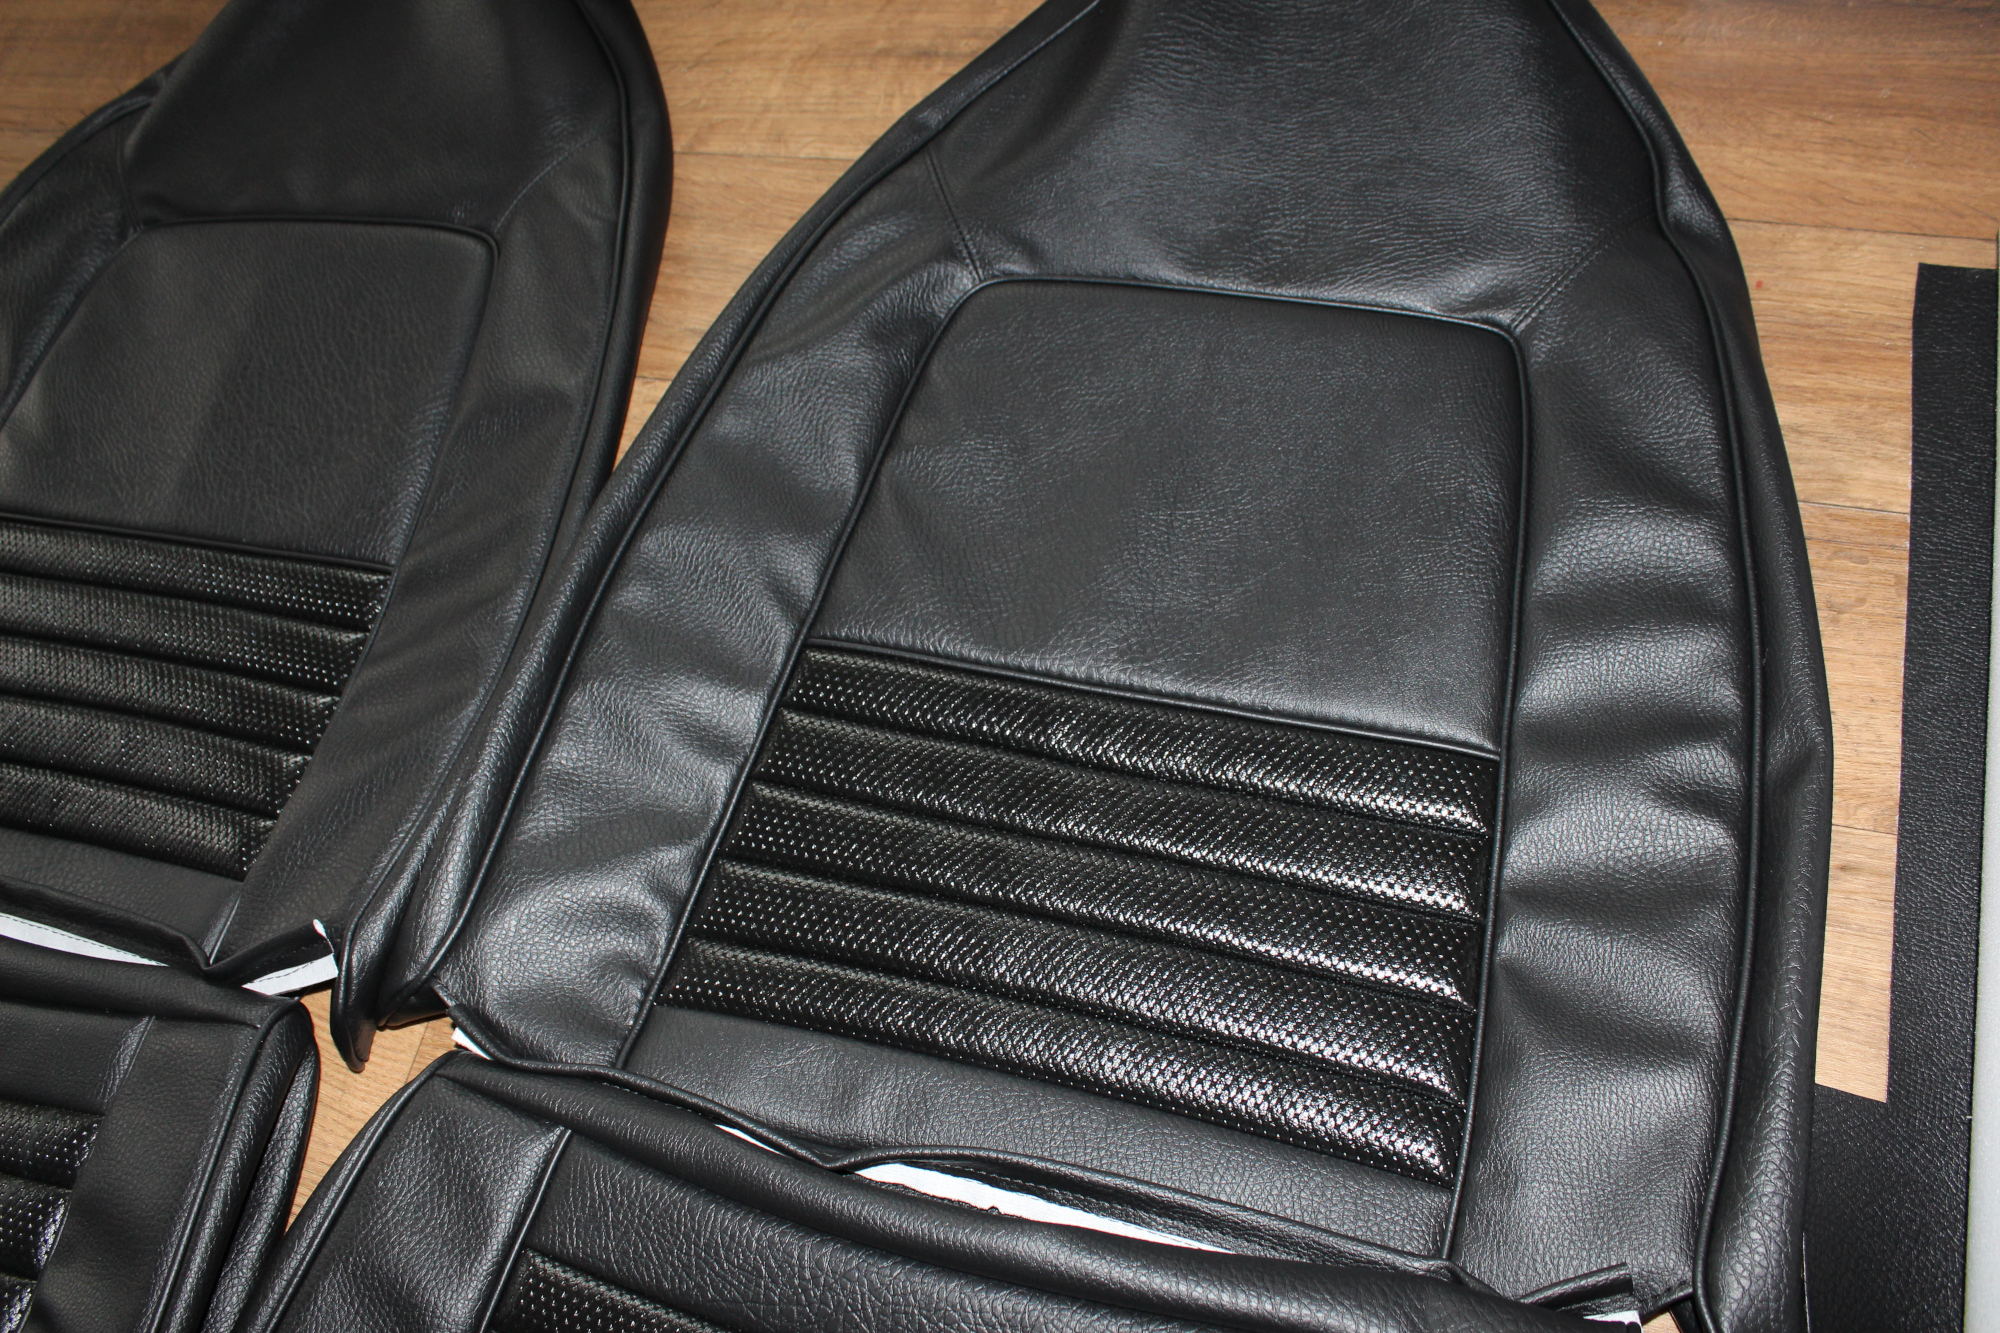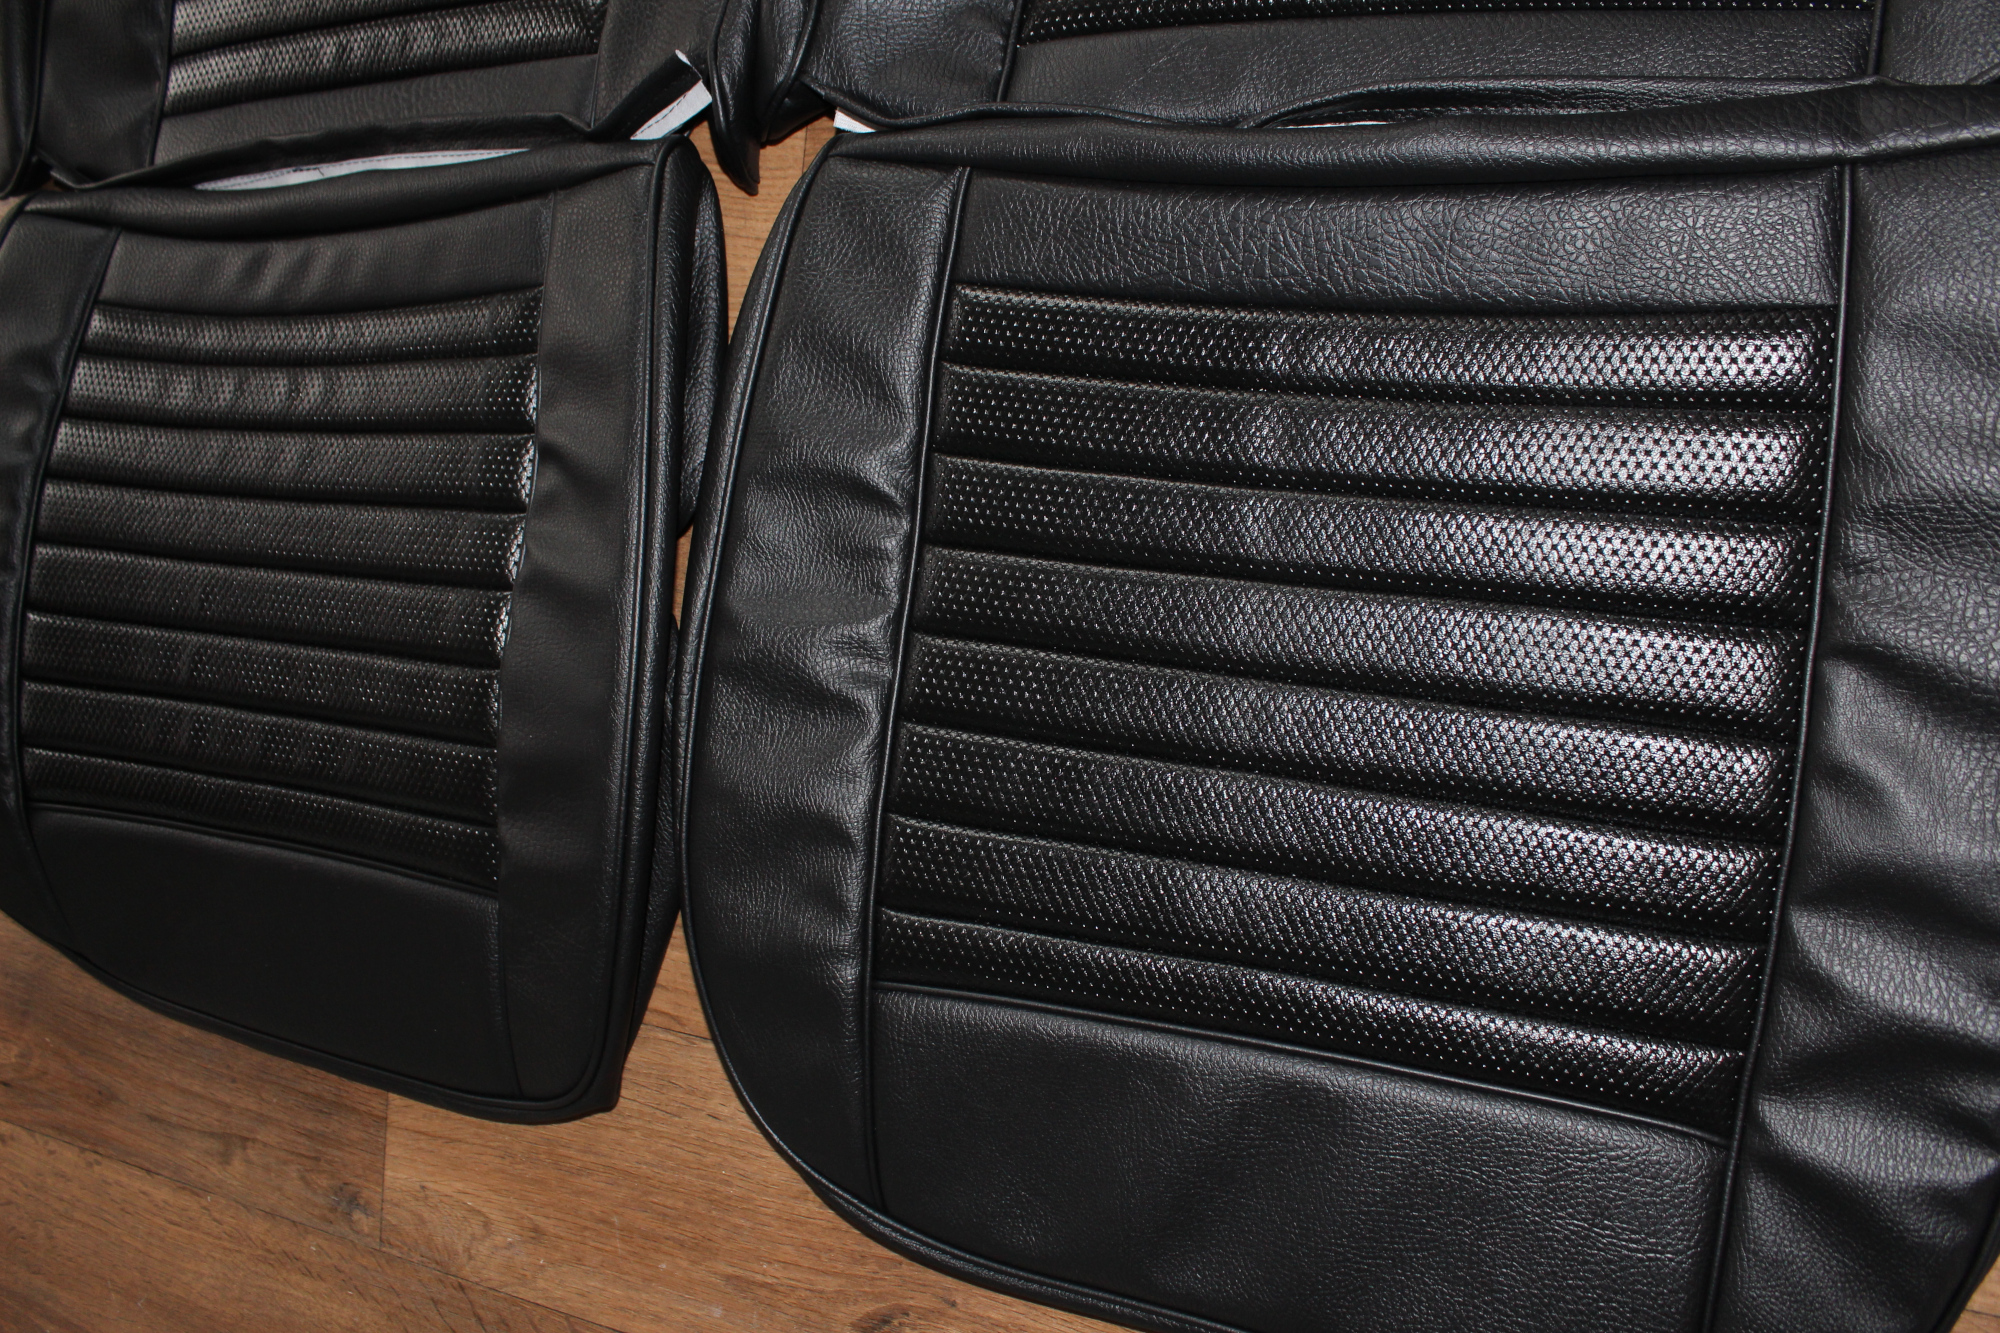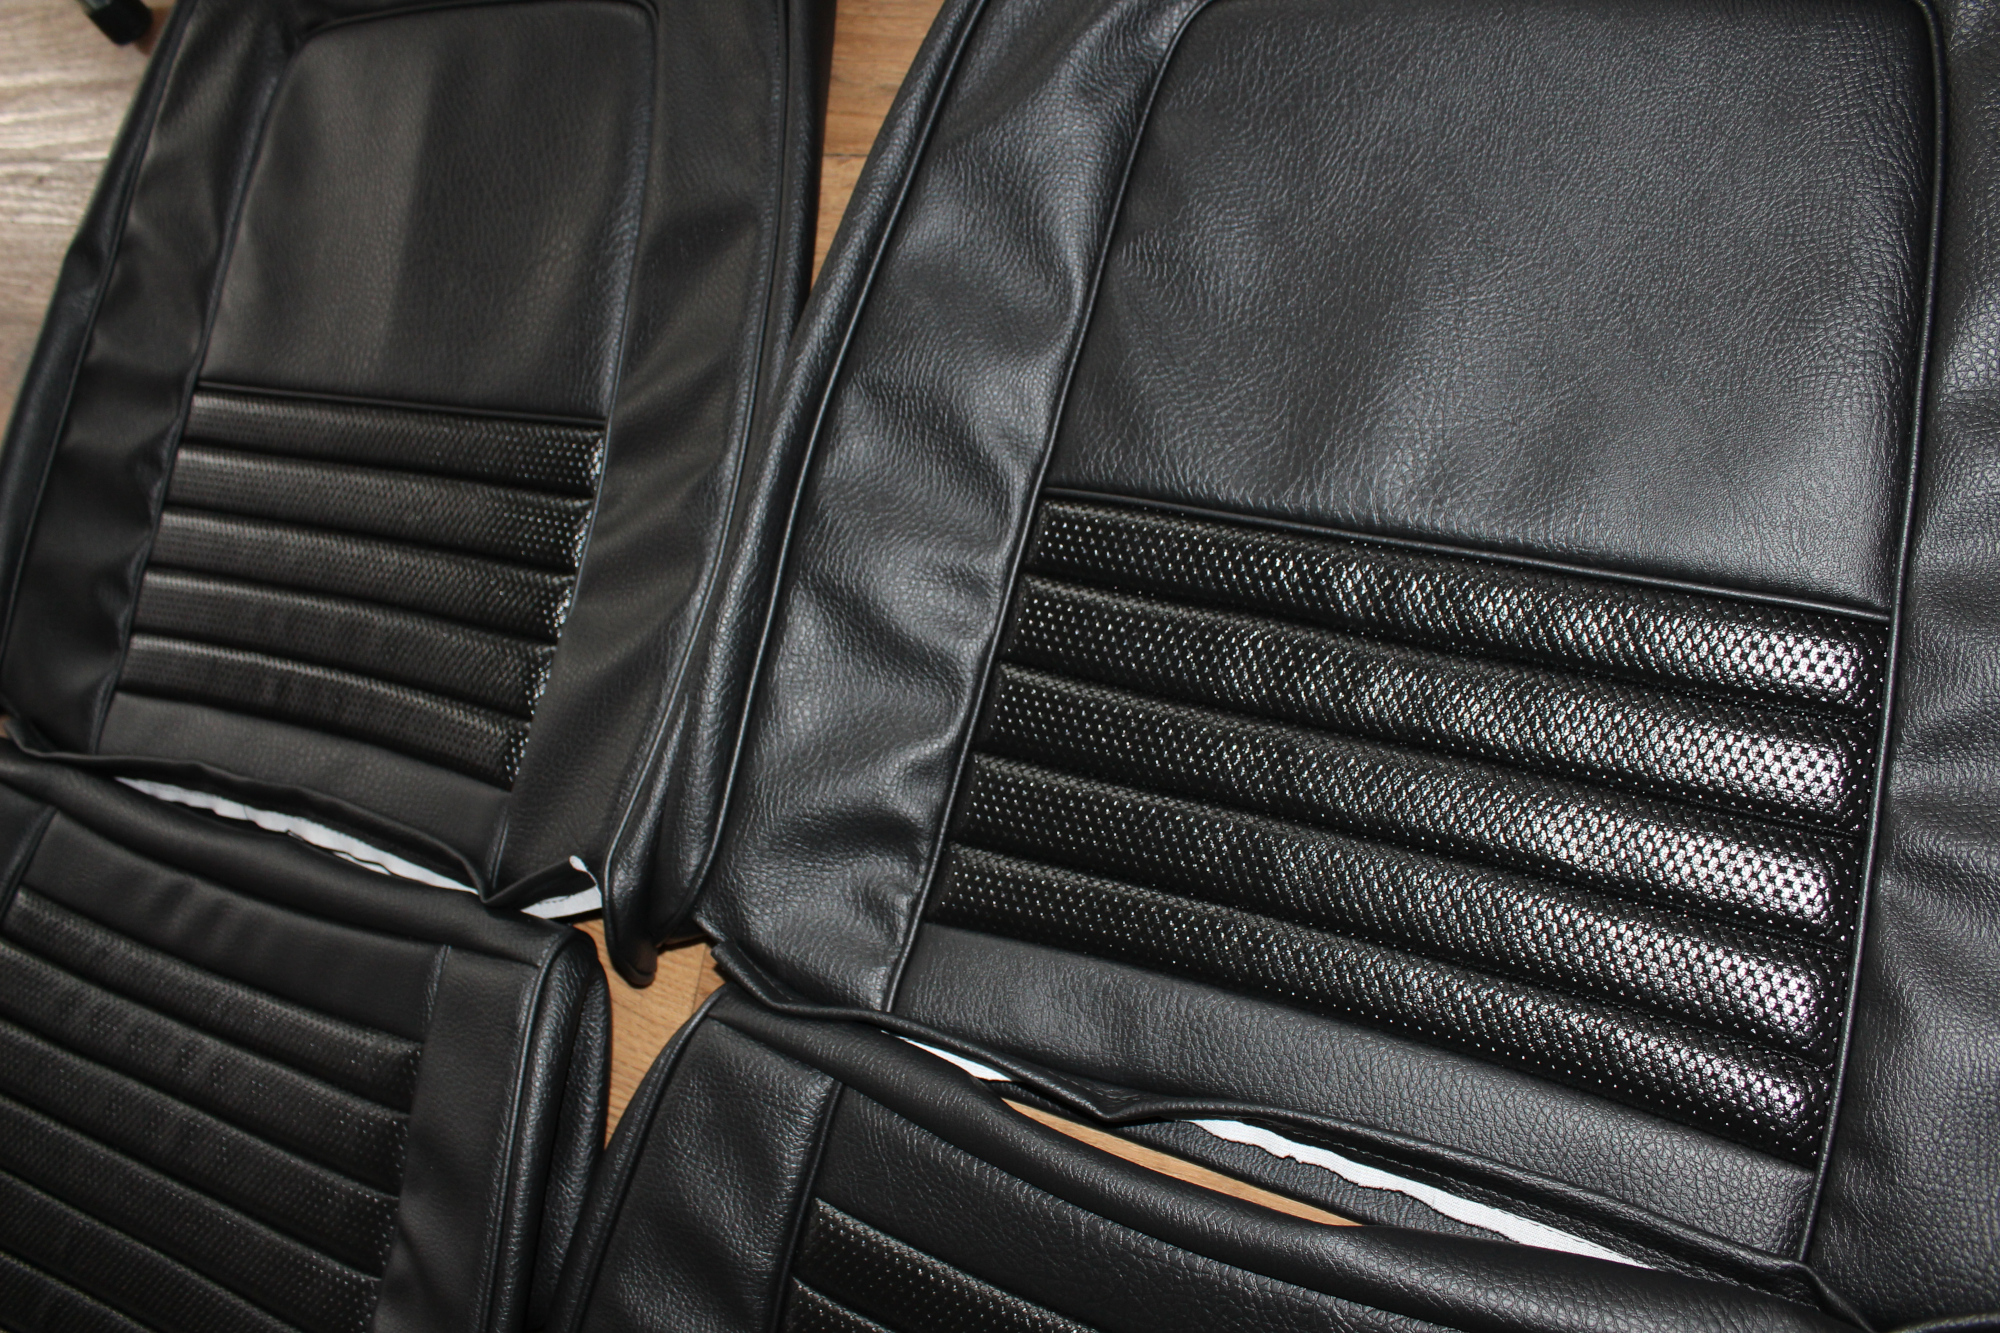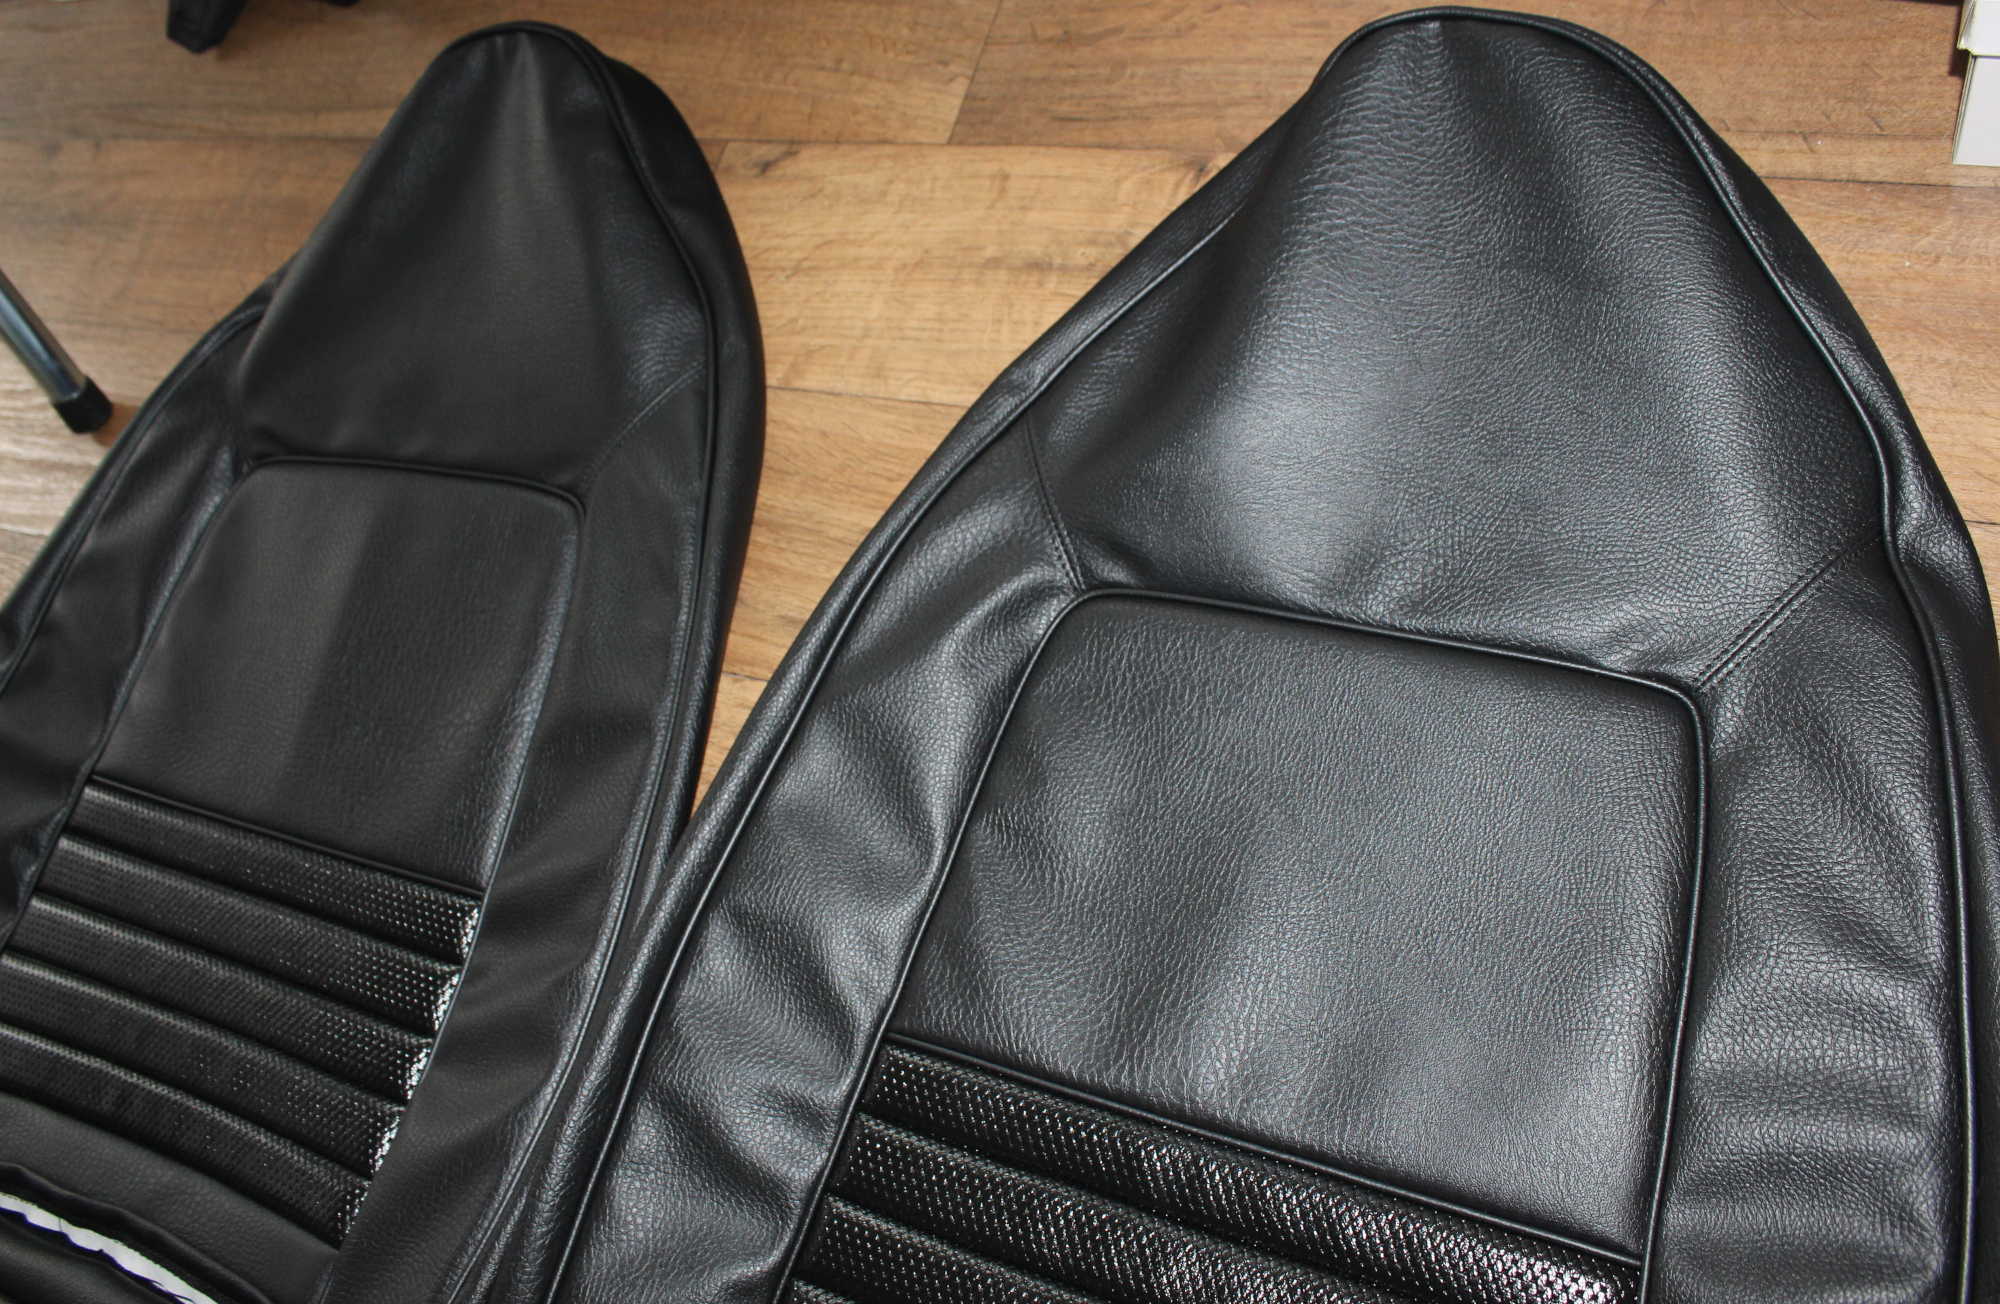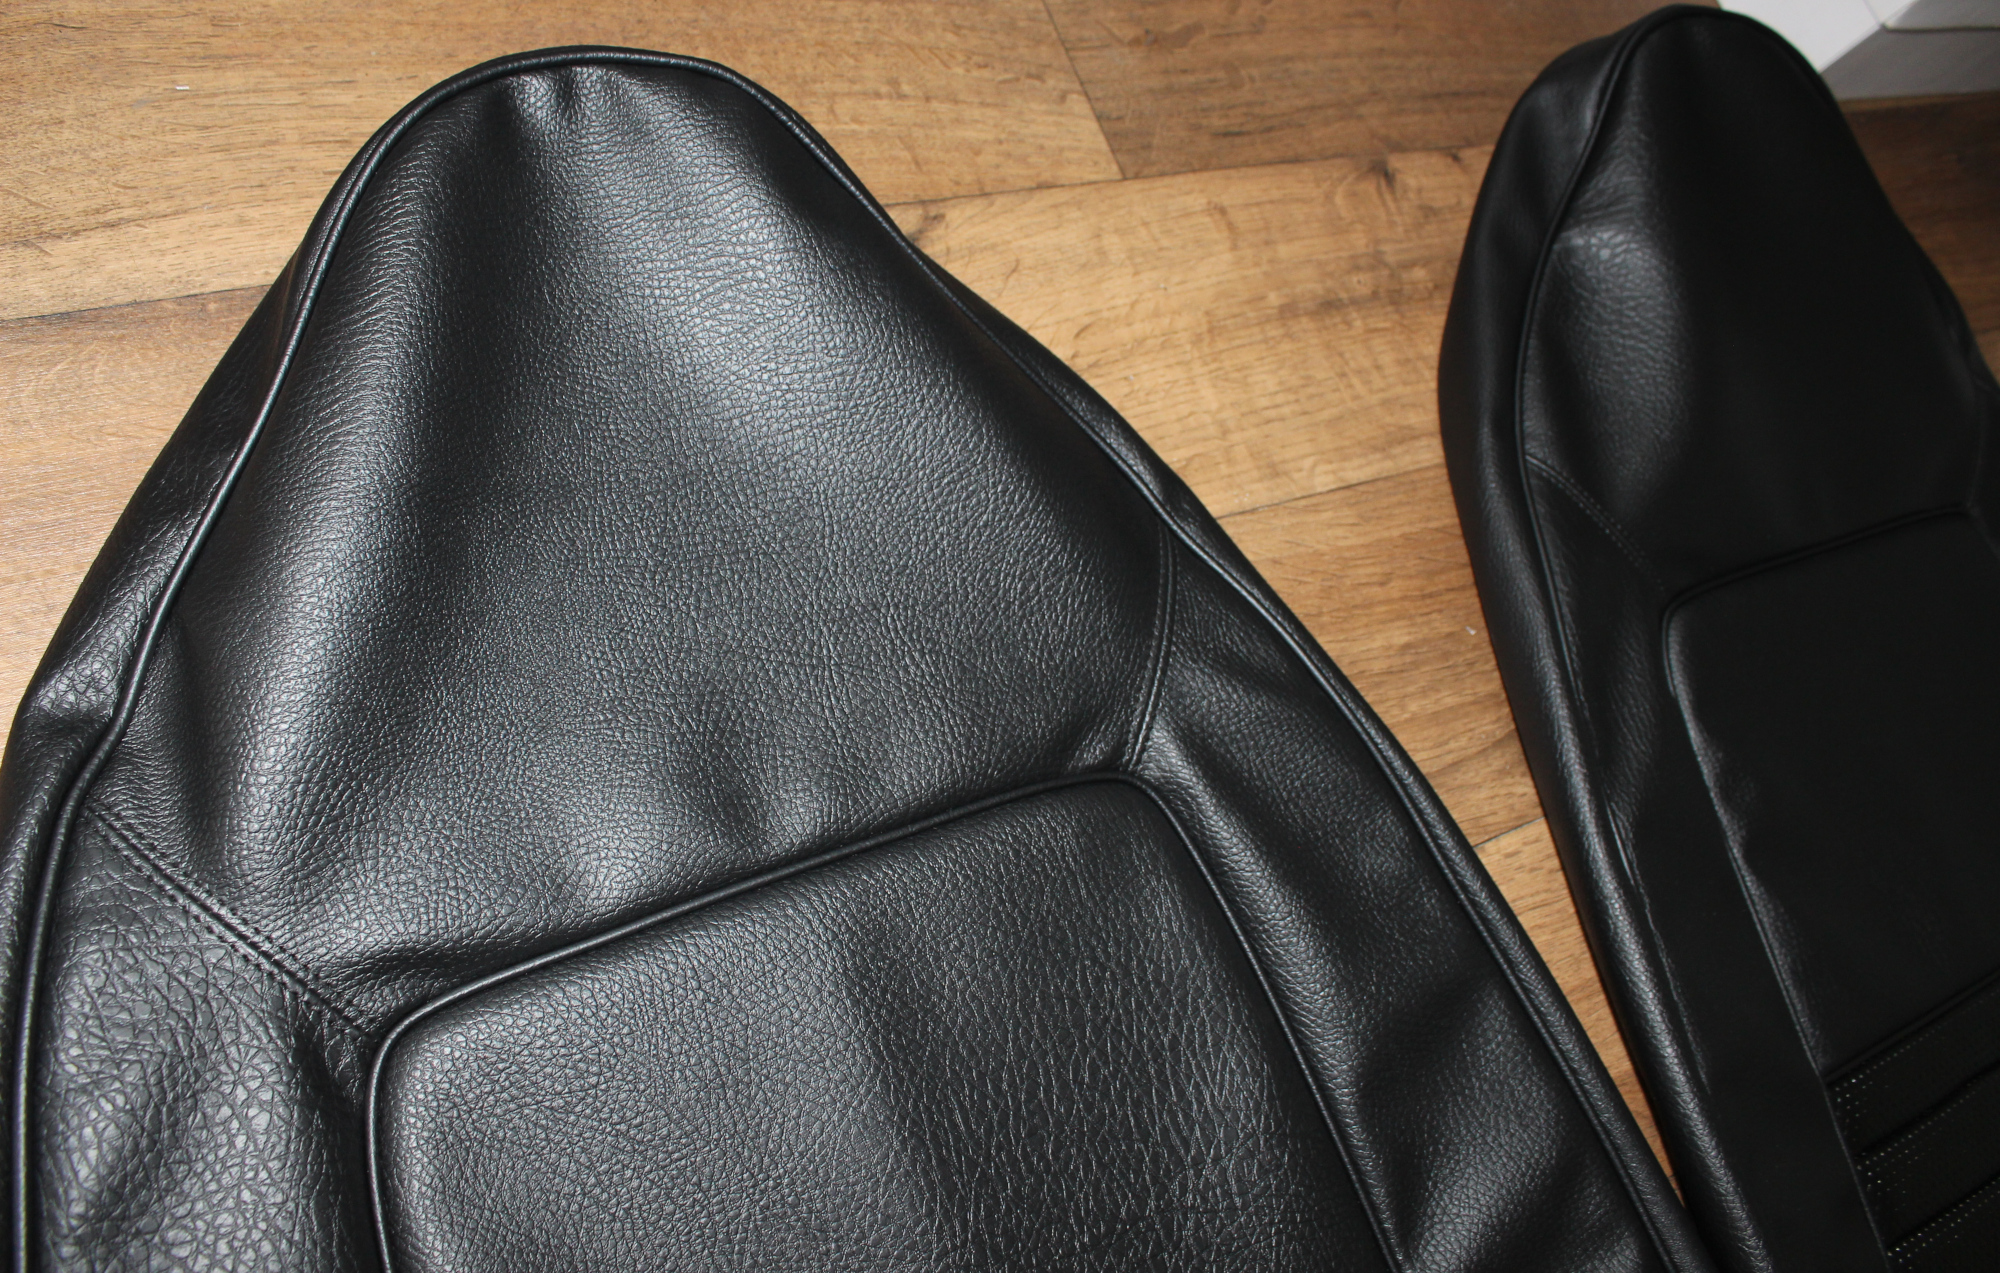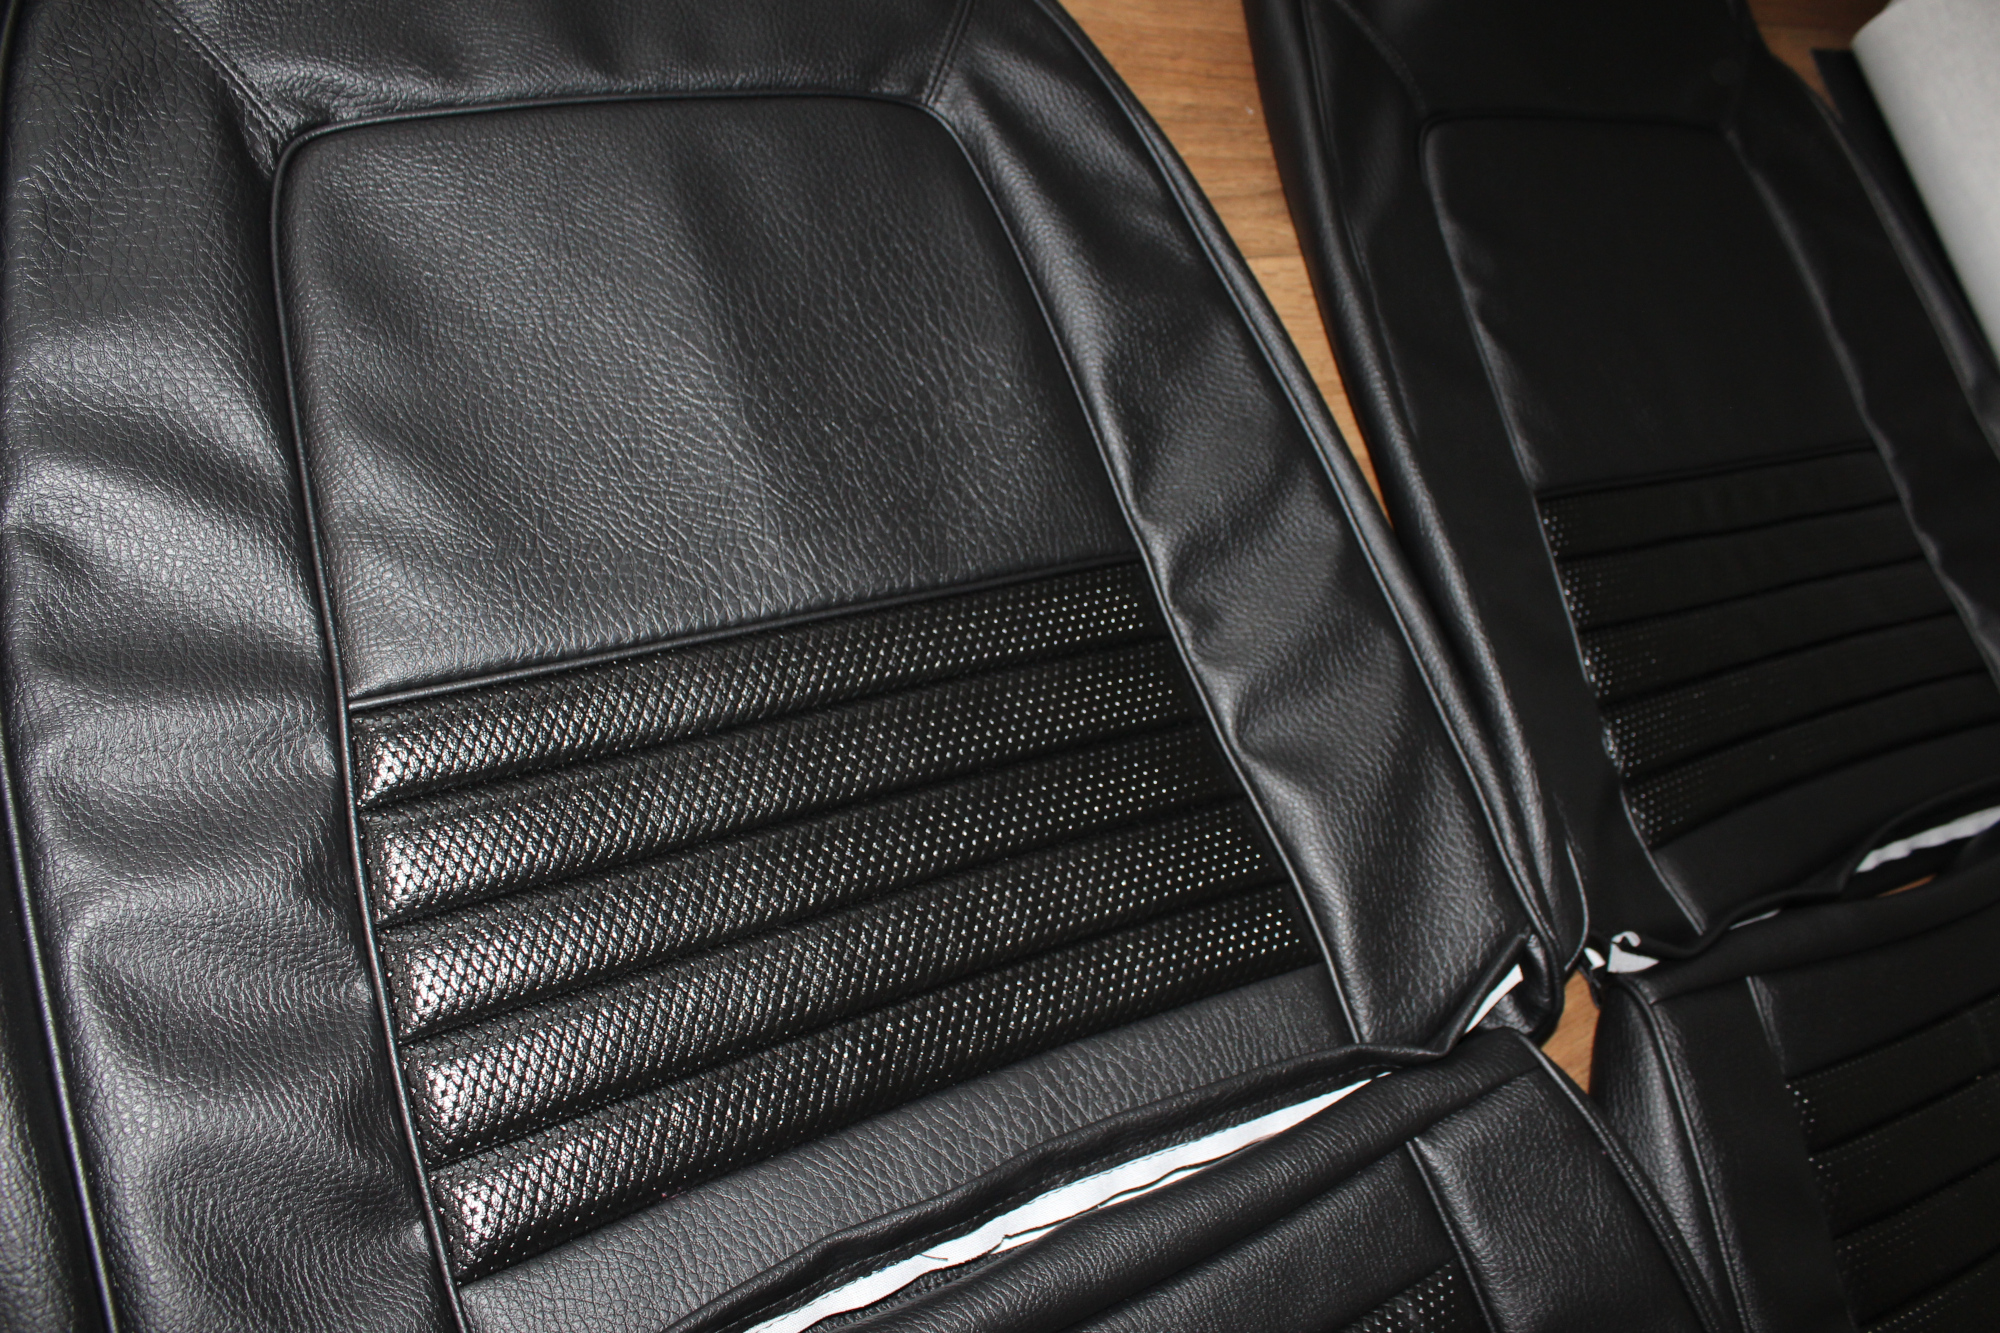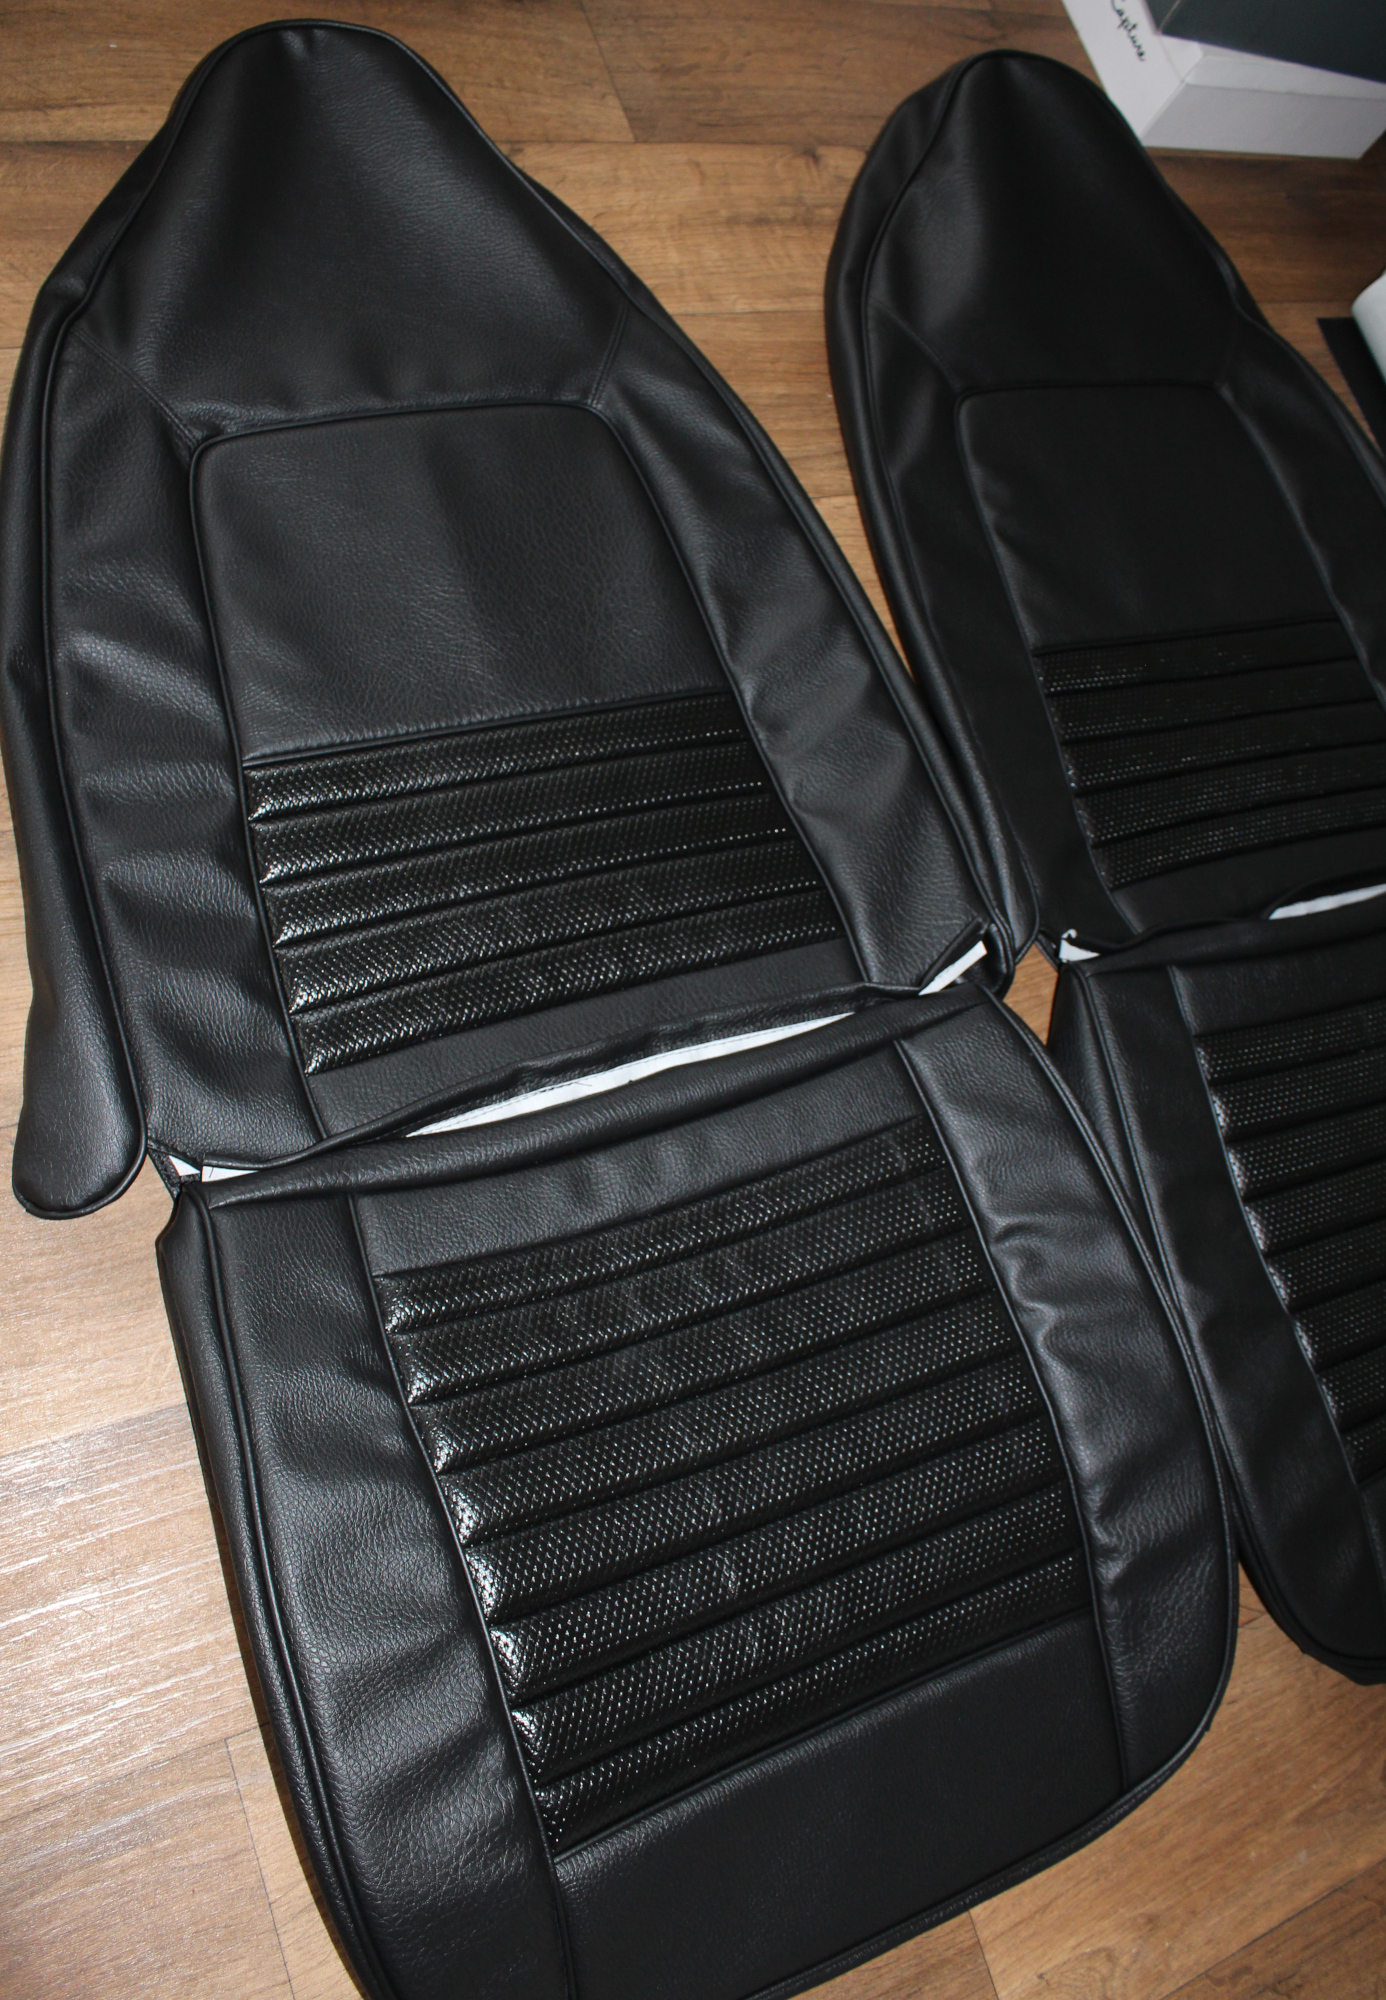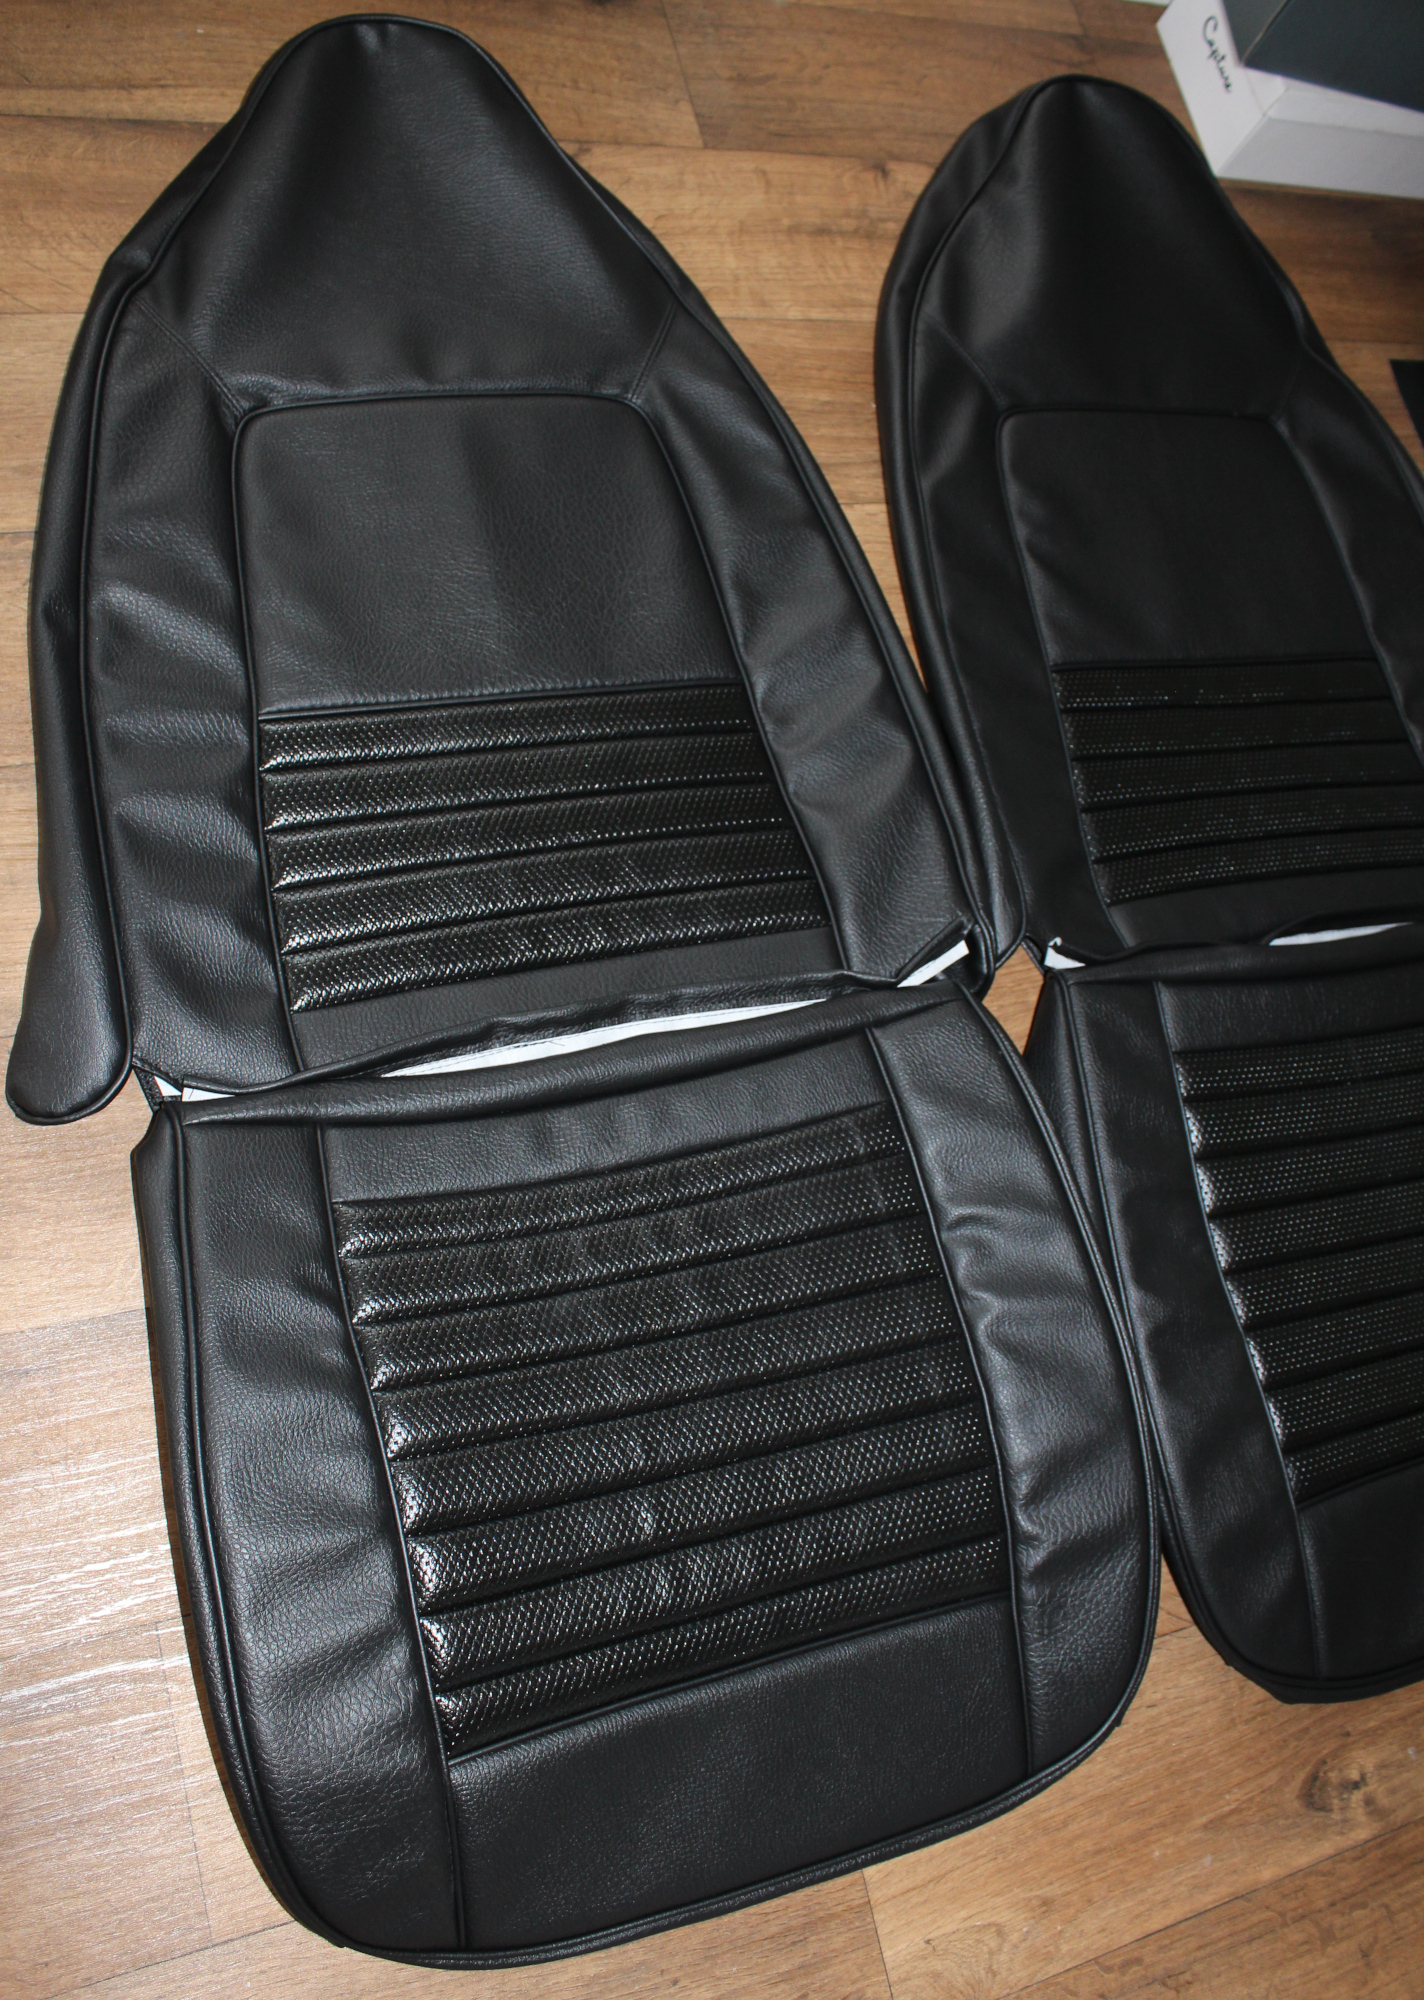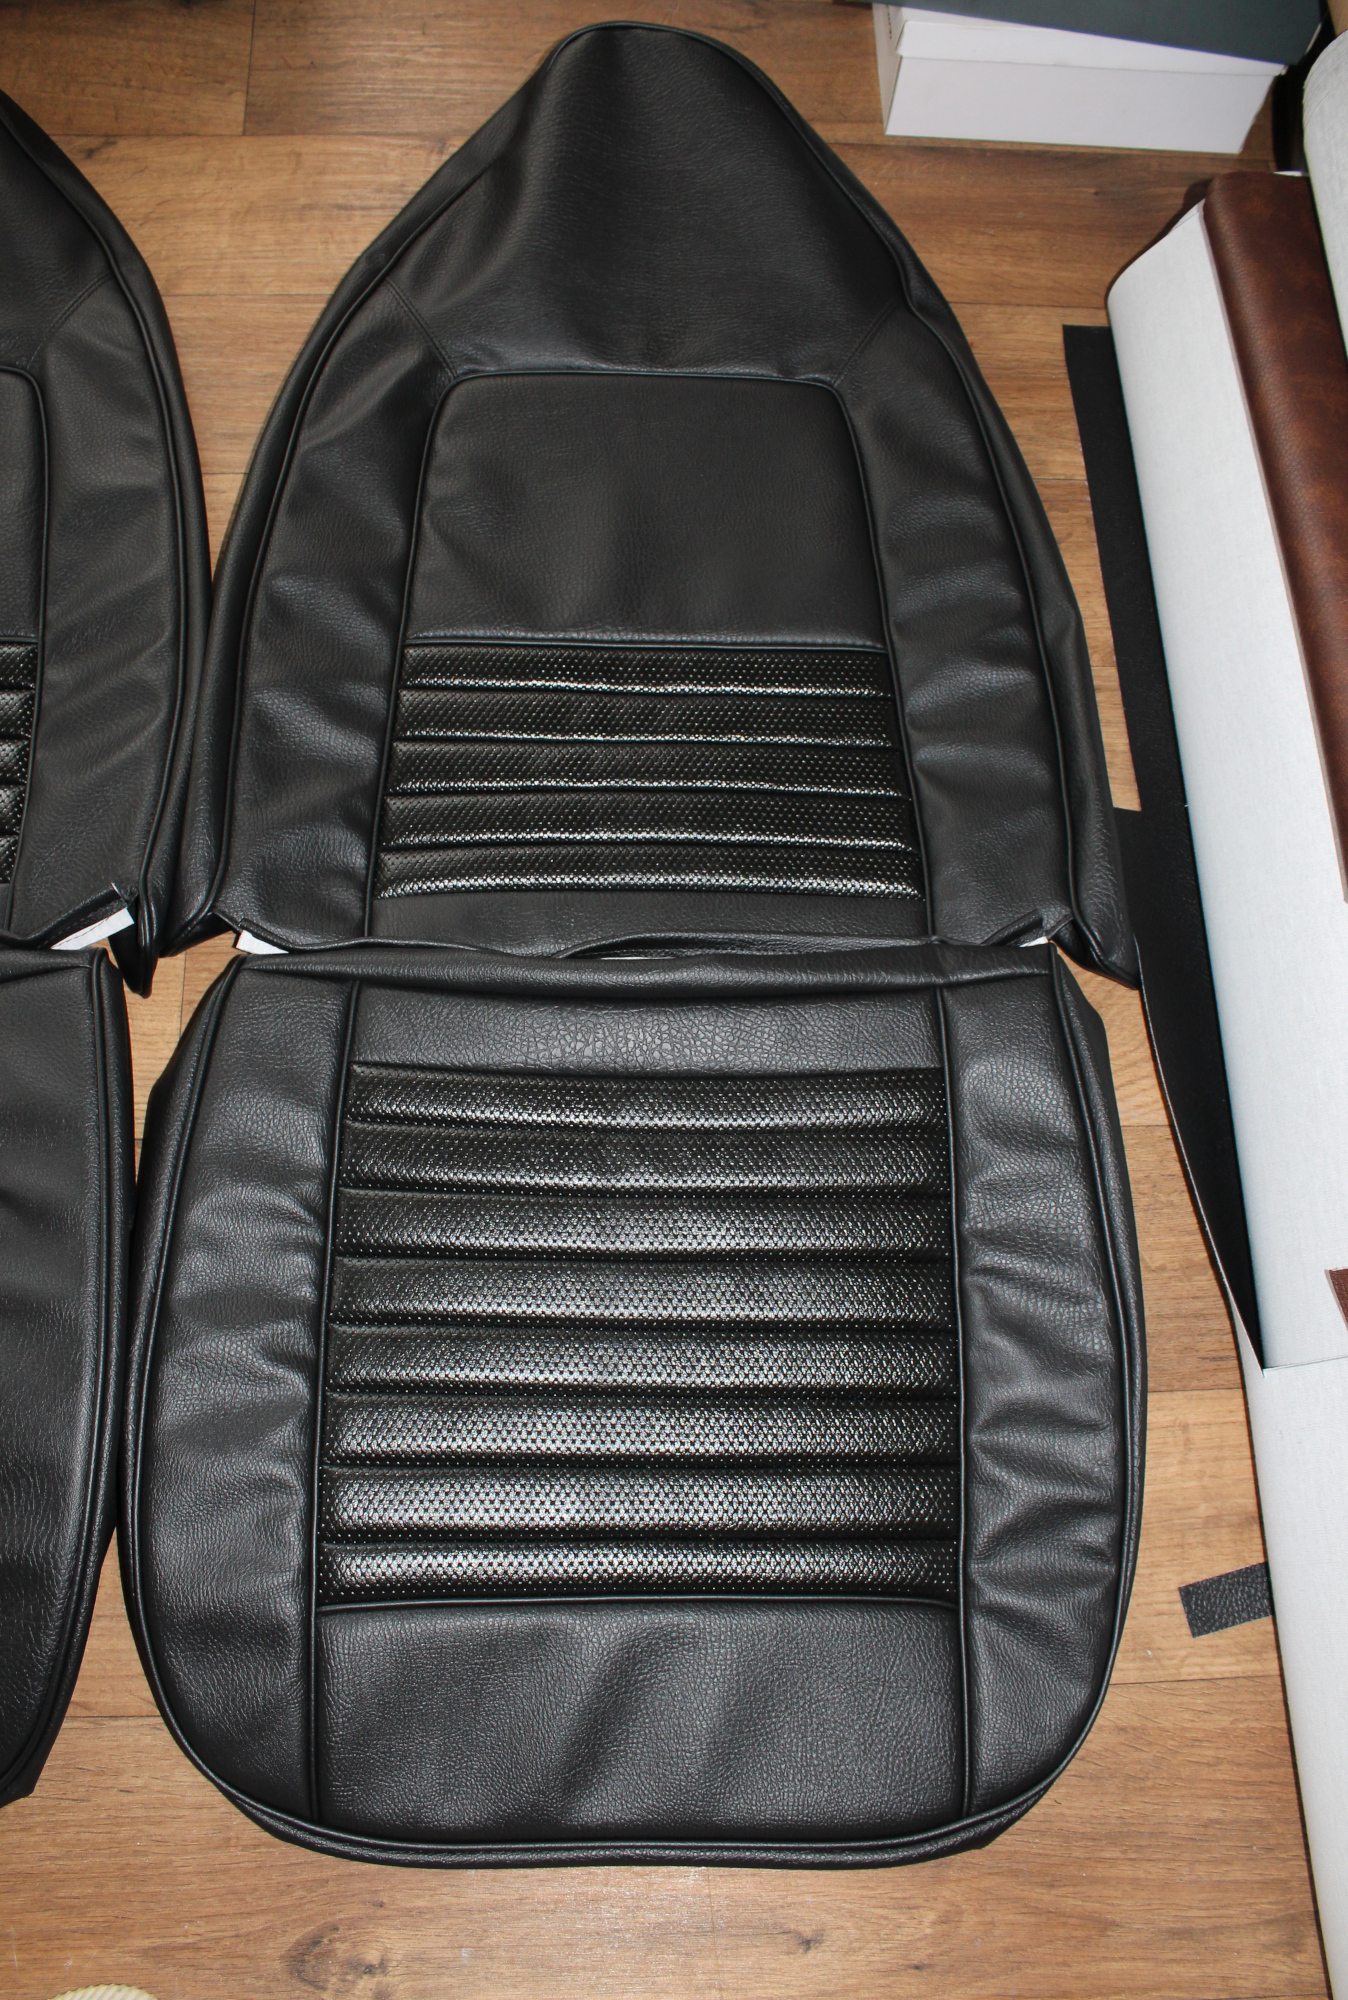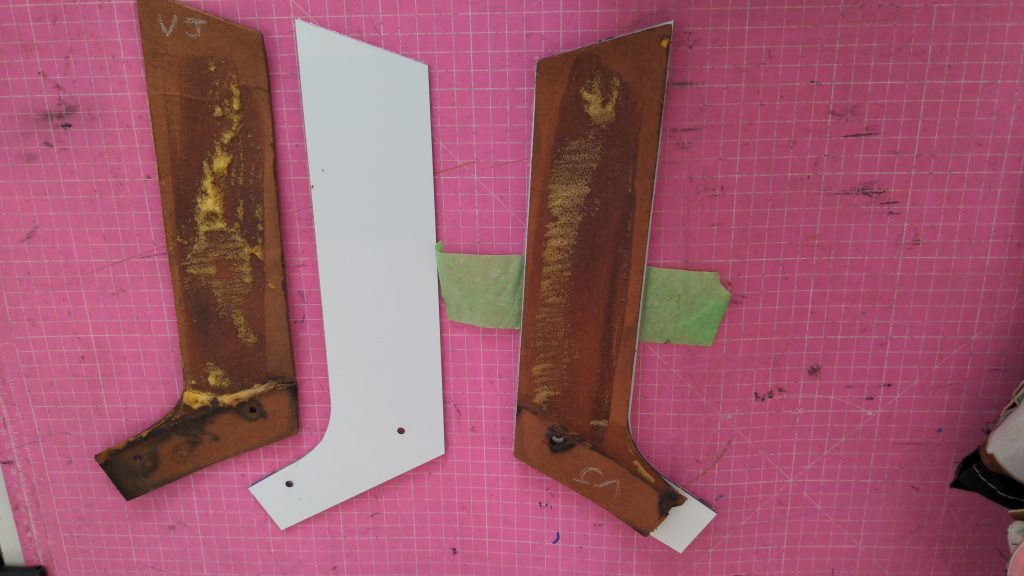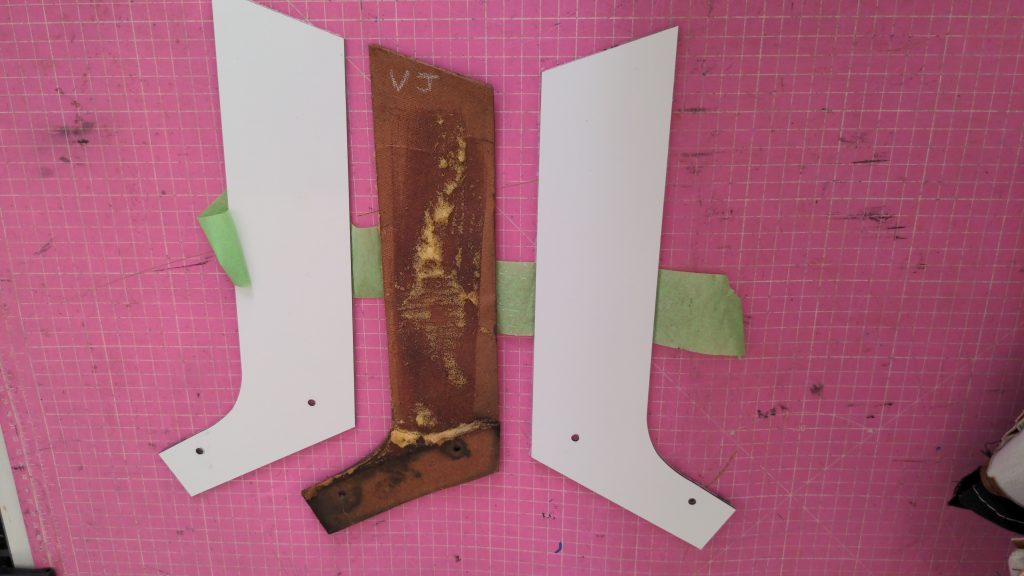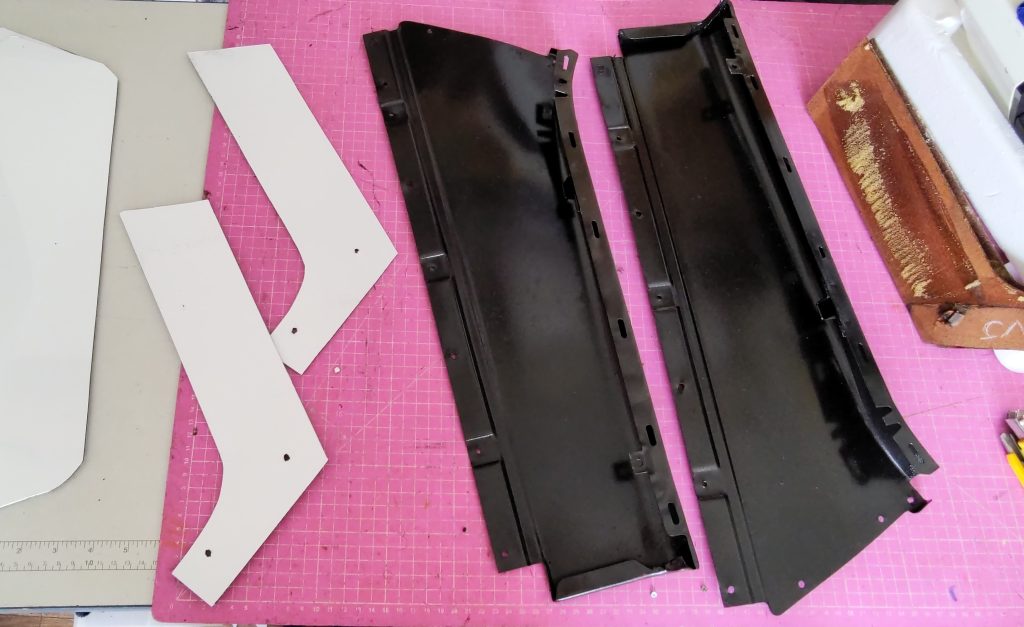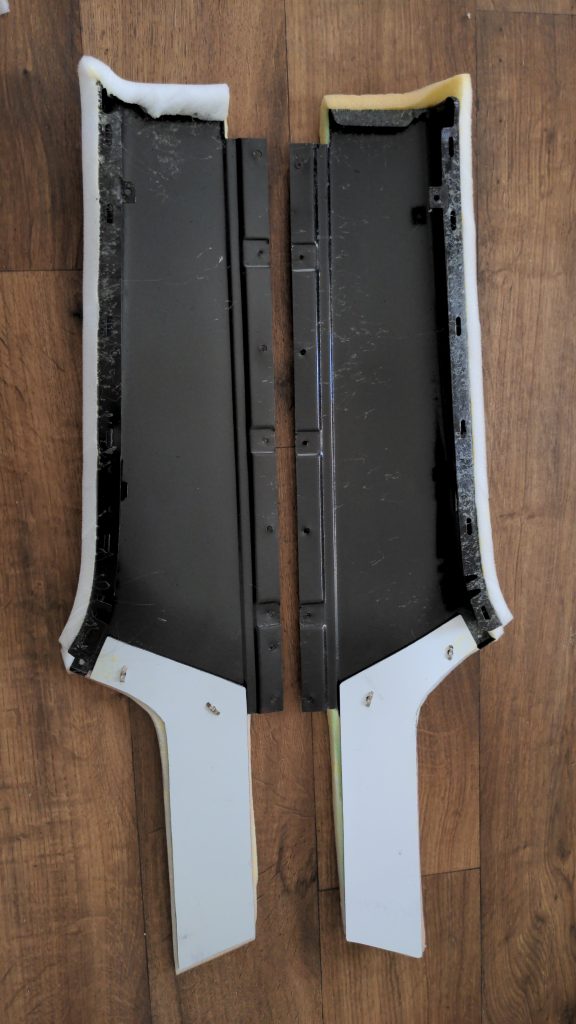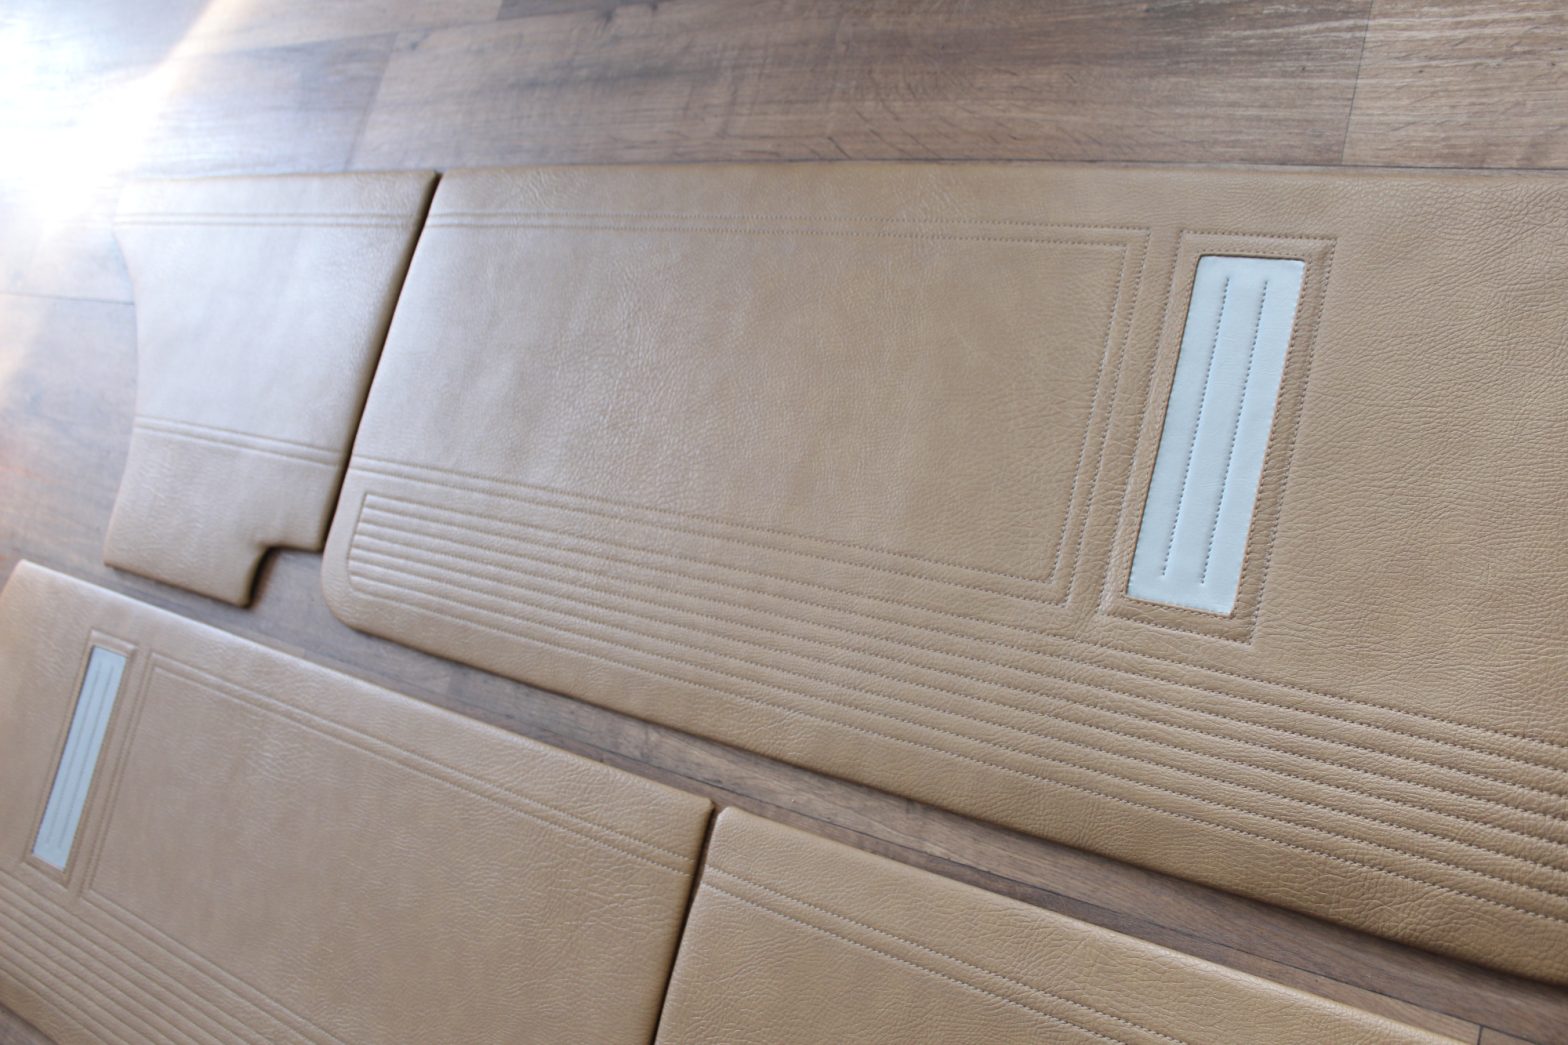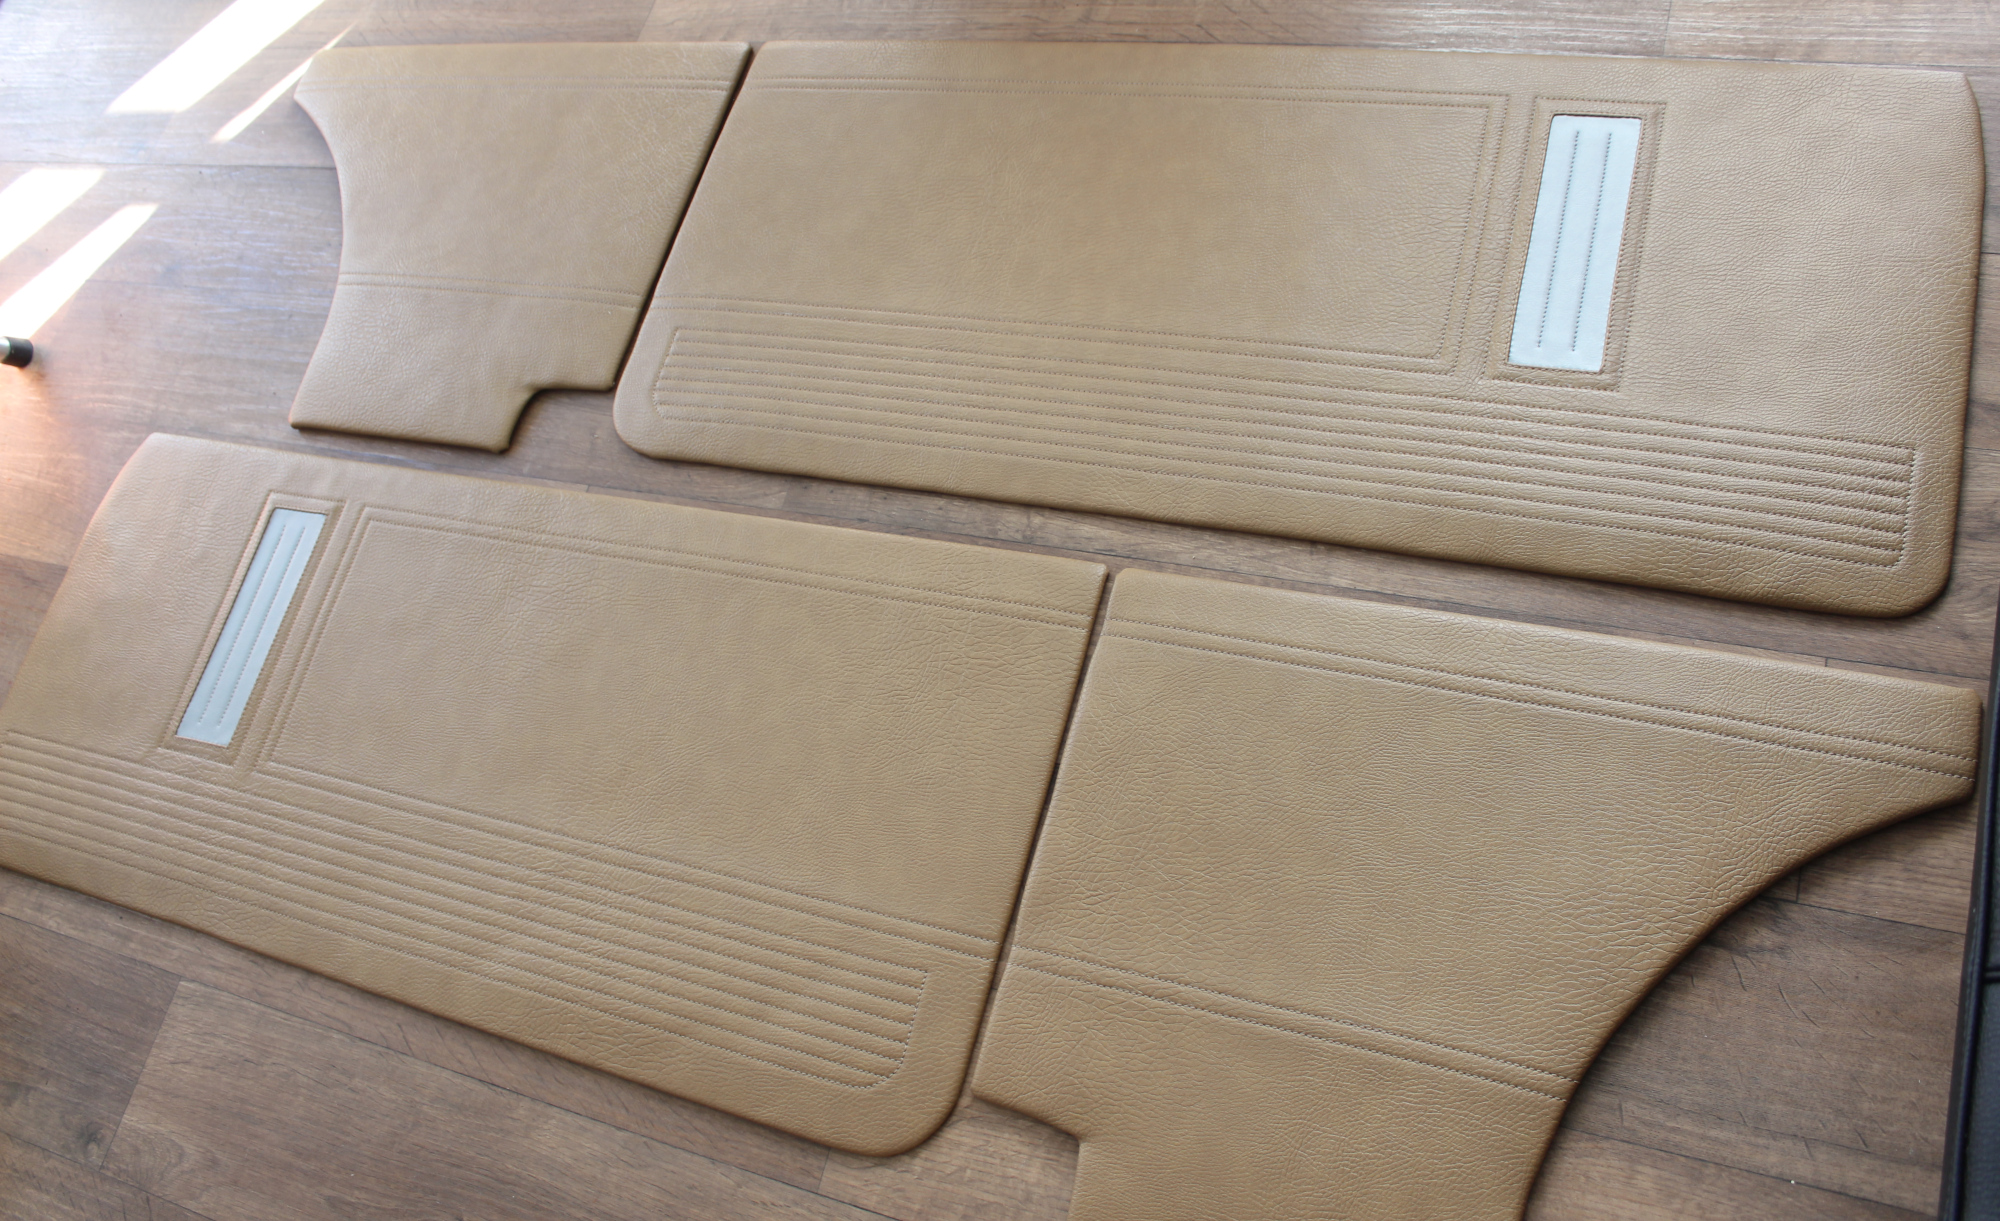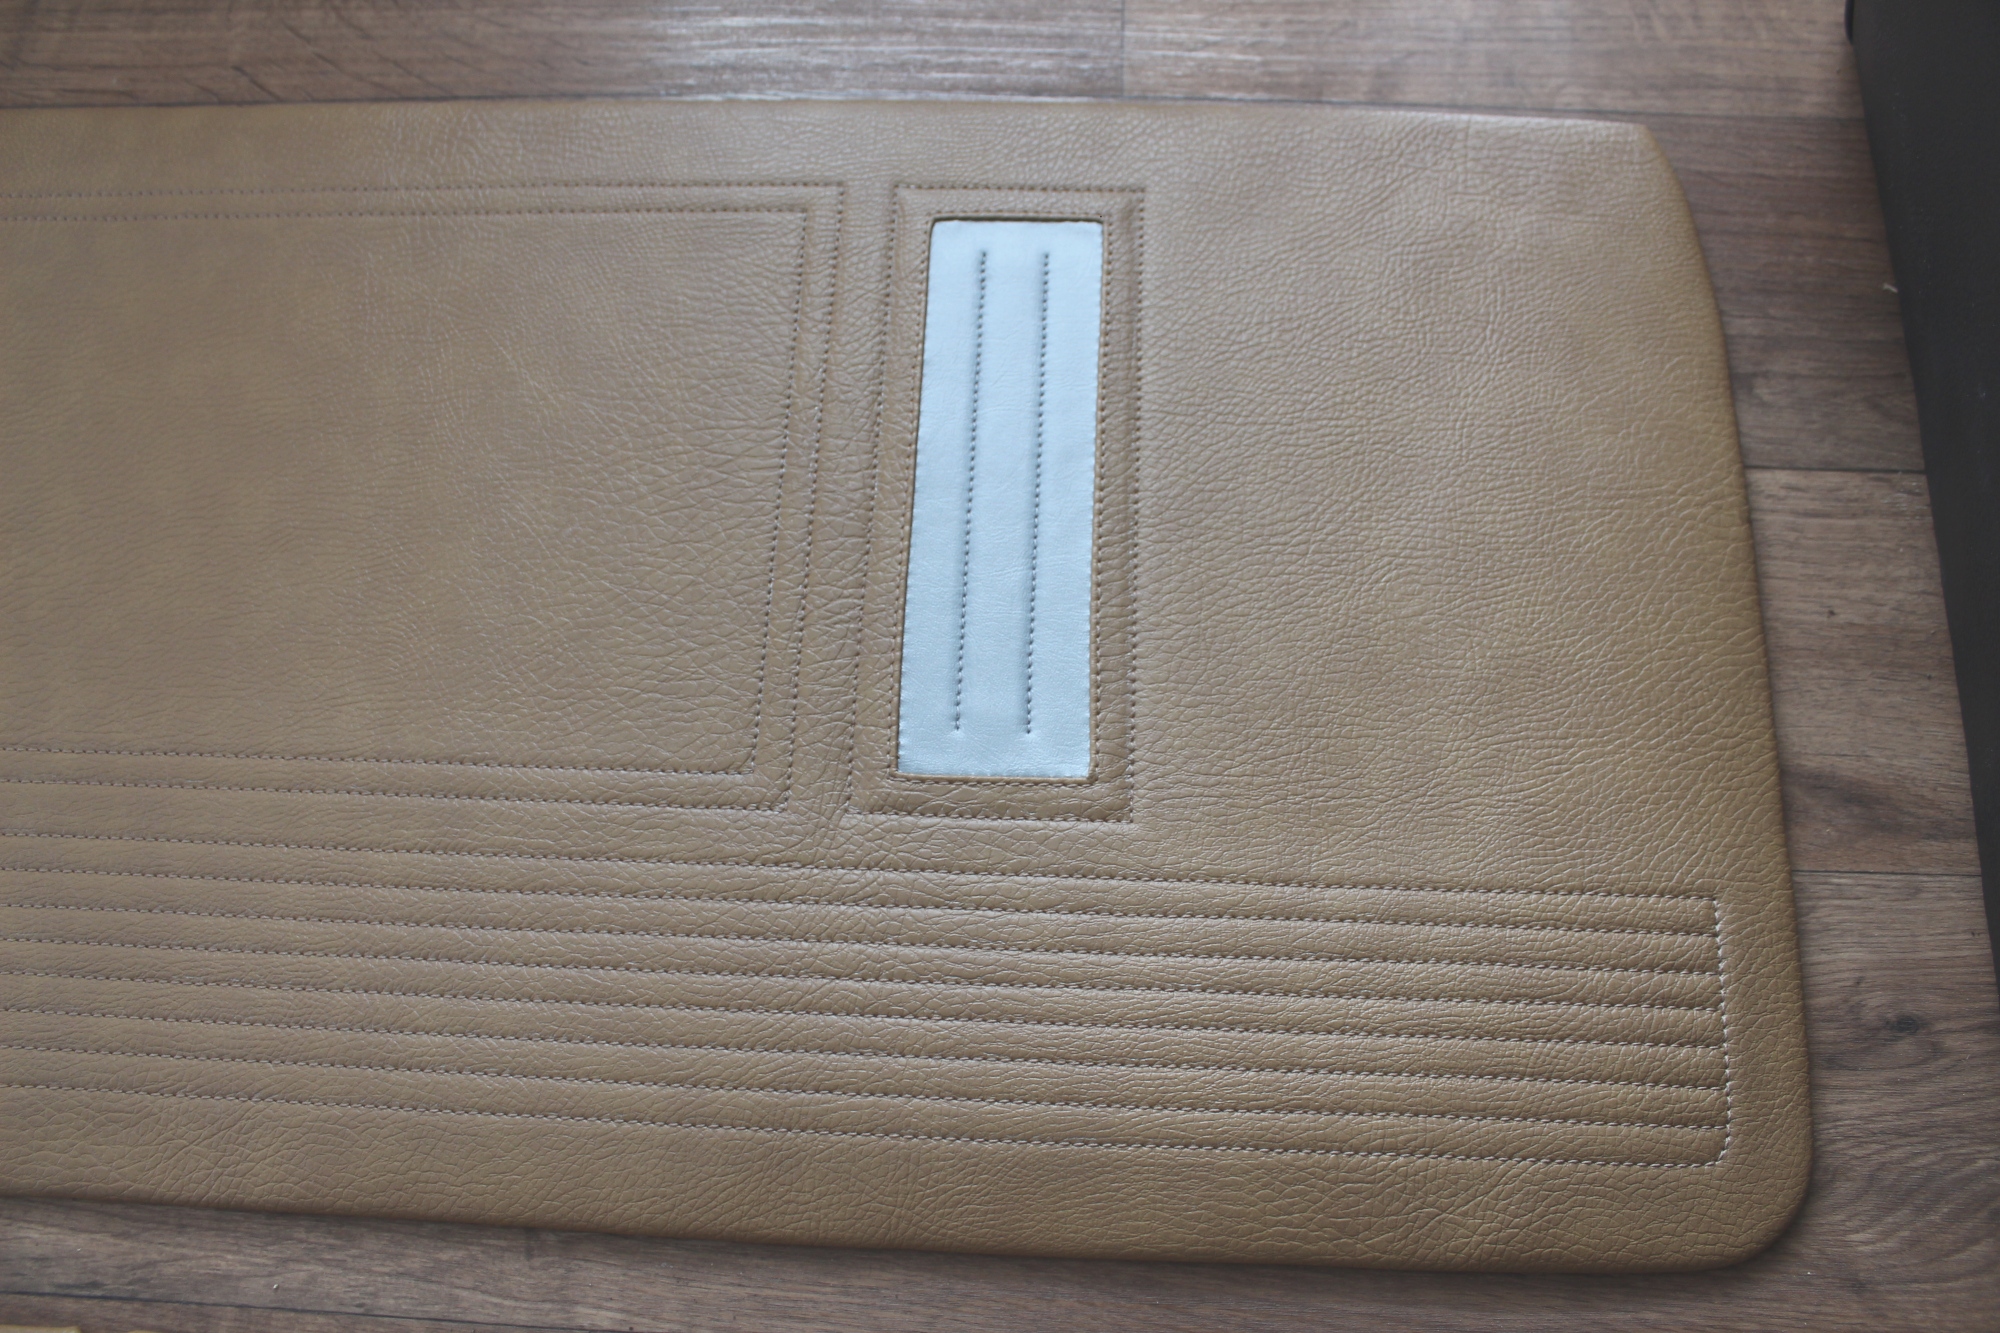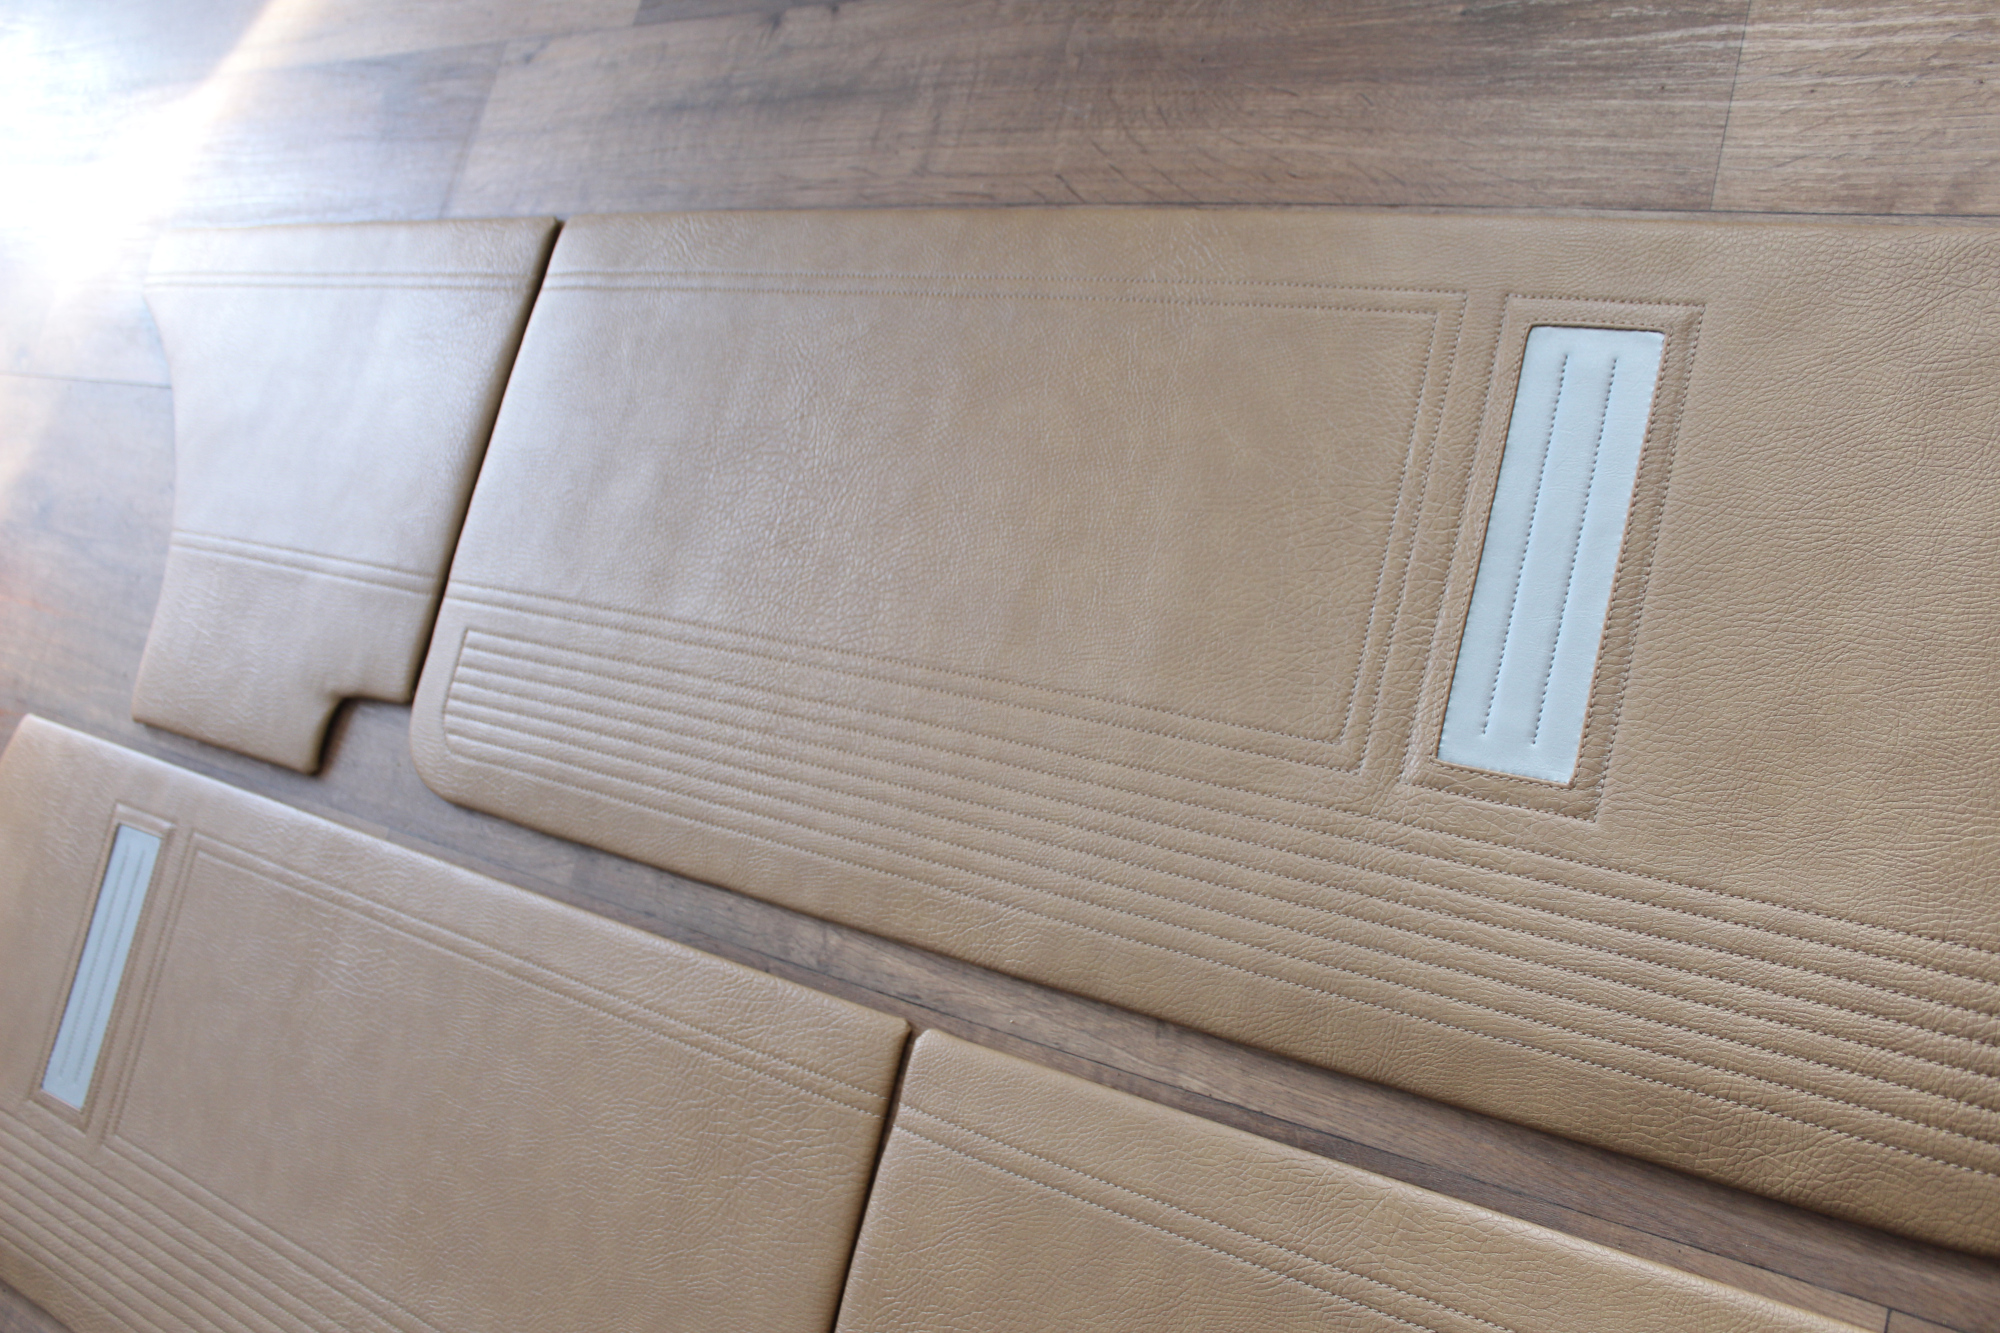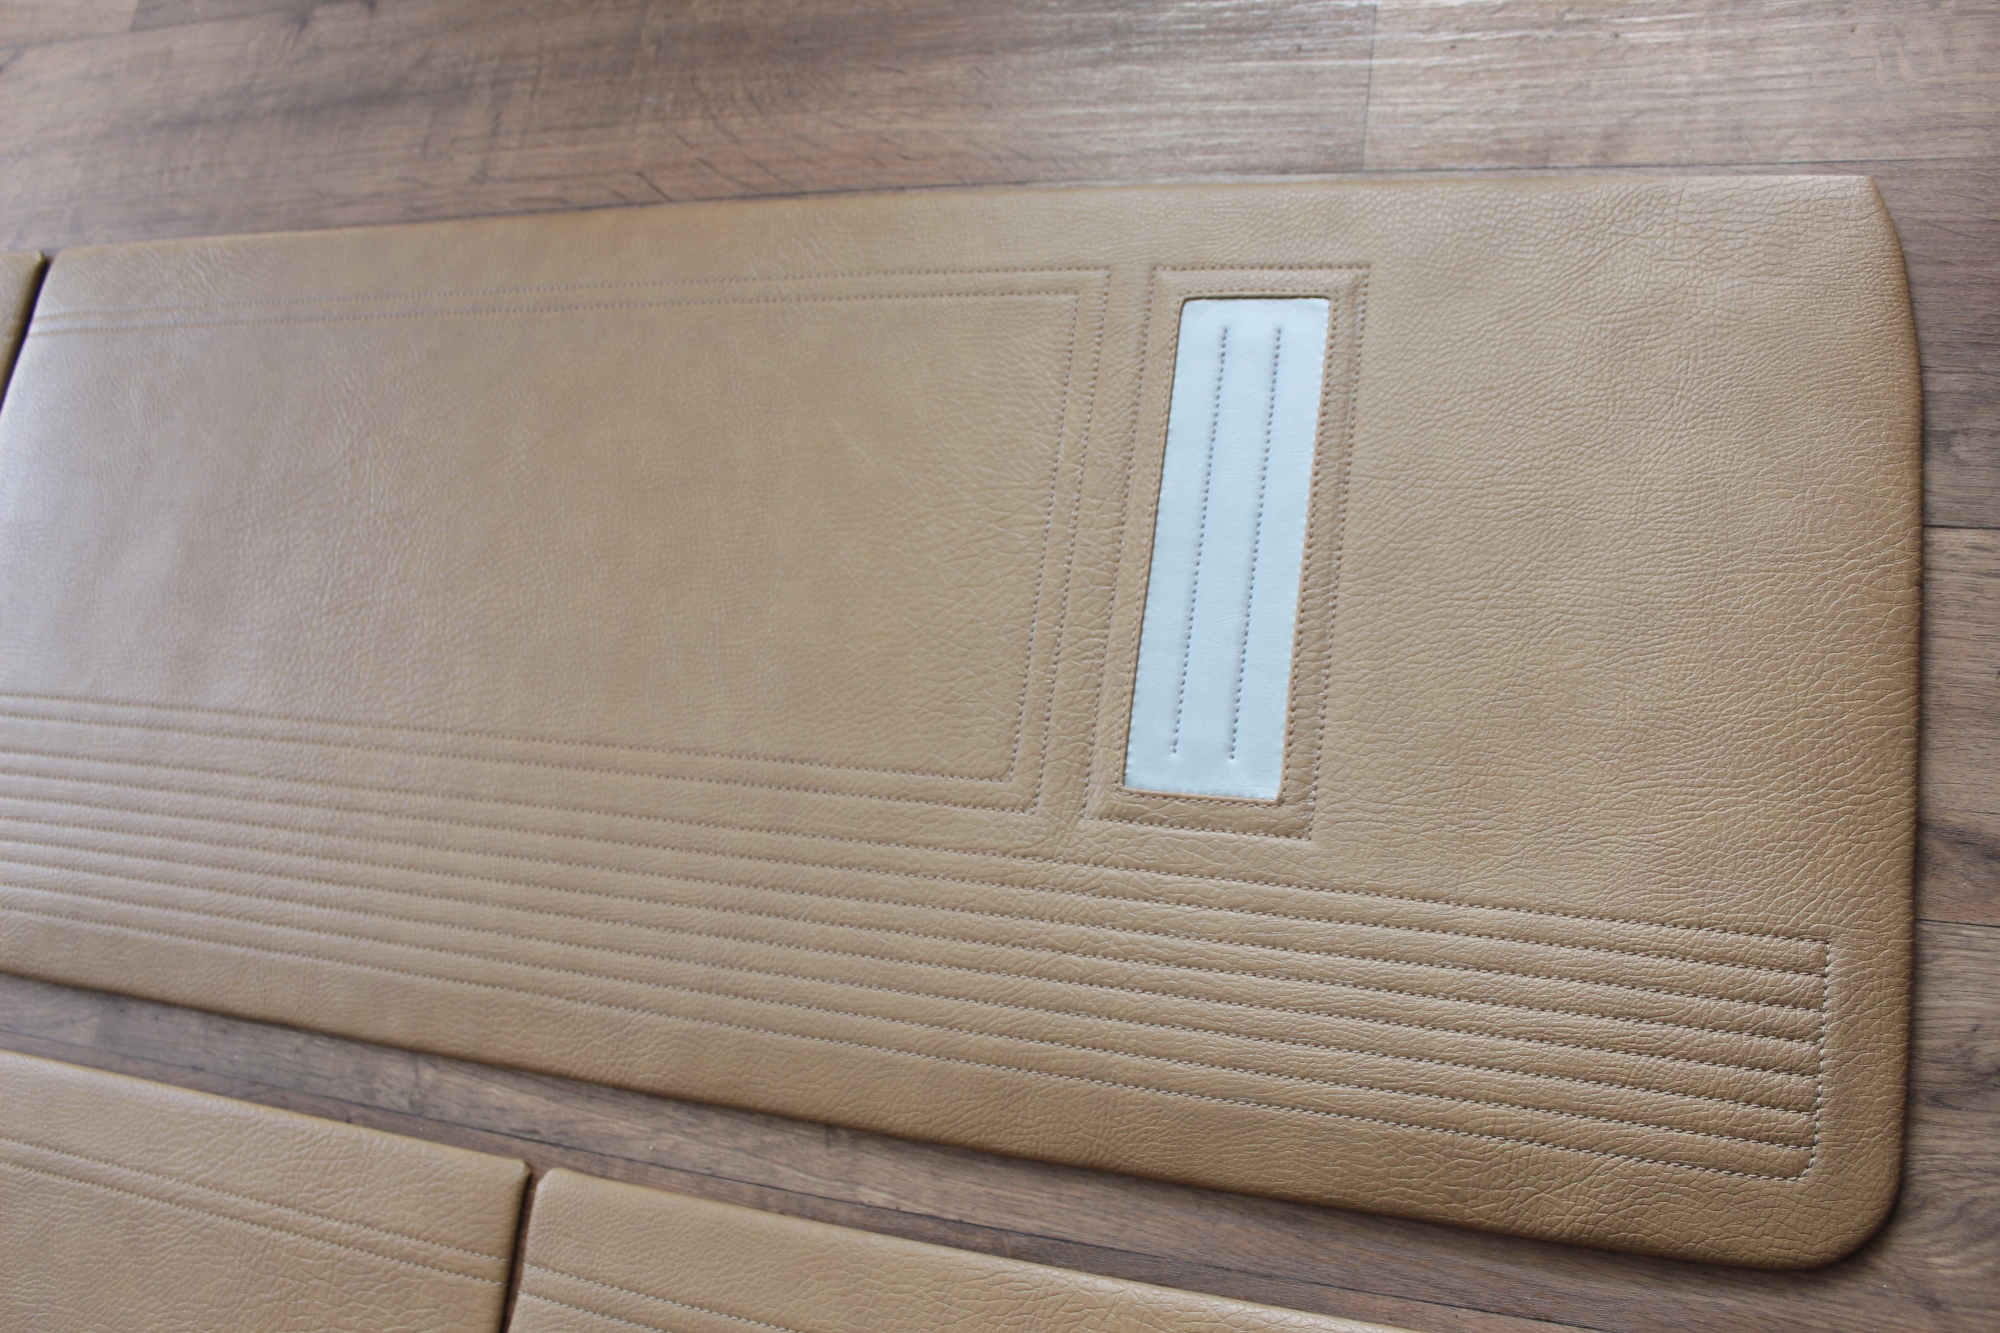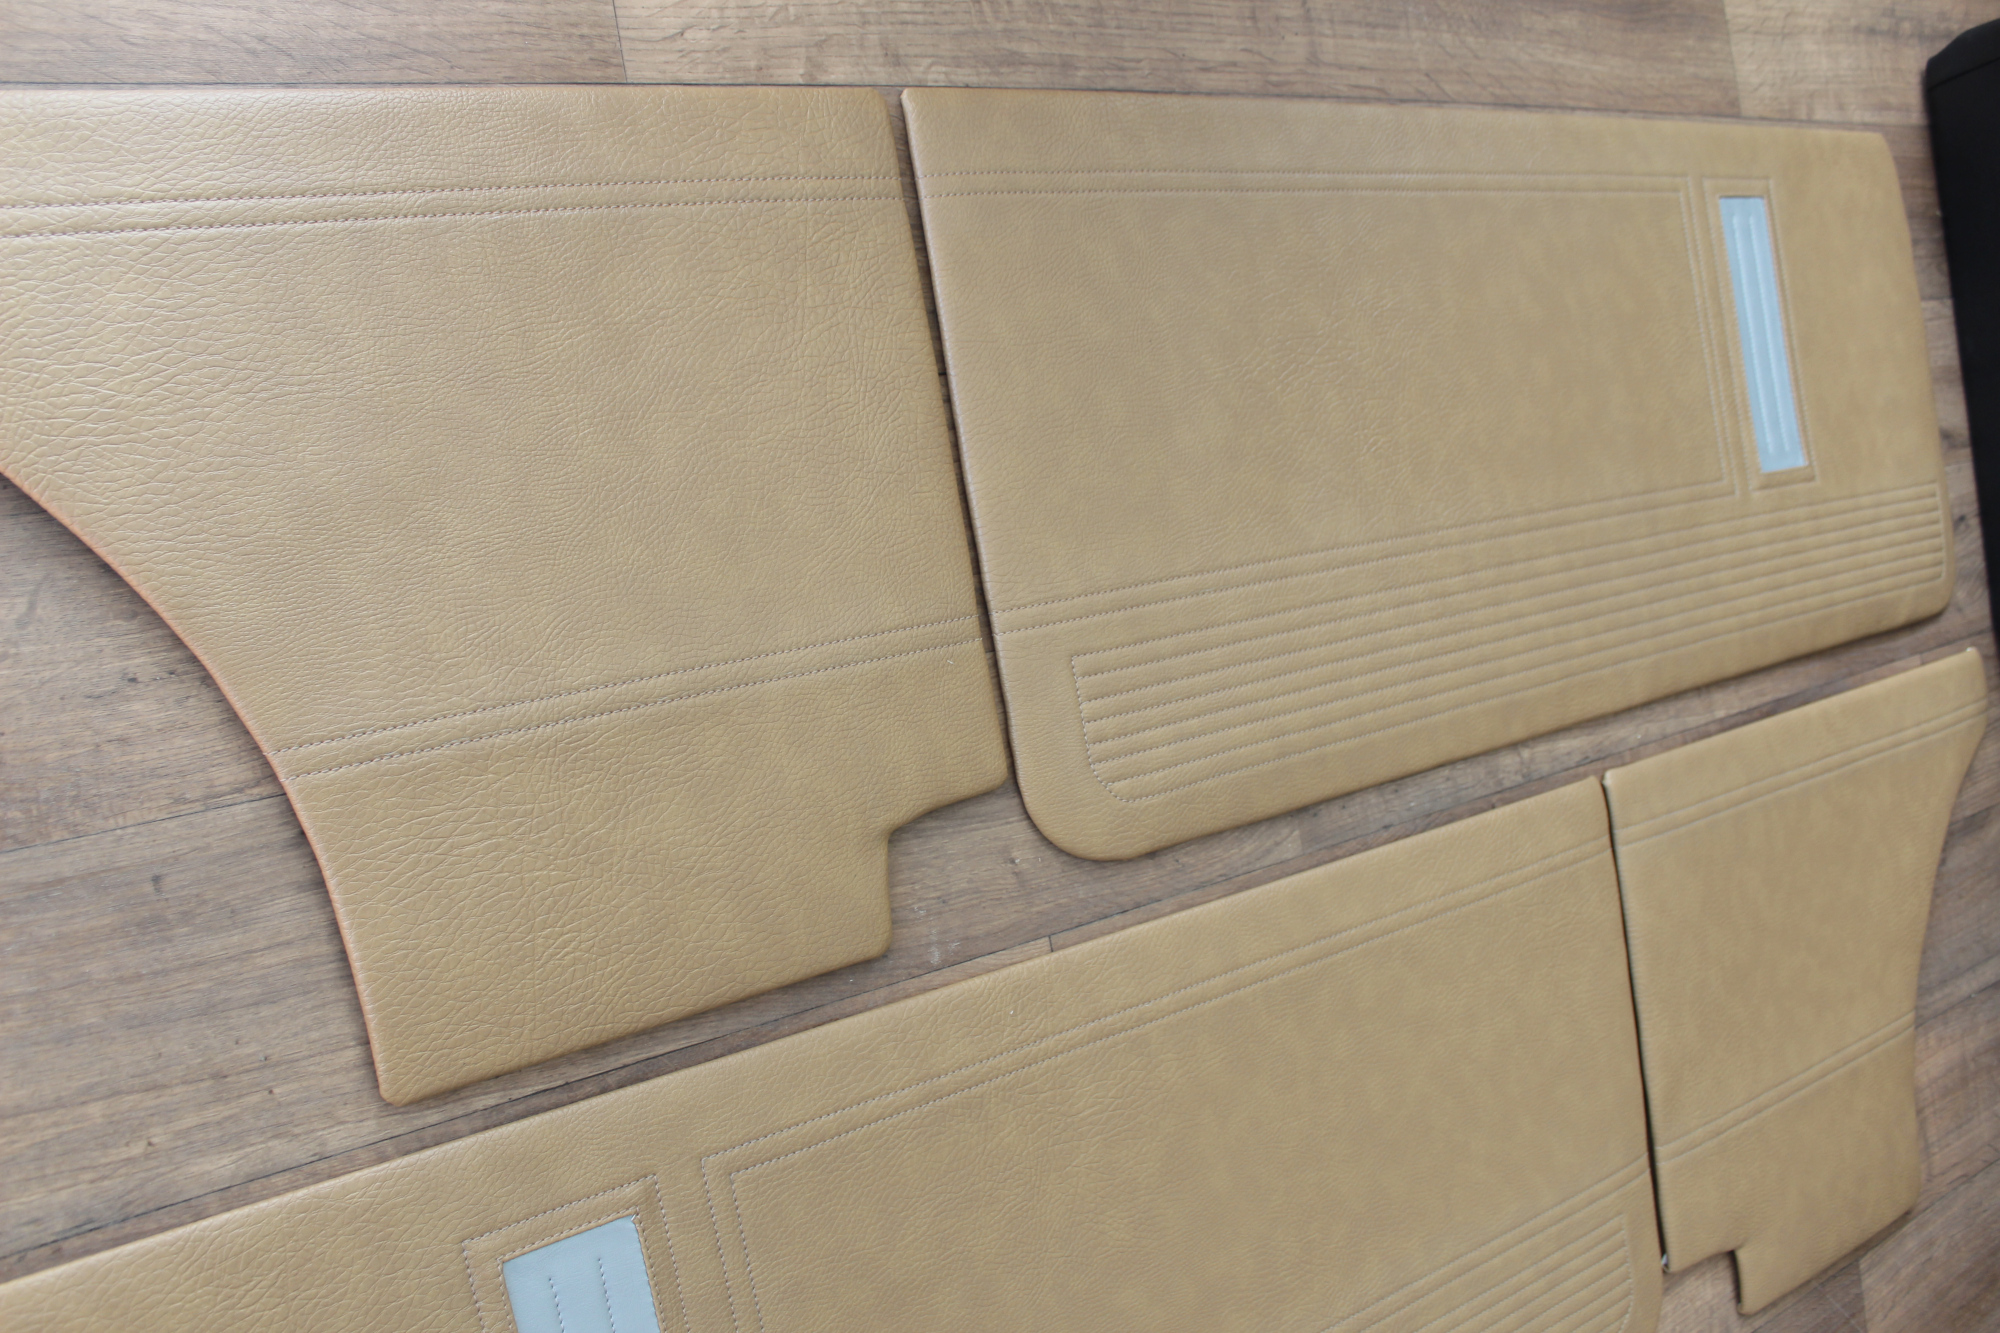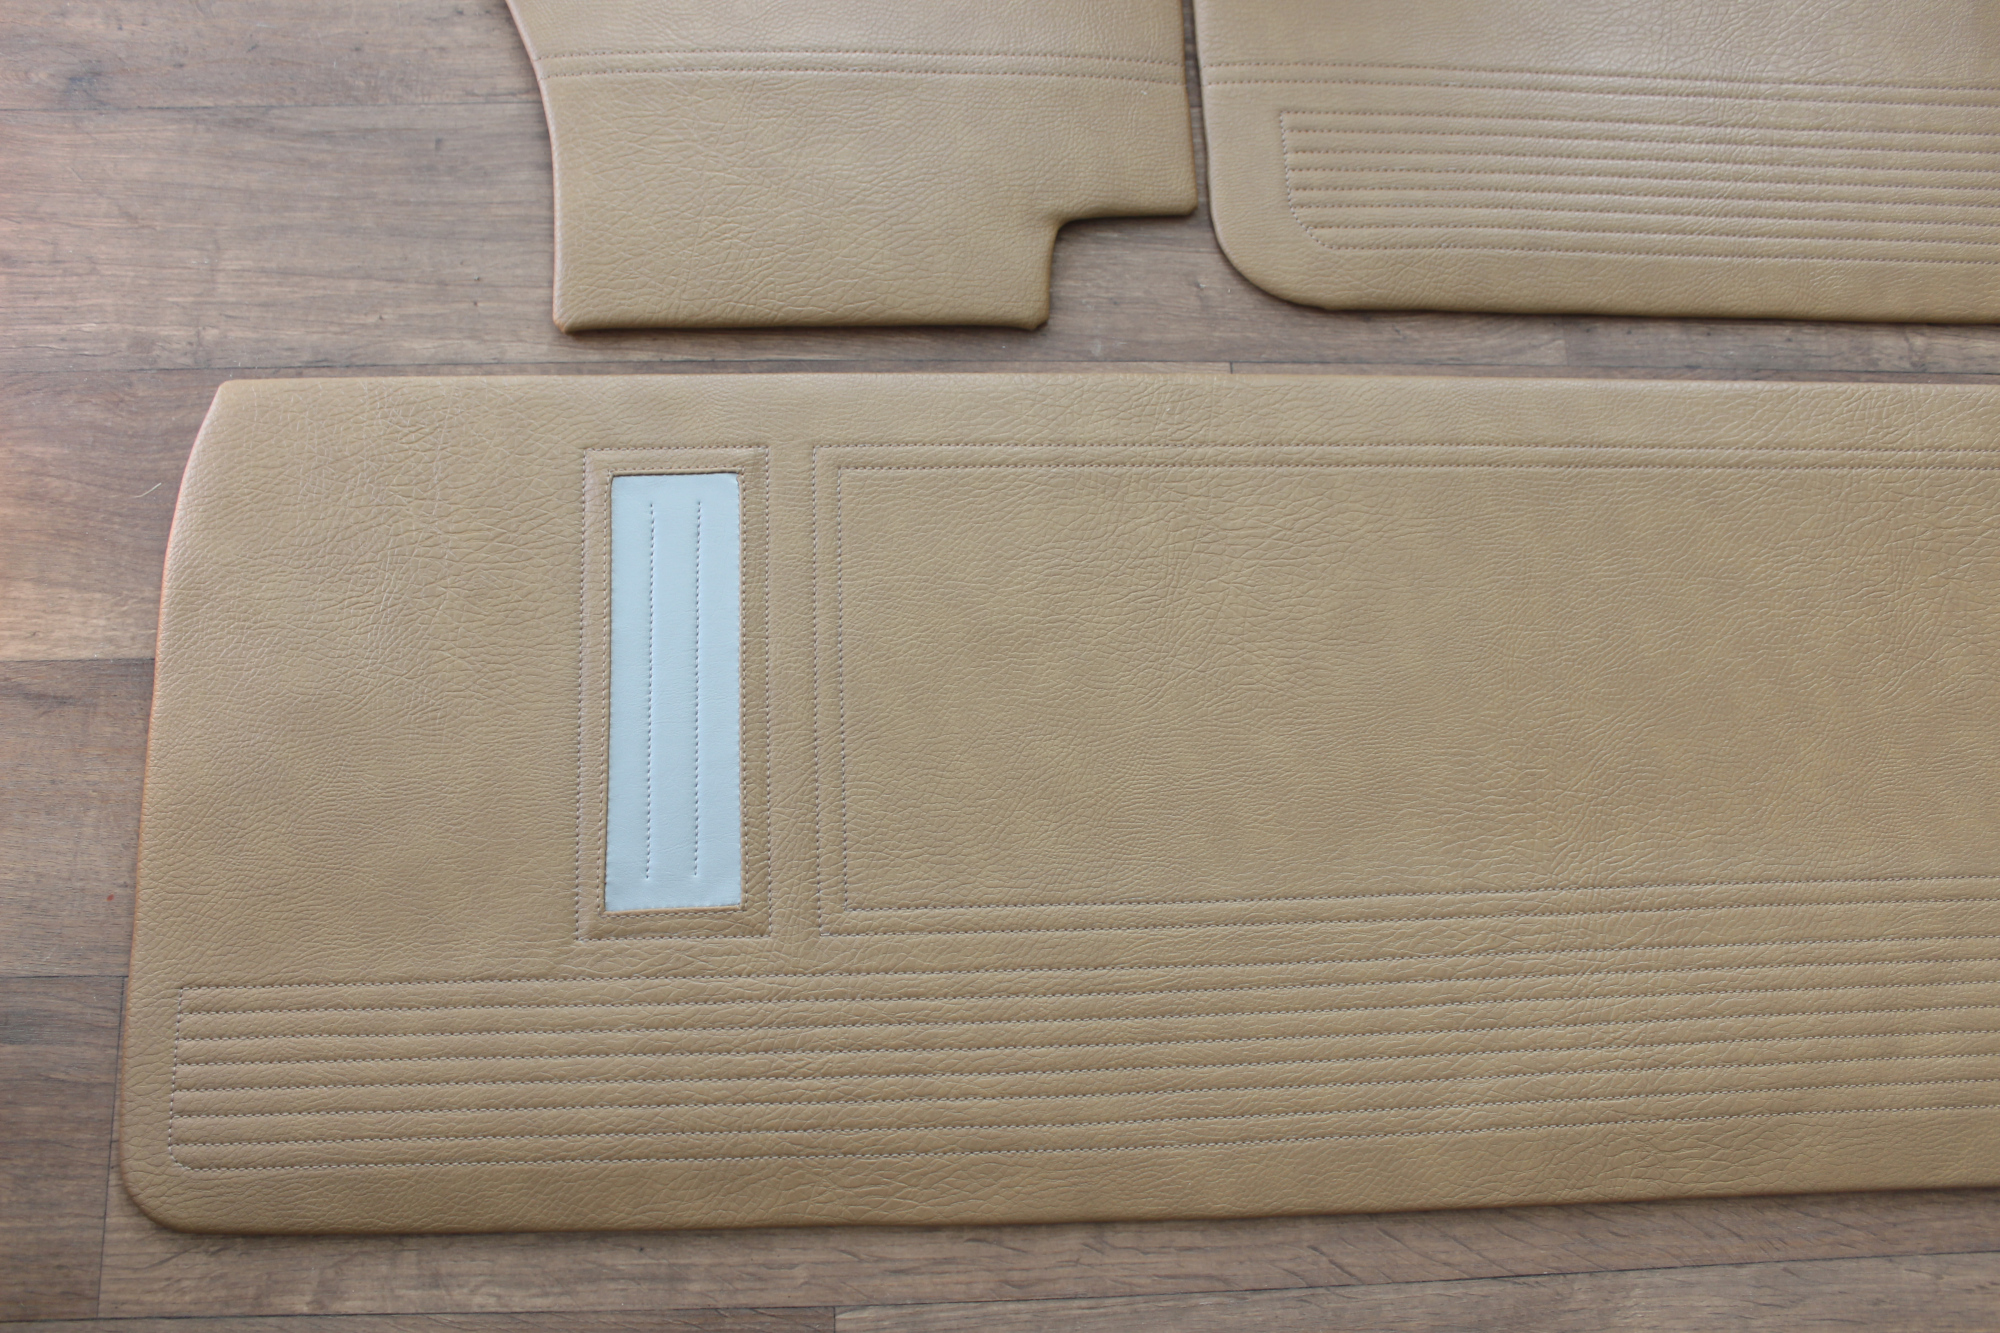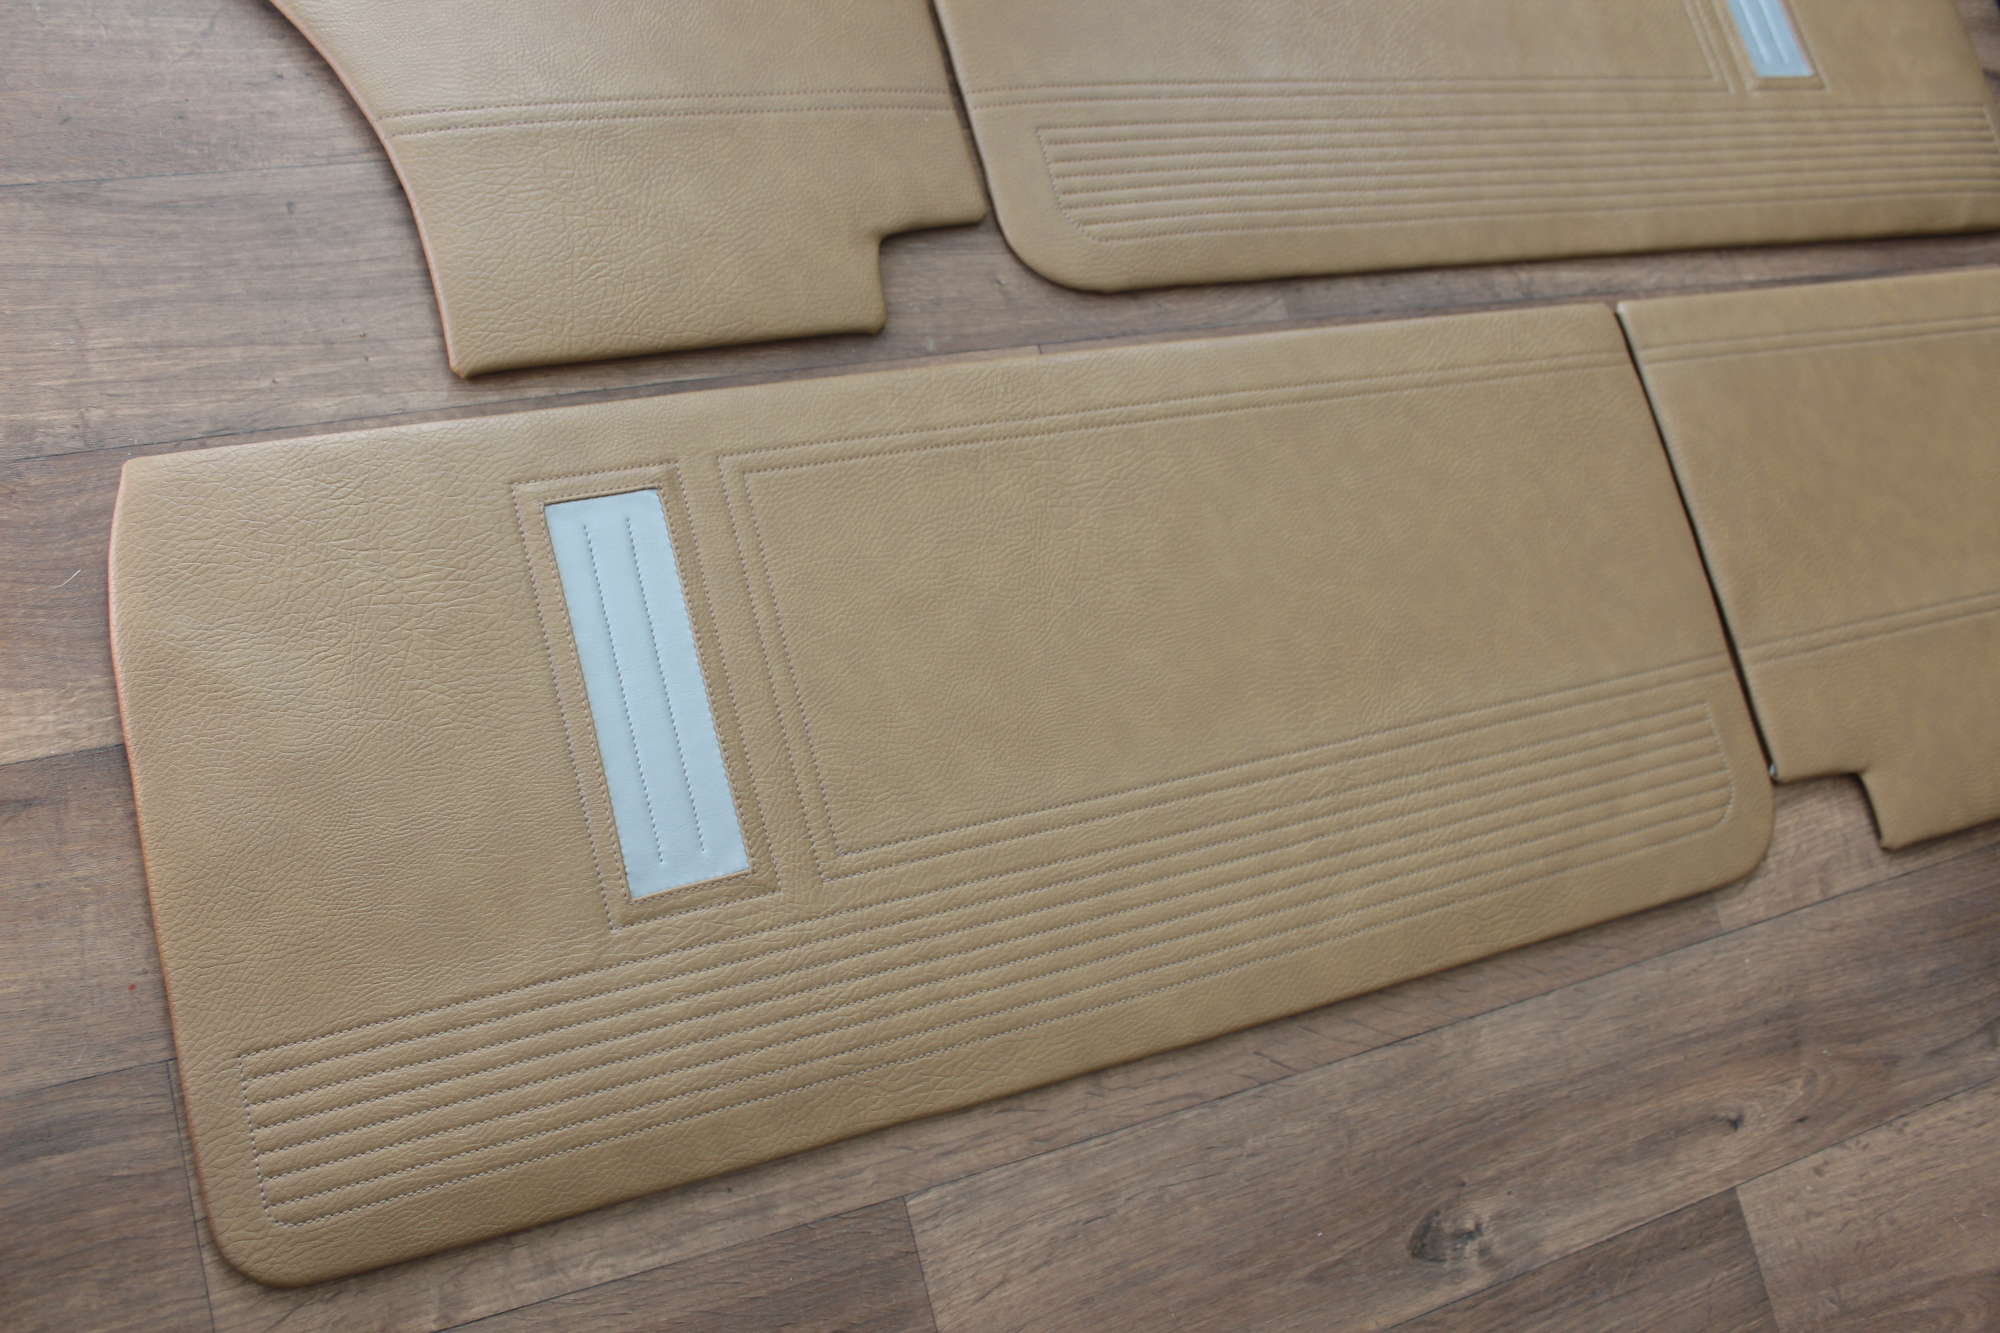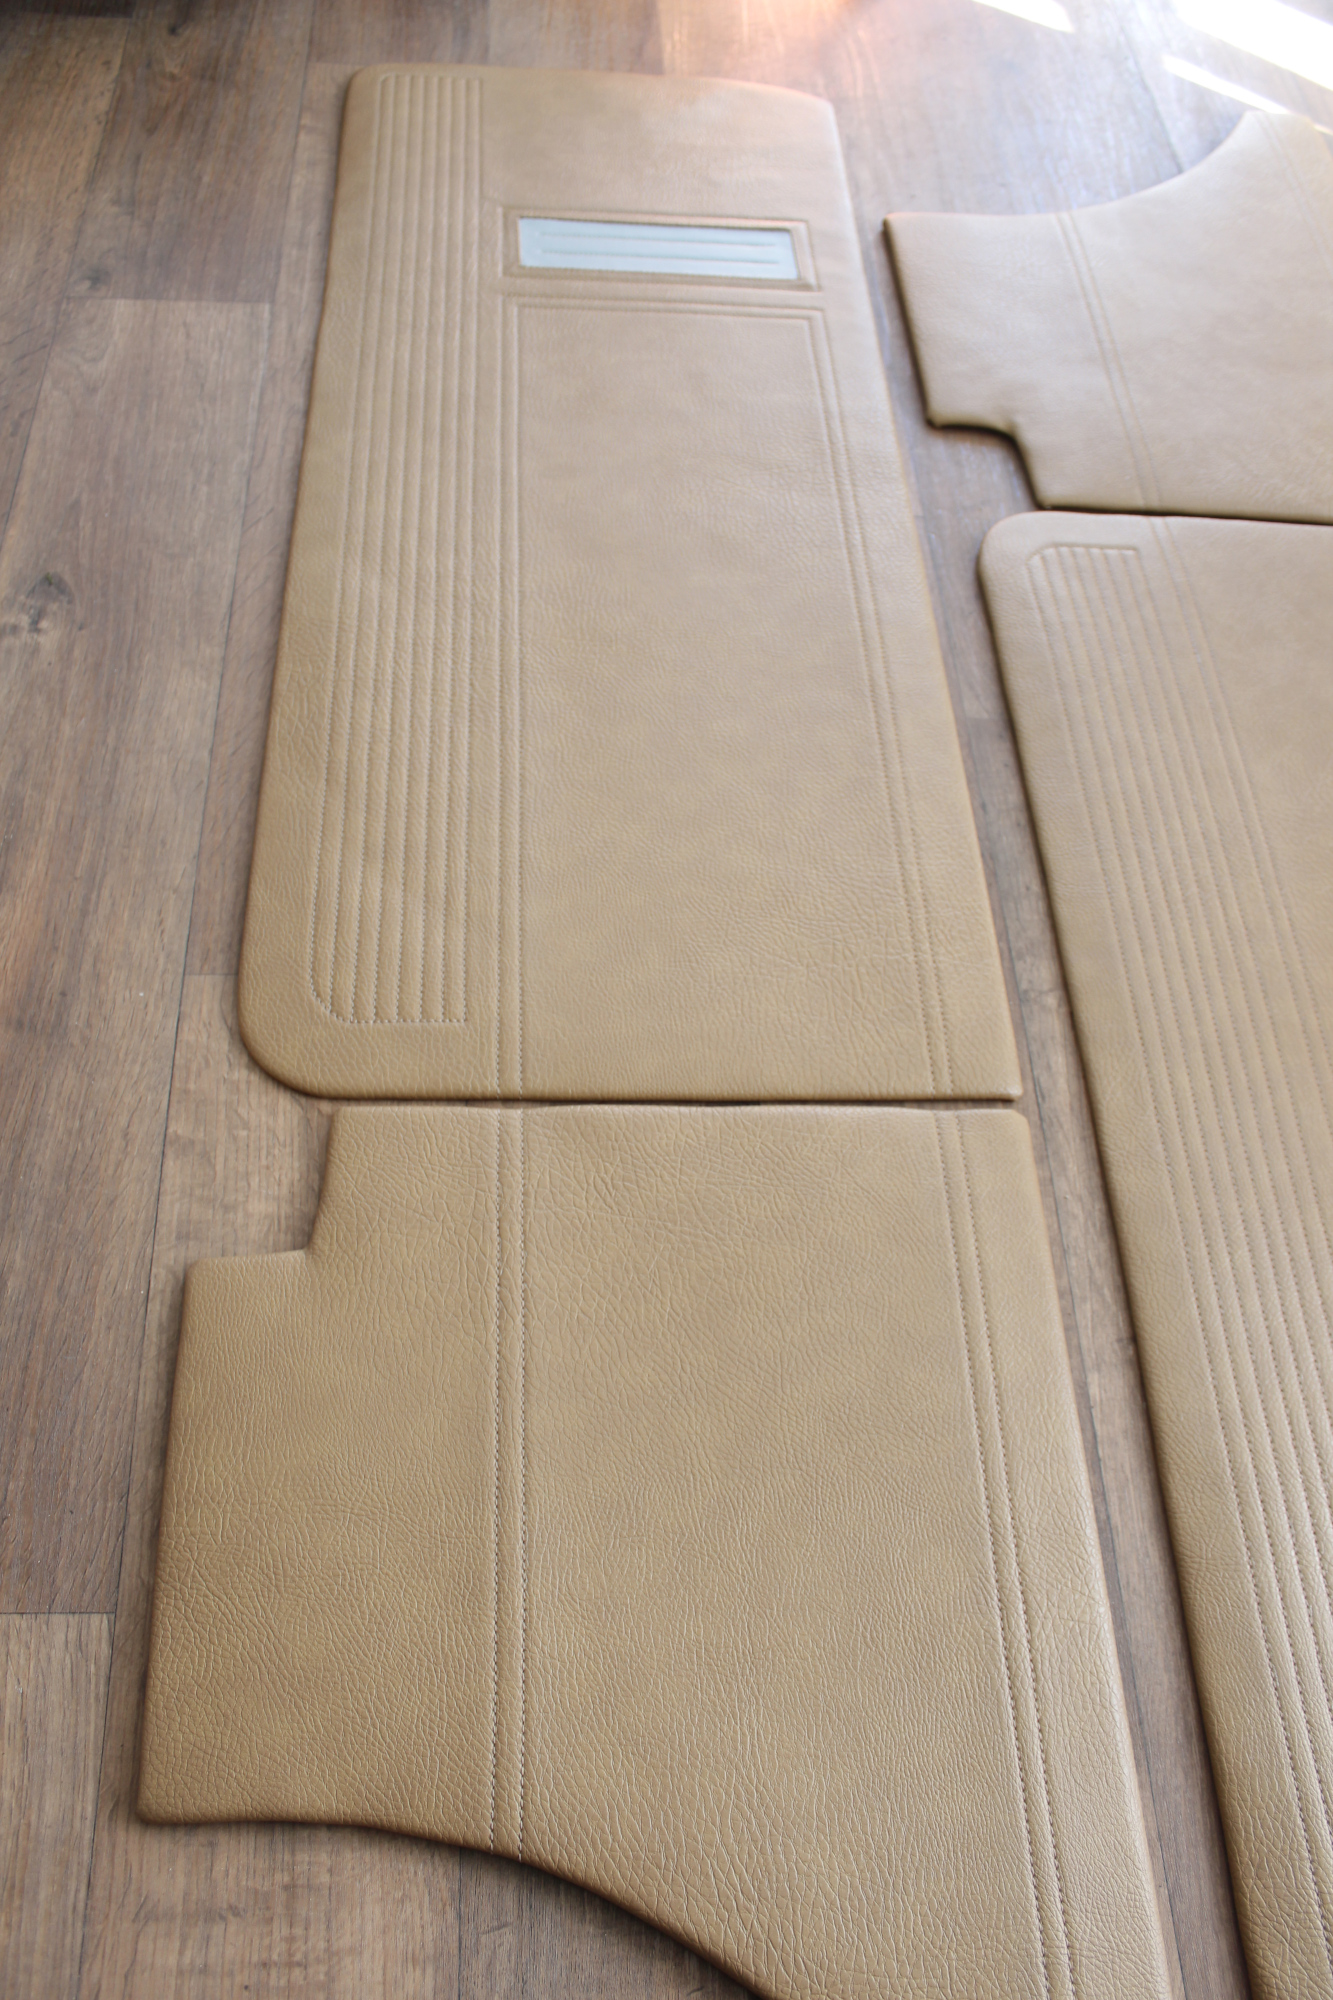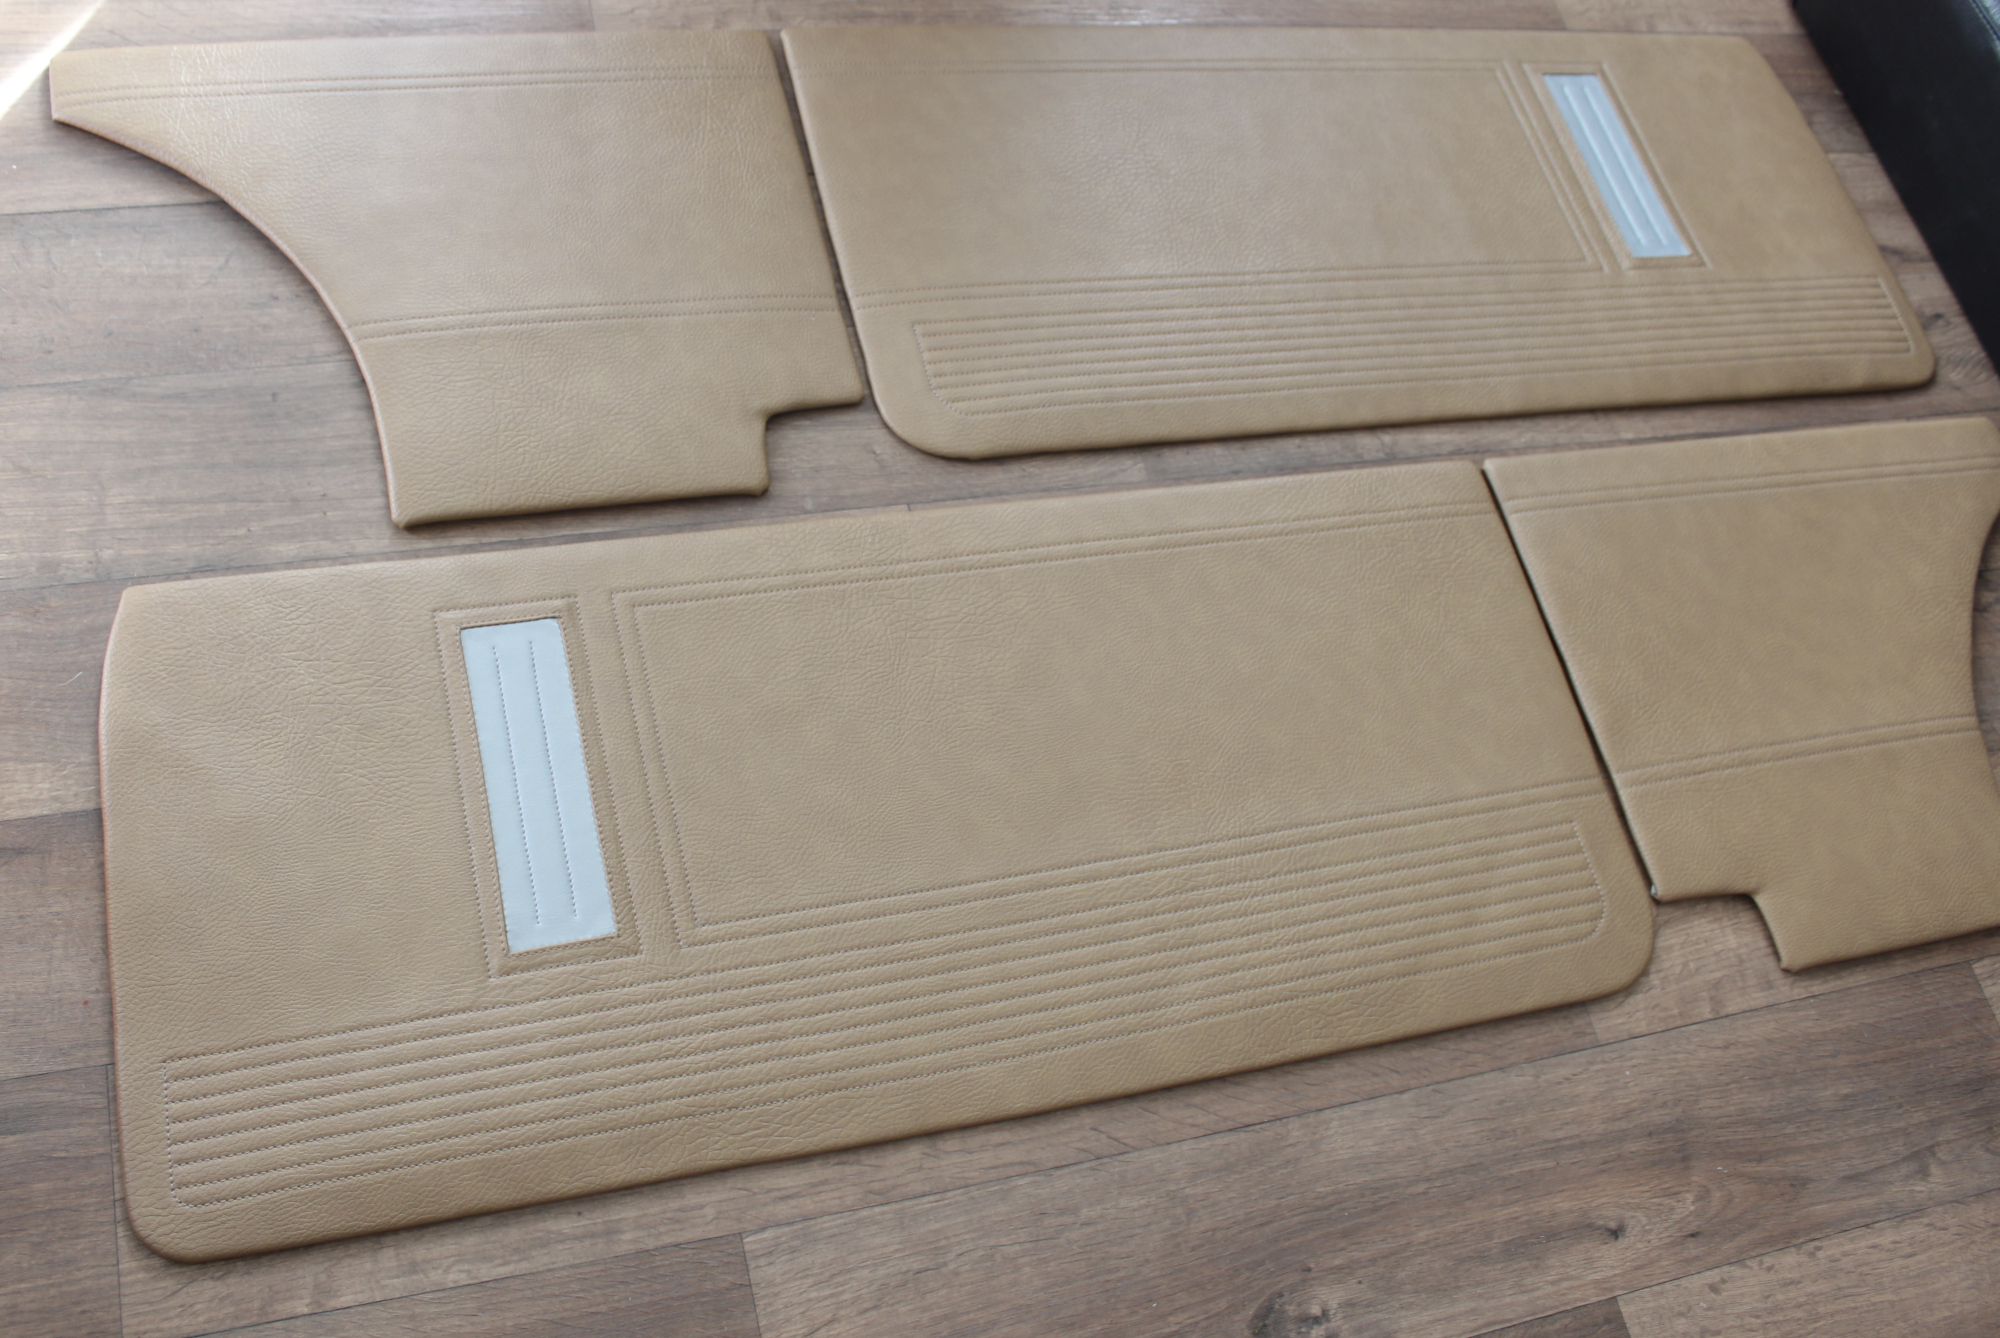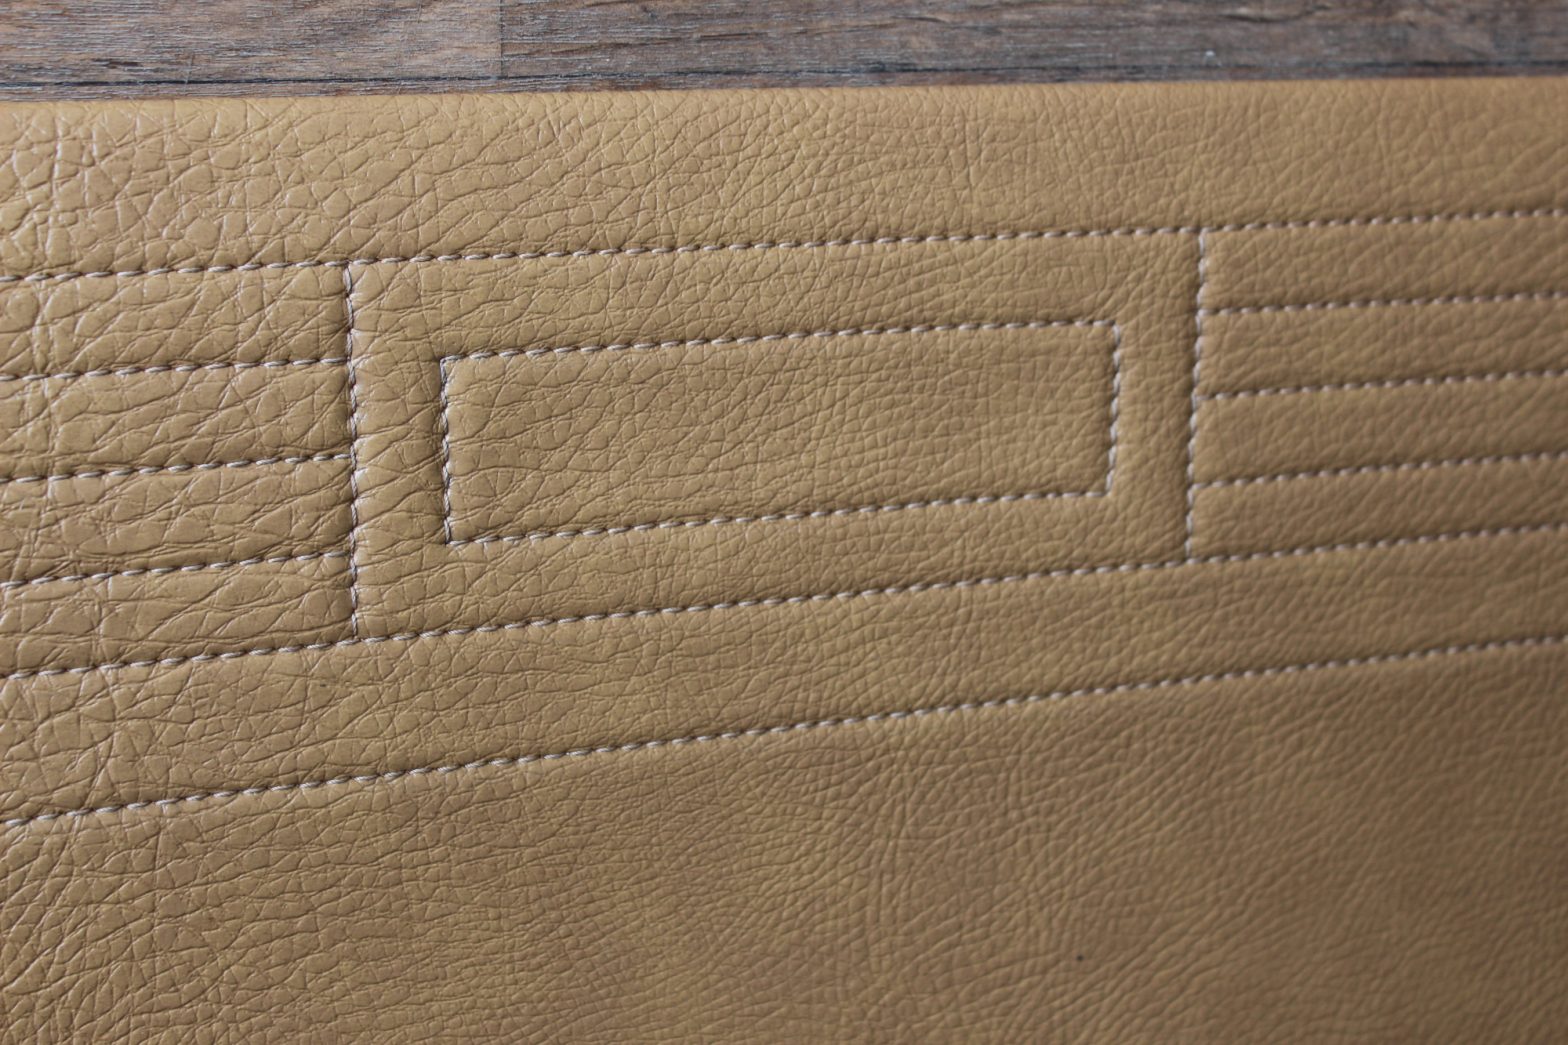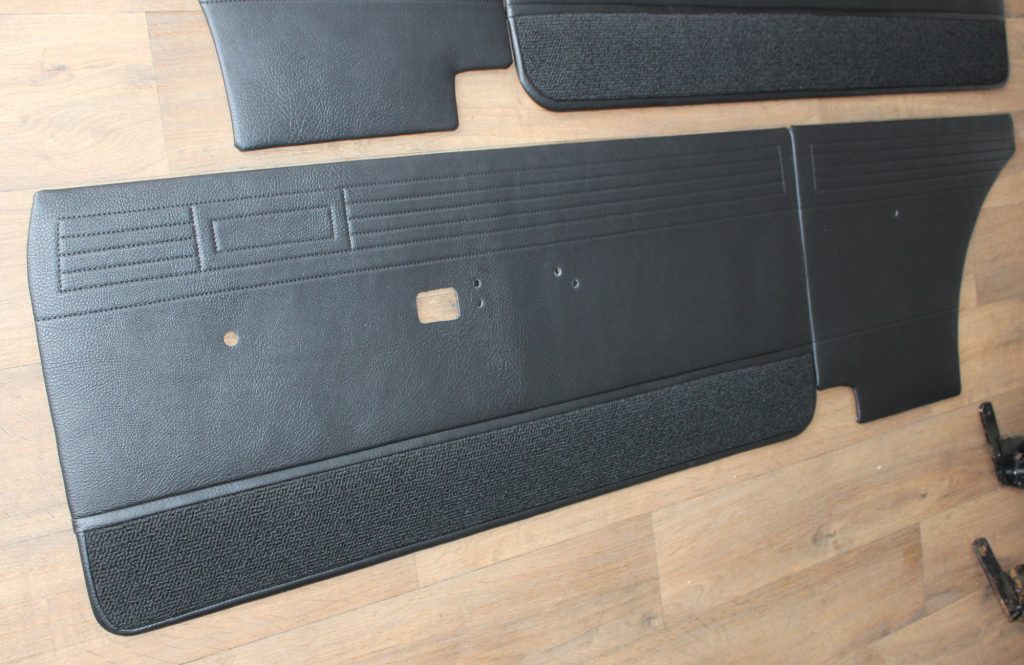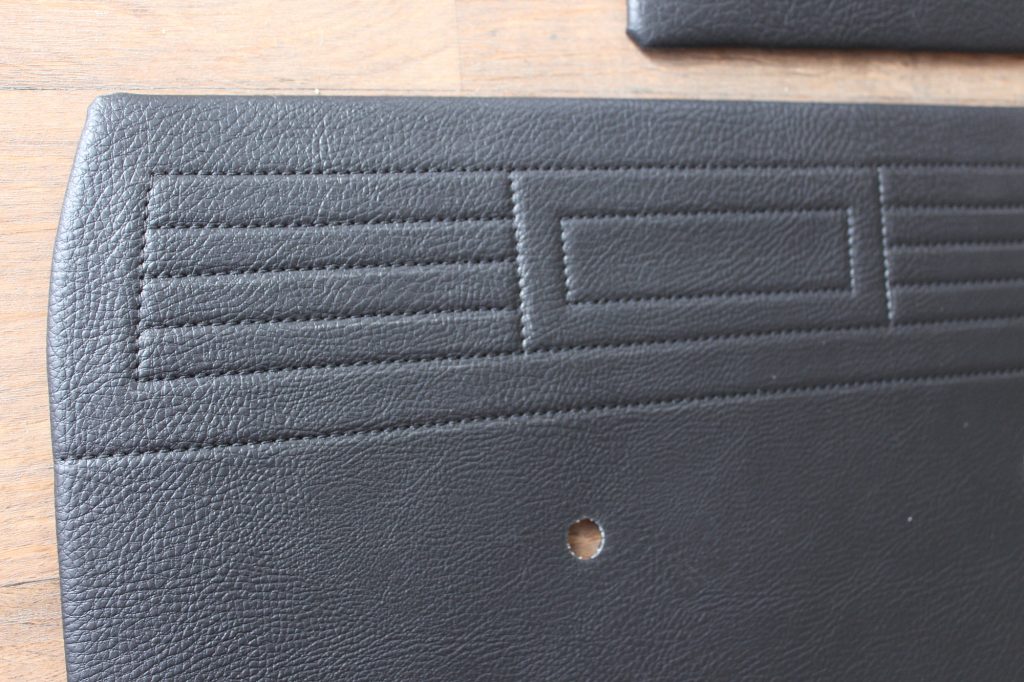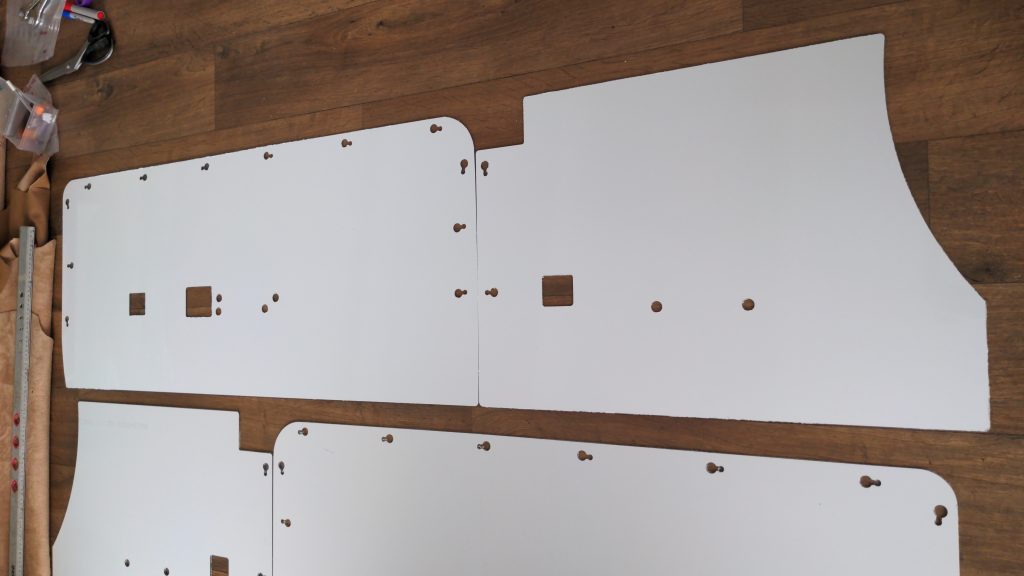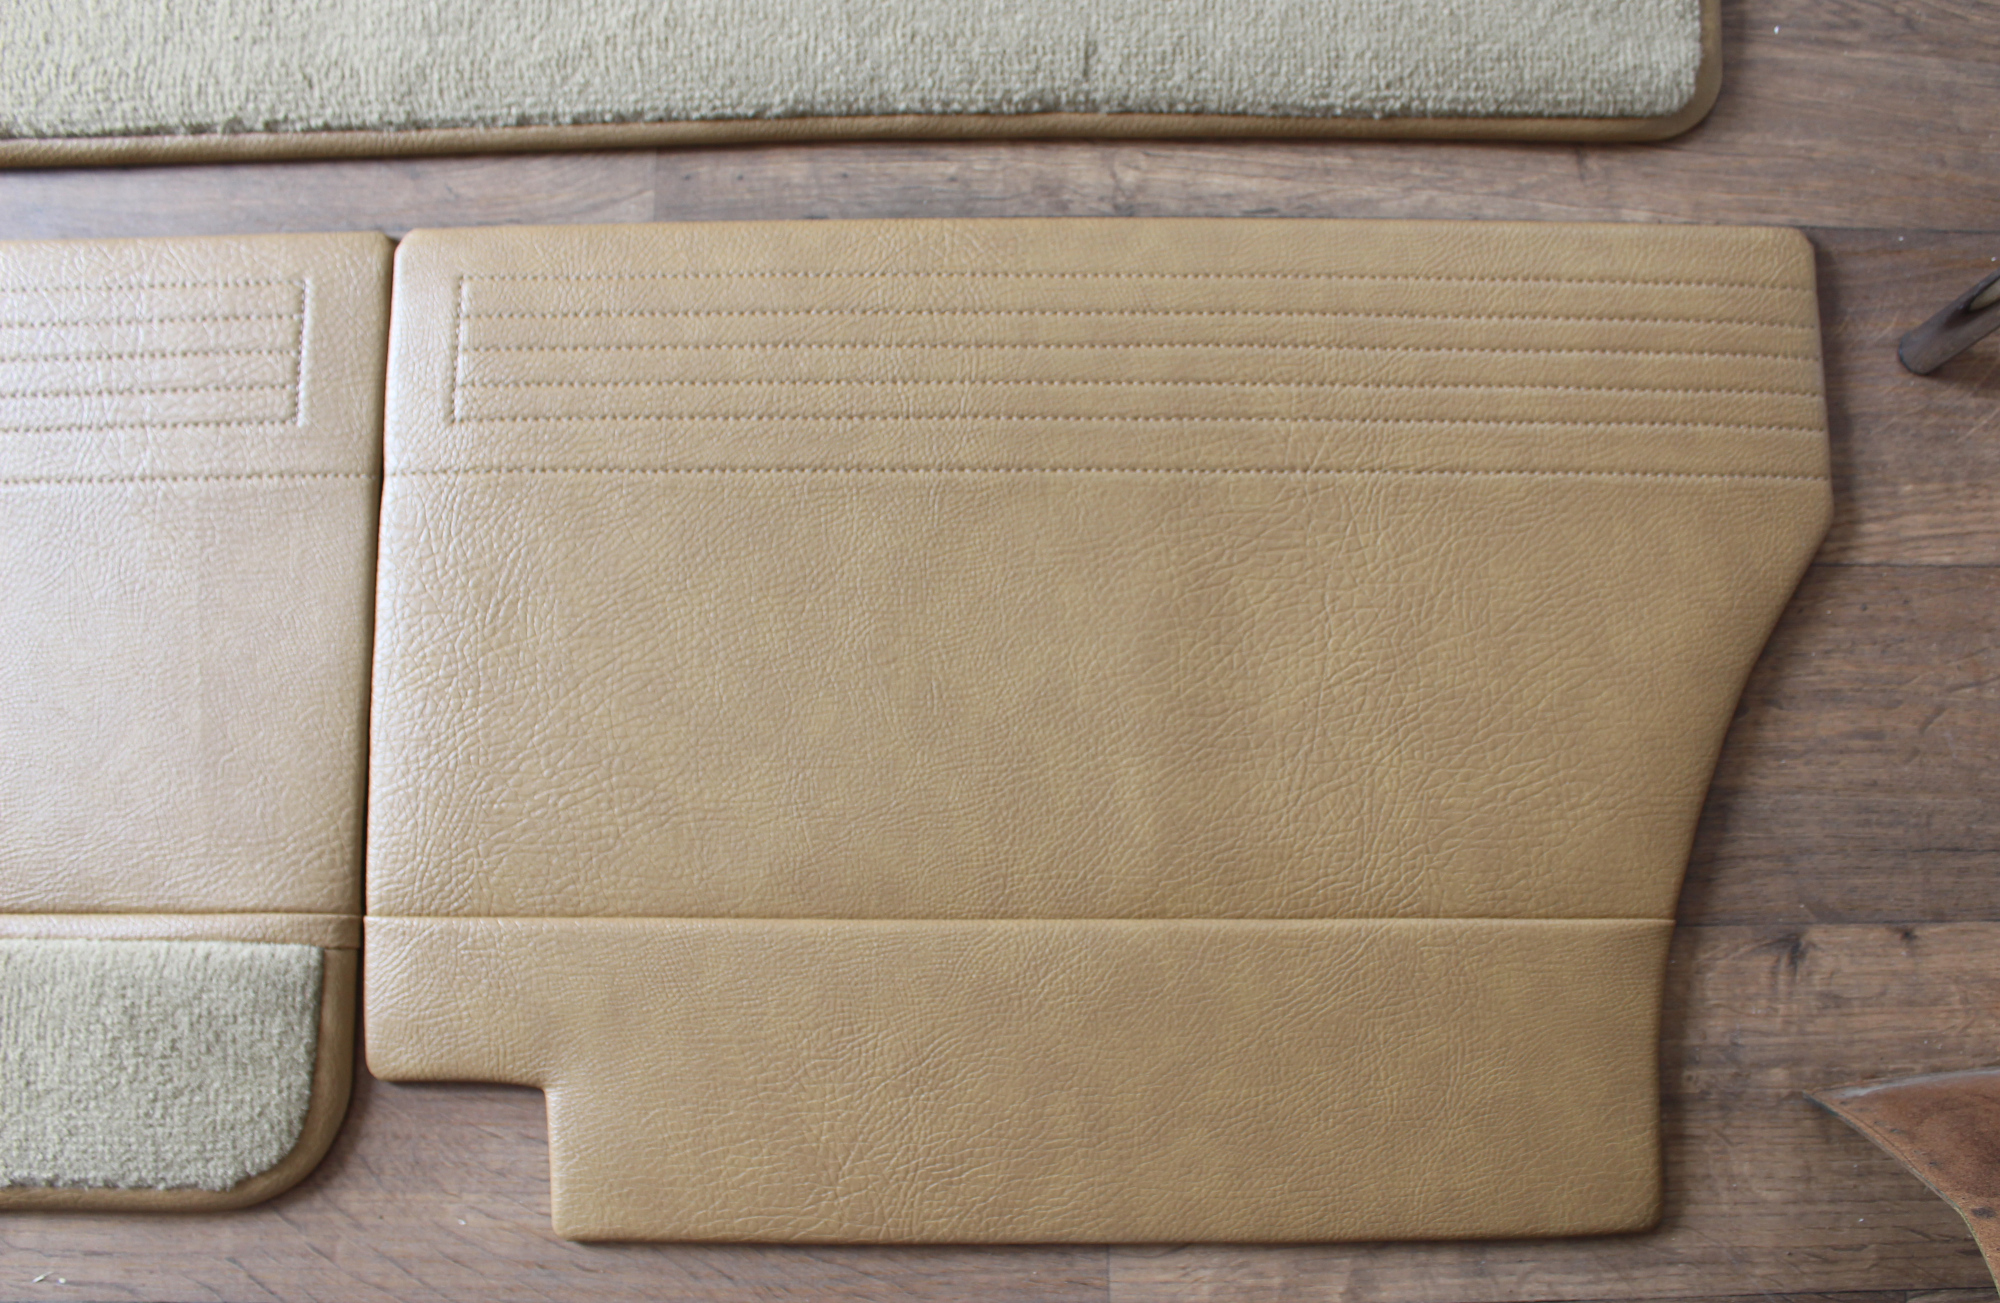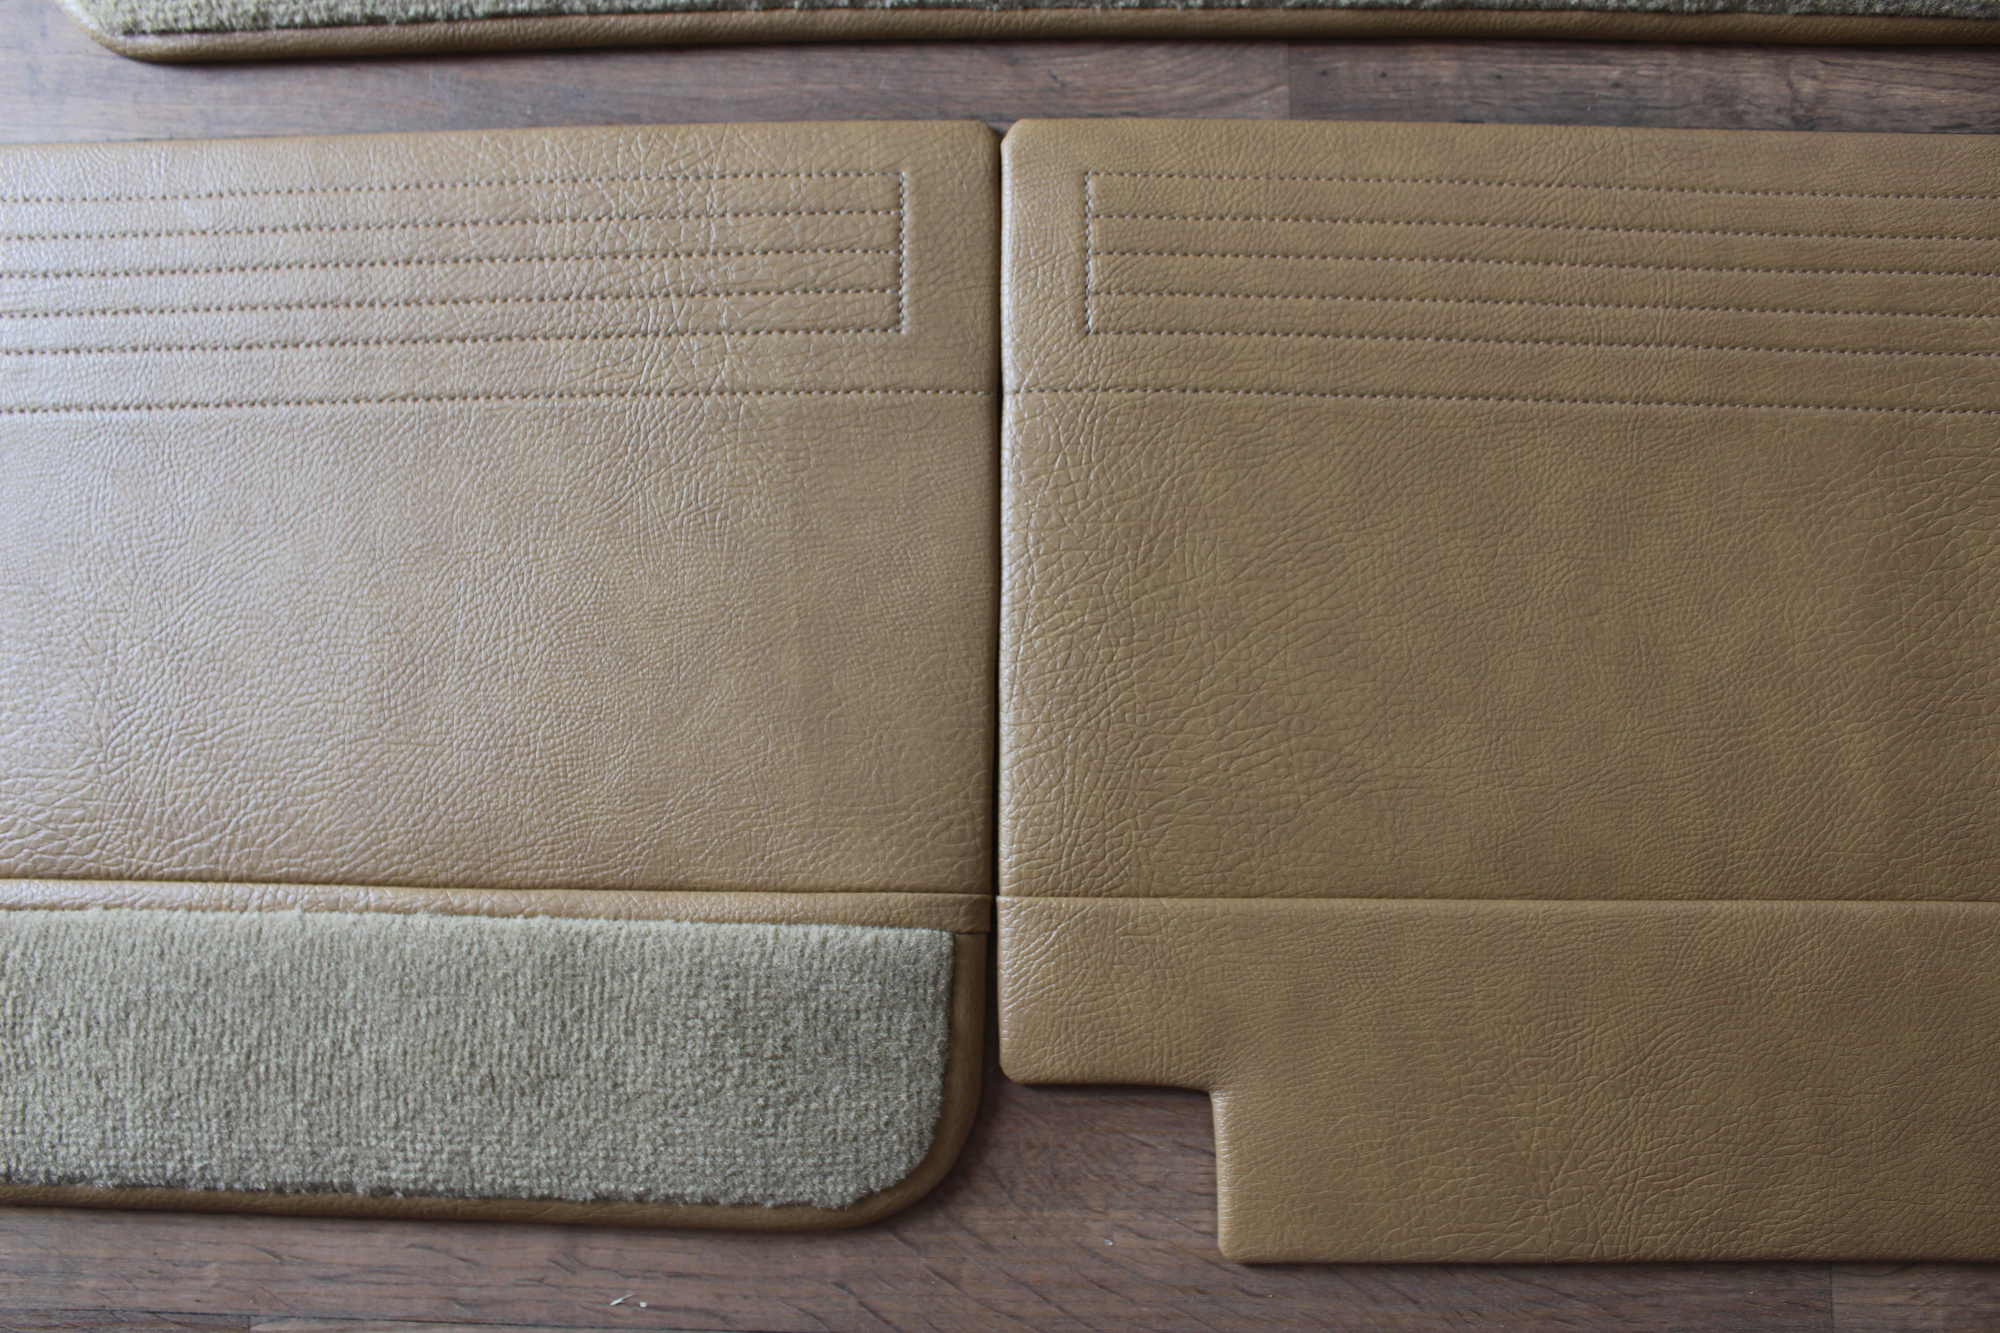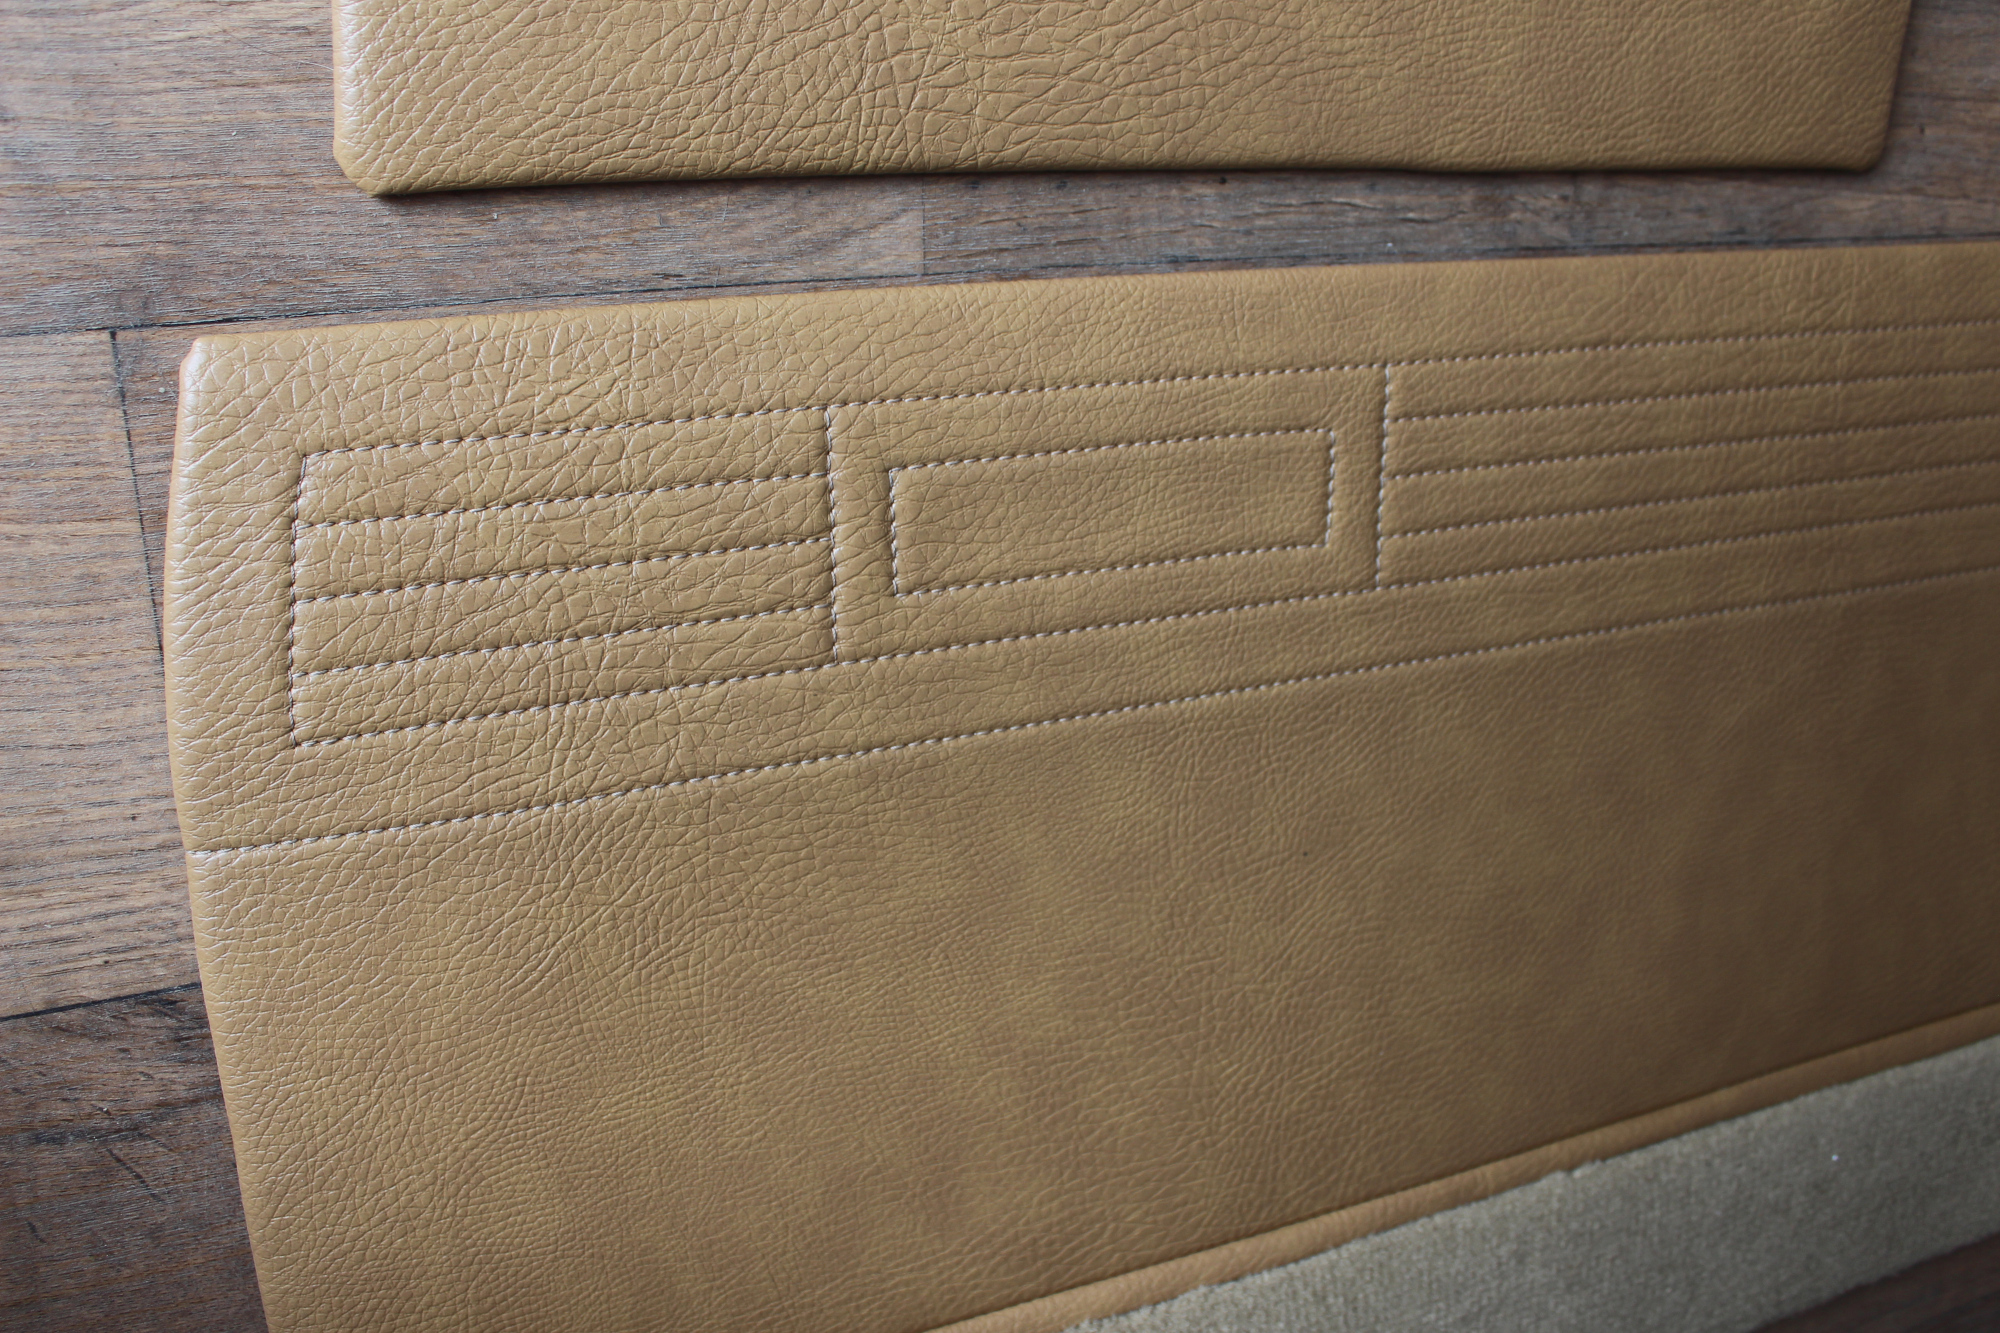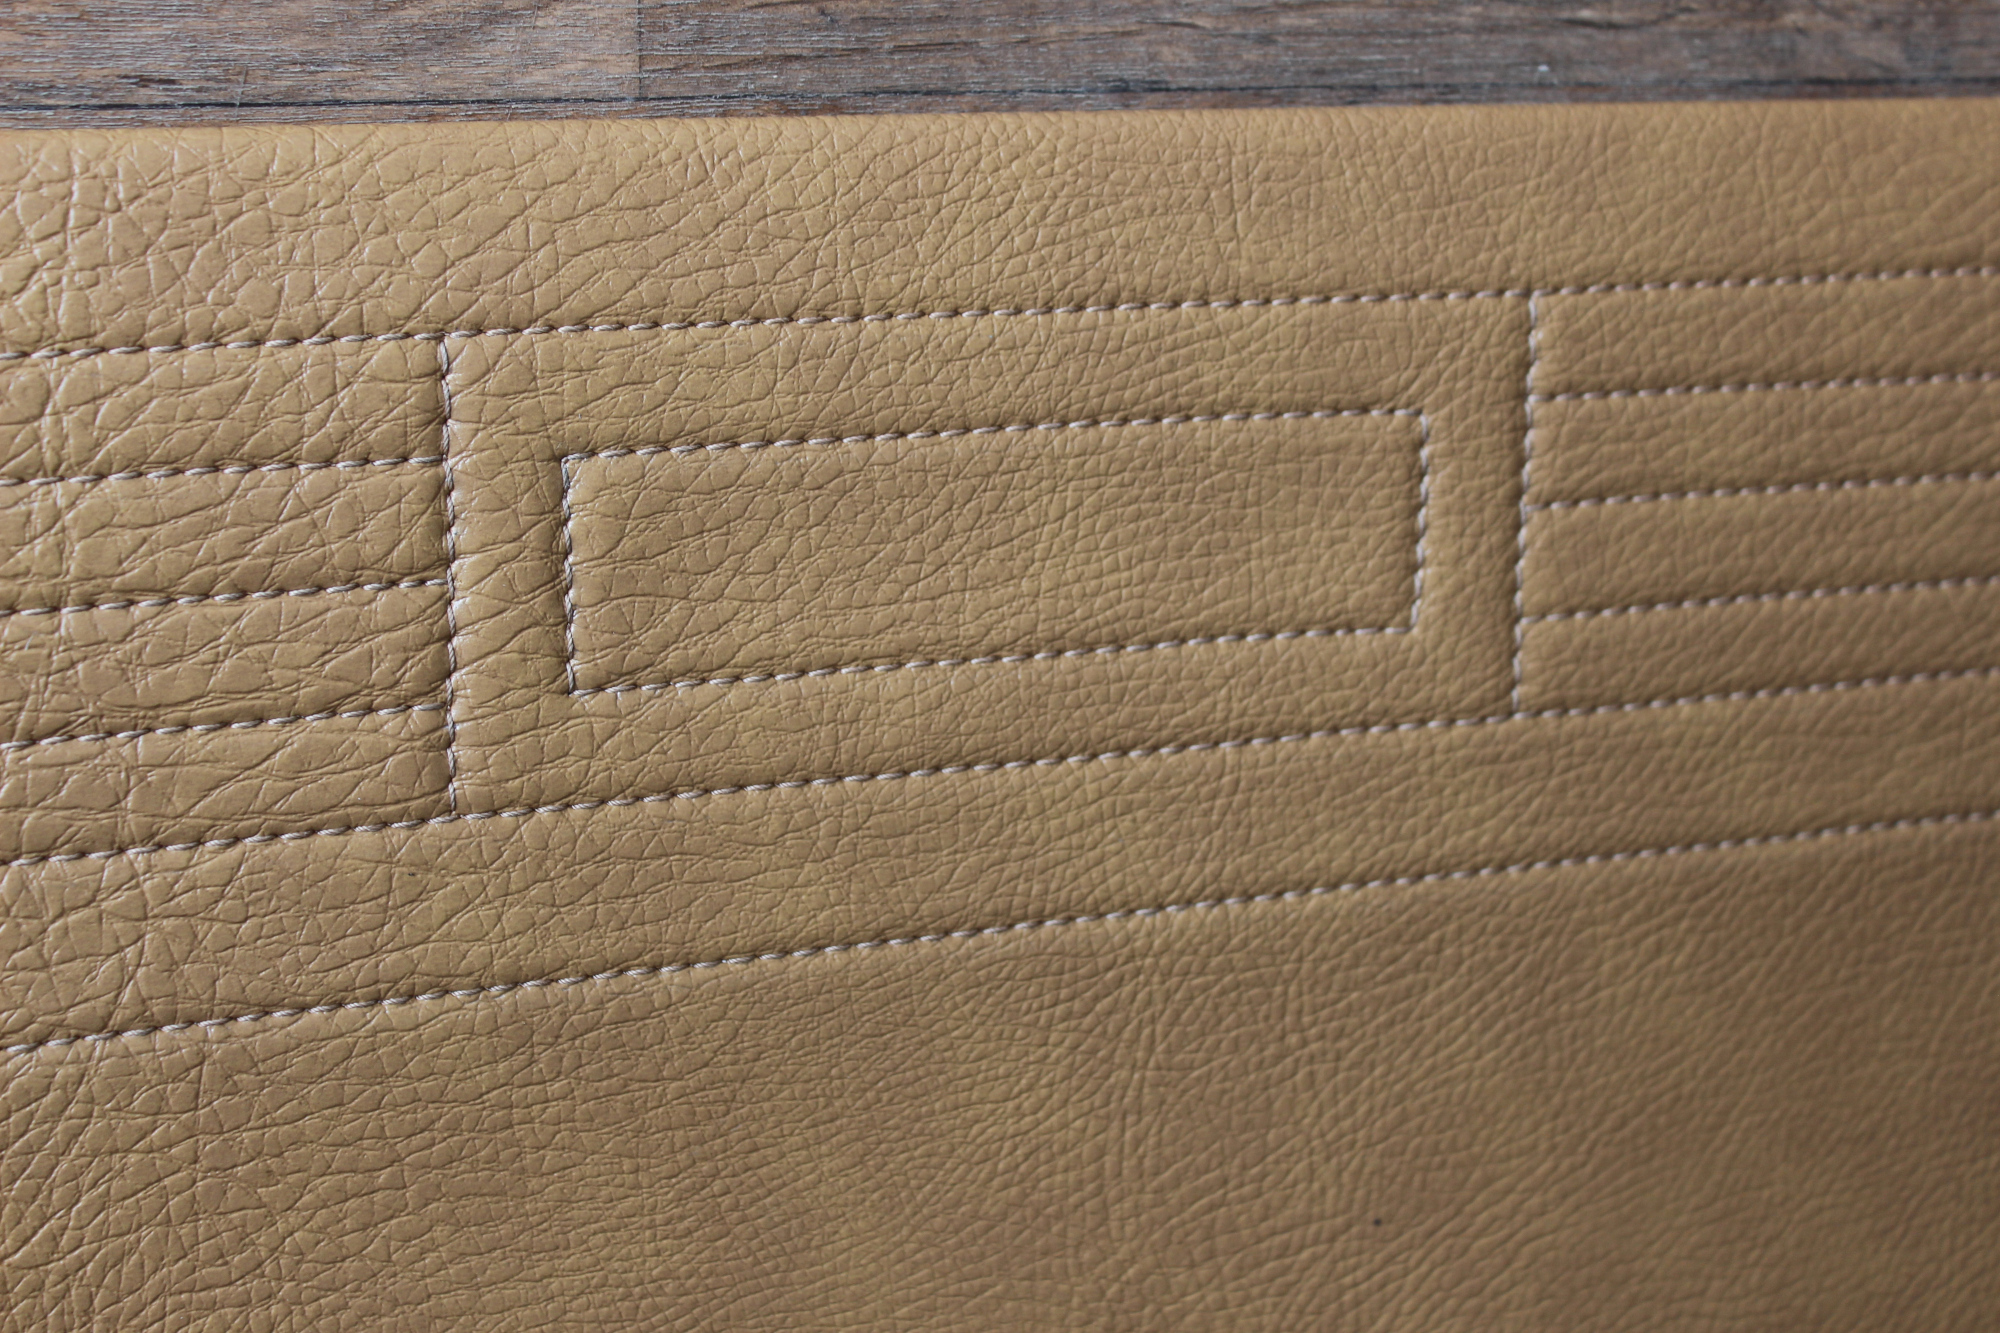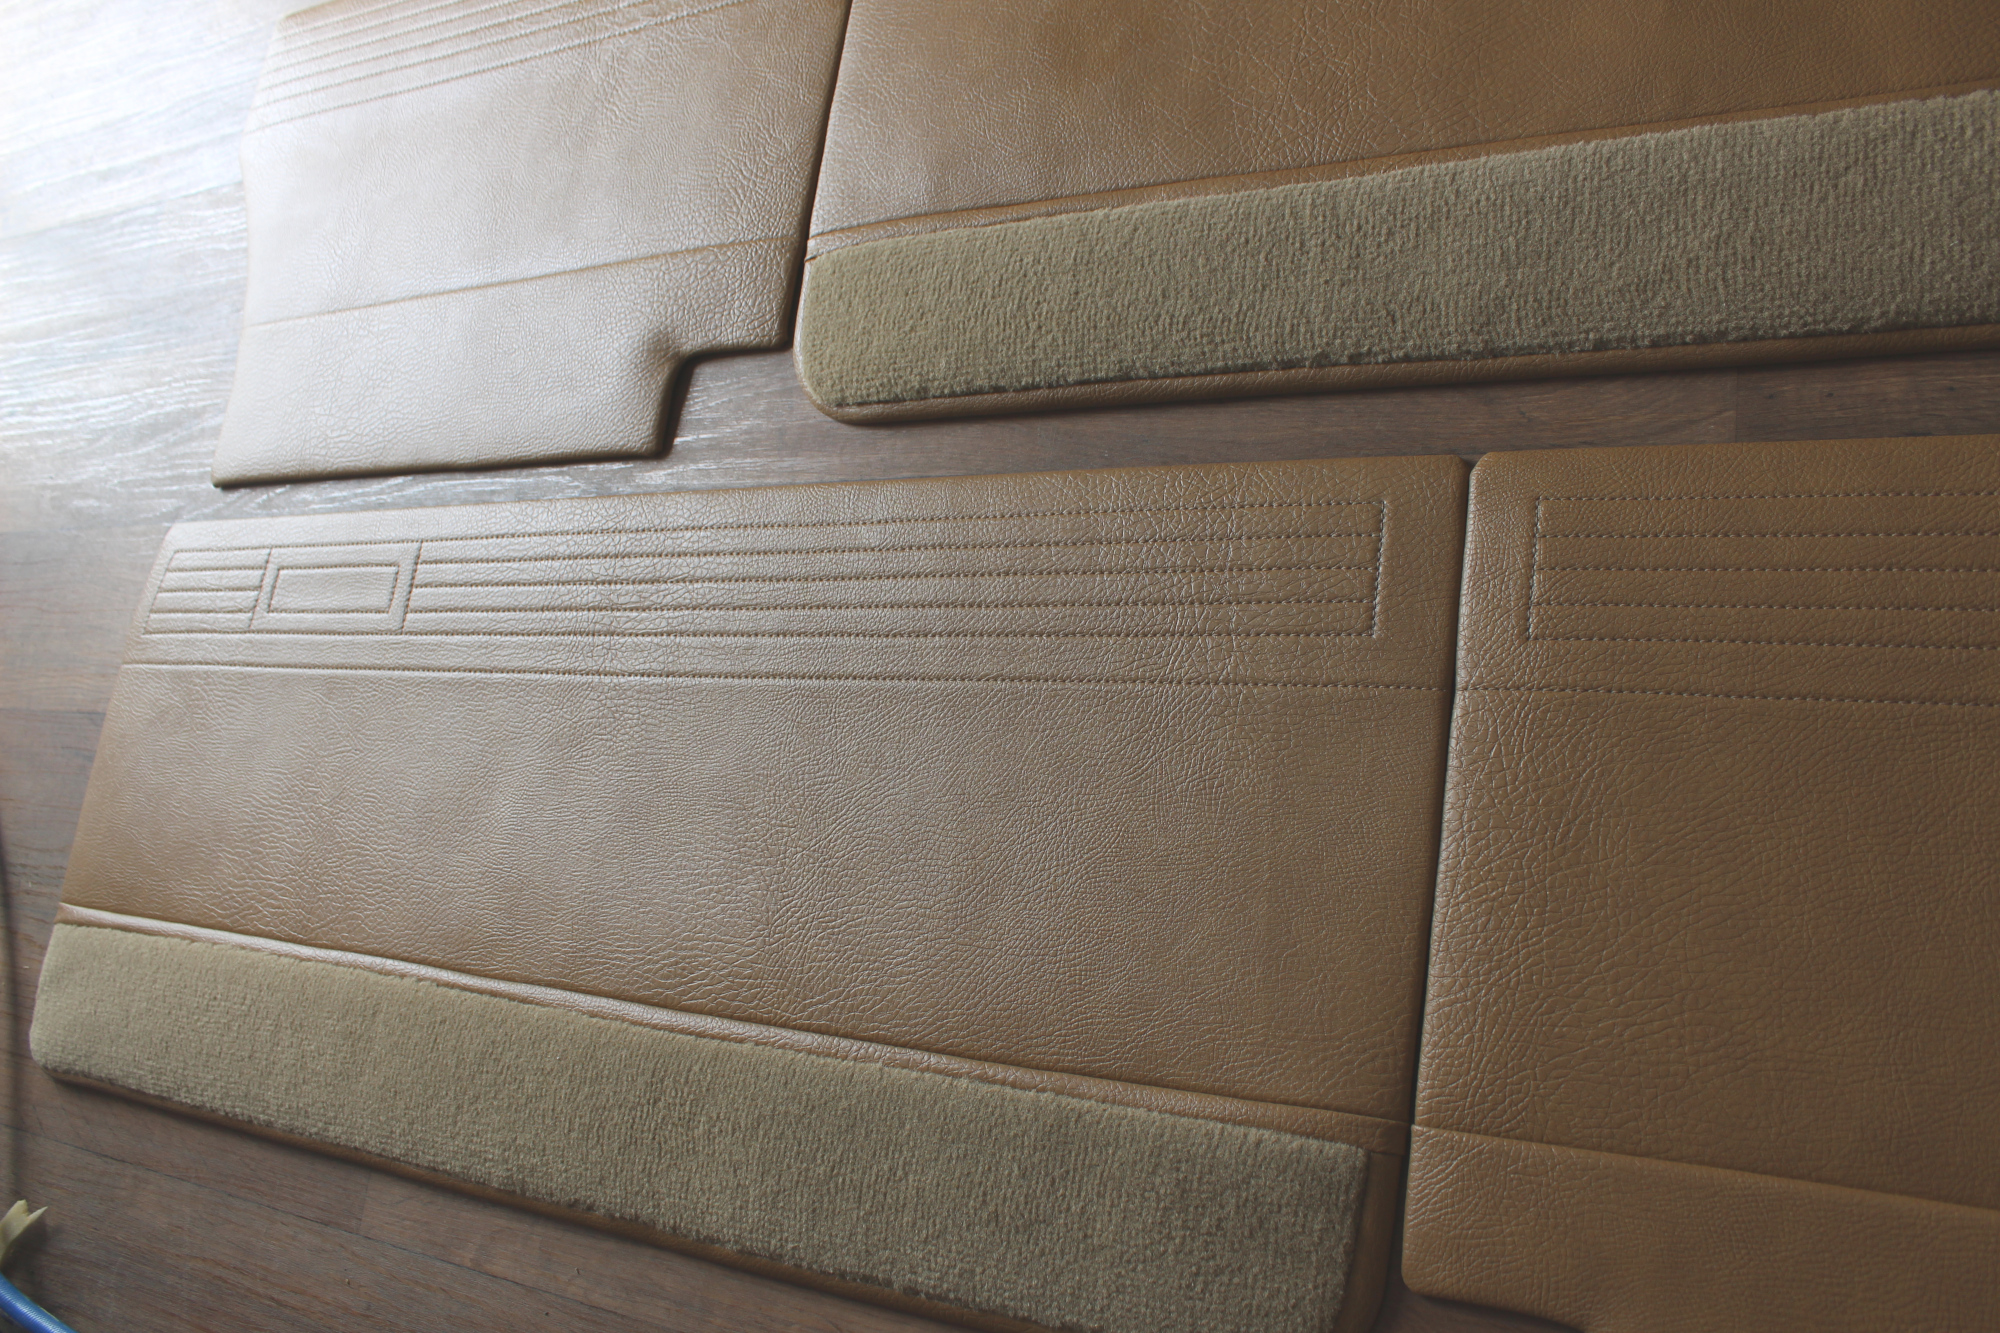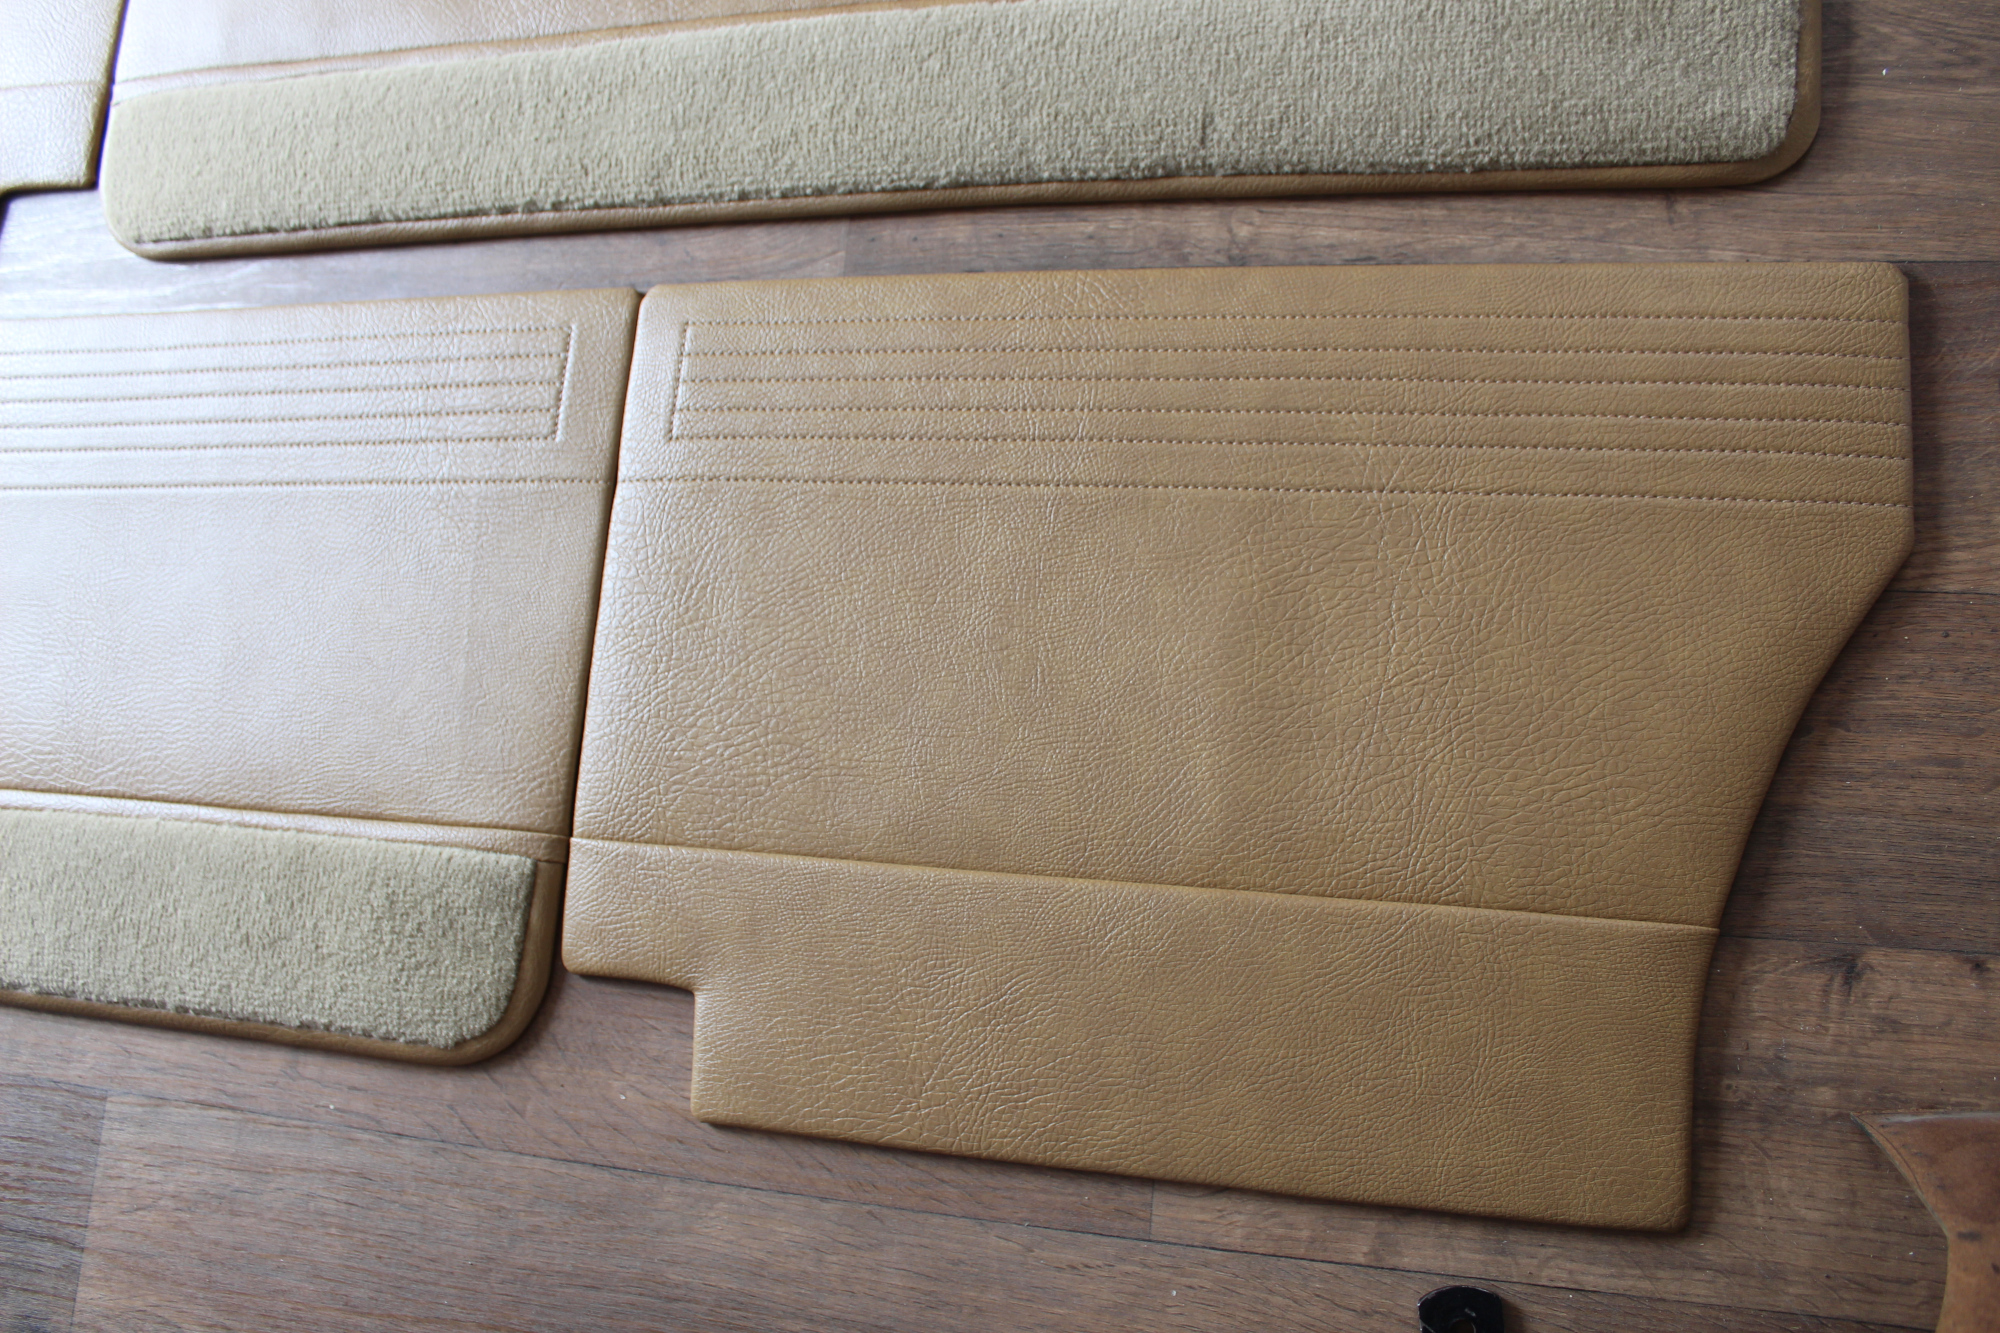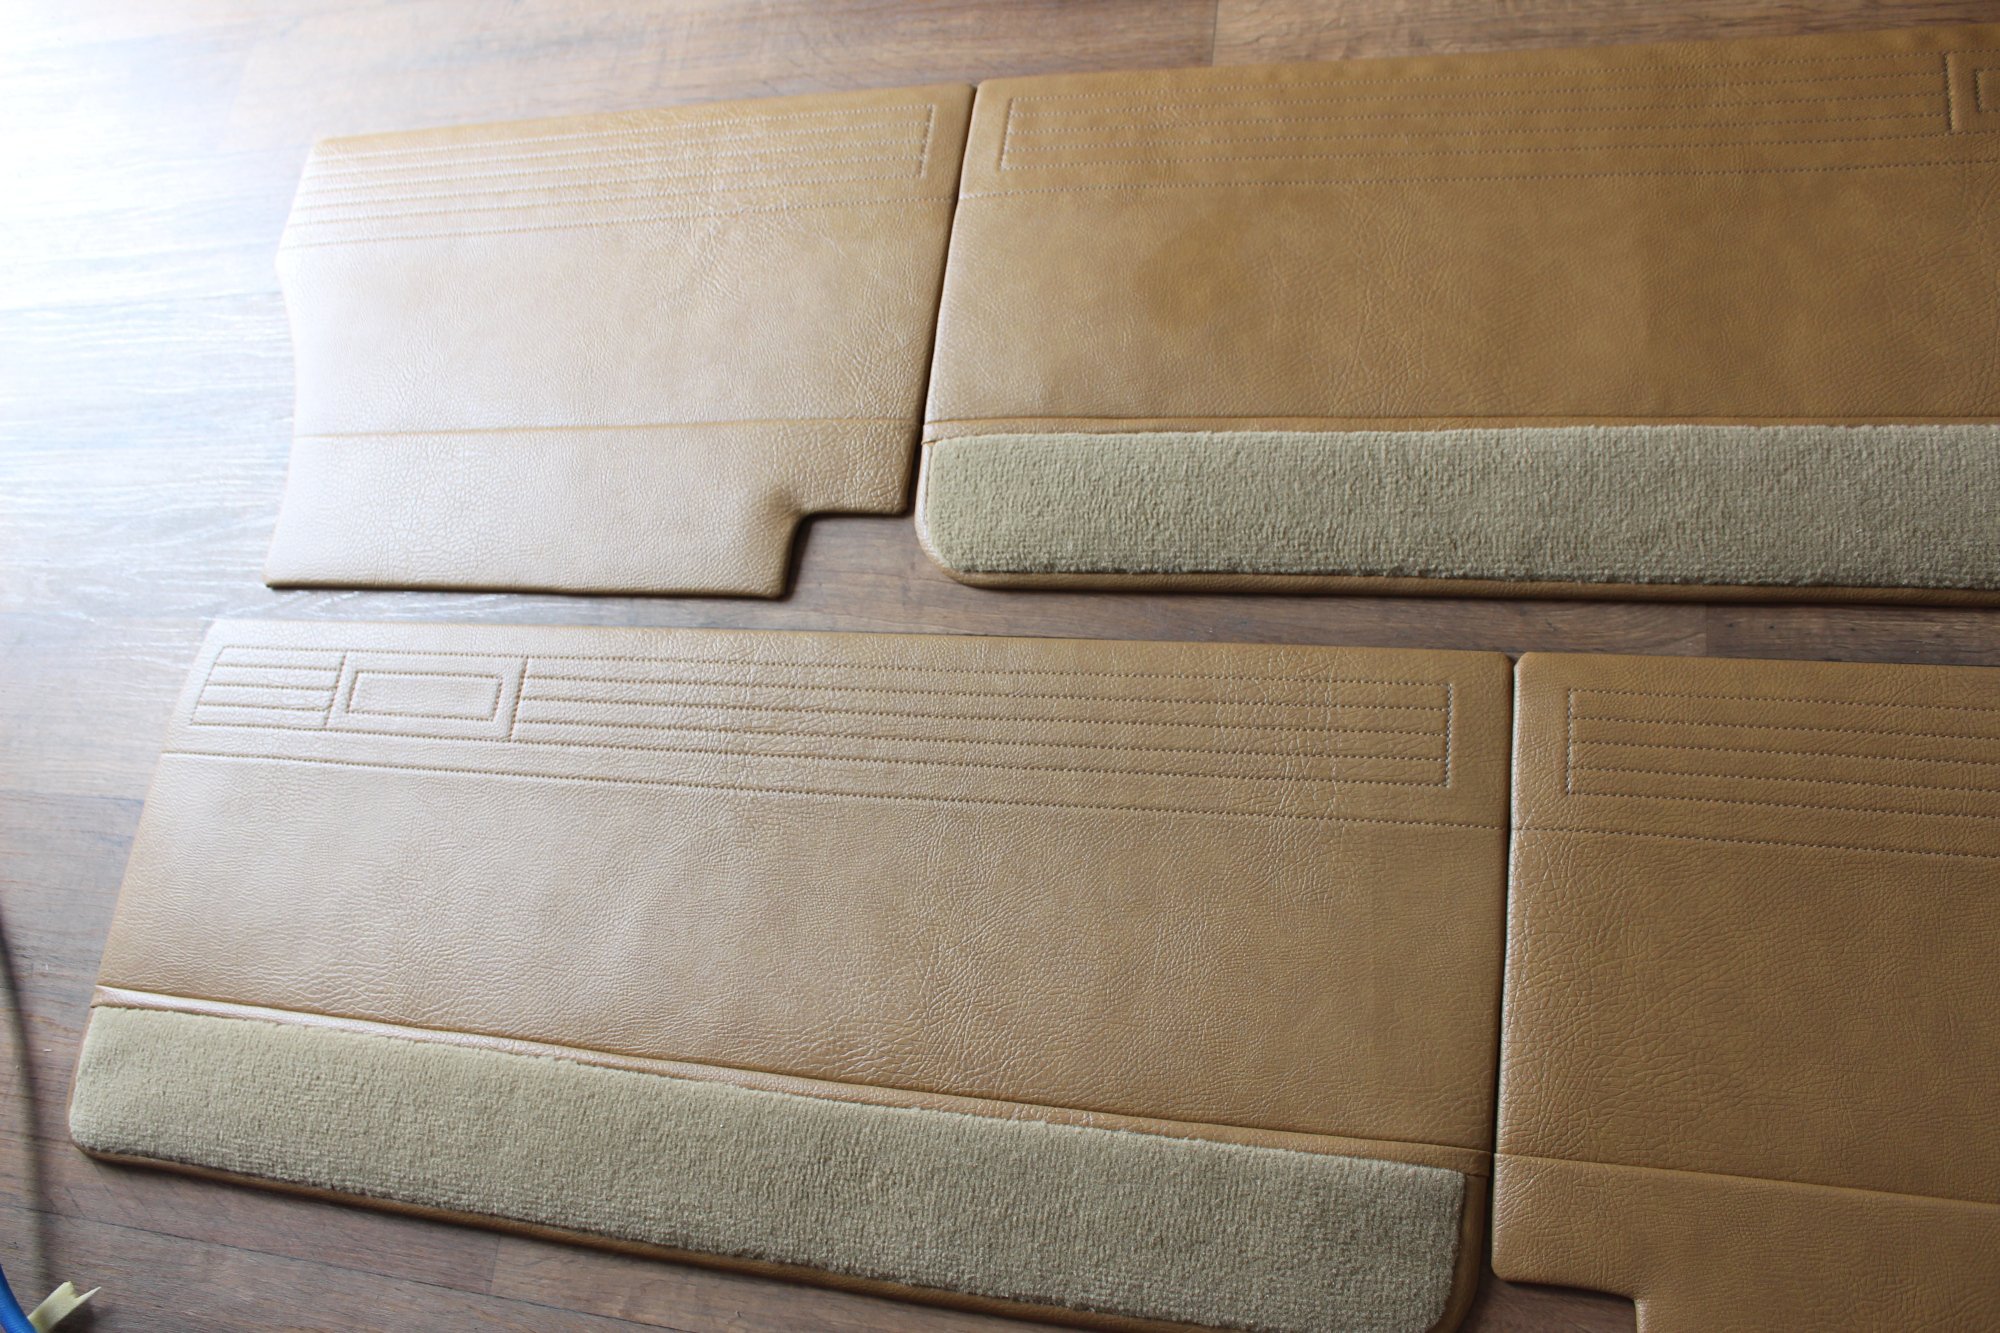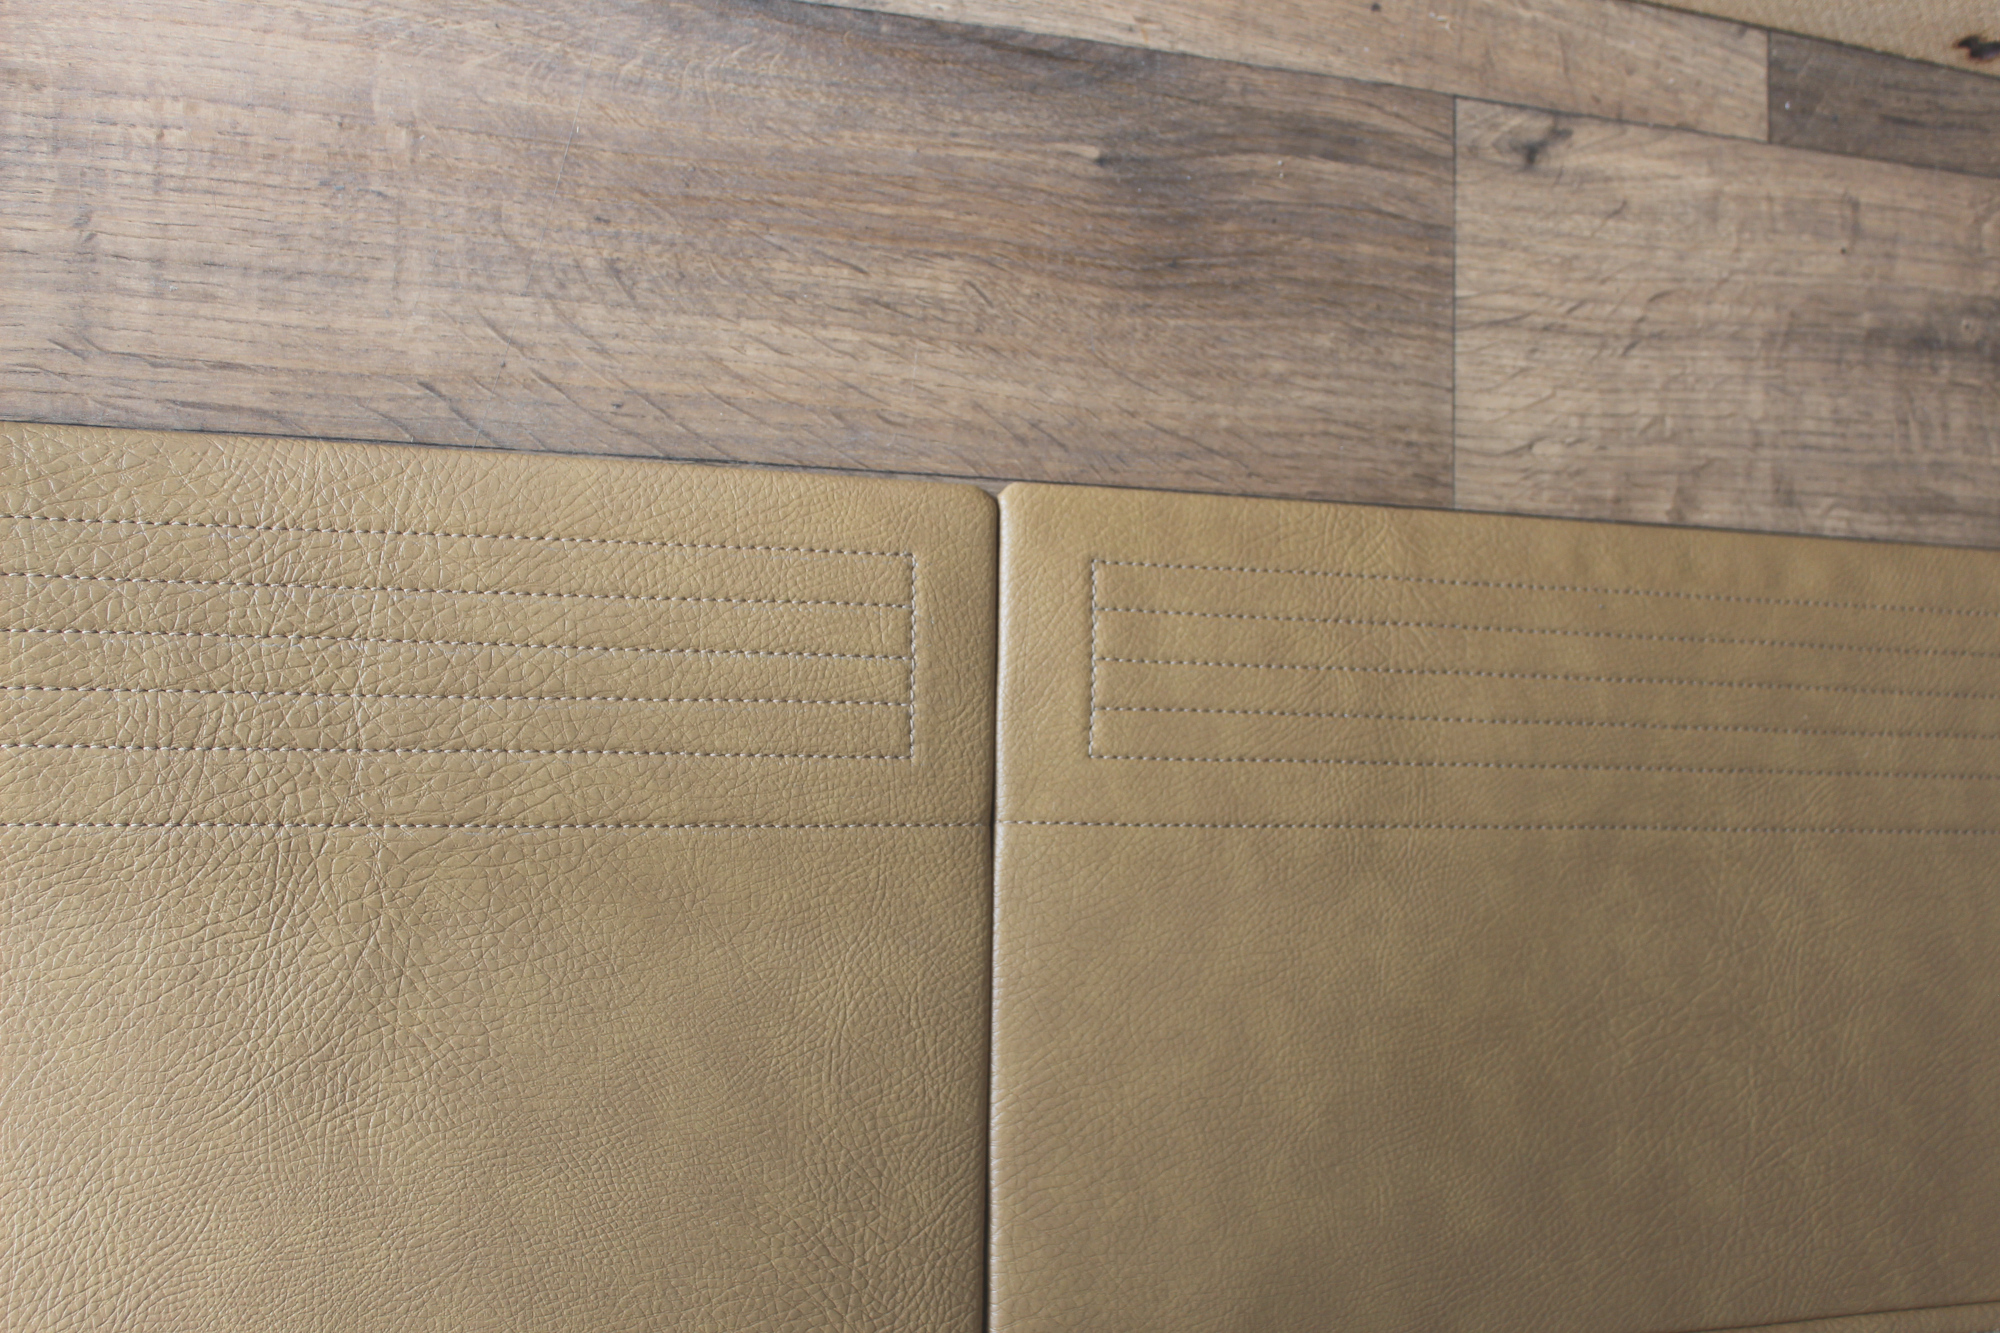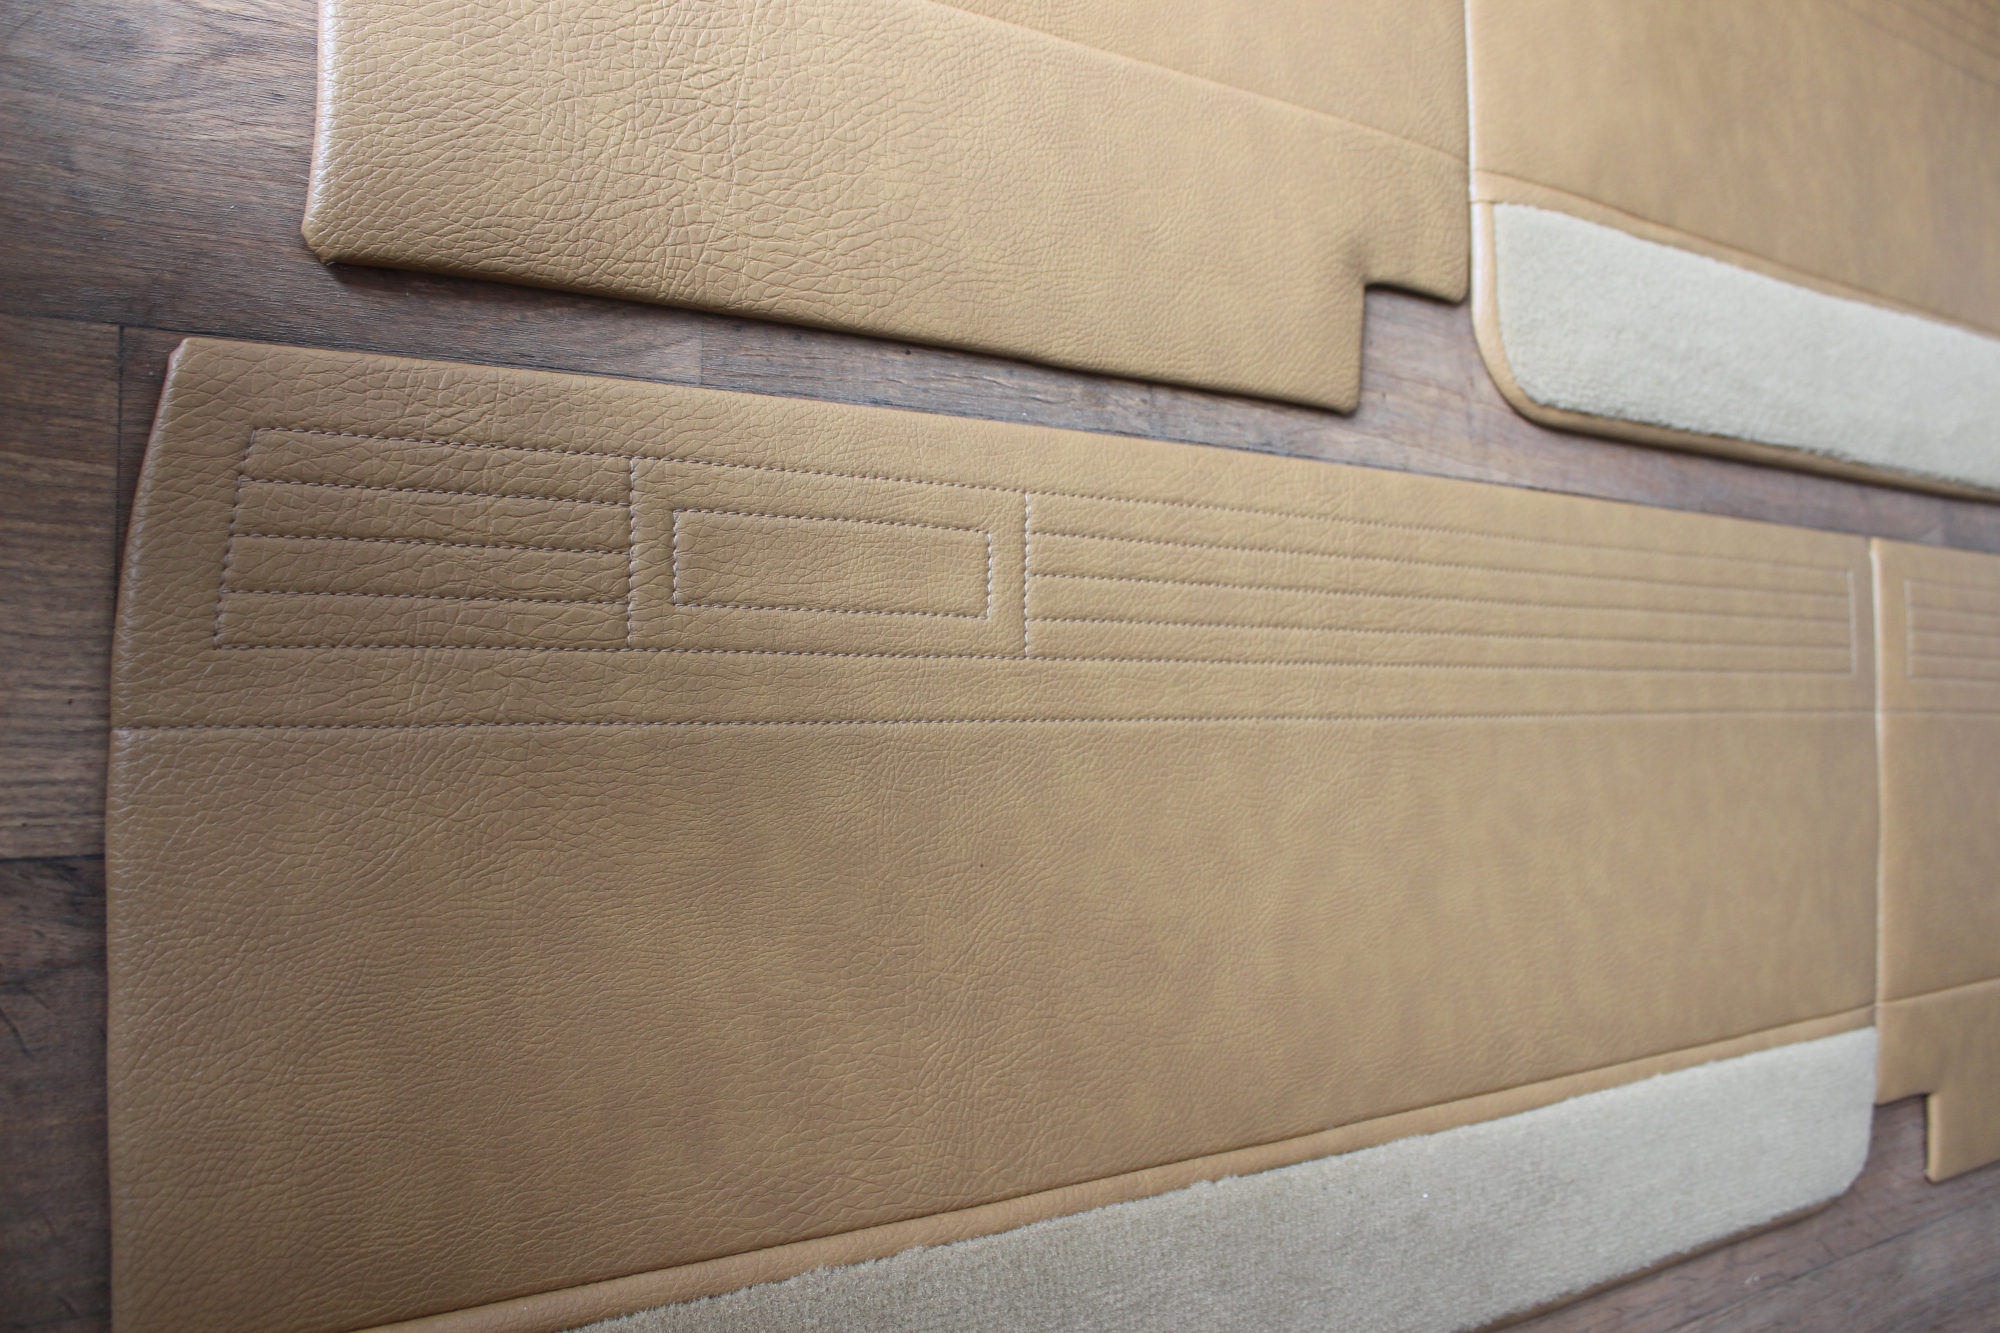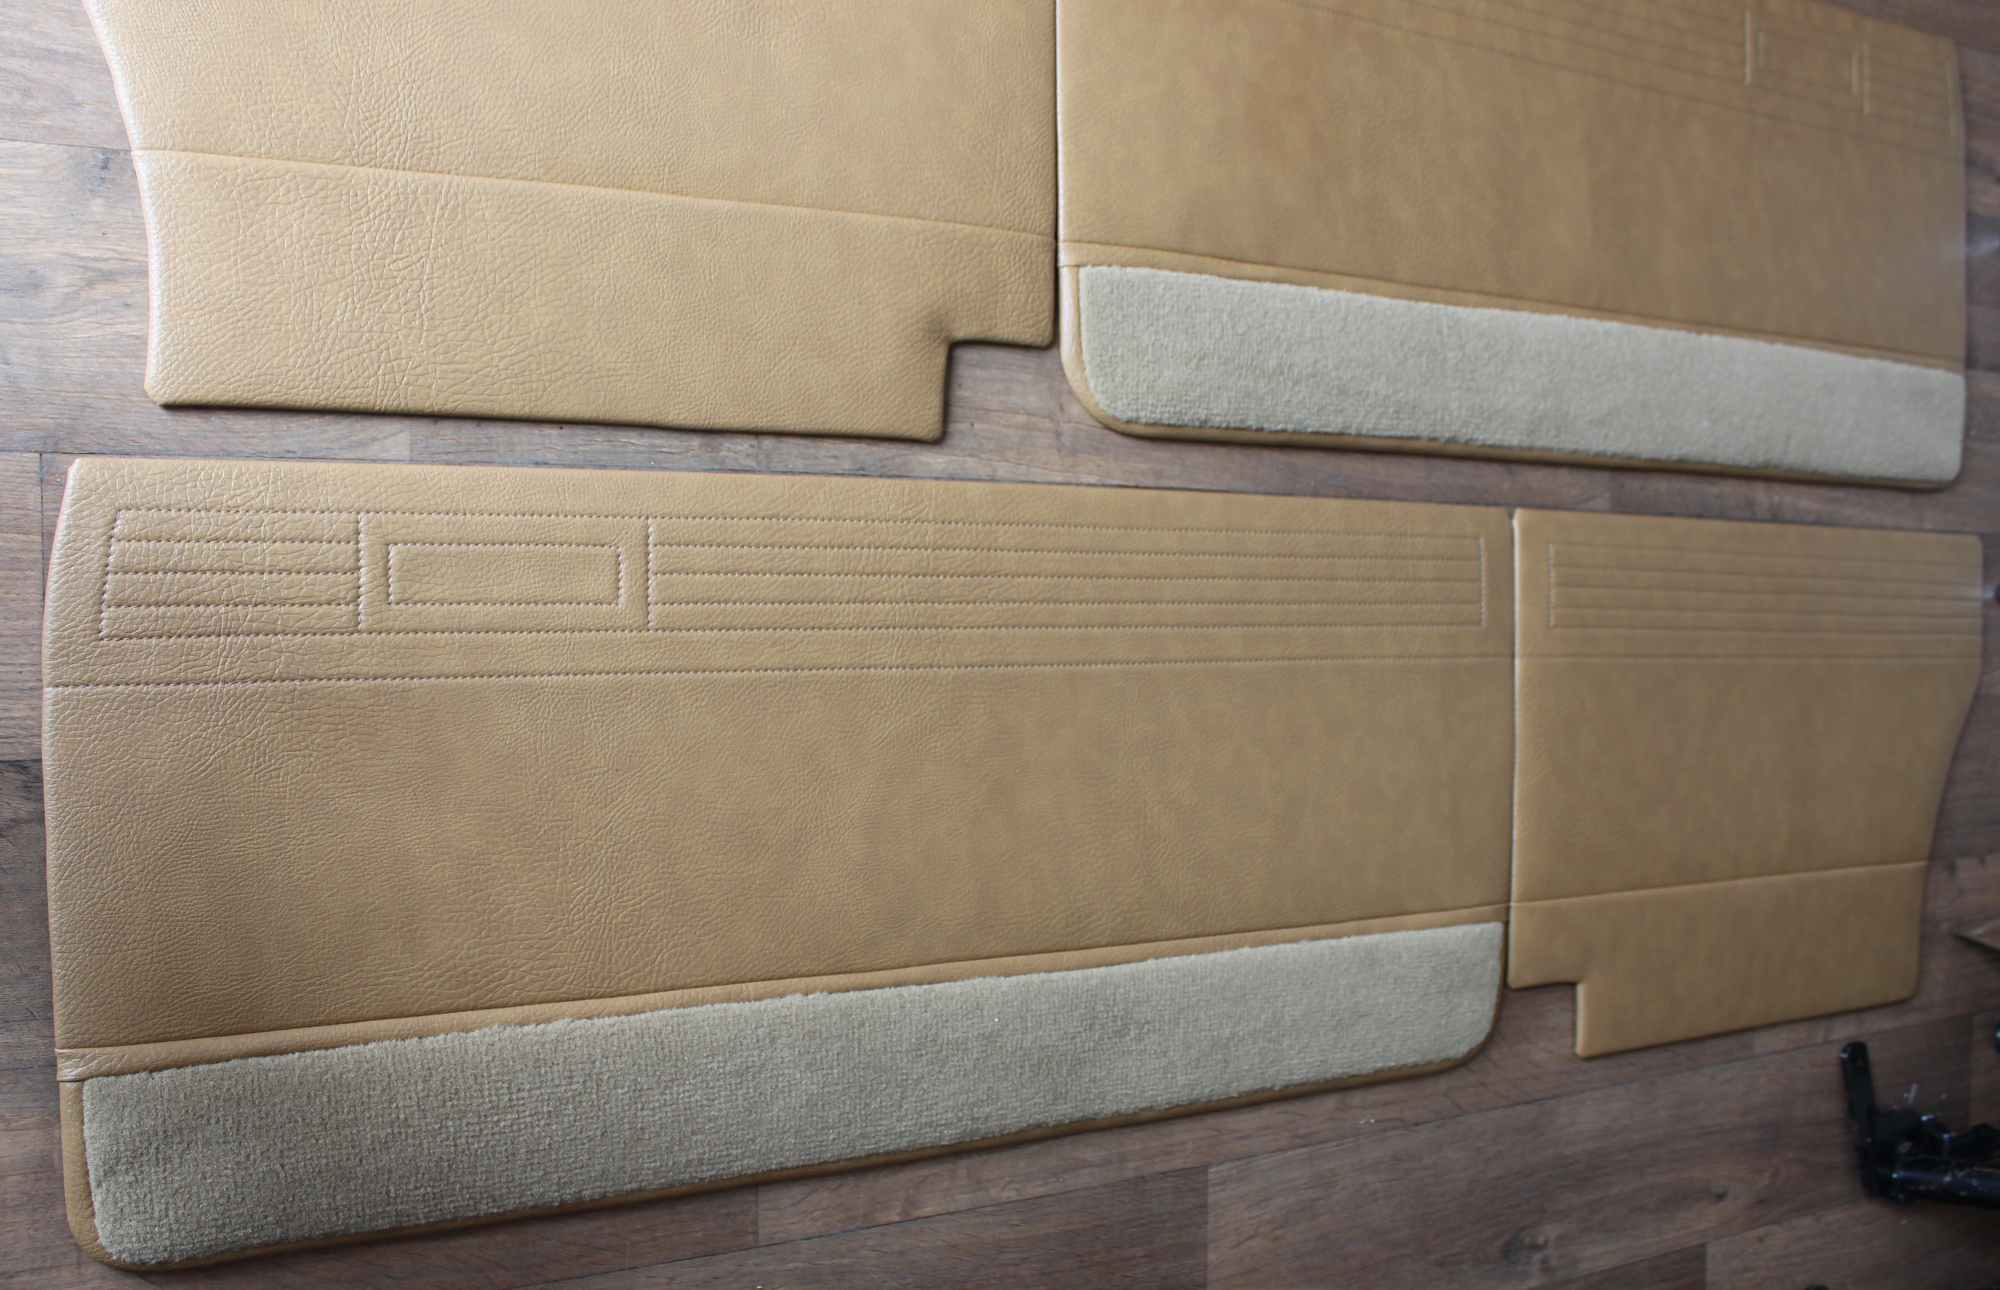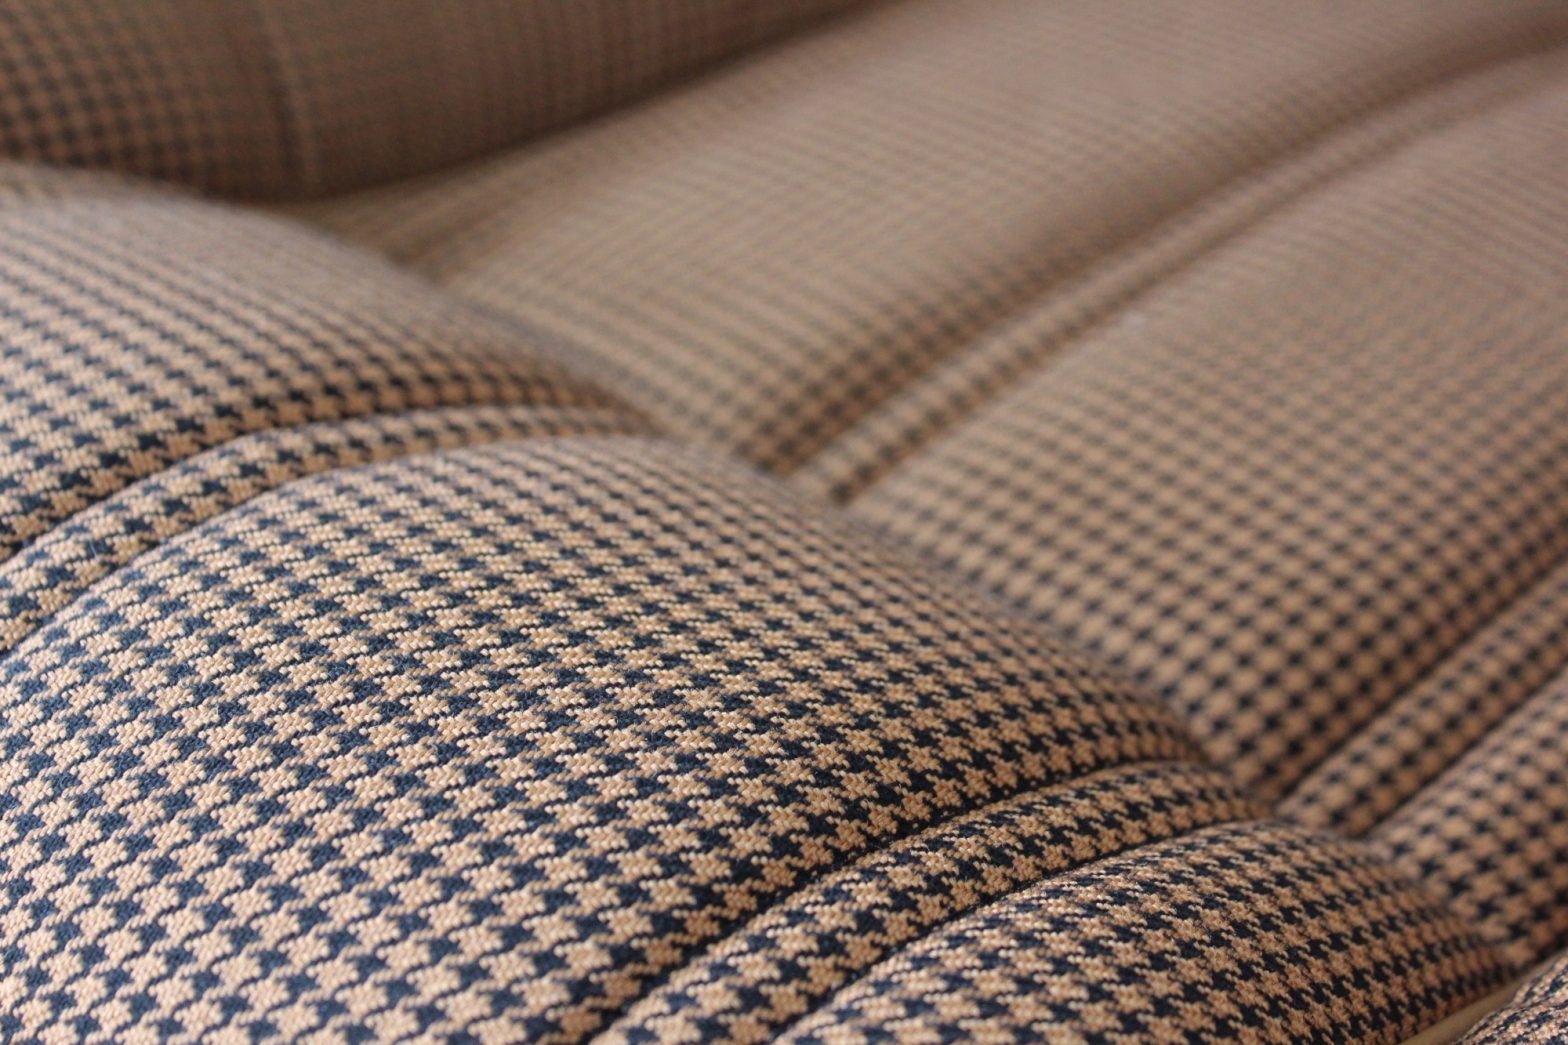
This is a job we did for a kiwi customer, who bought Houndstooth cloth and vinyl from Australia.
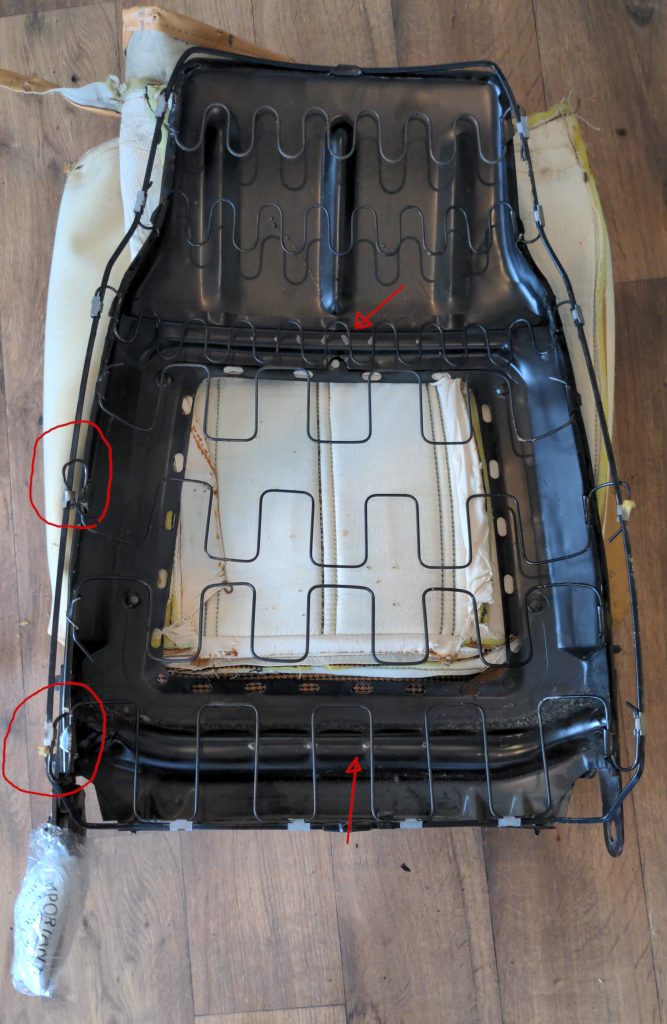
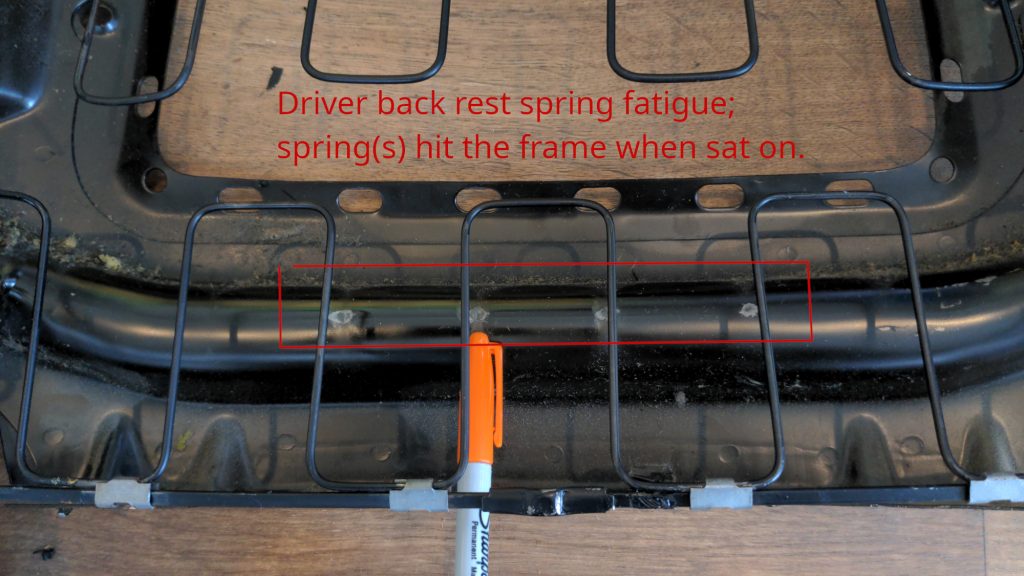
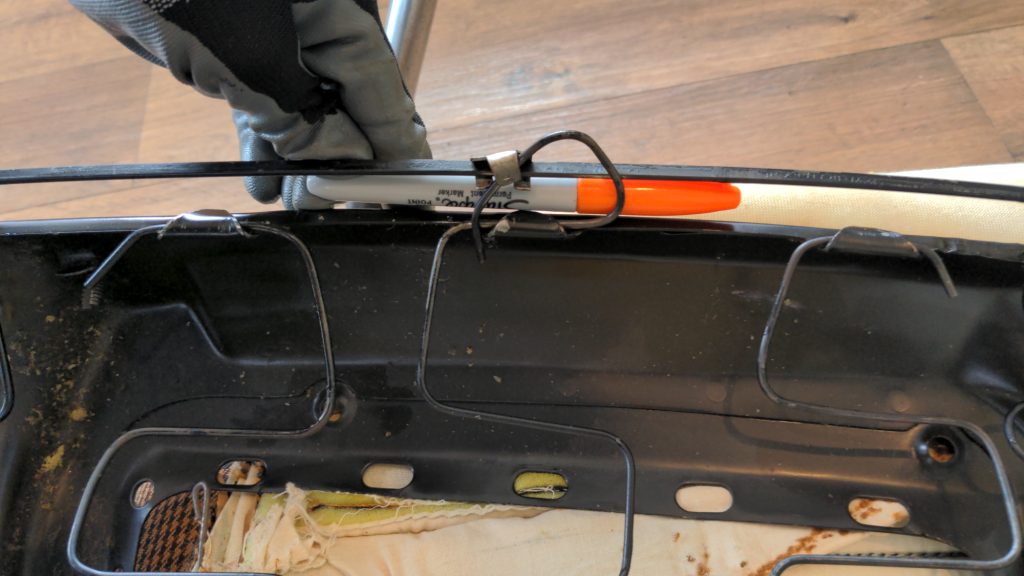
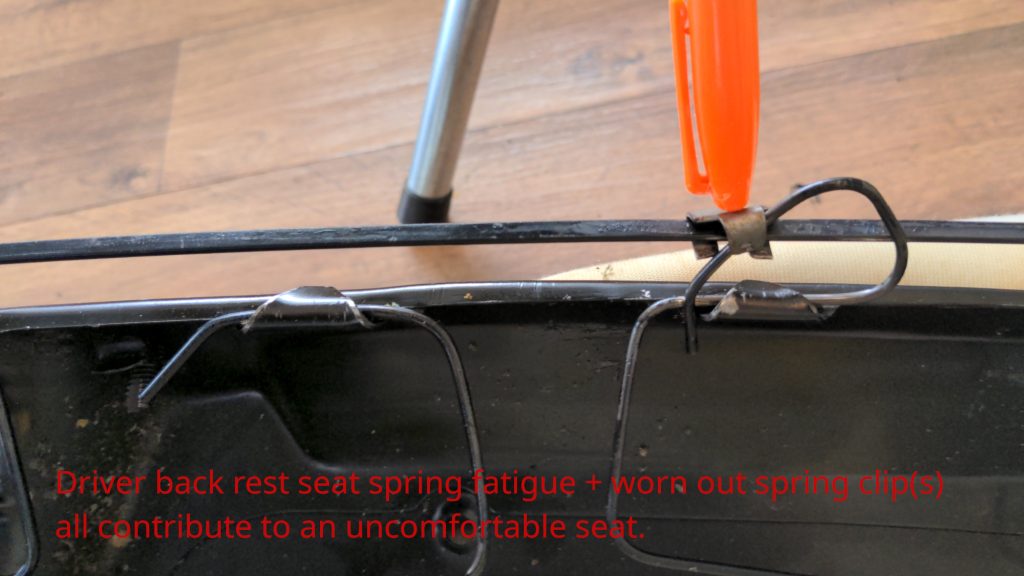
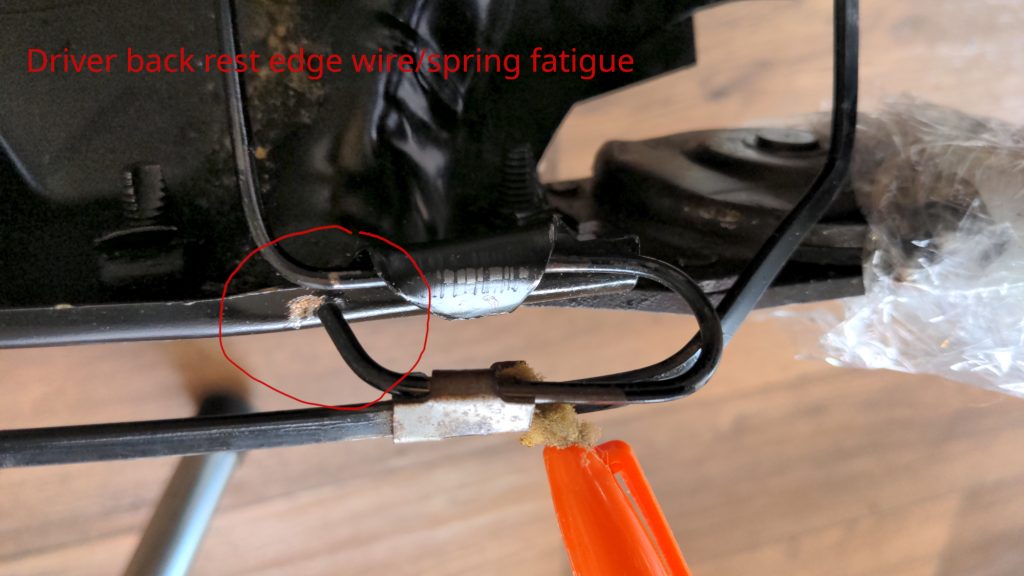
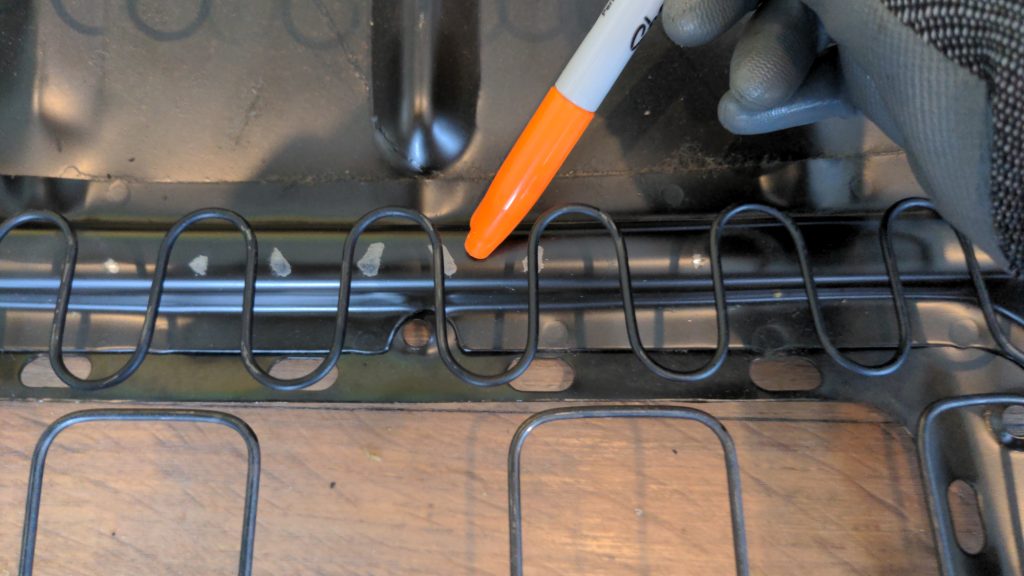
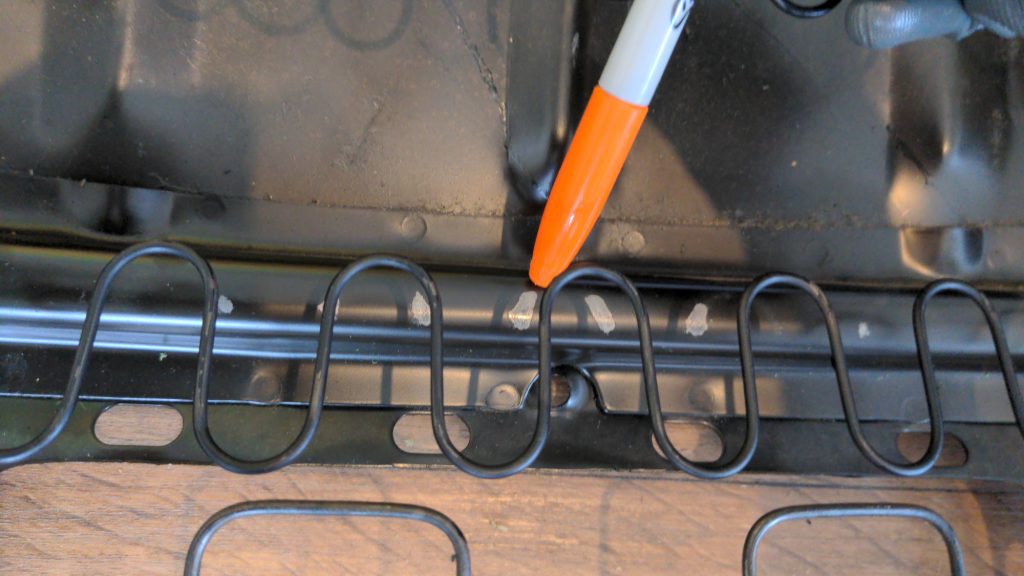
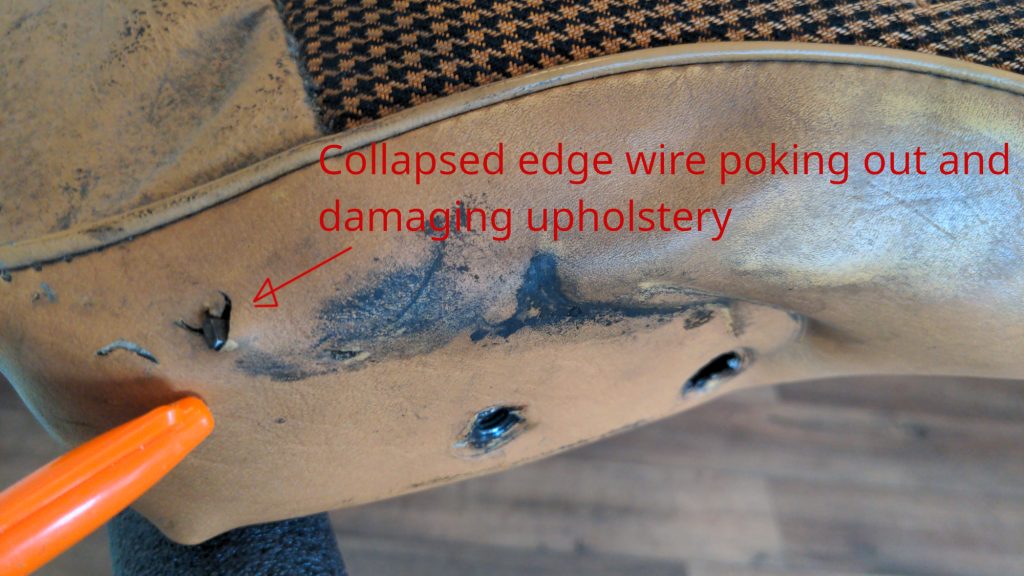
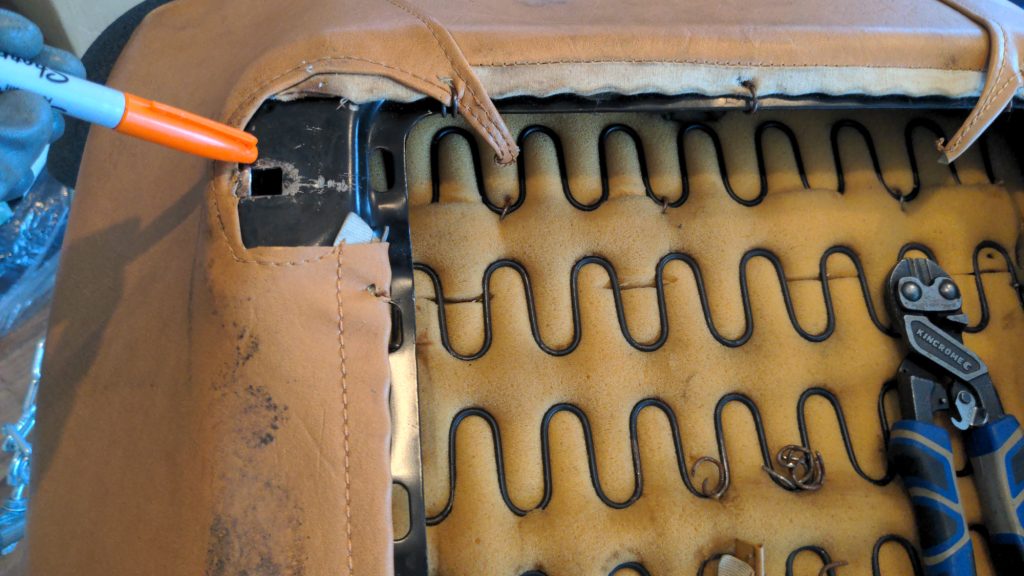
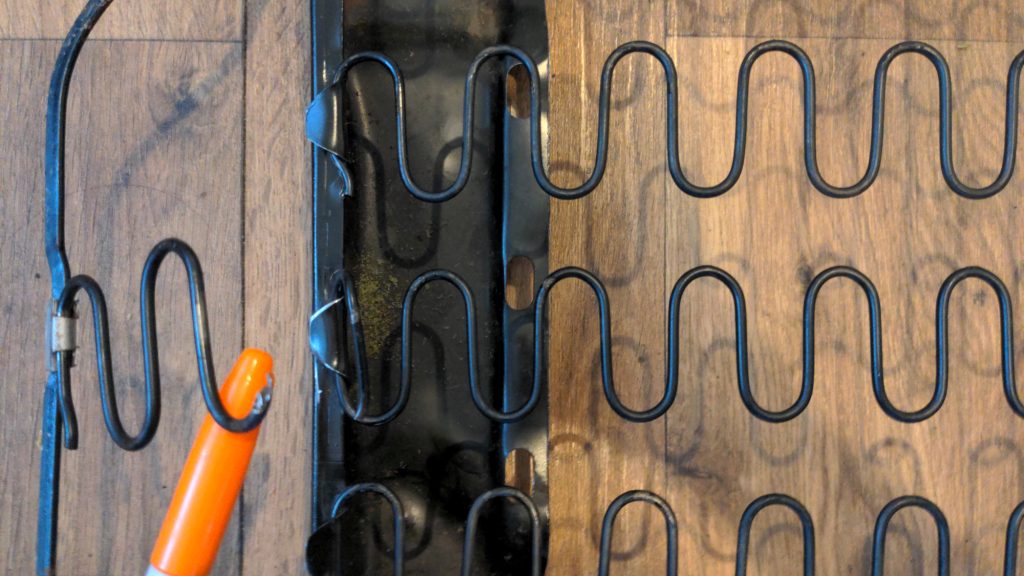
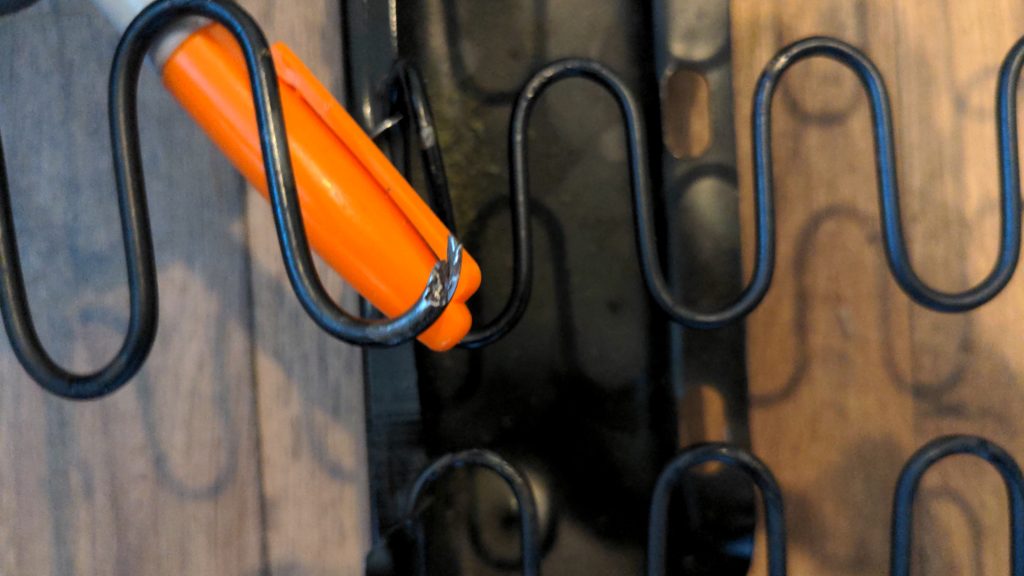
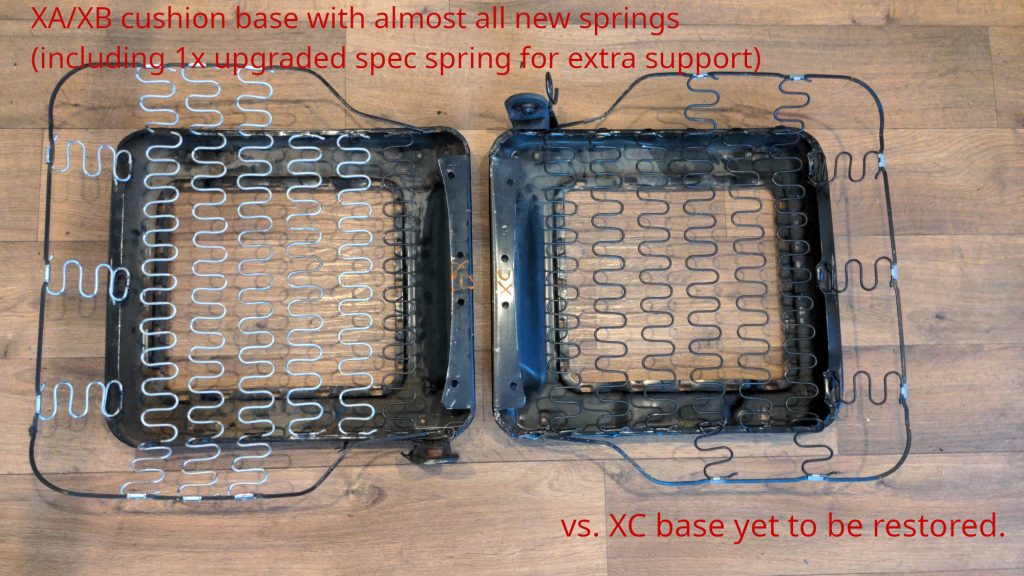
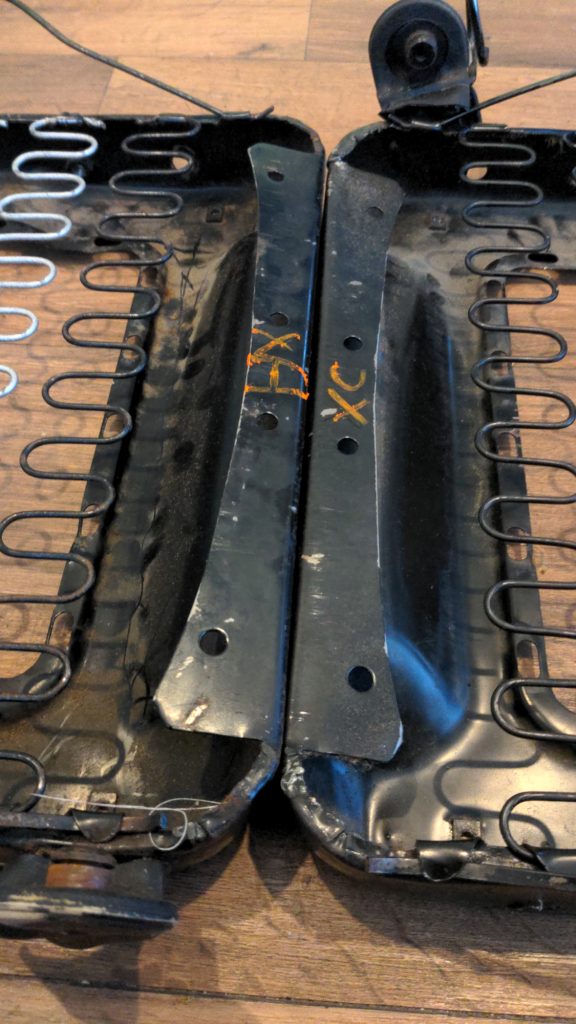
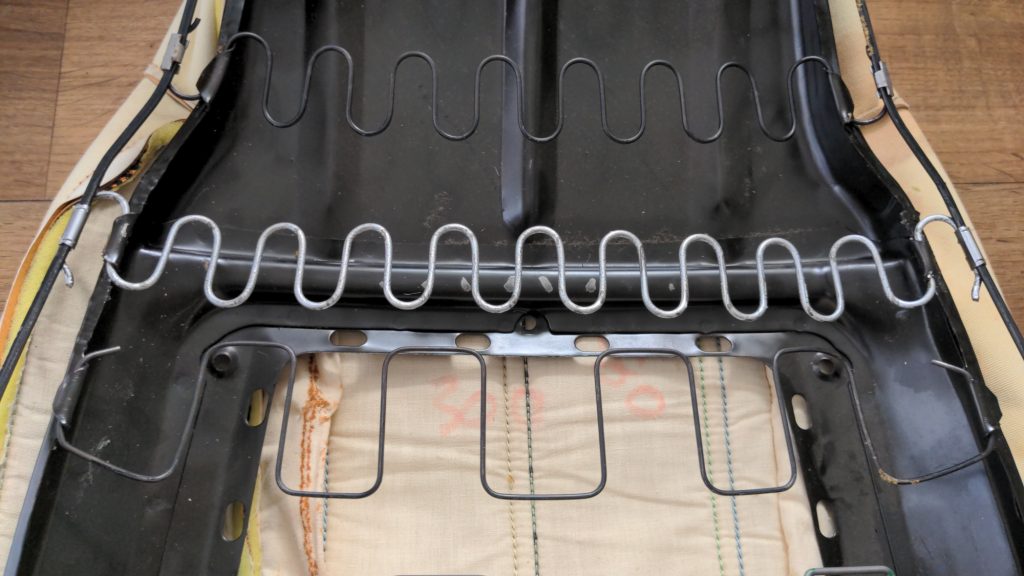
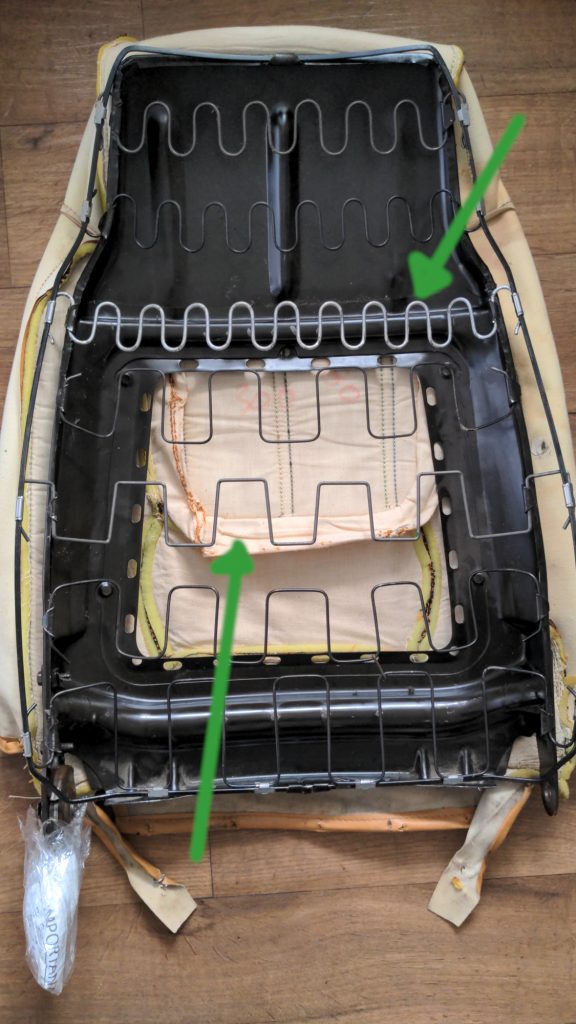
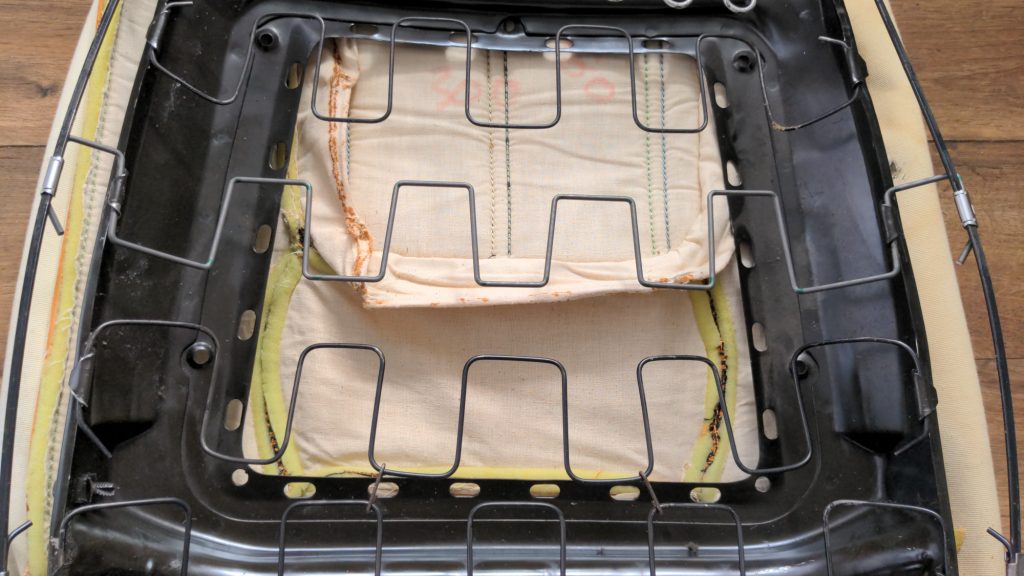
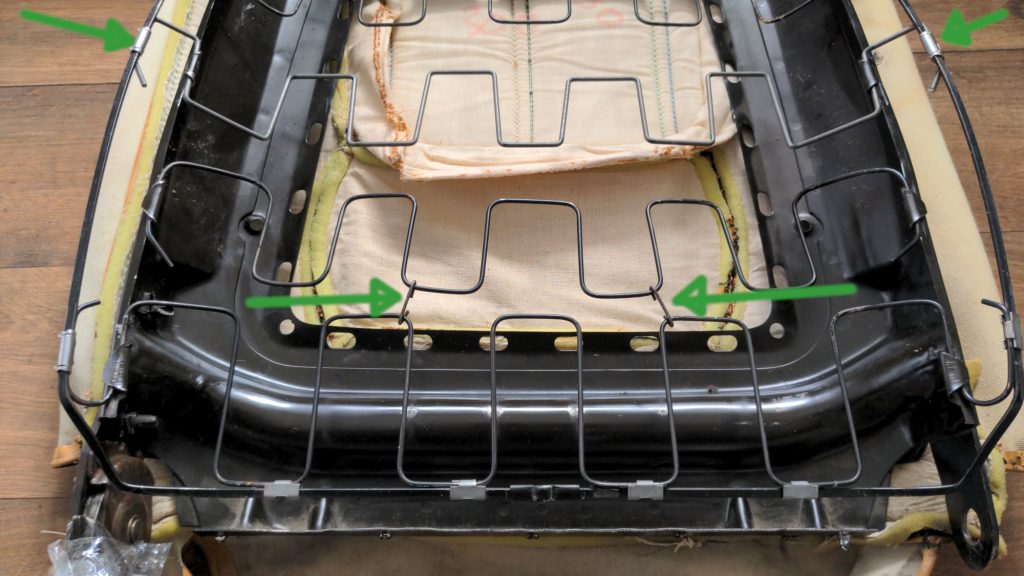
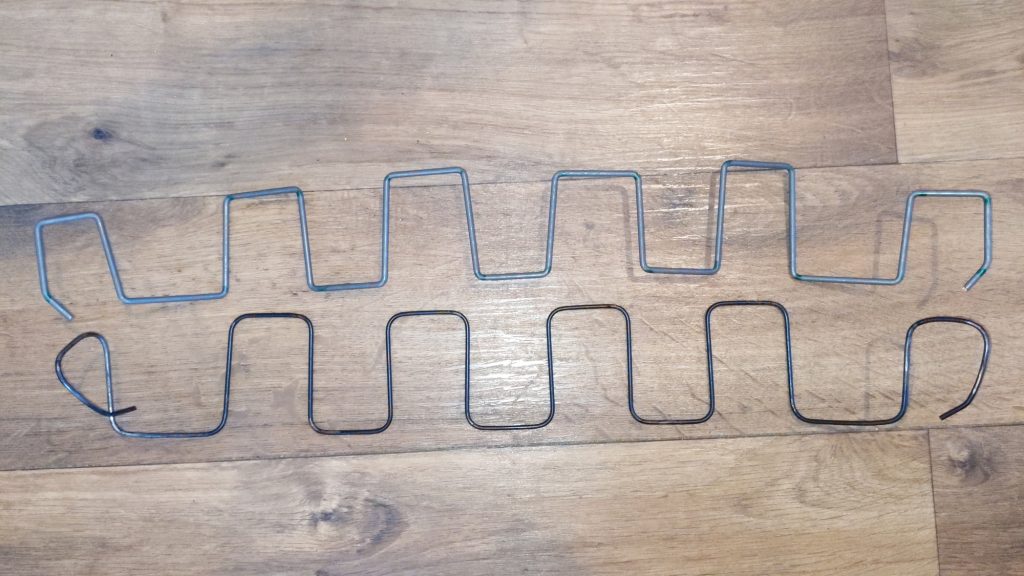
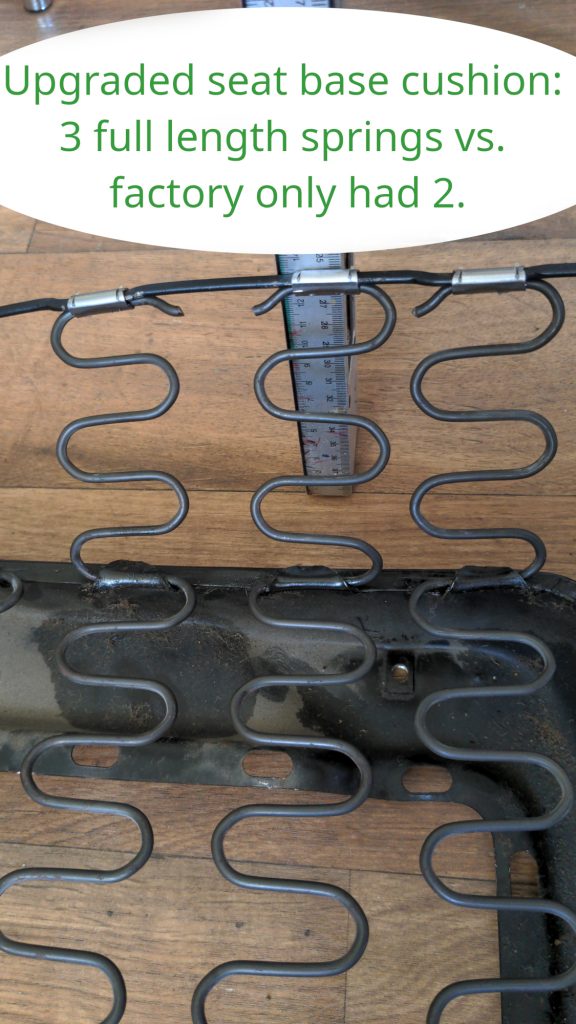
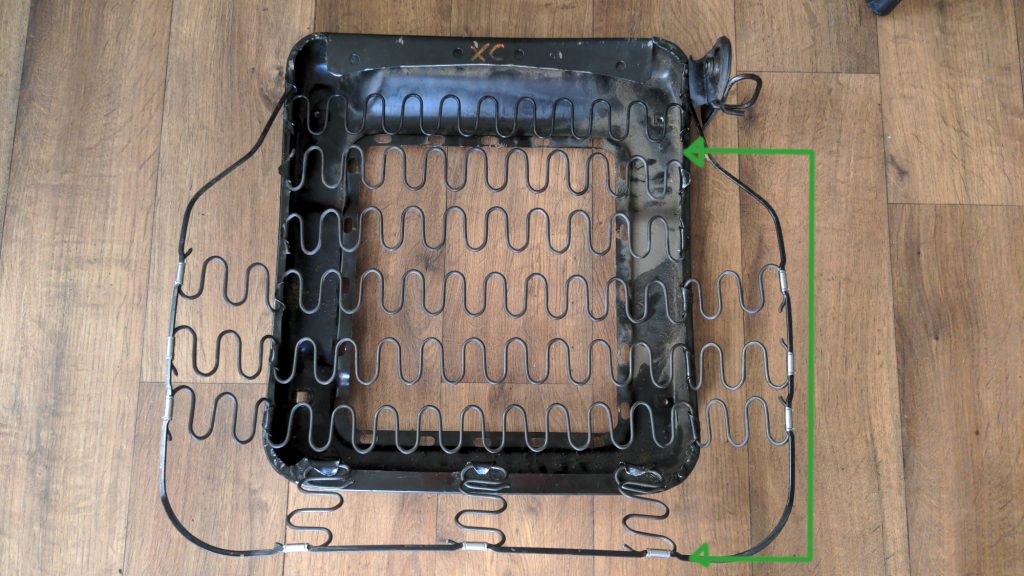
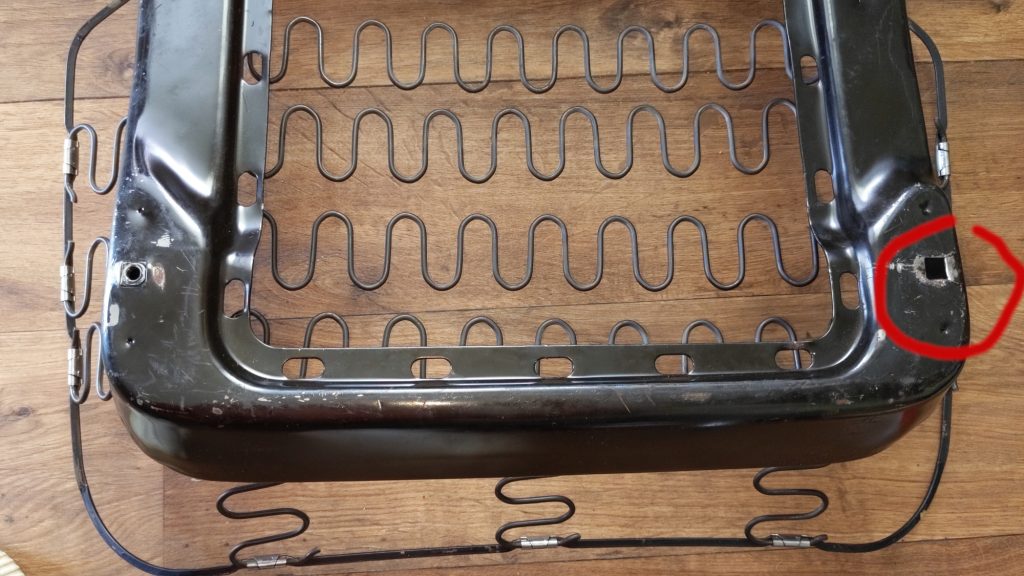
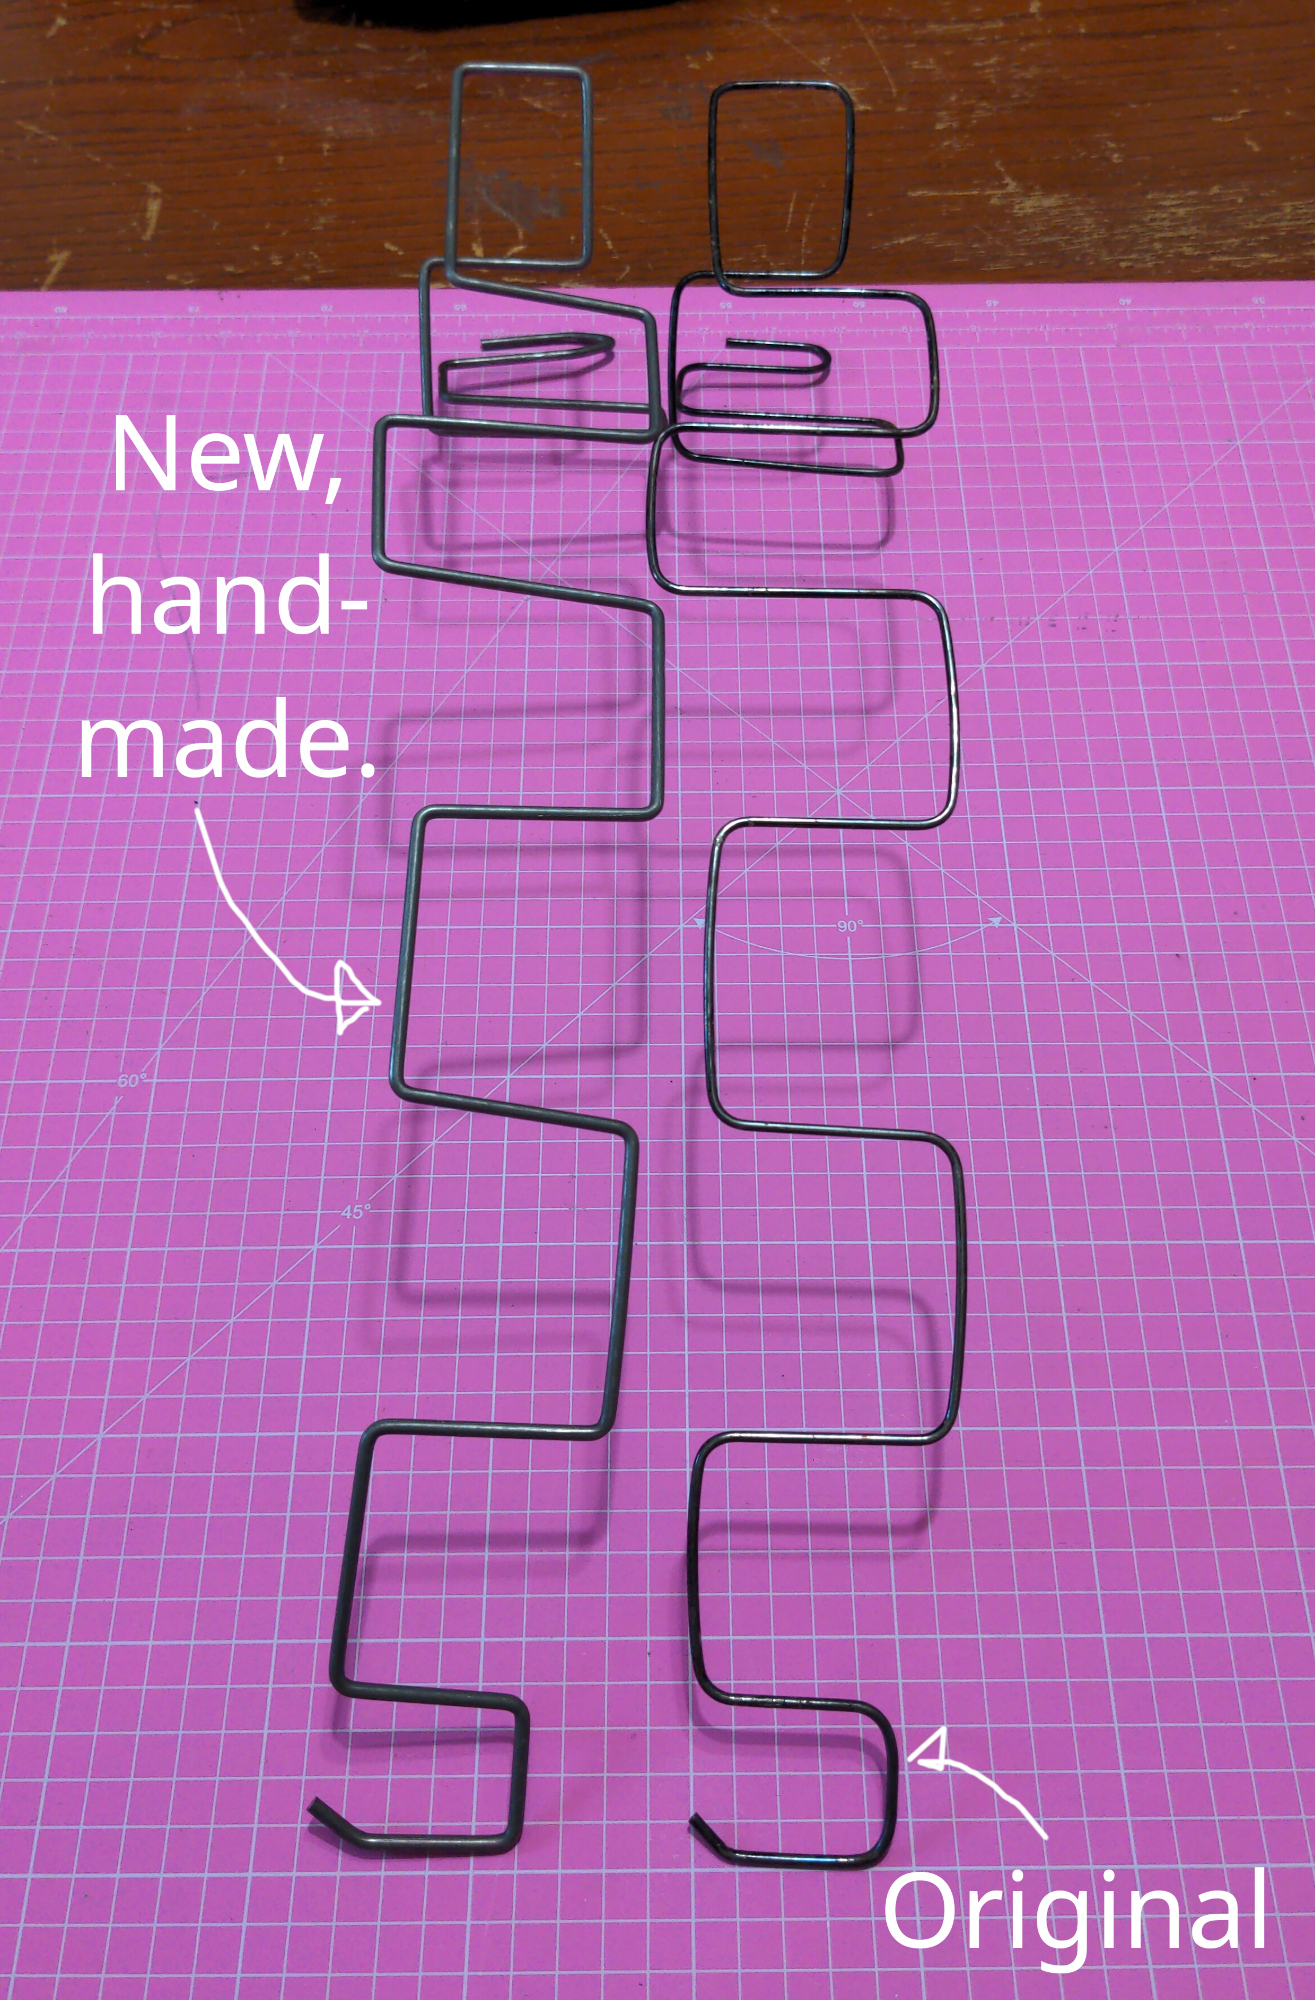
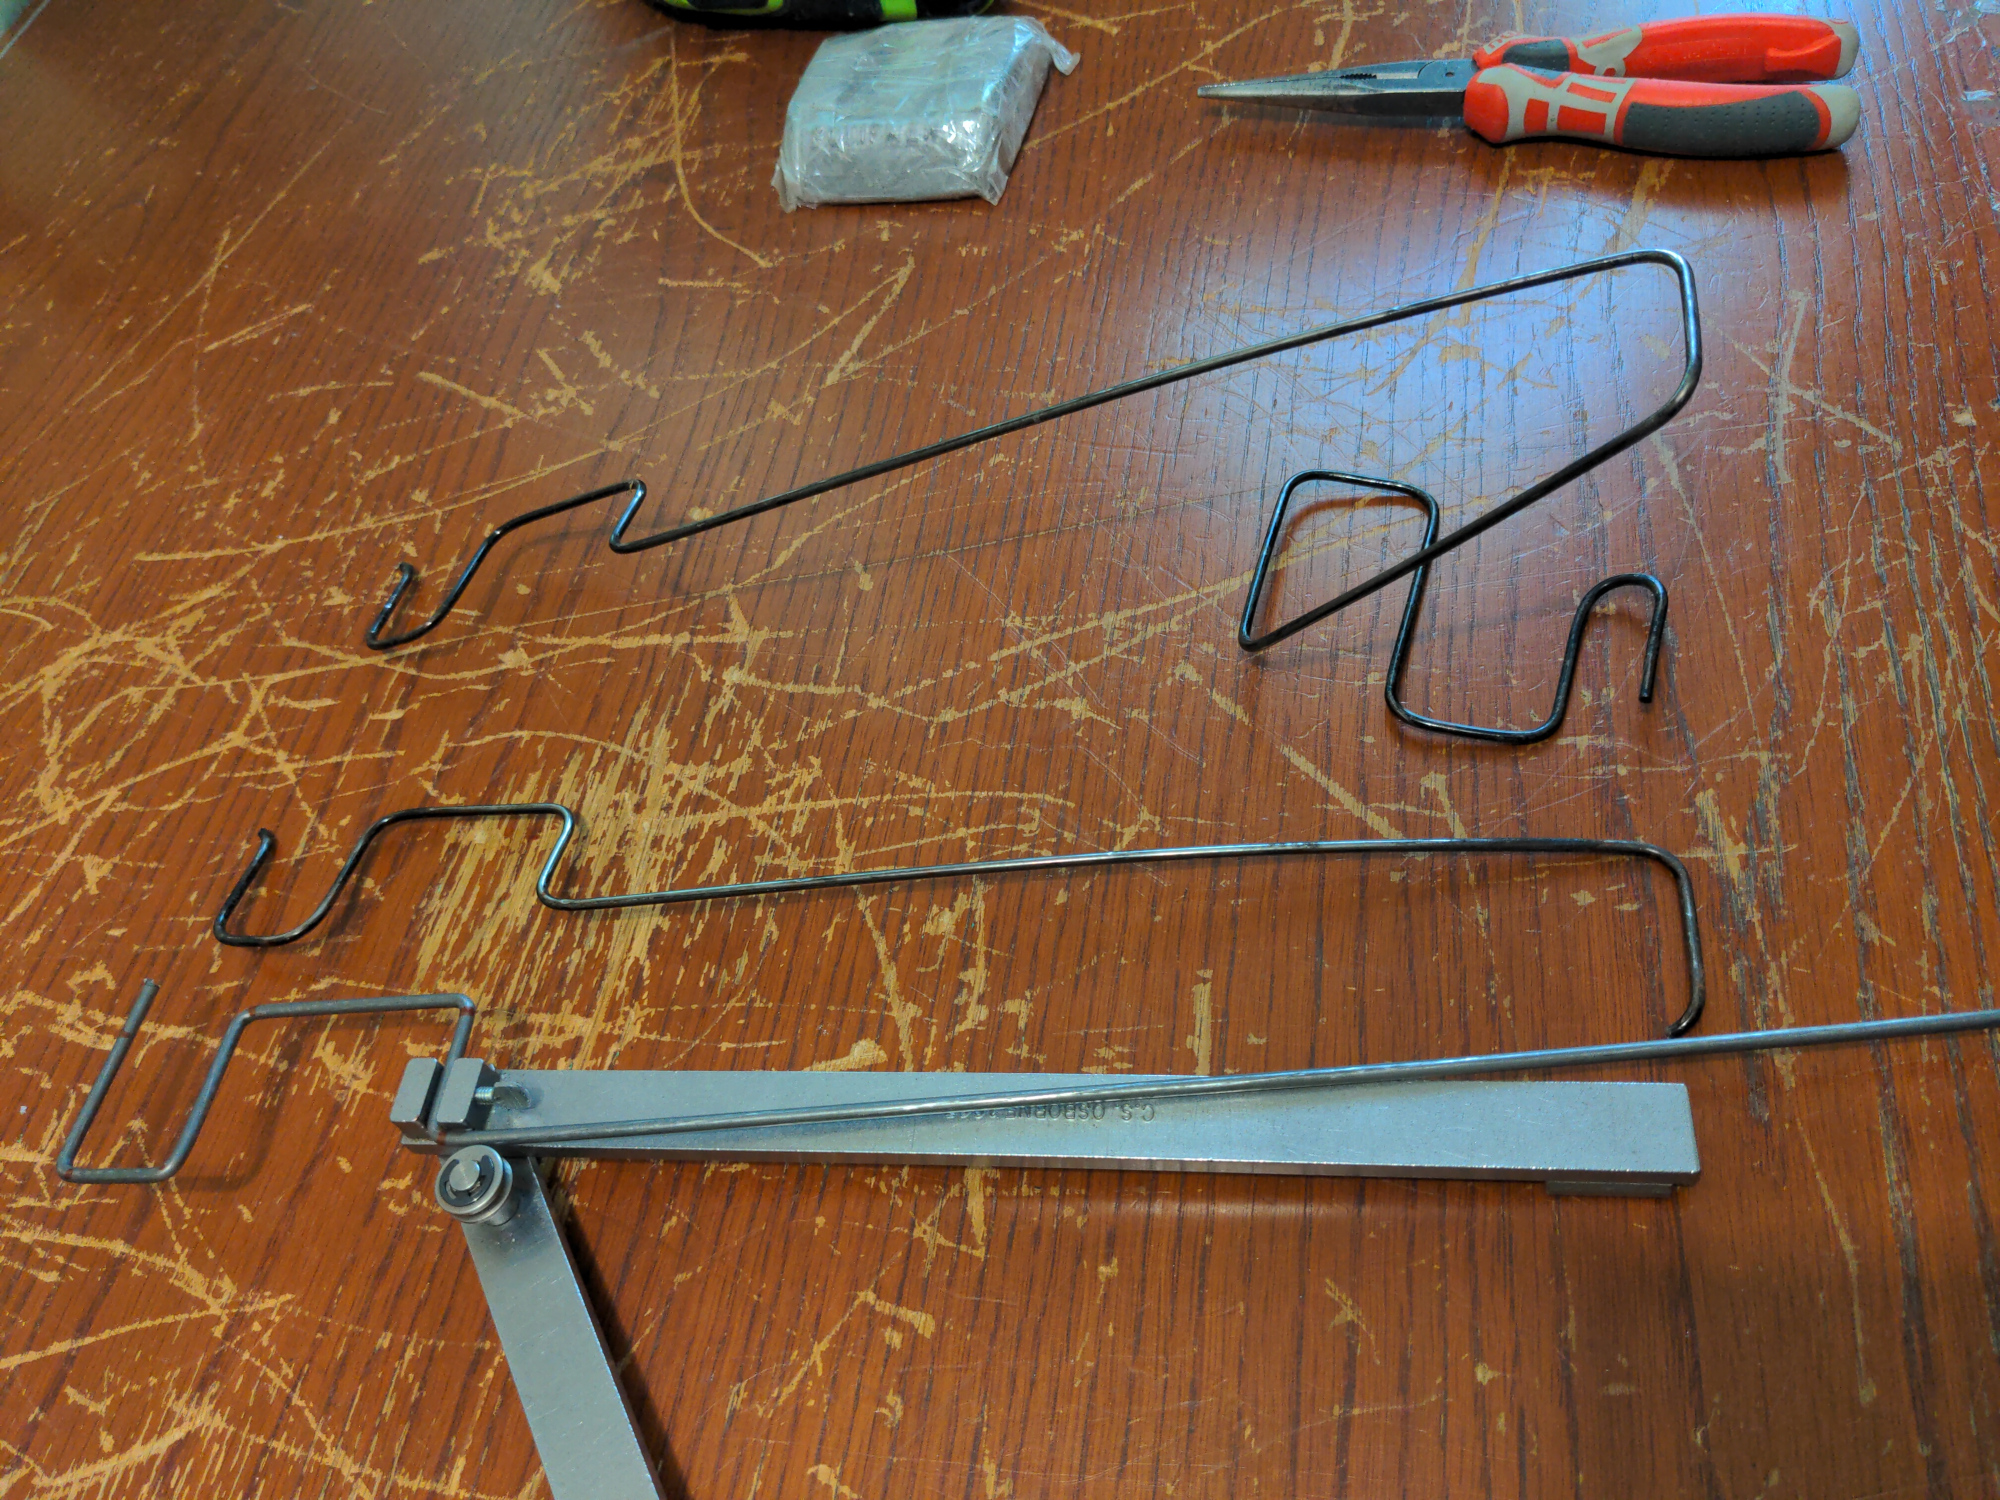
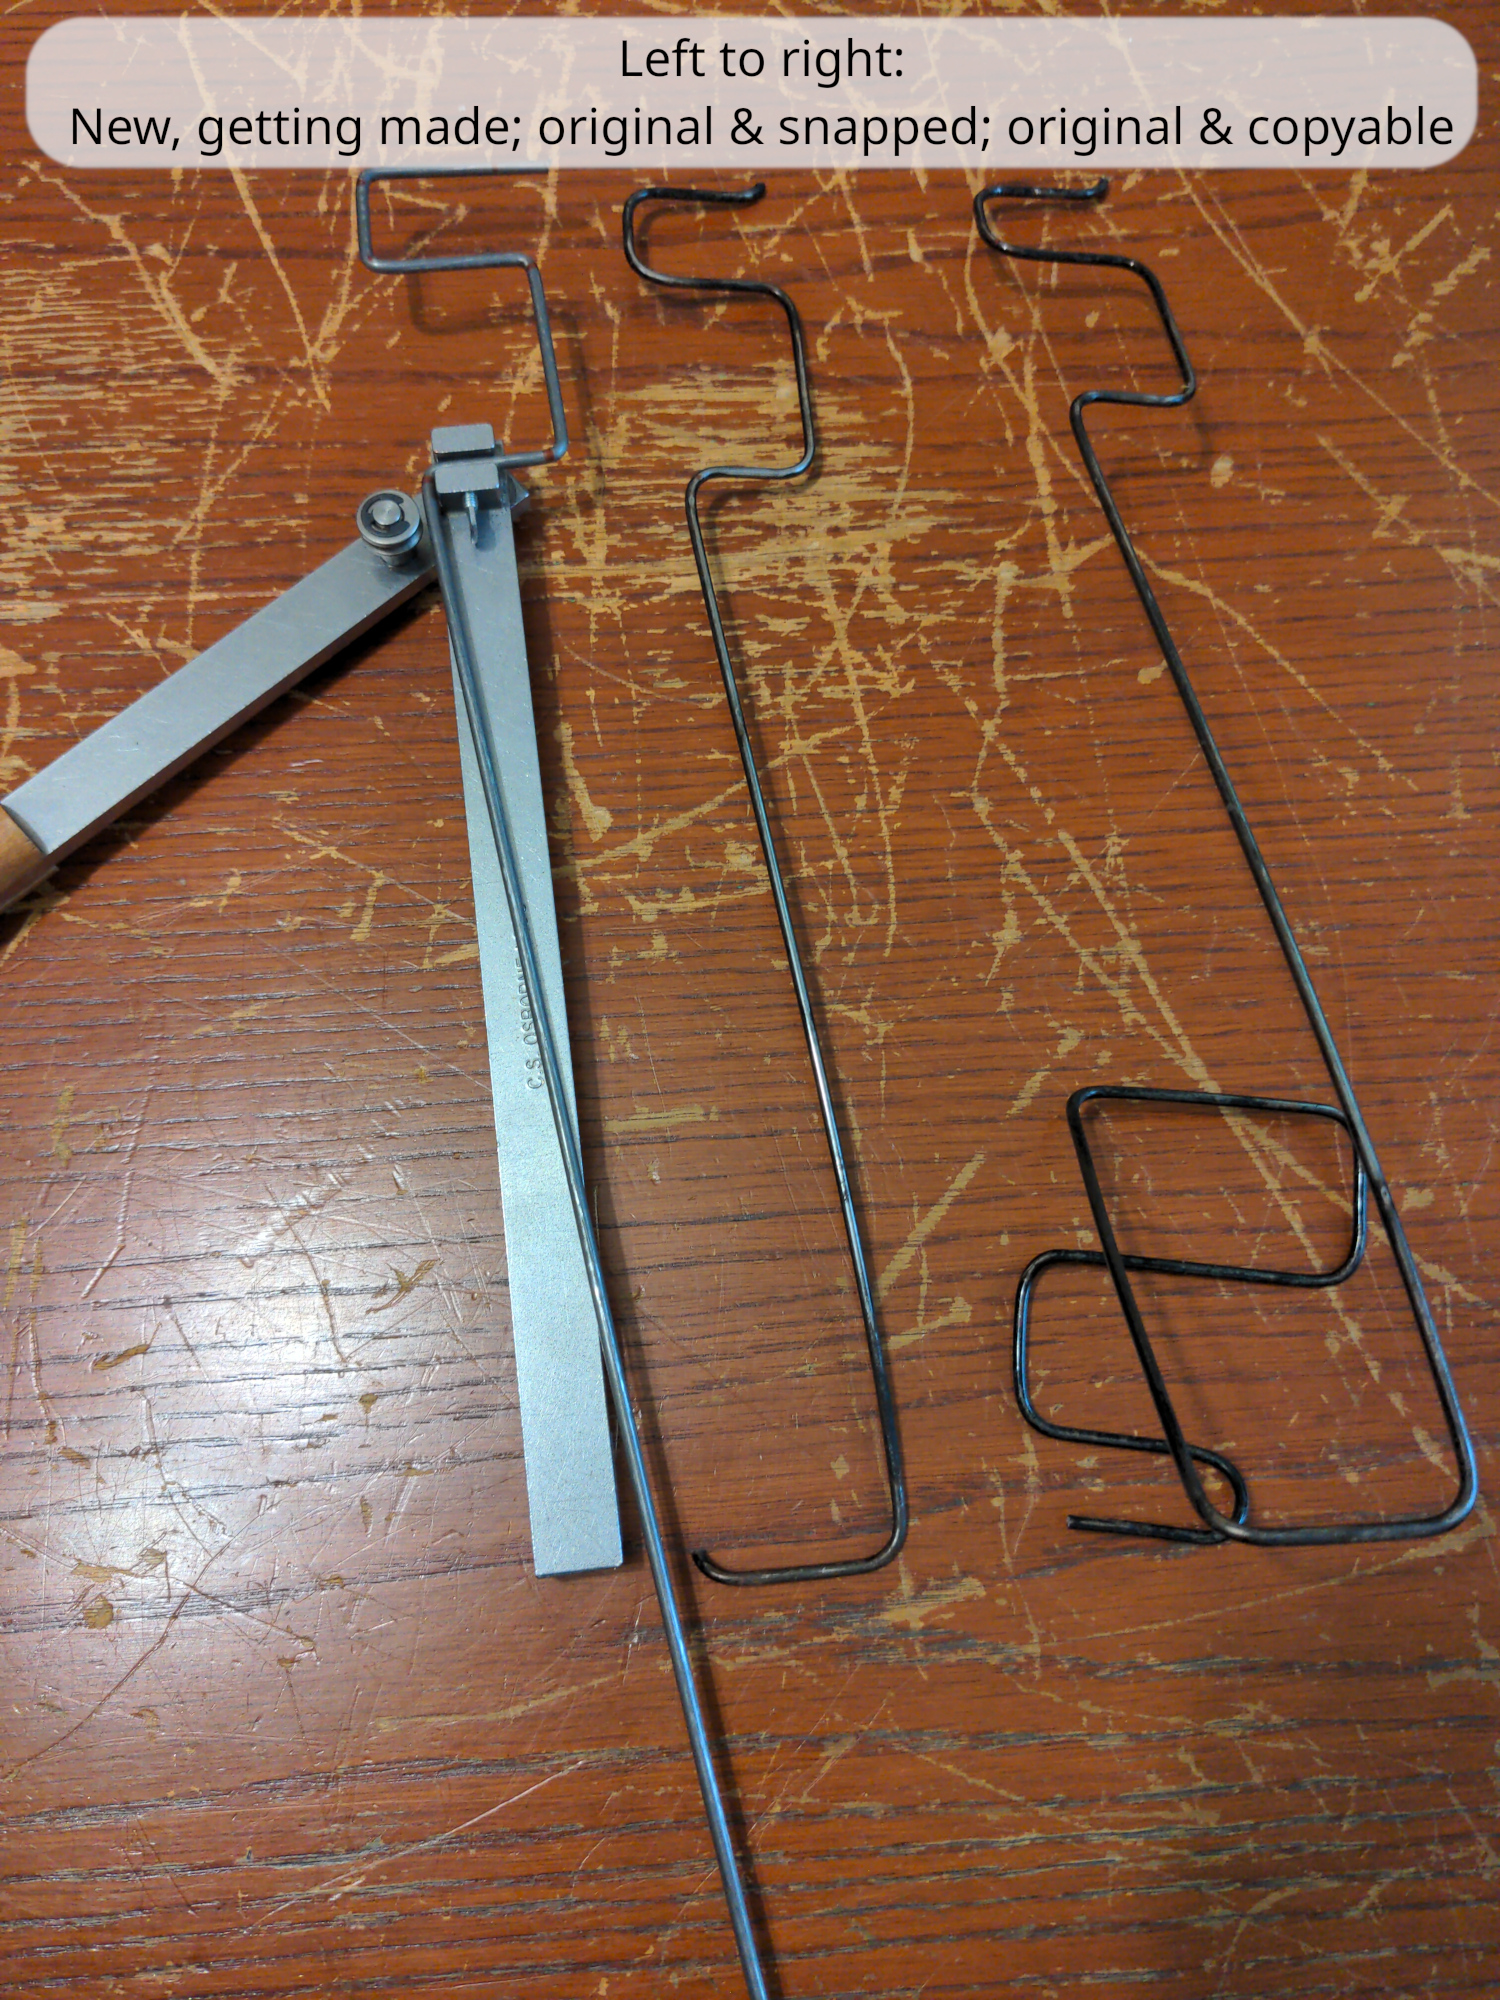
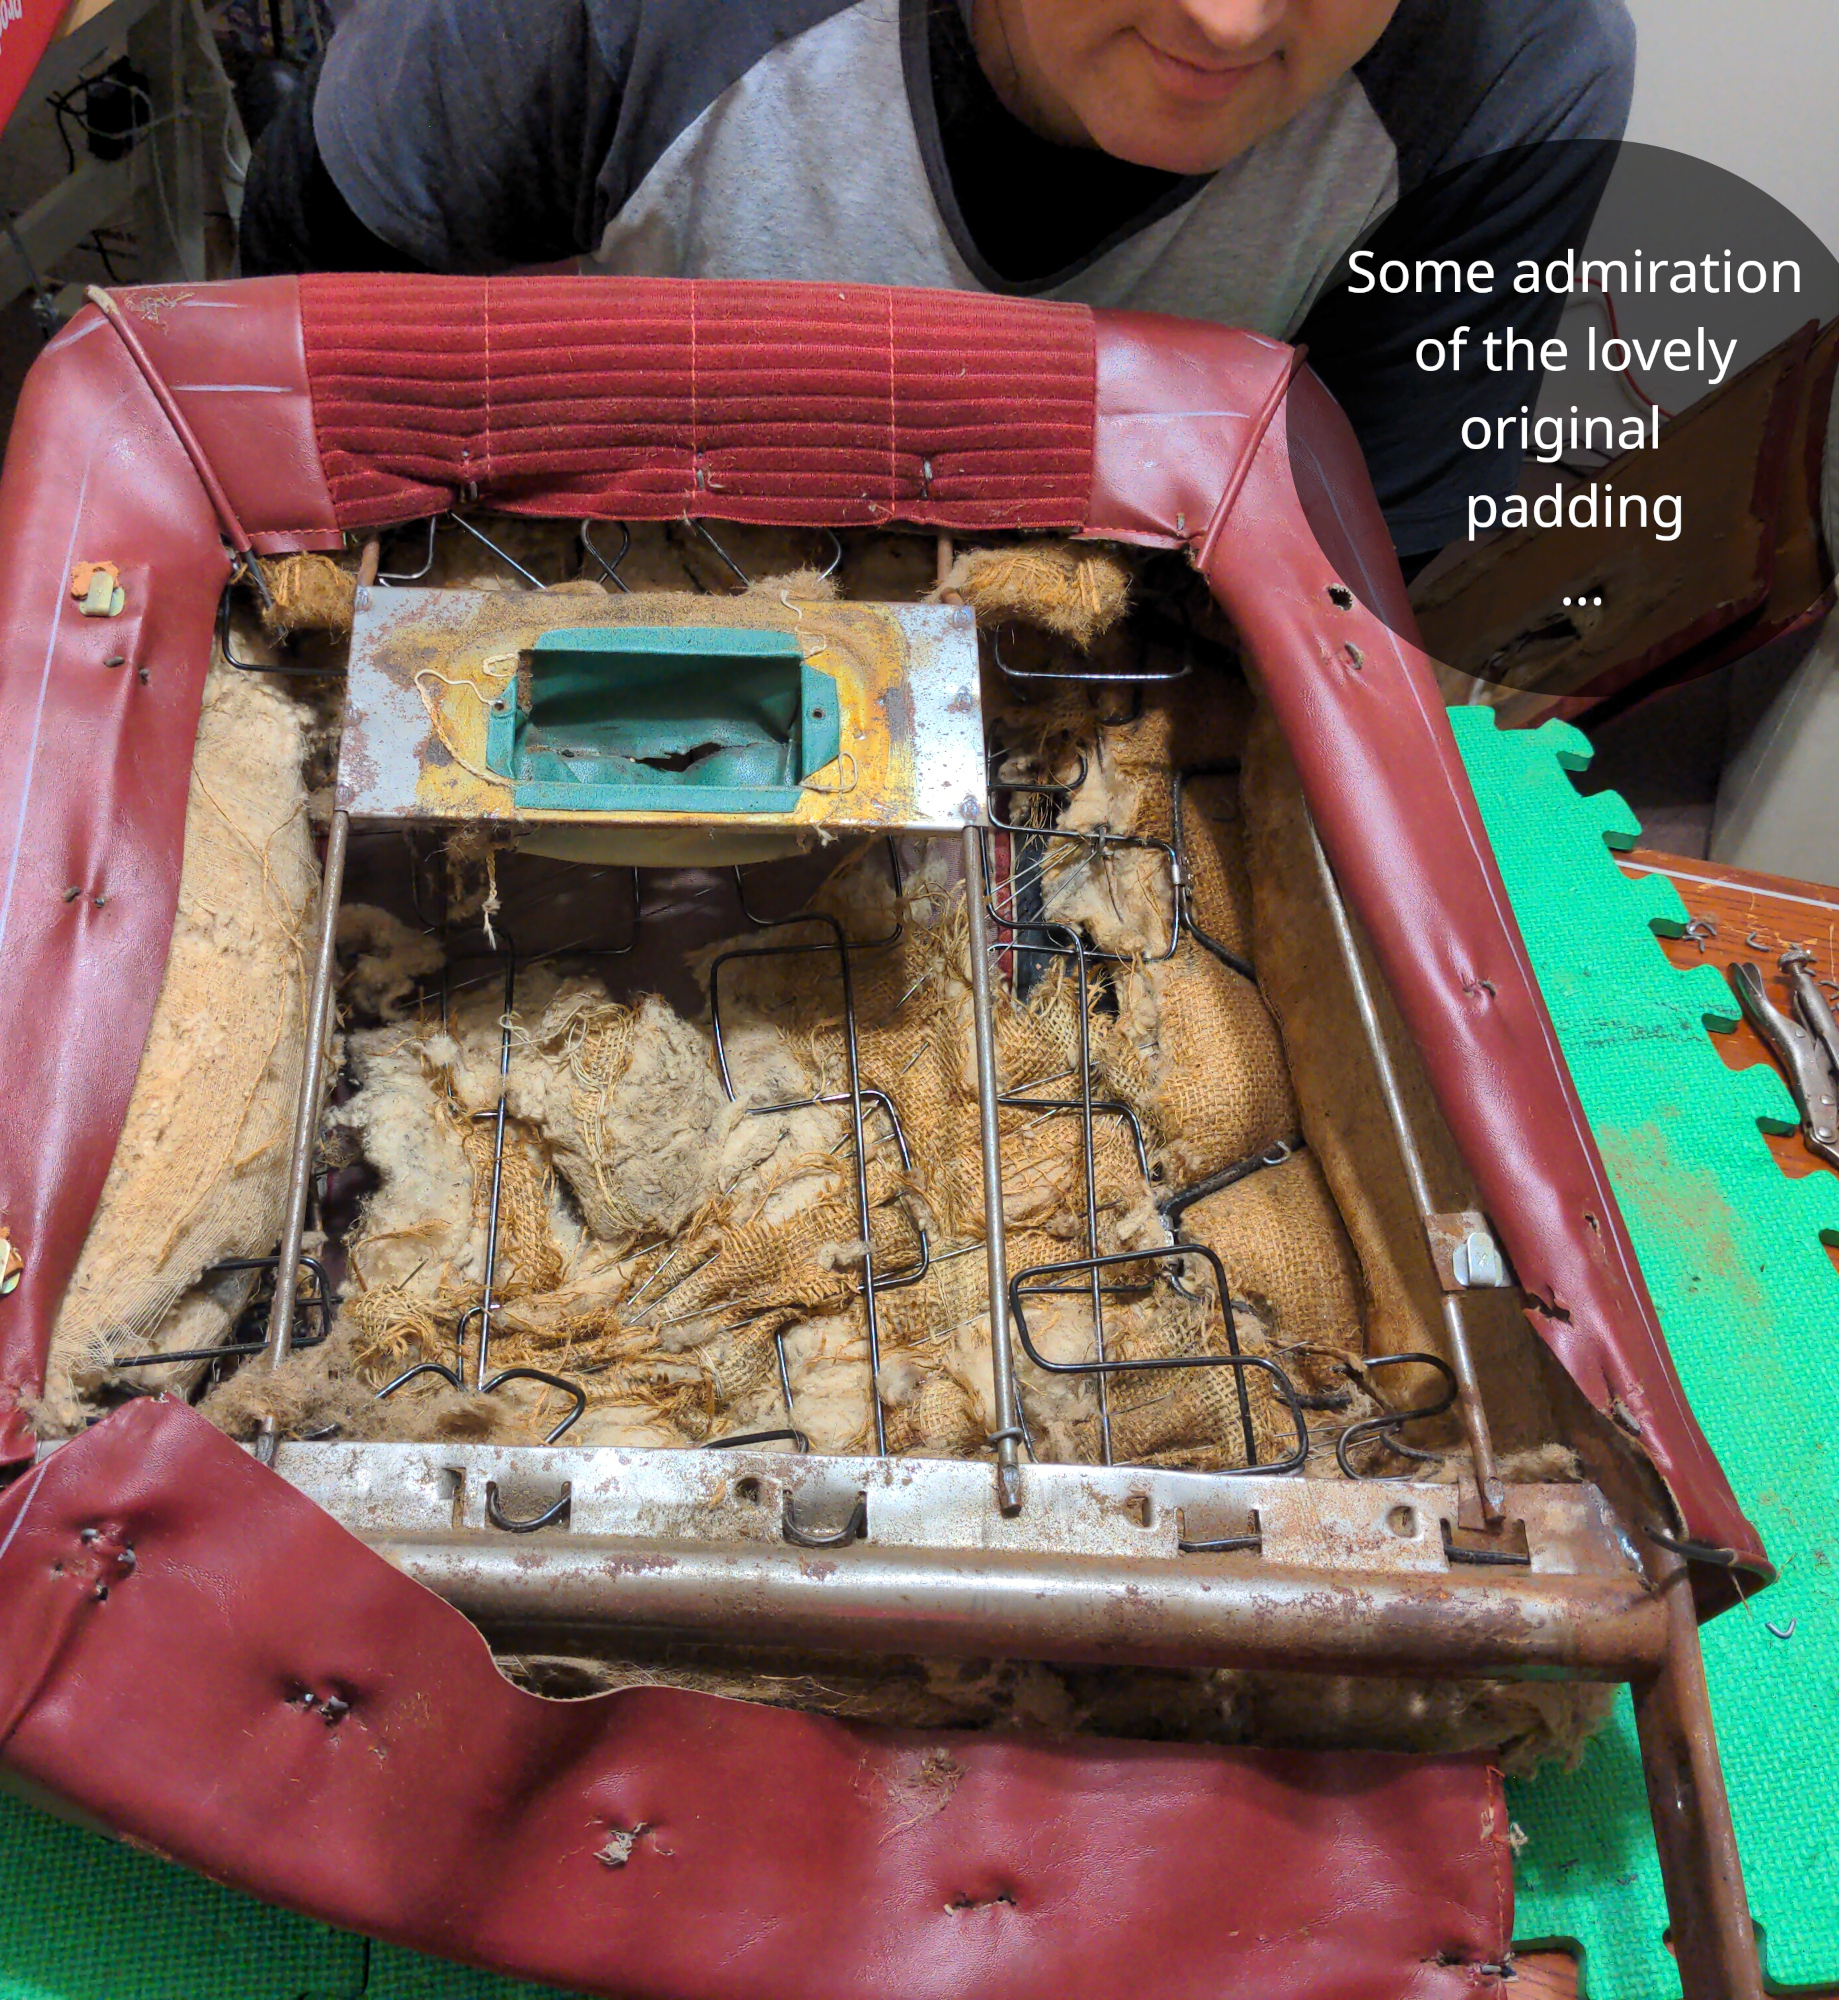
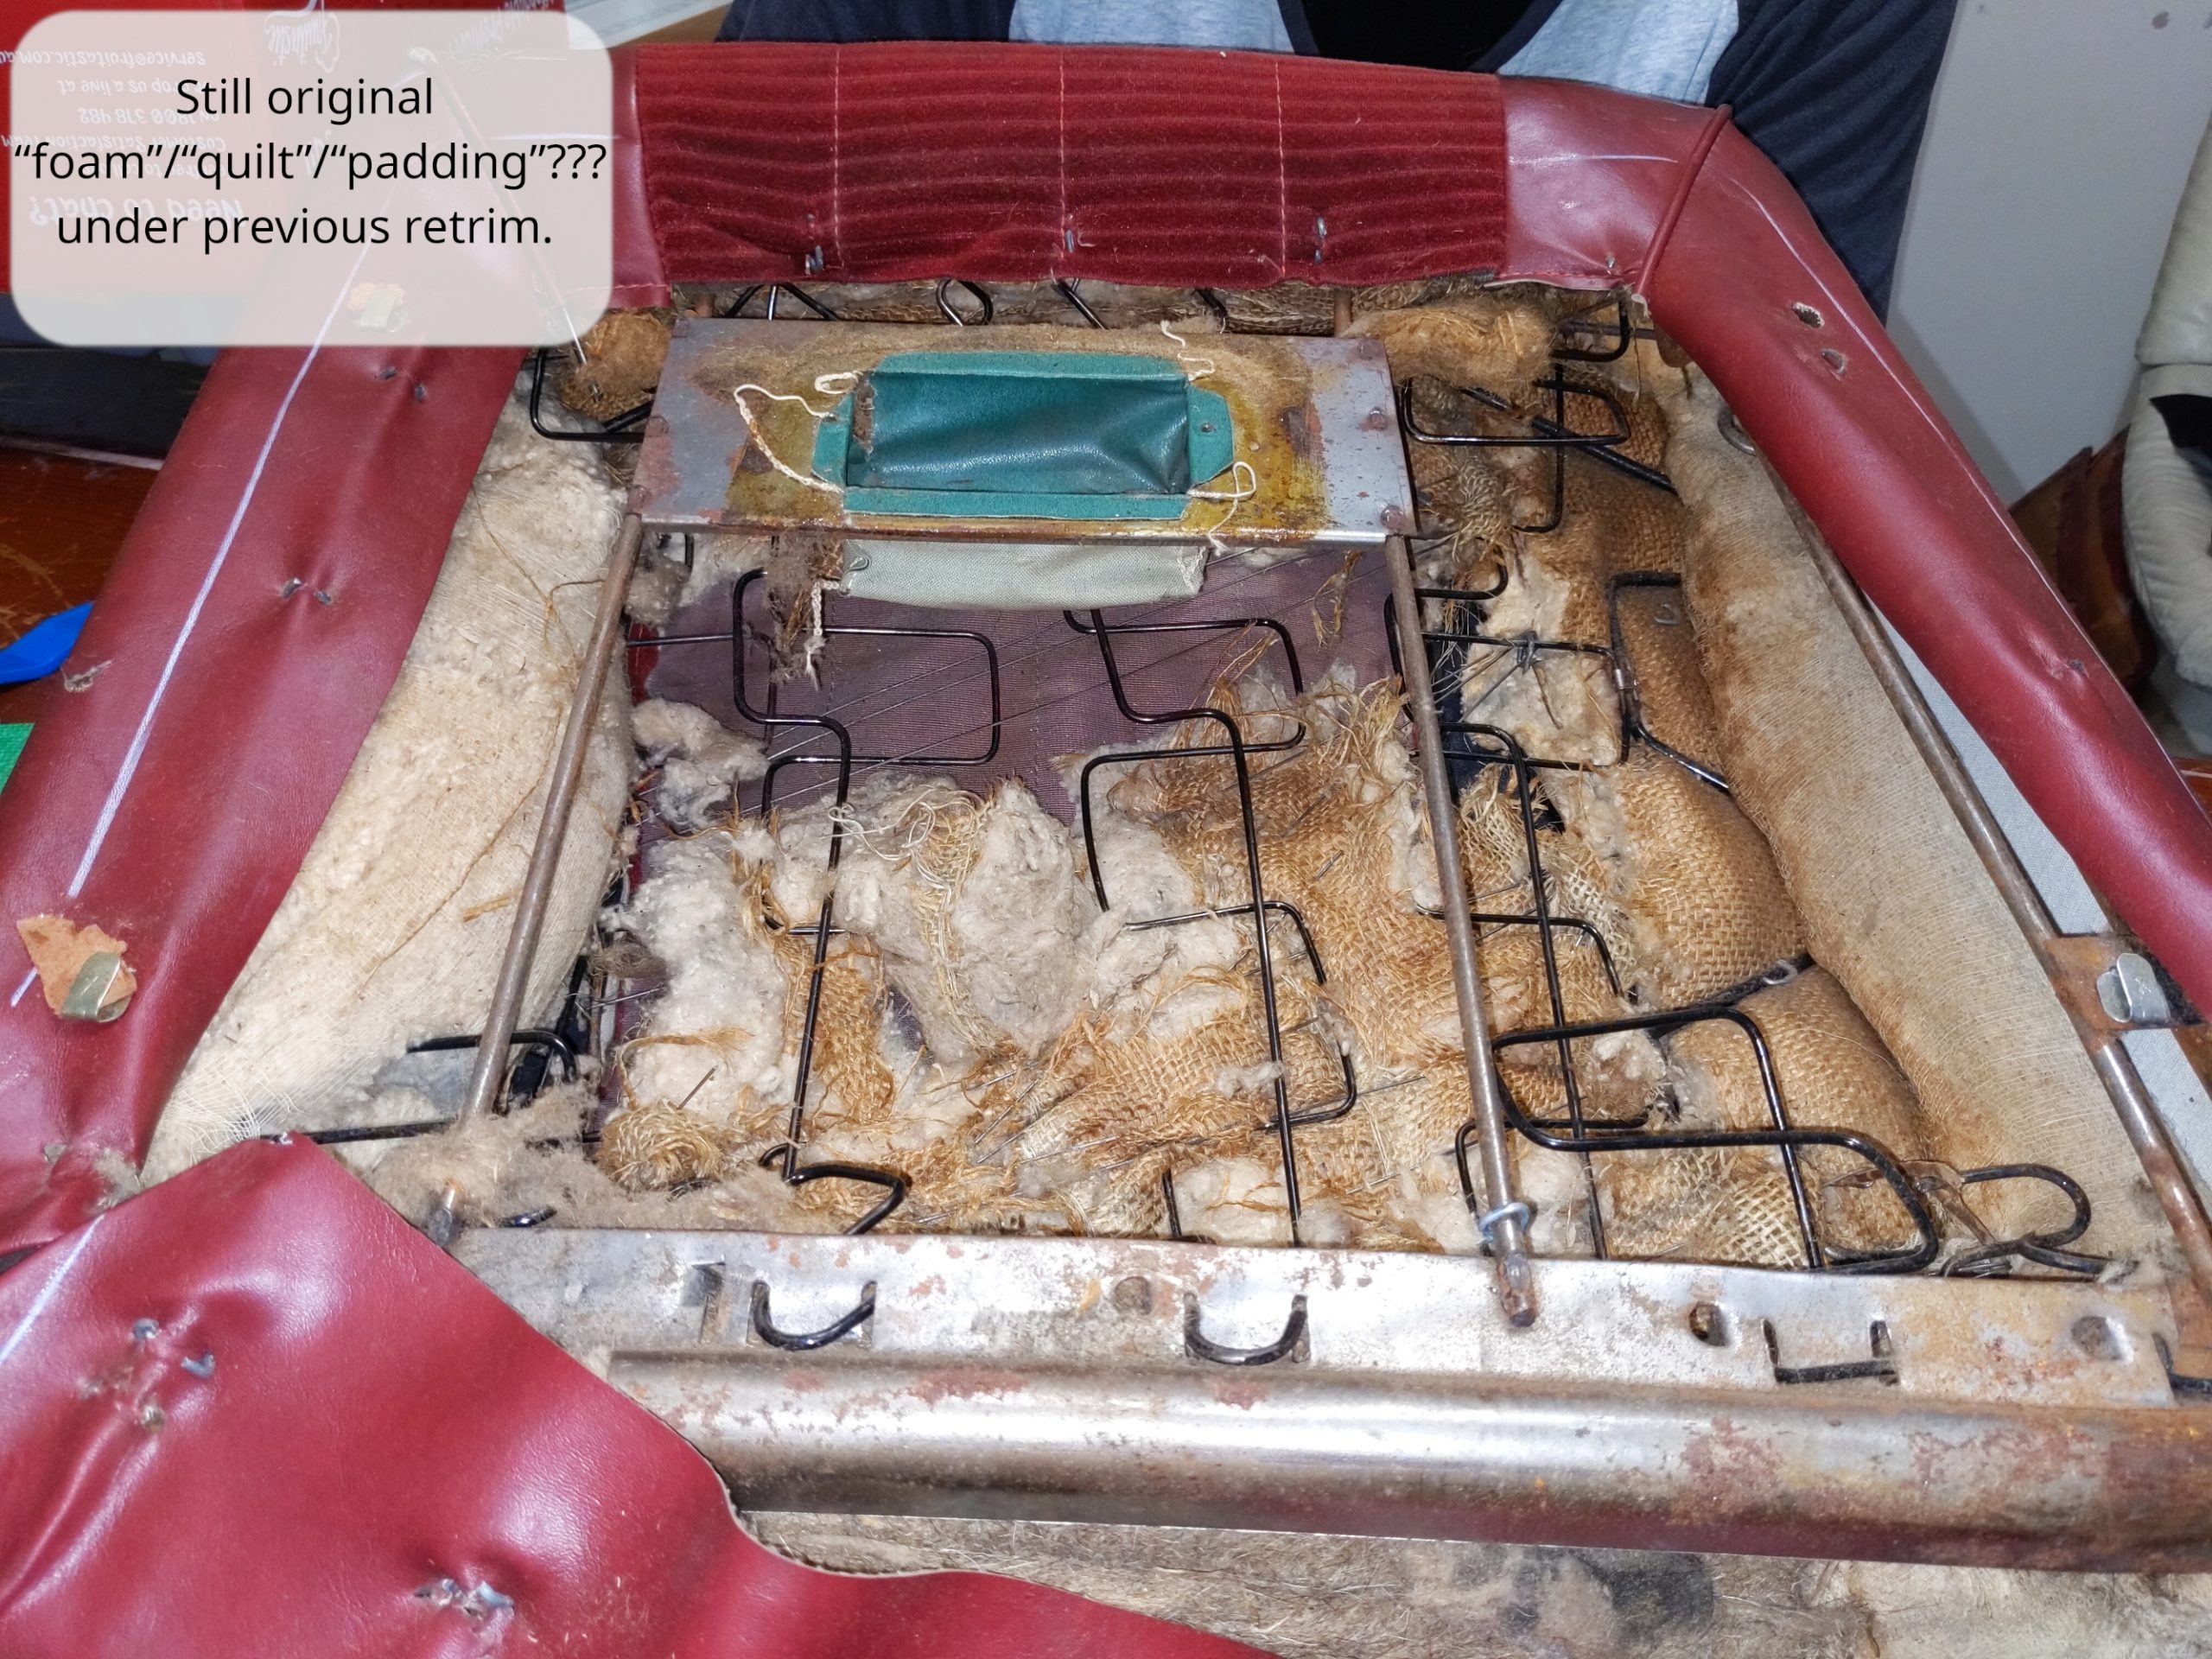
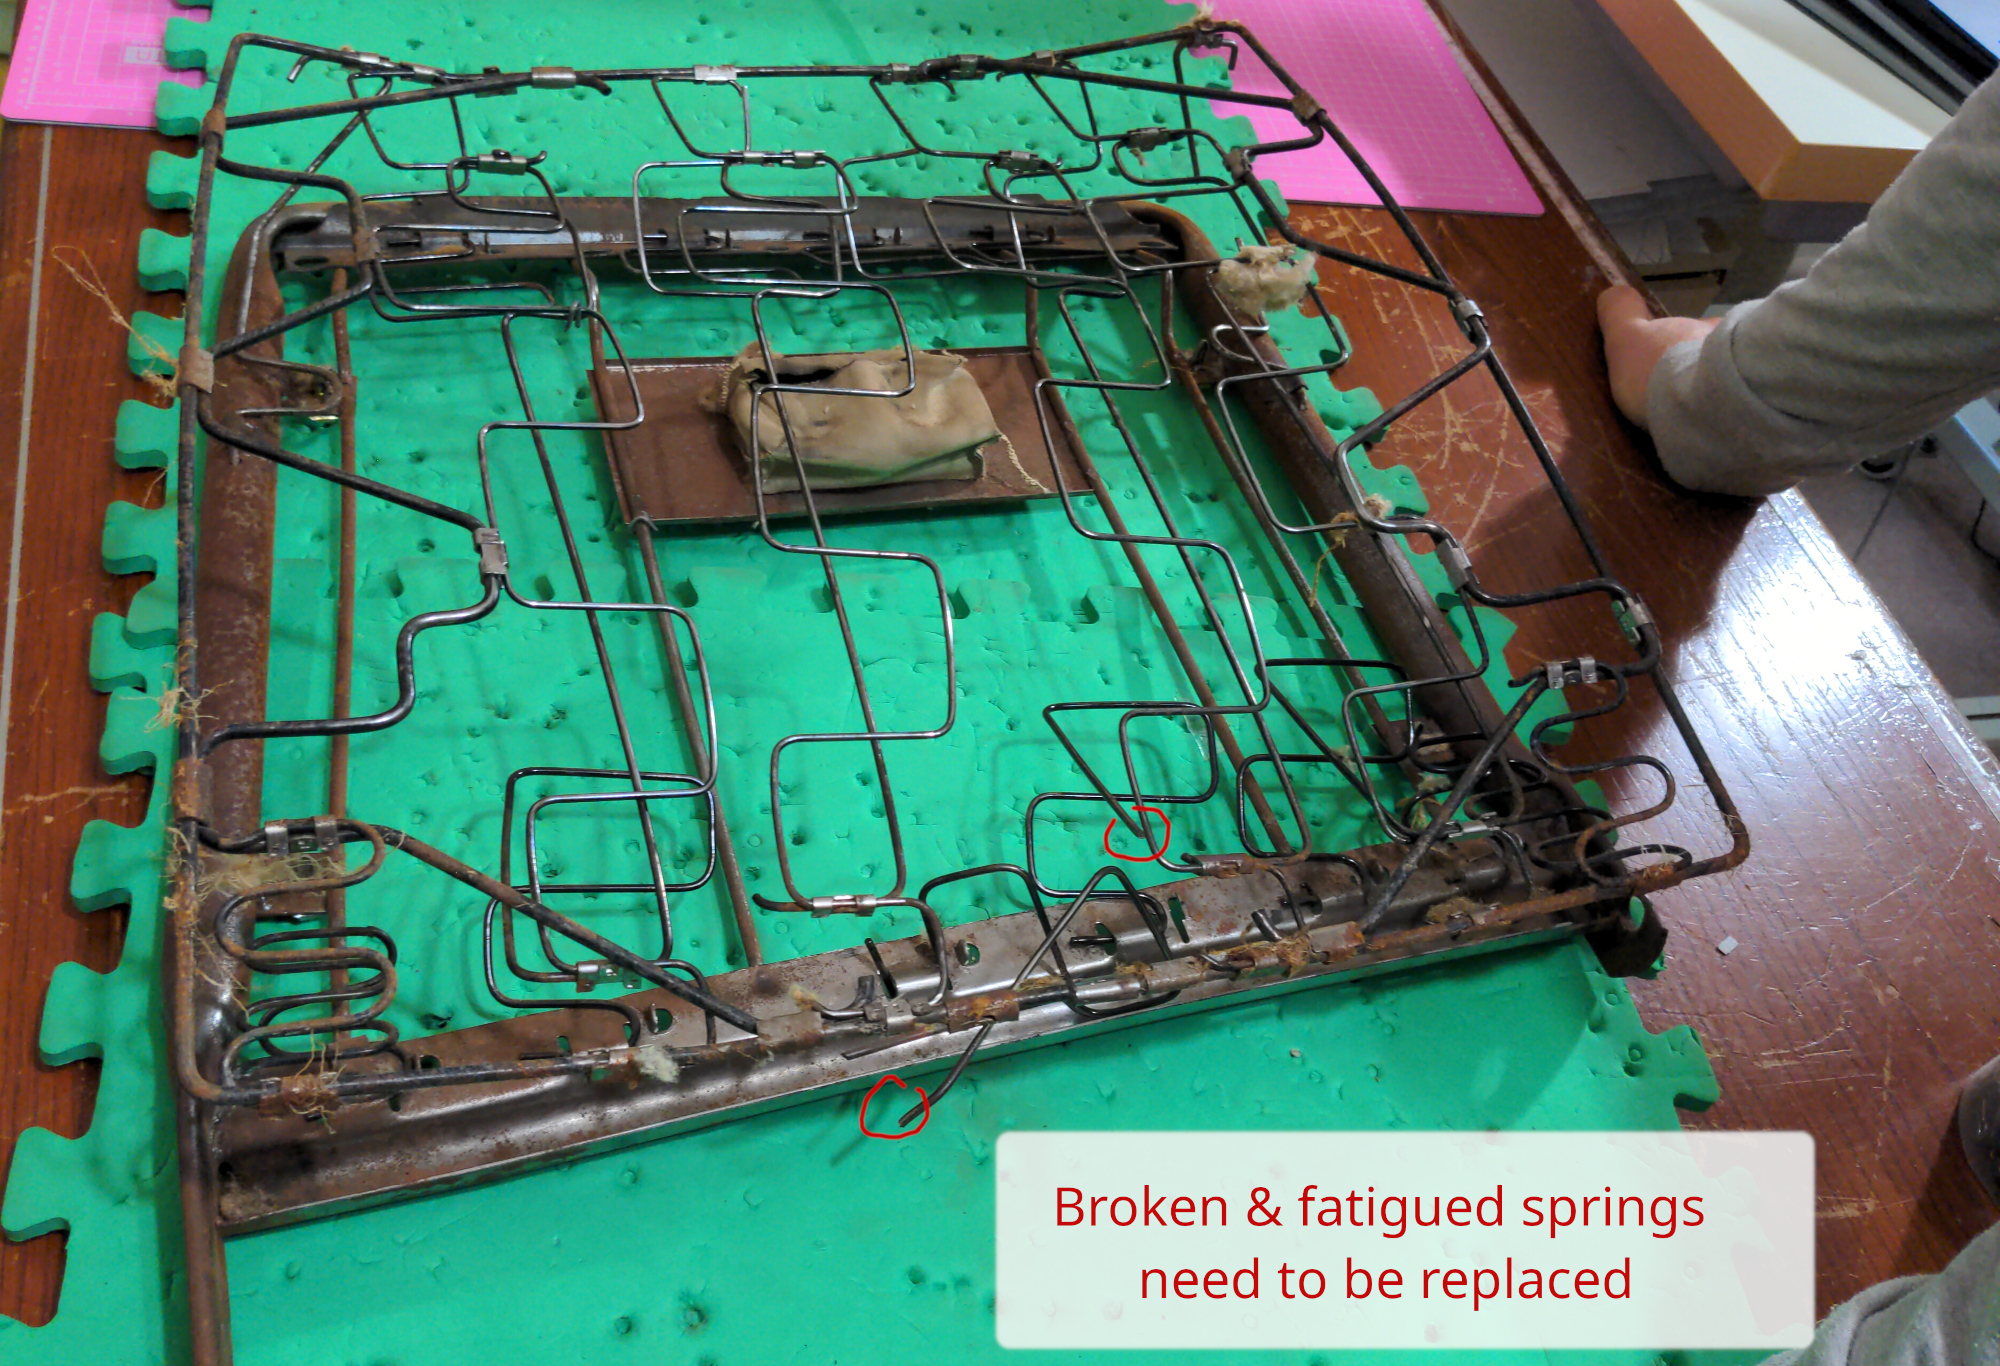
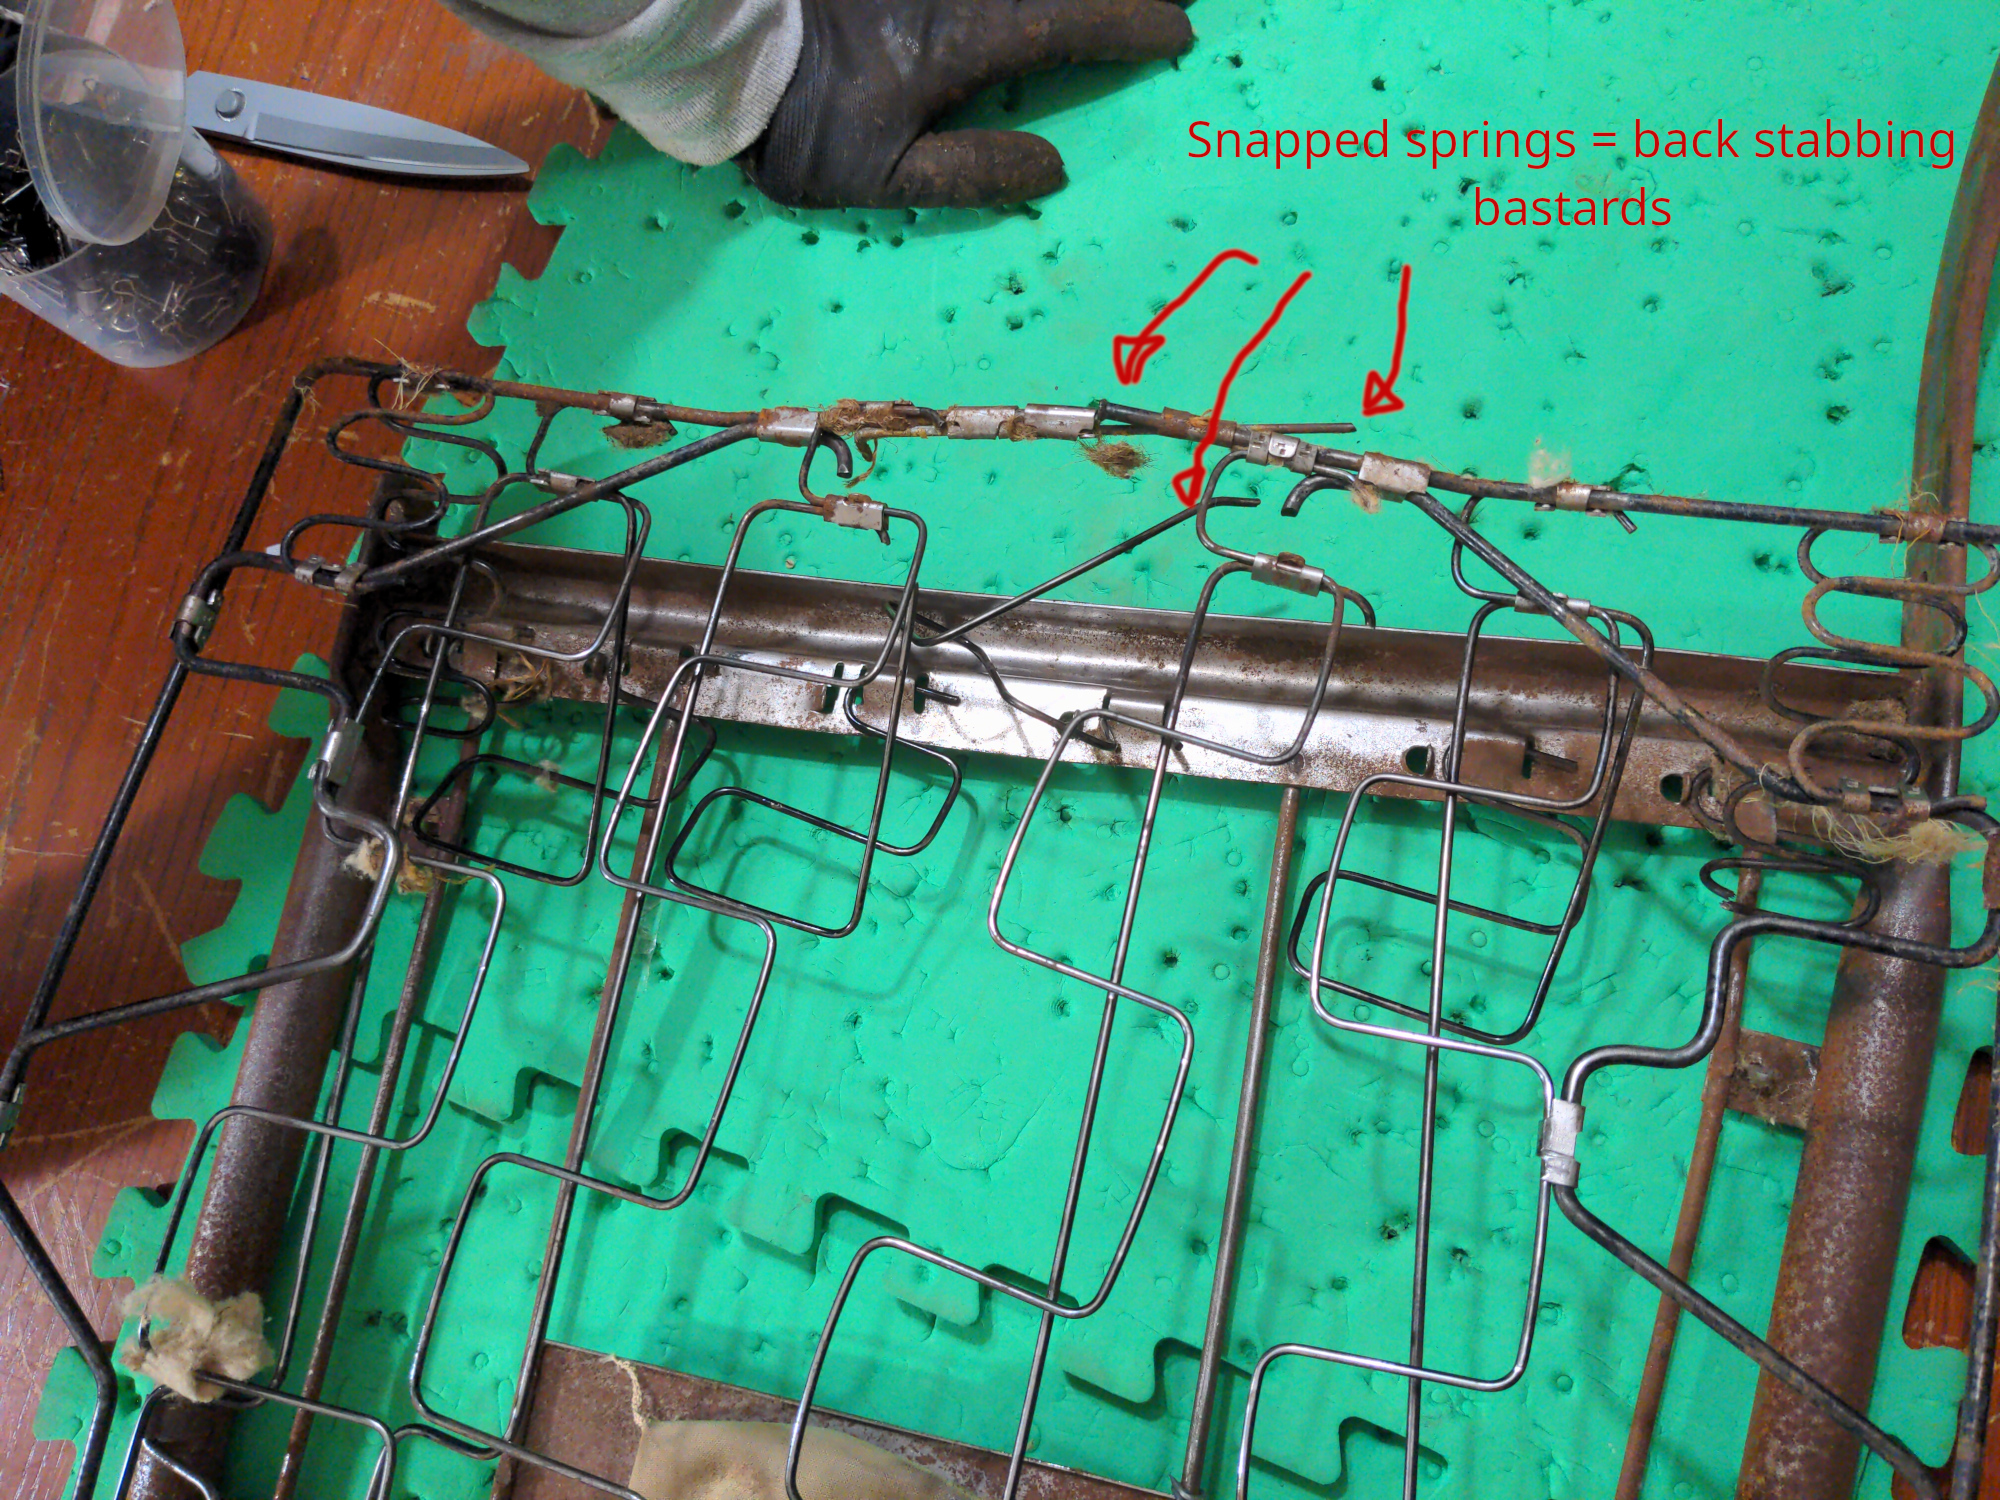
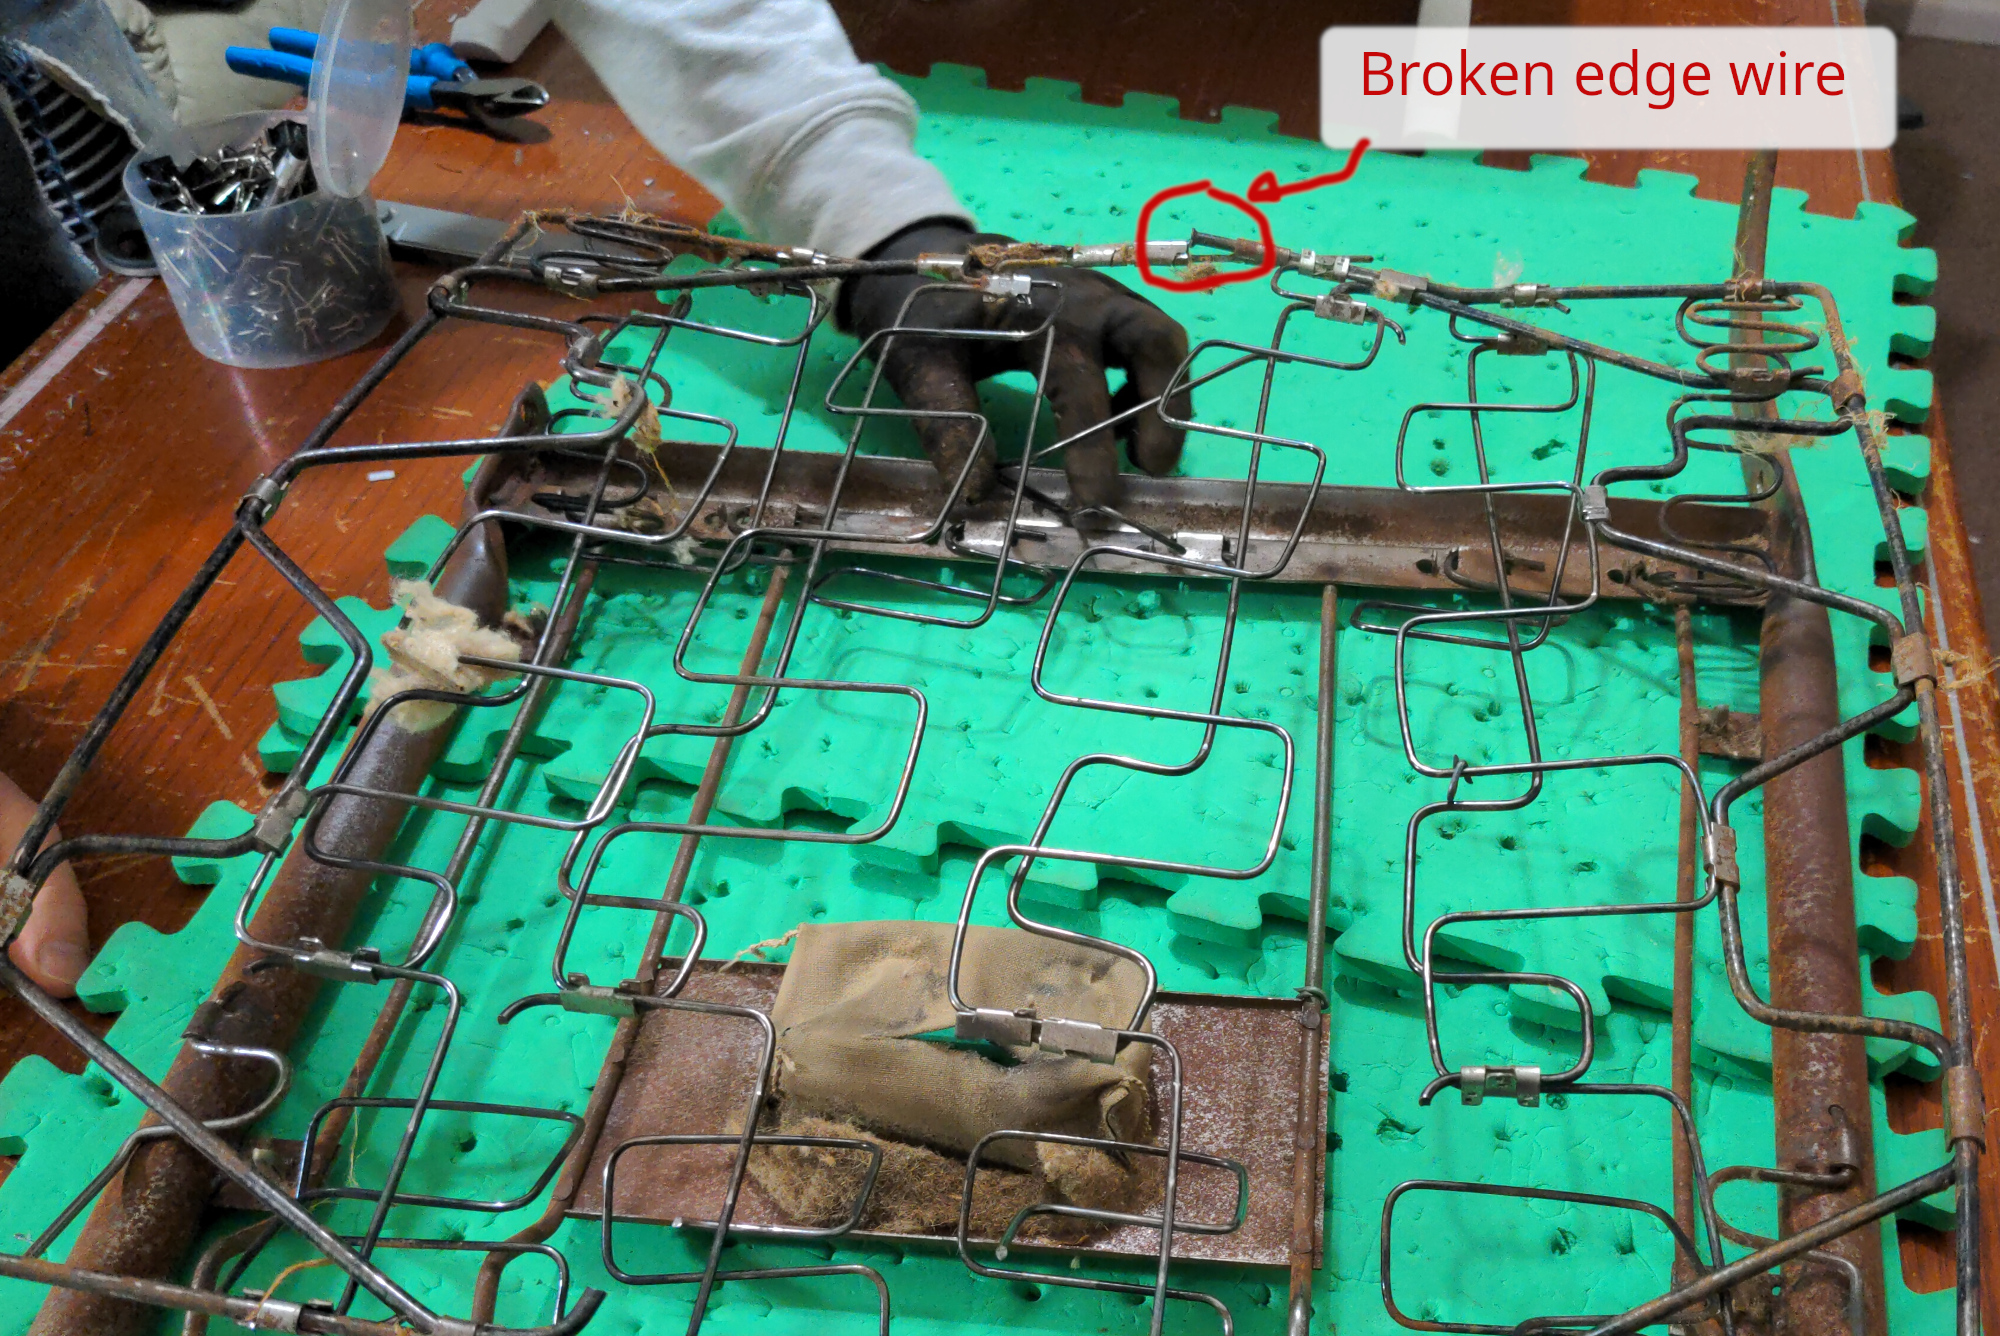
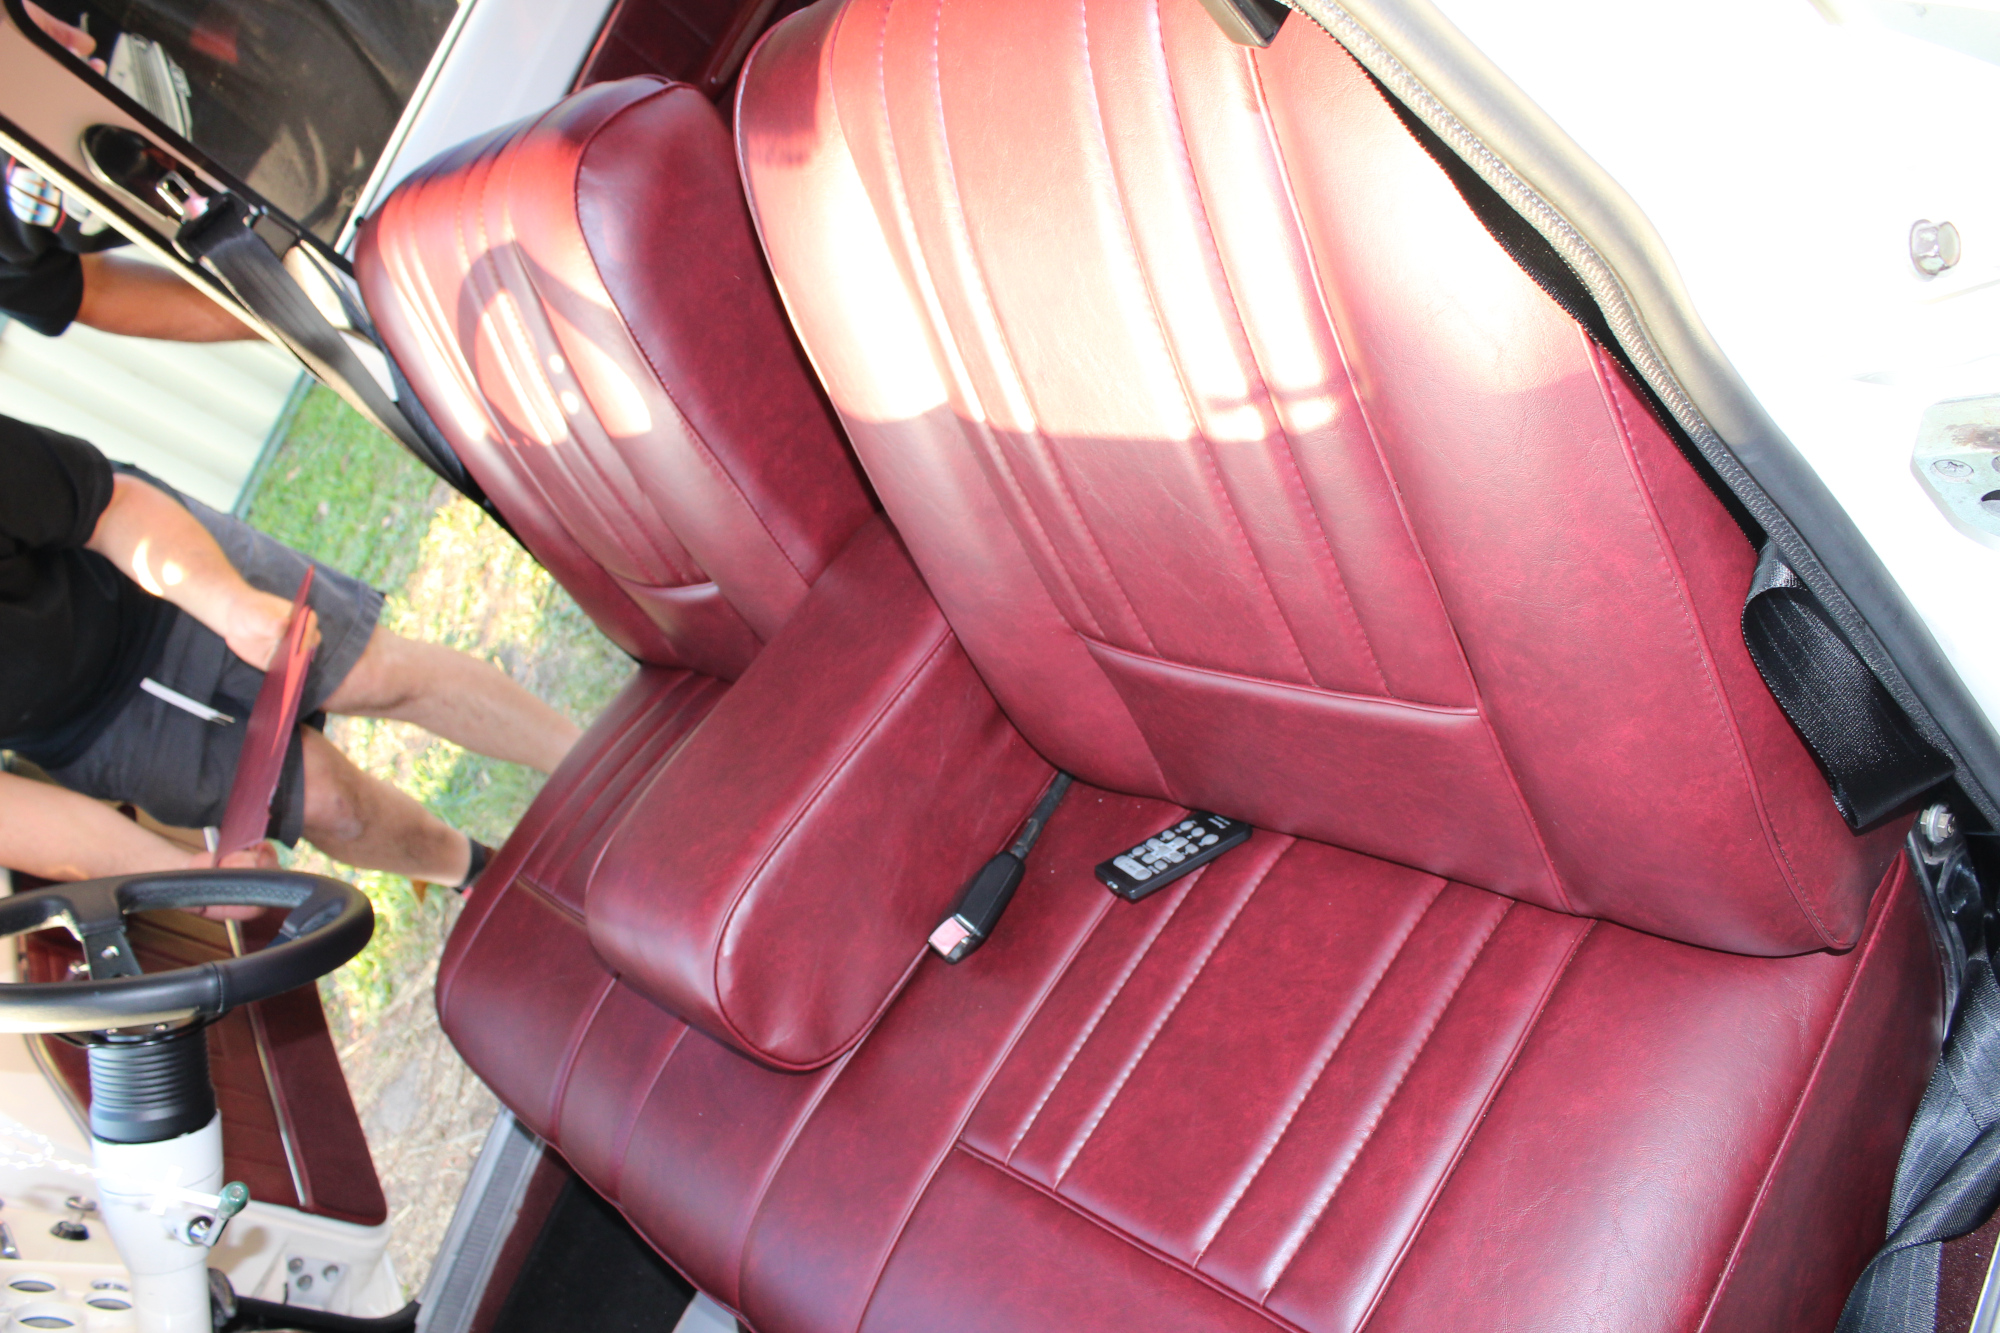
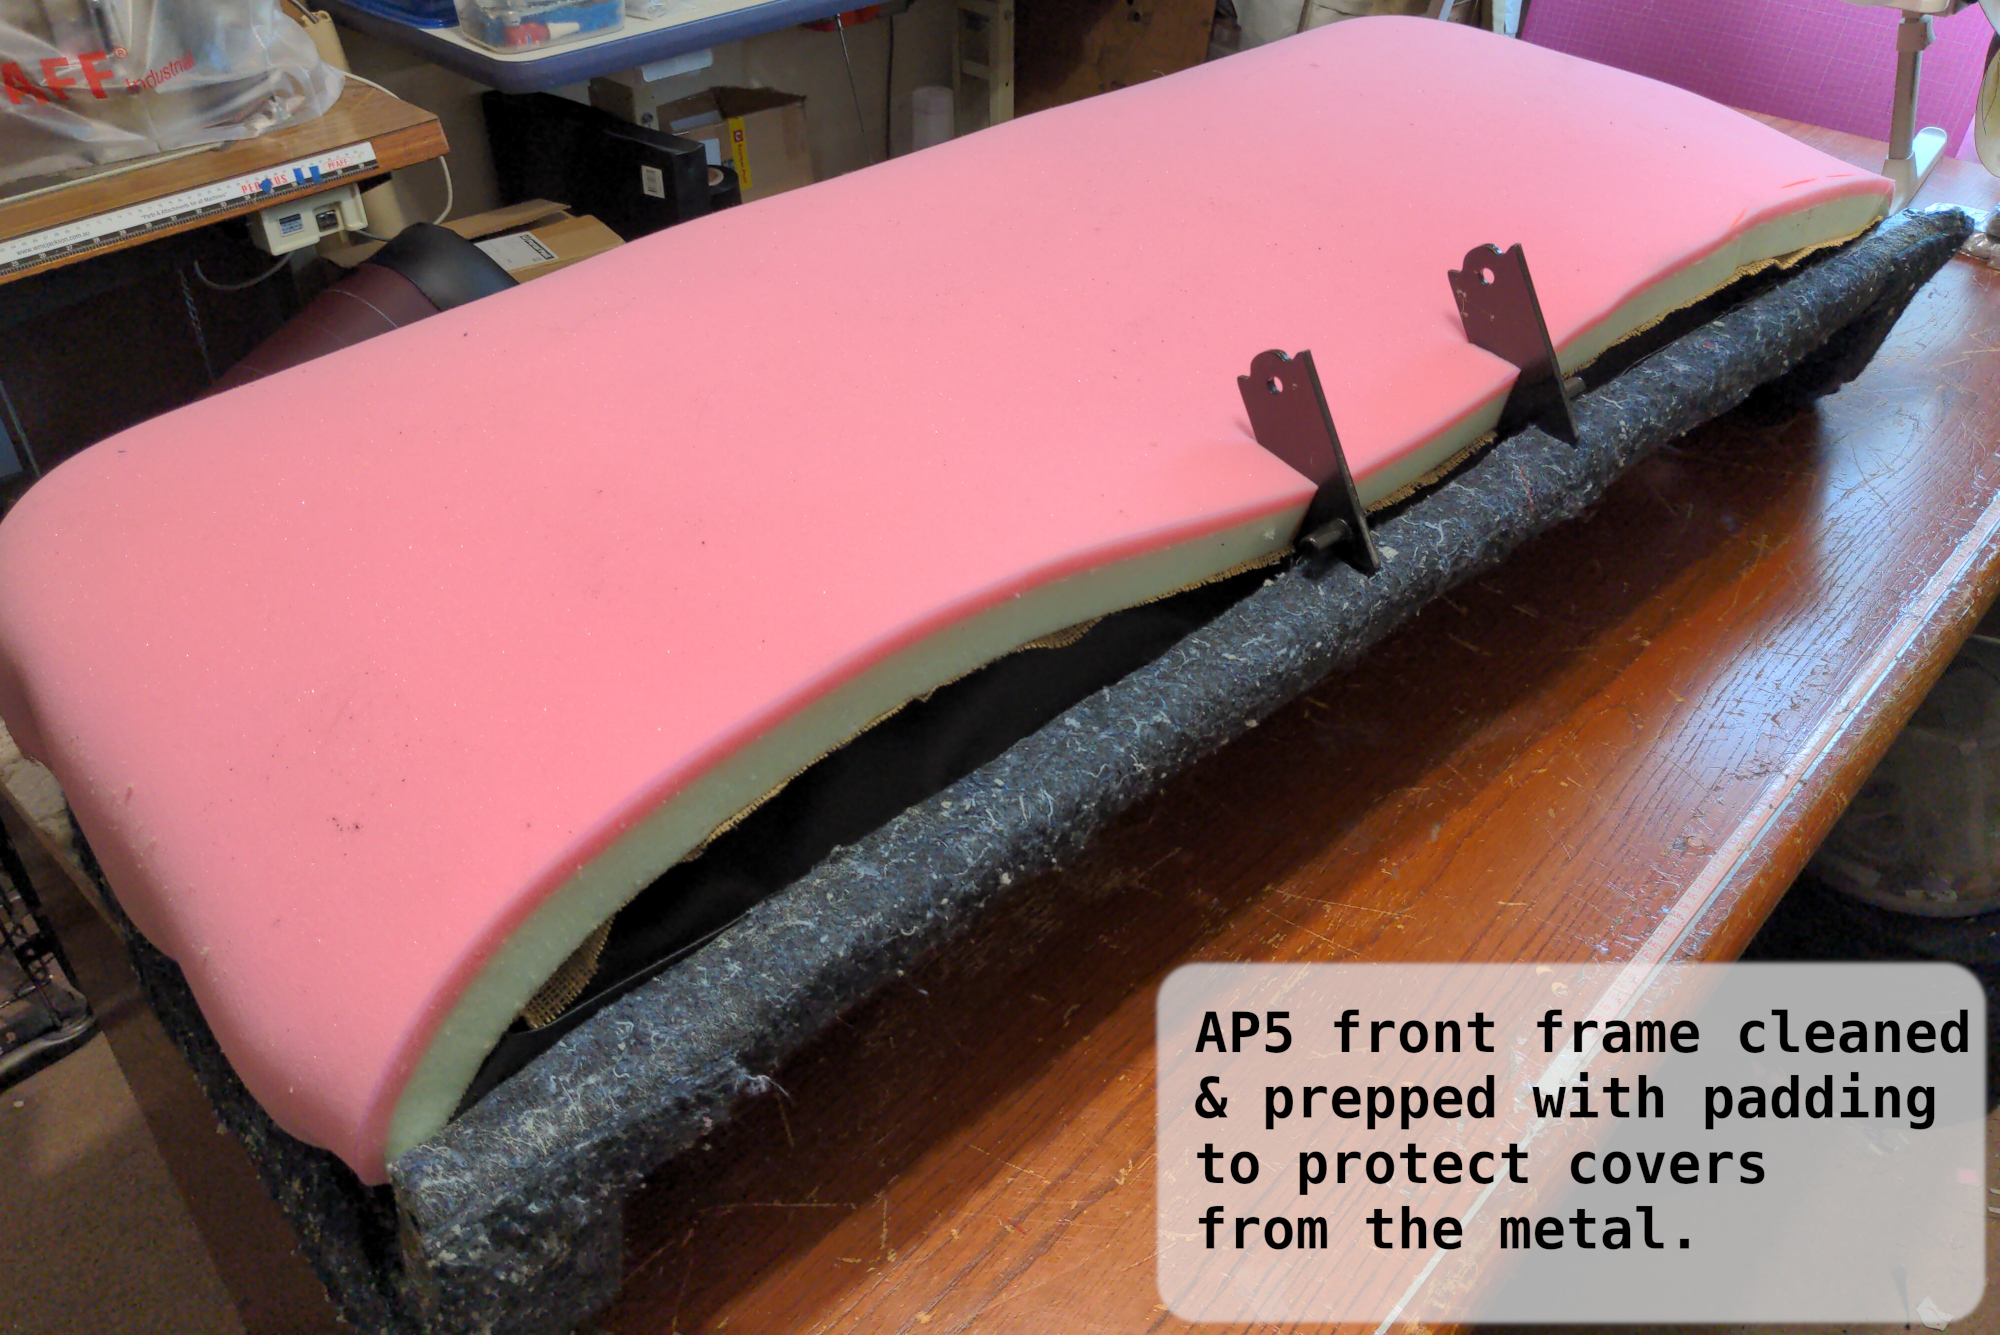
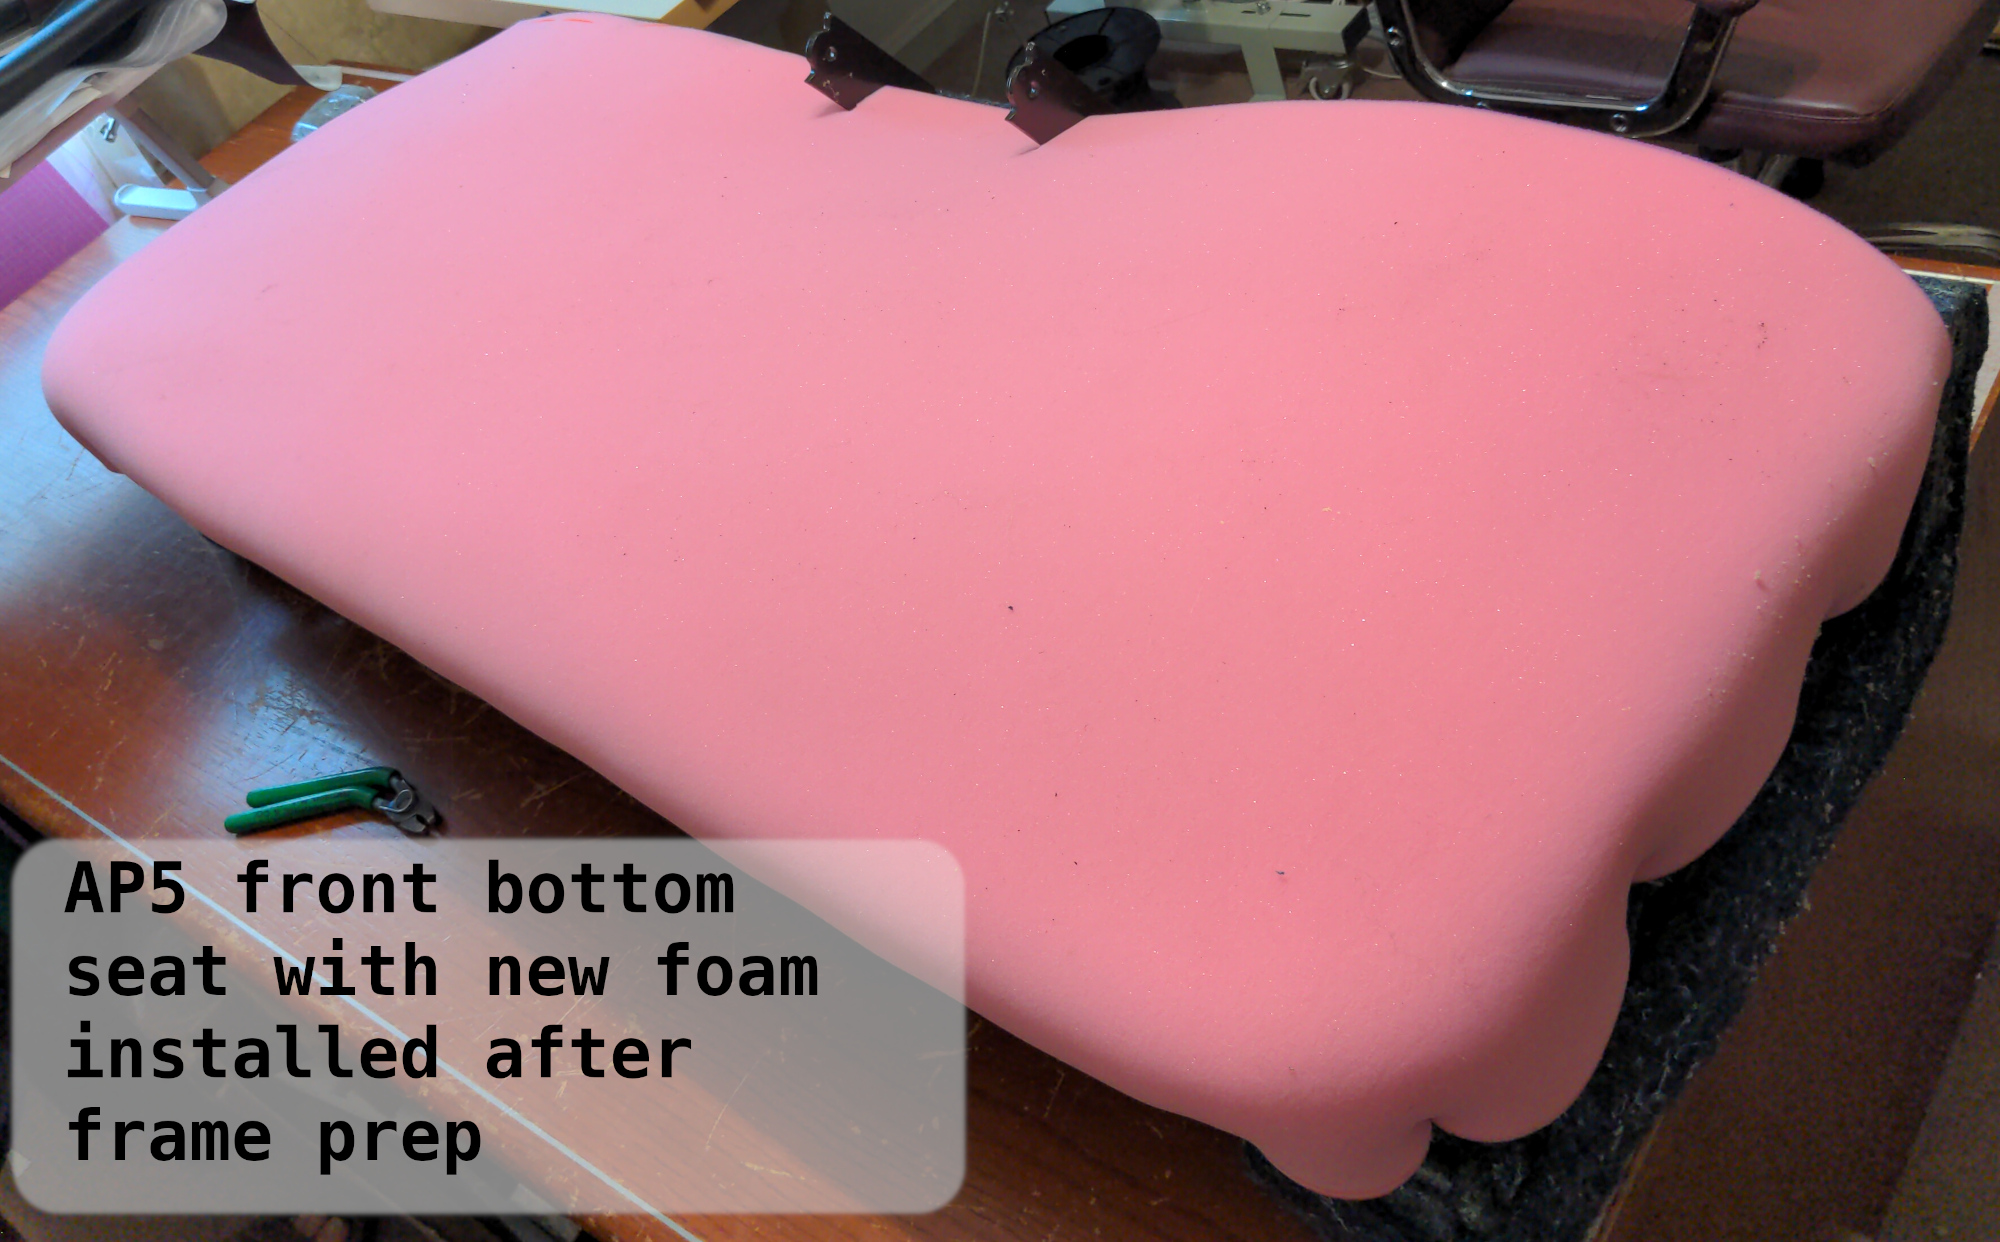
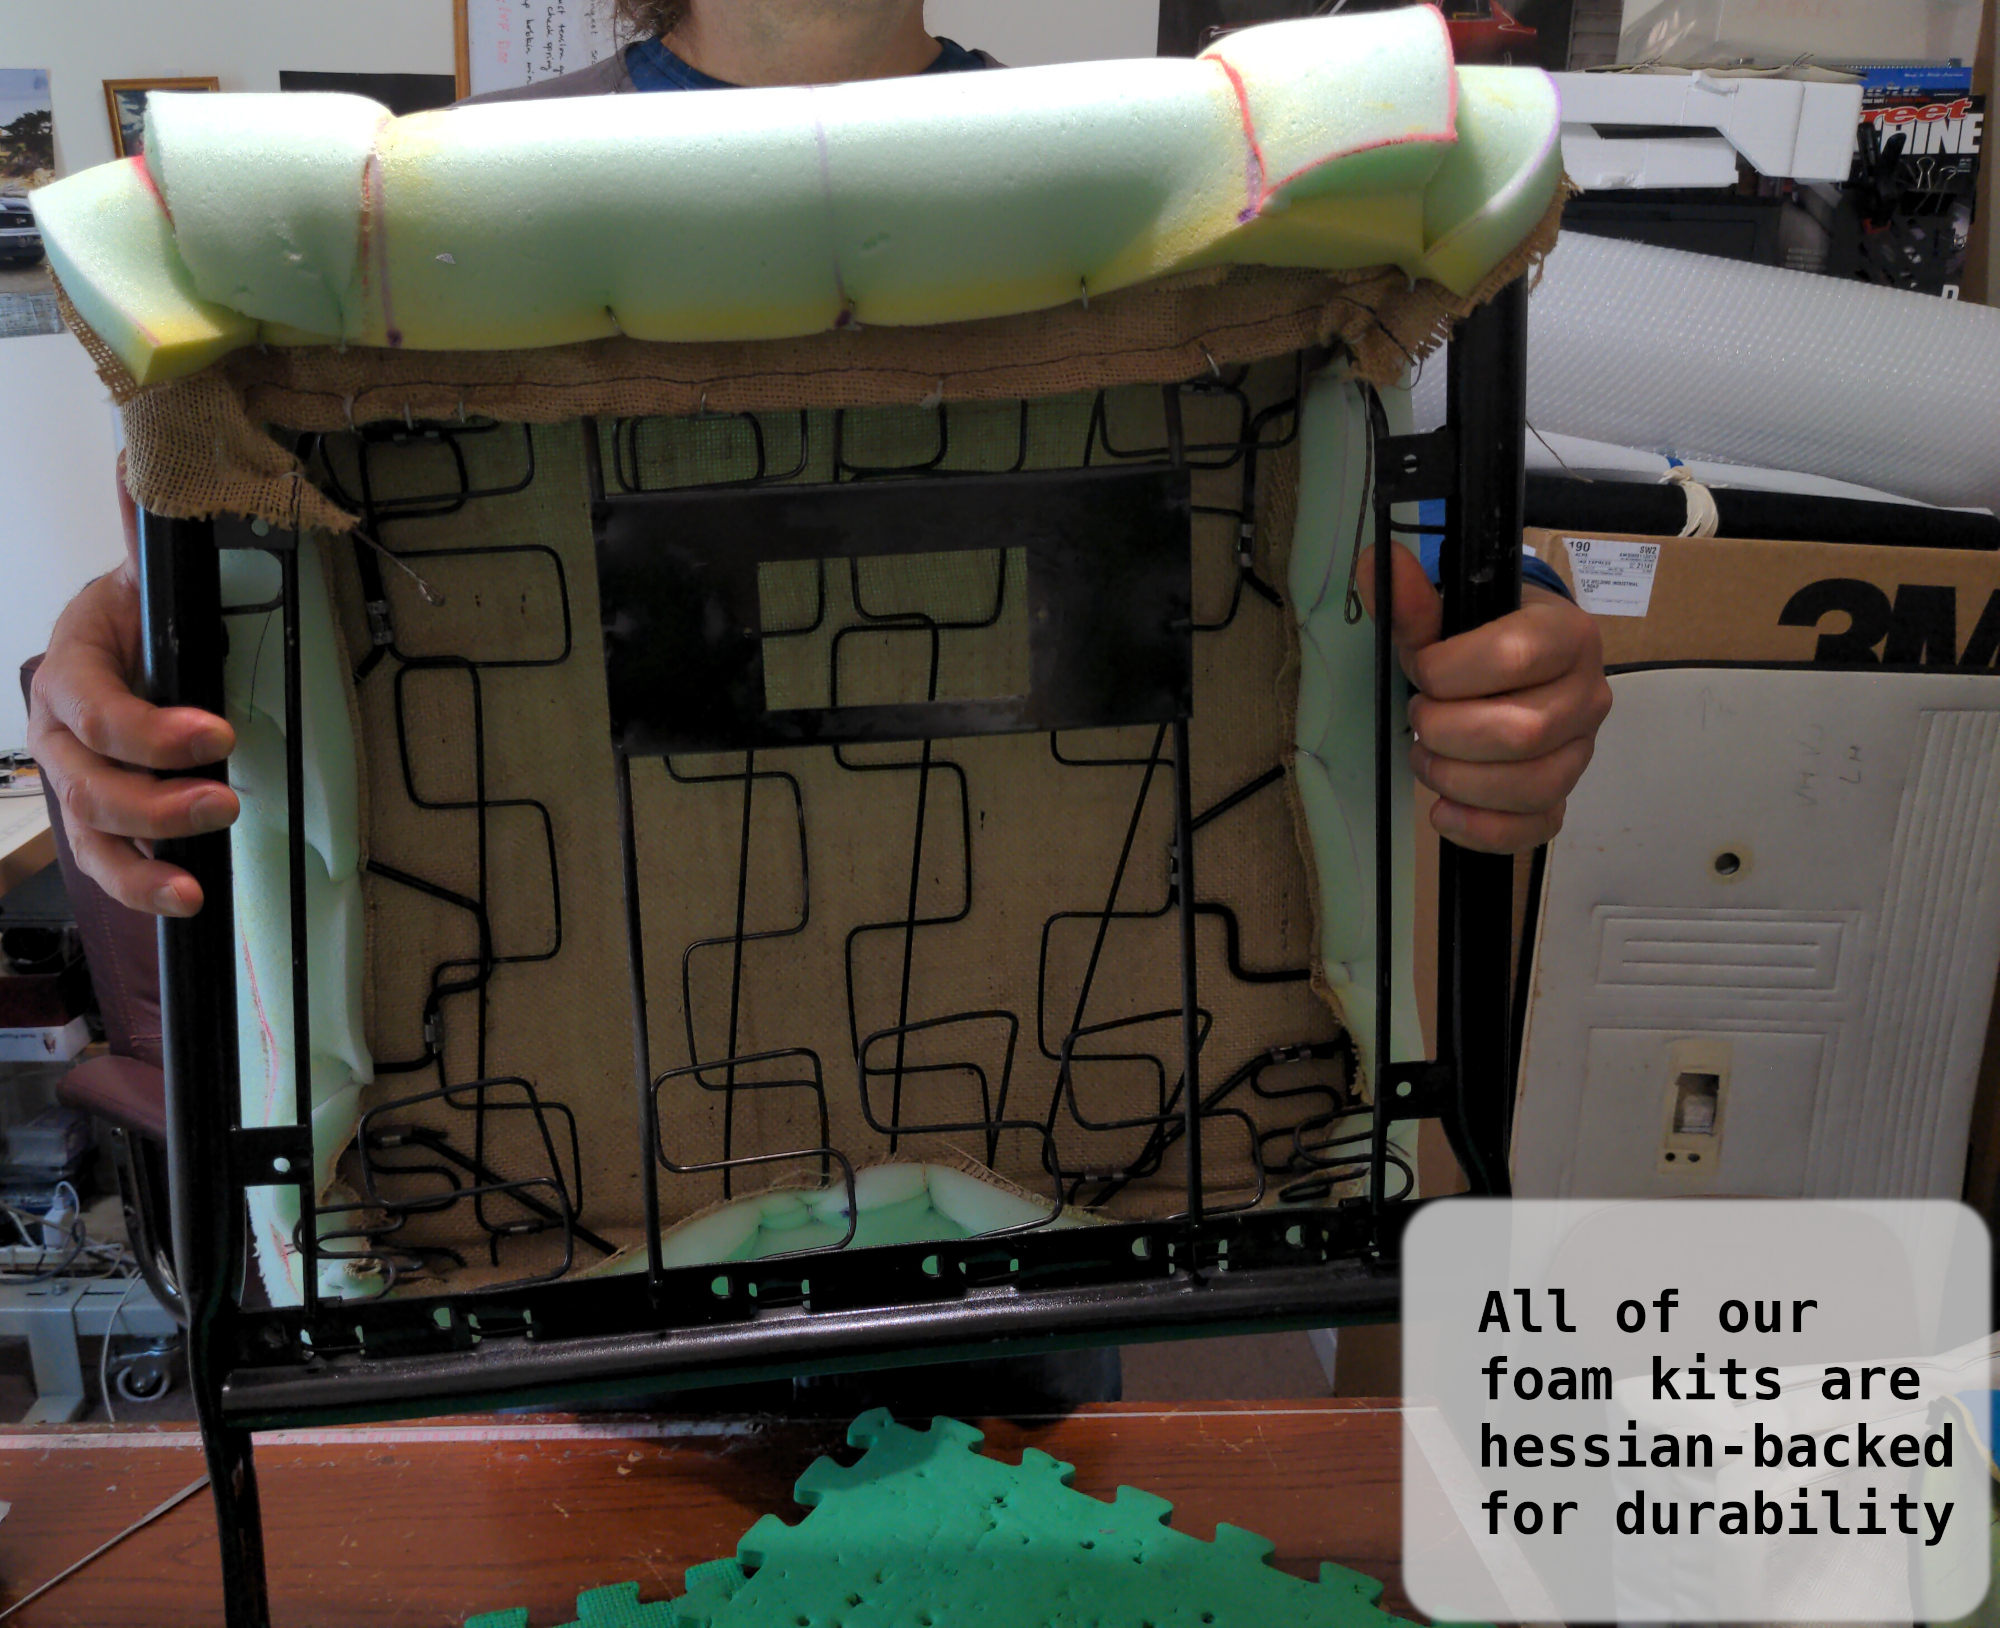
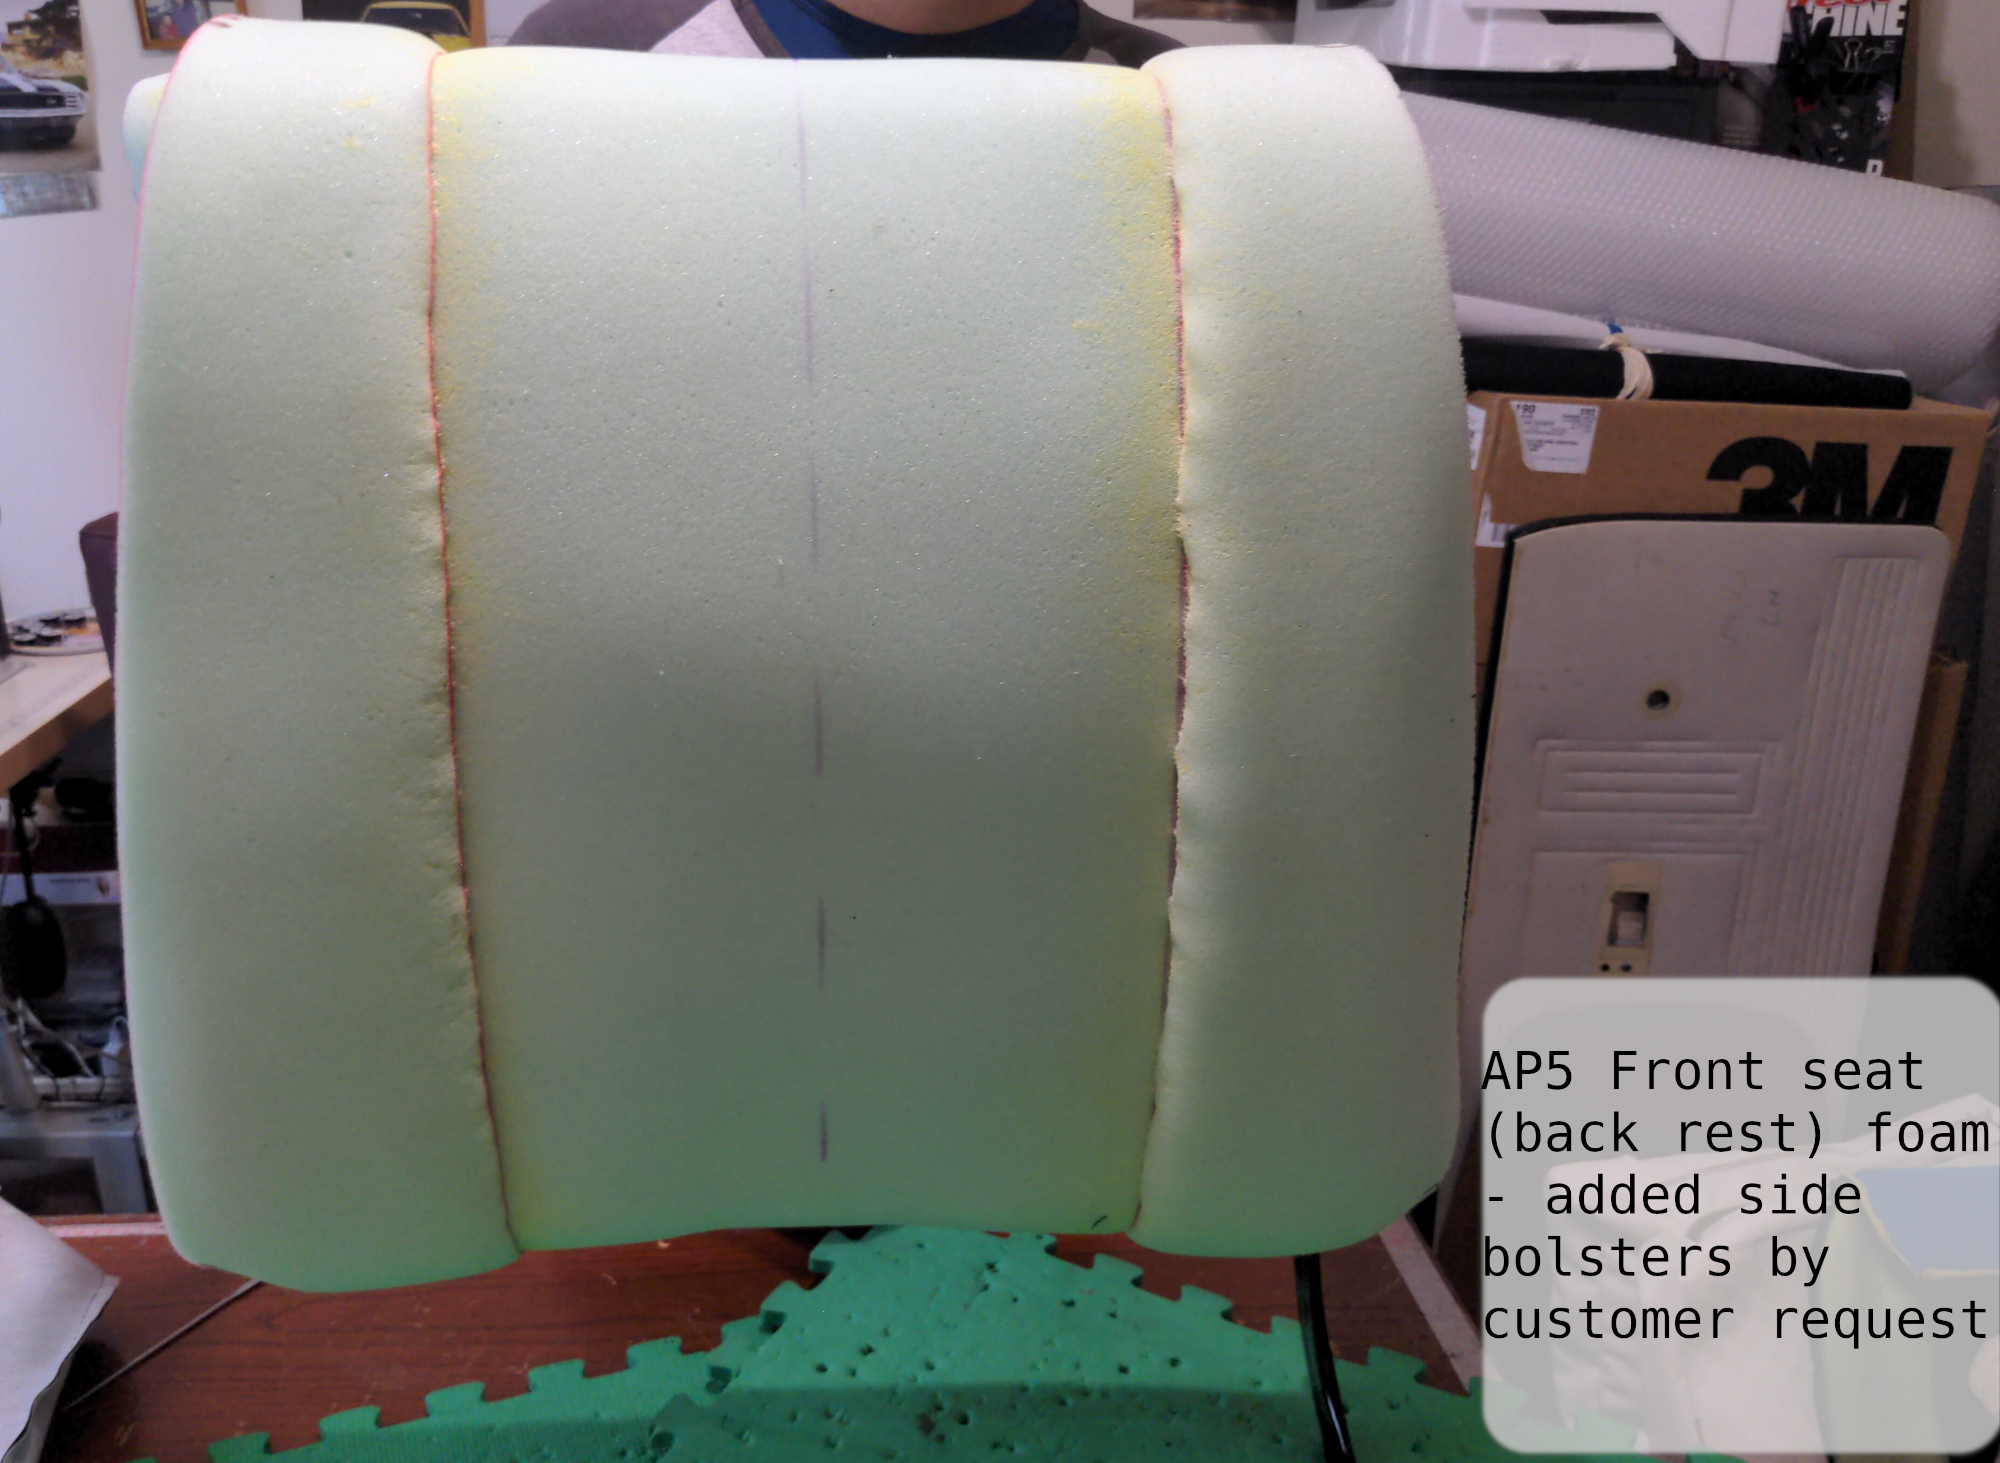
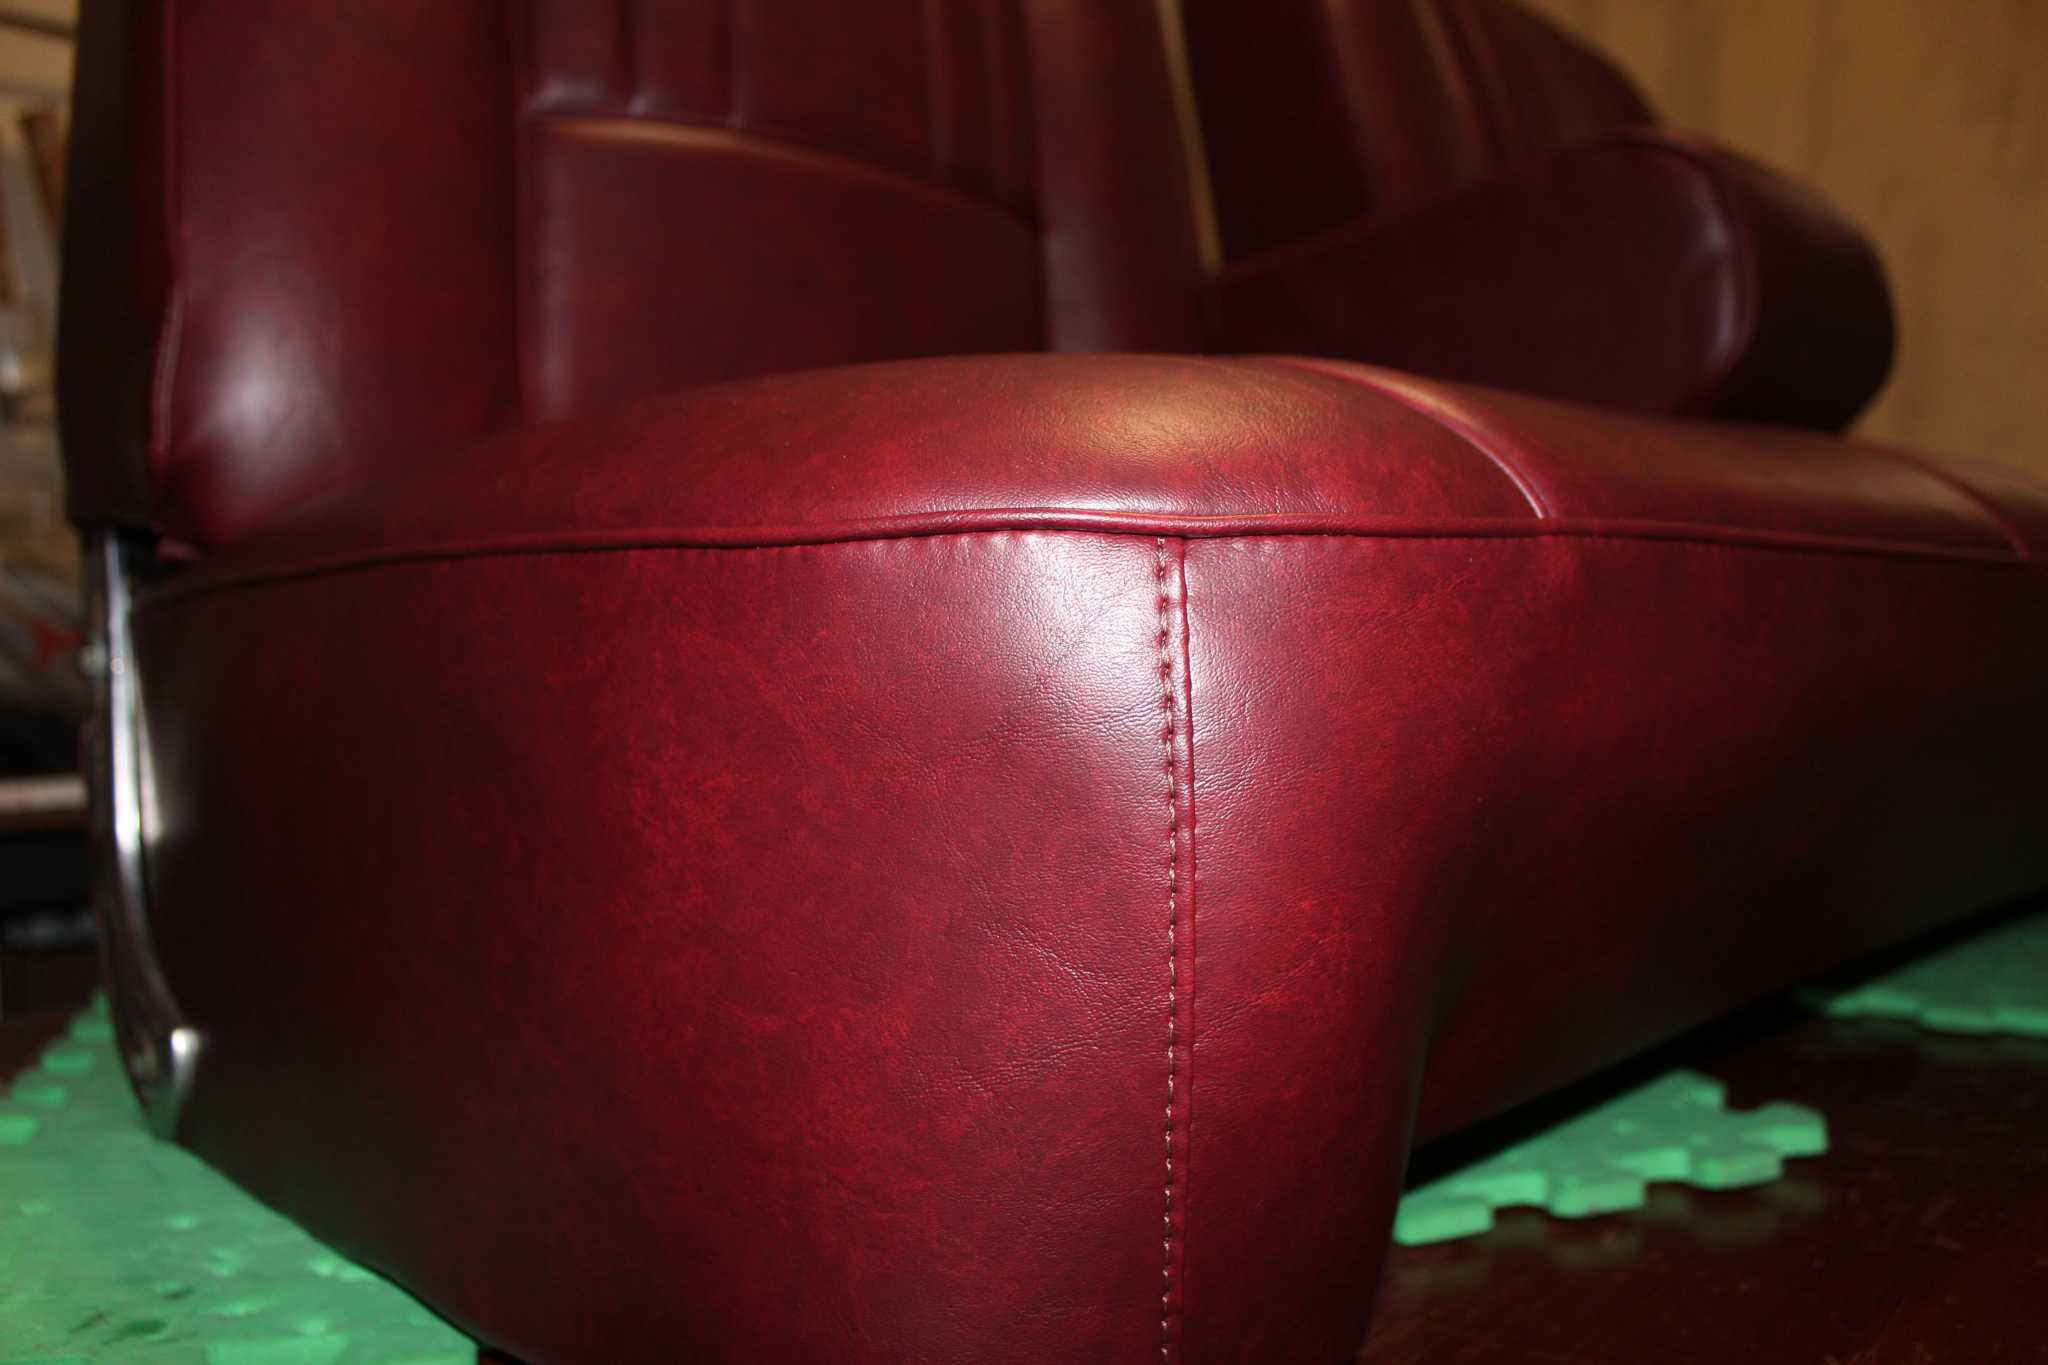
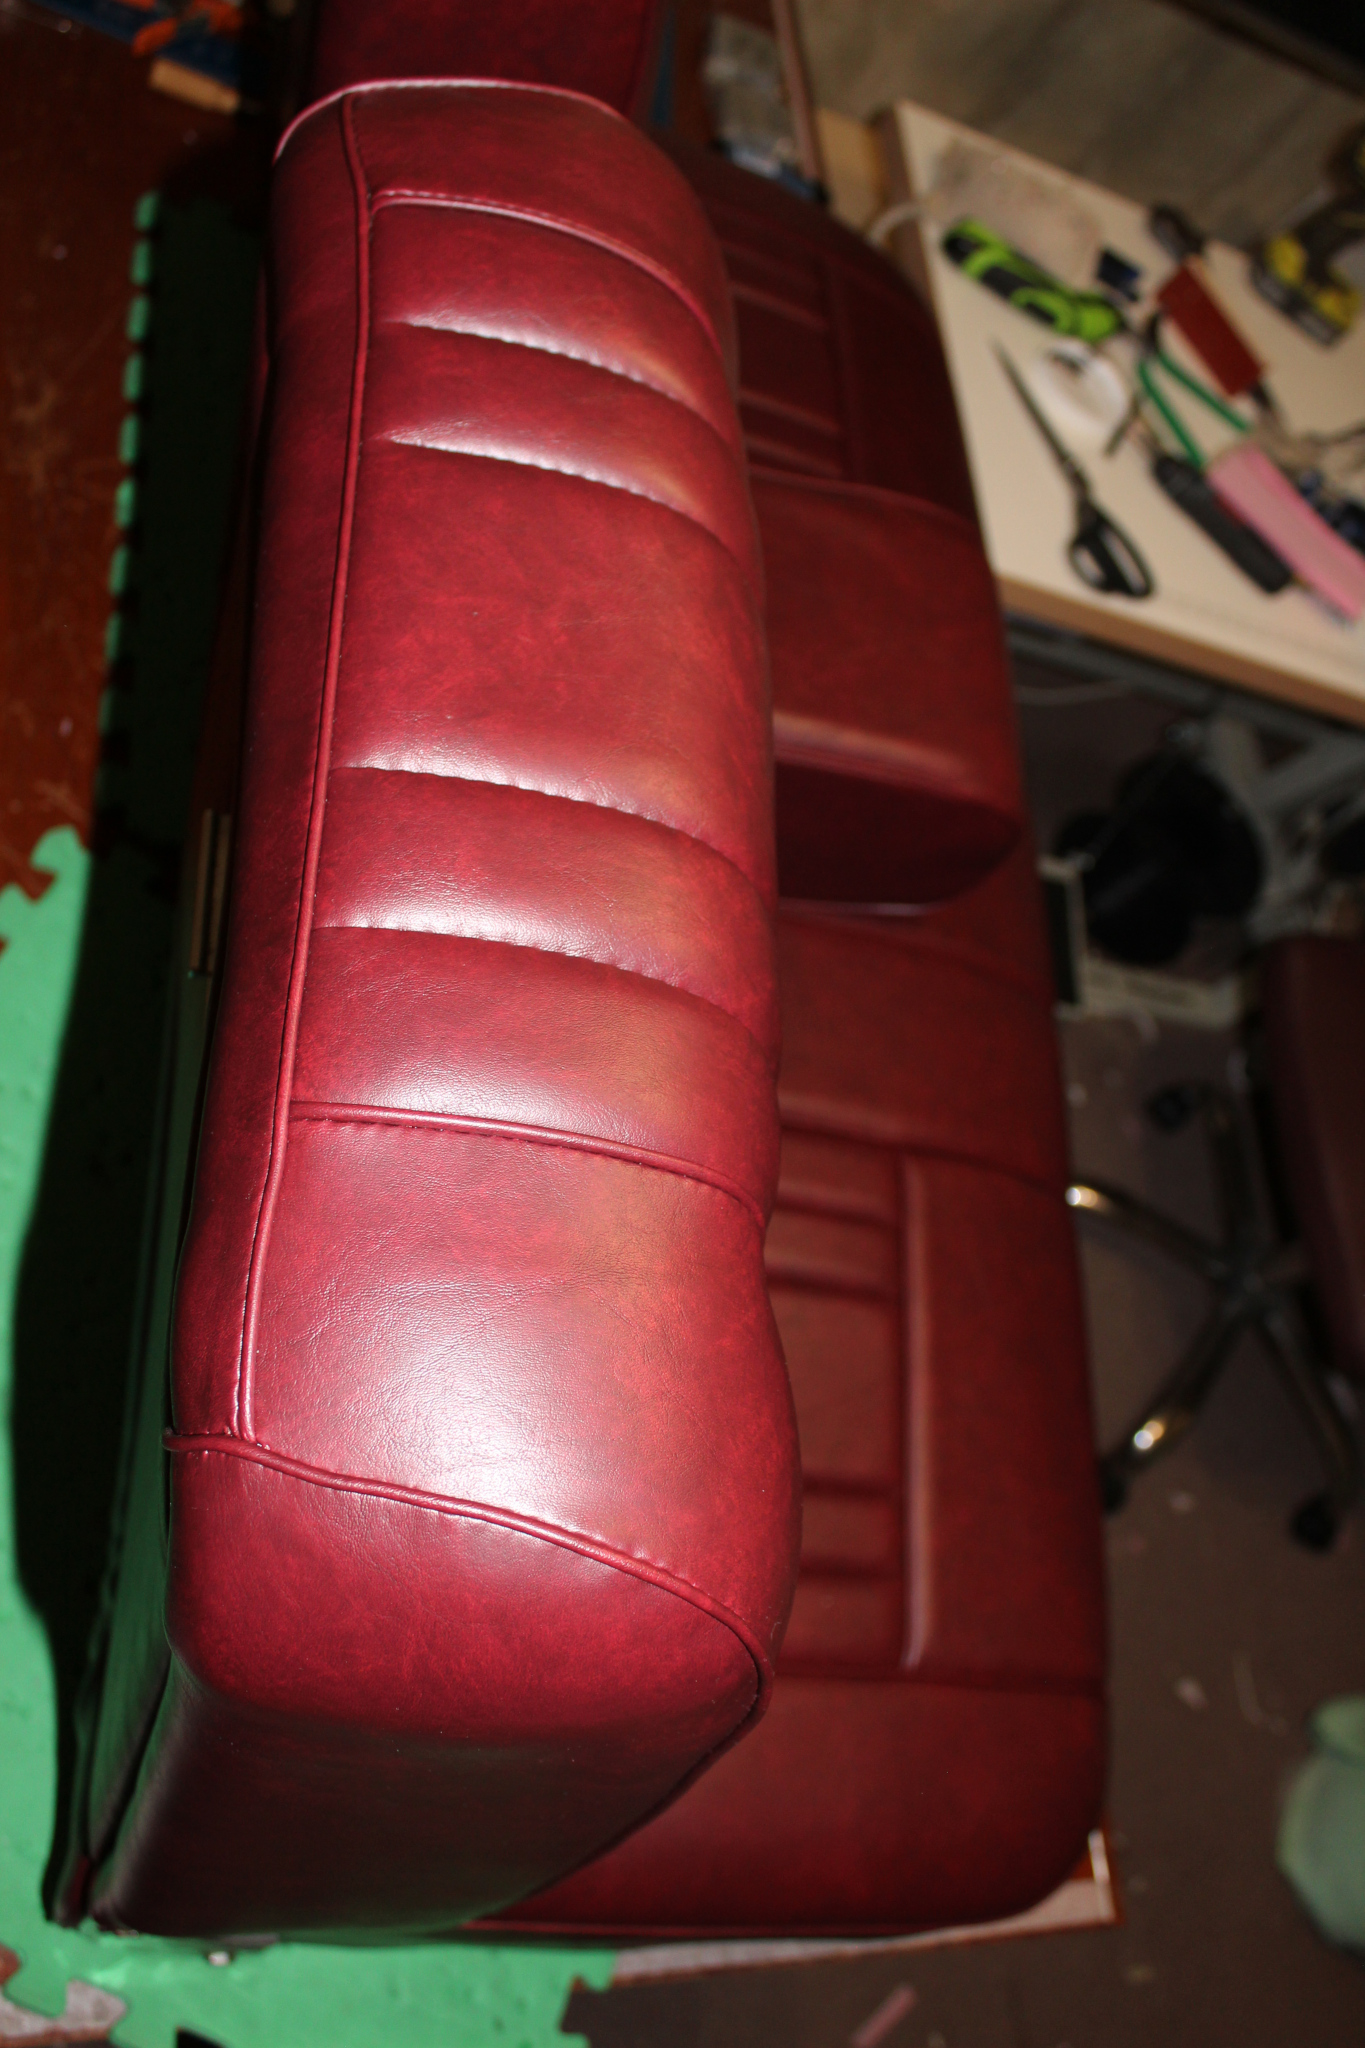
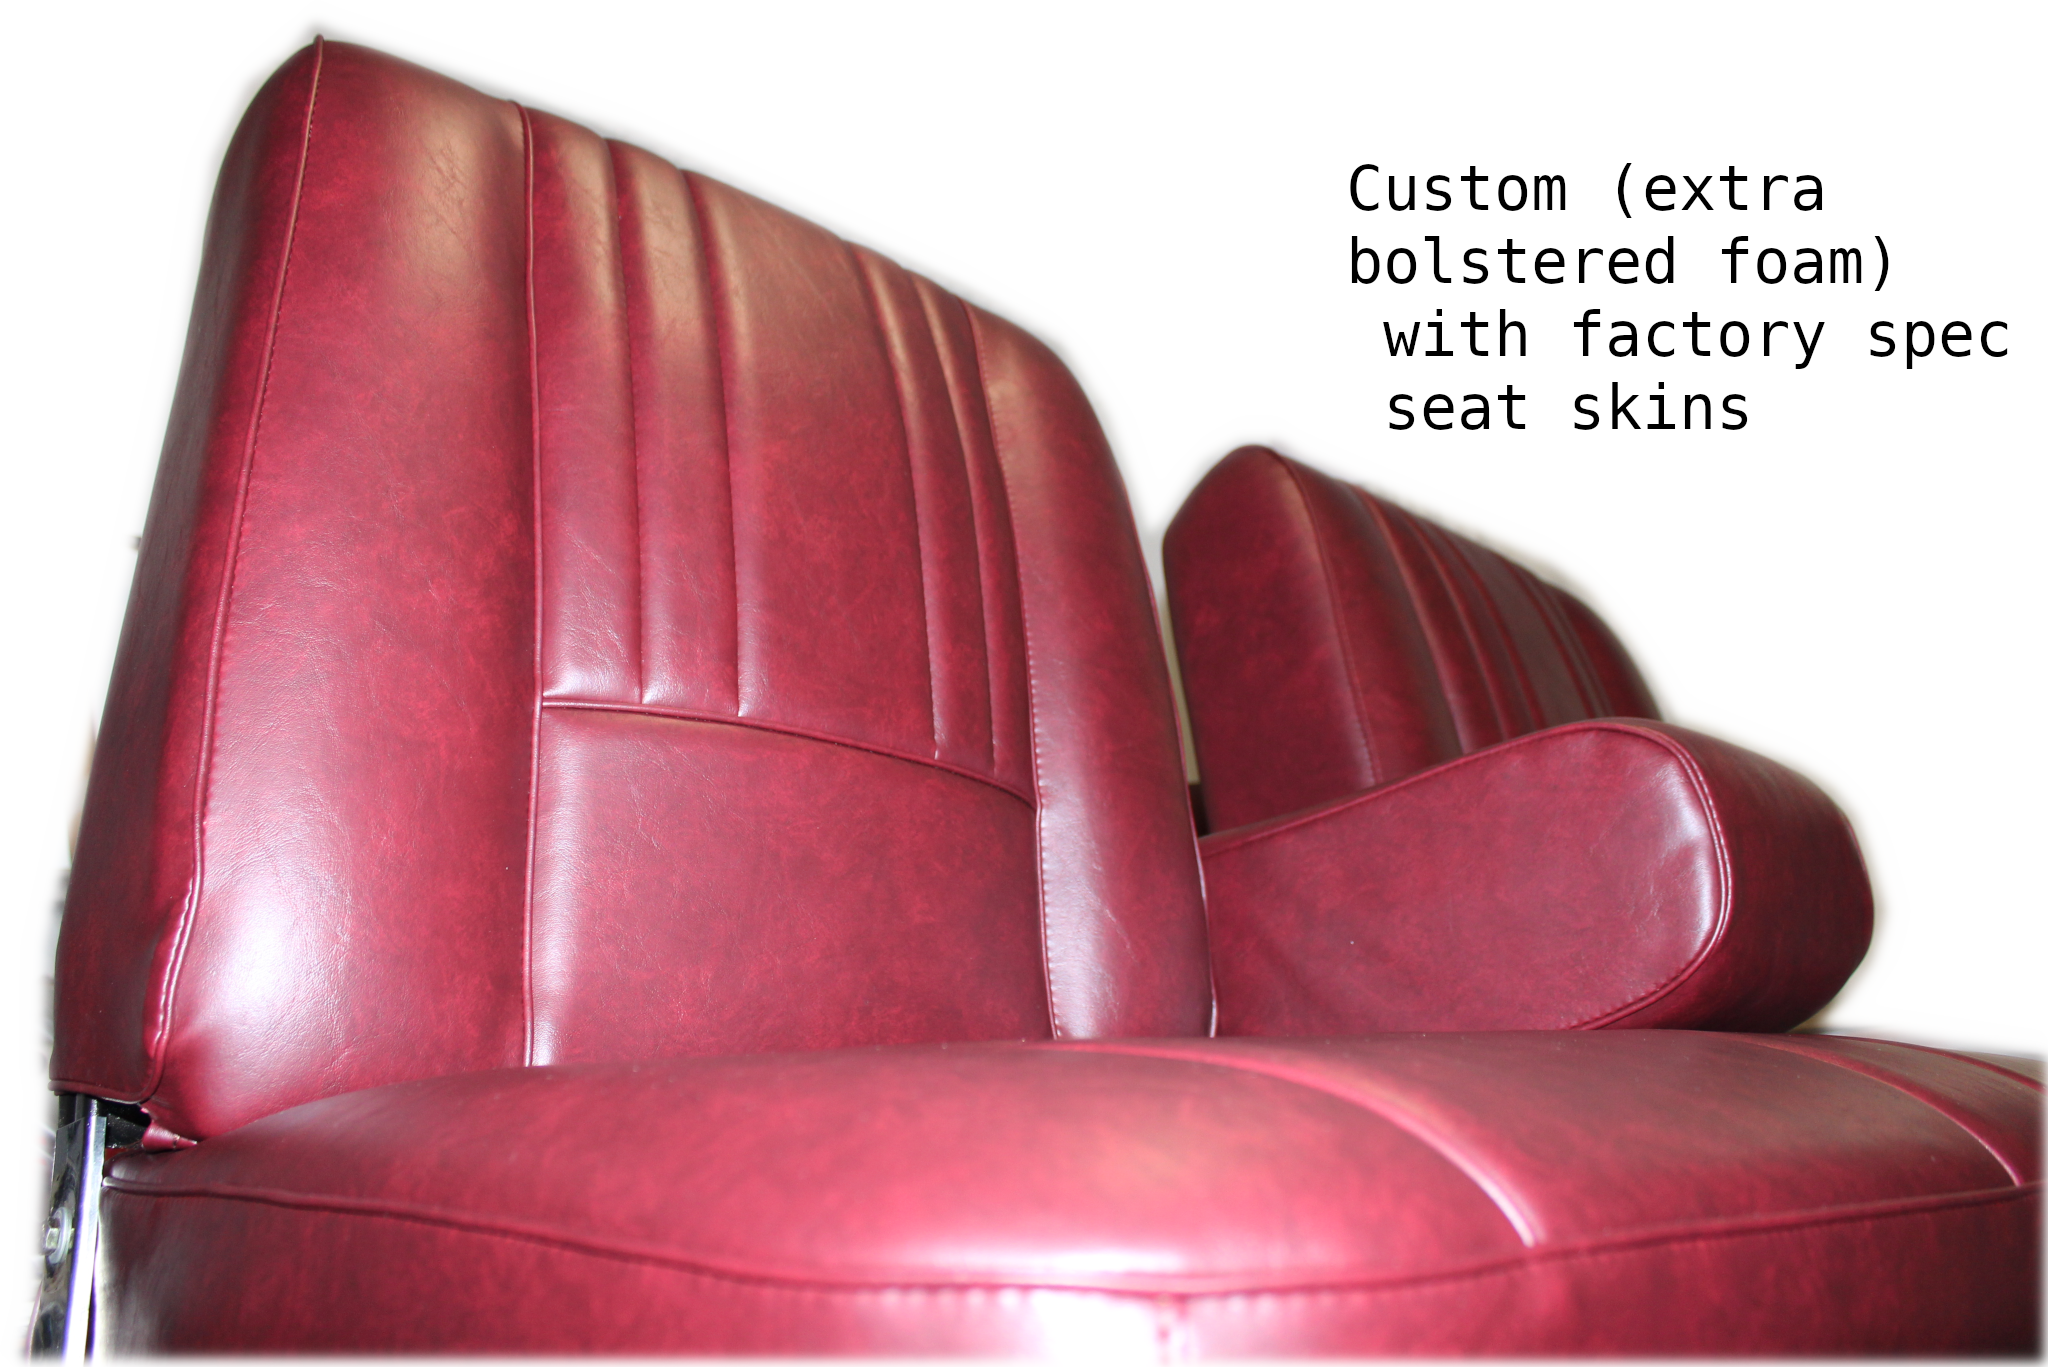
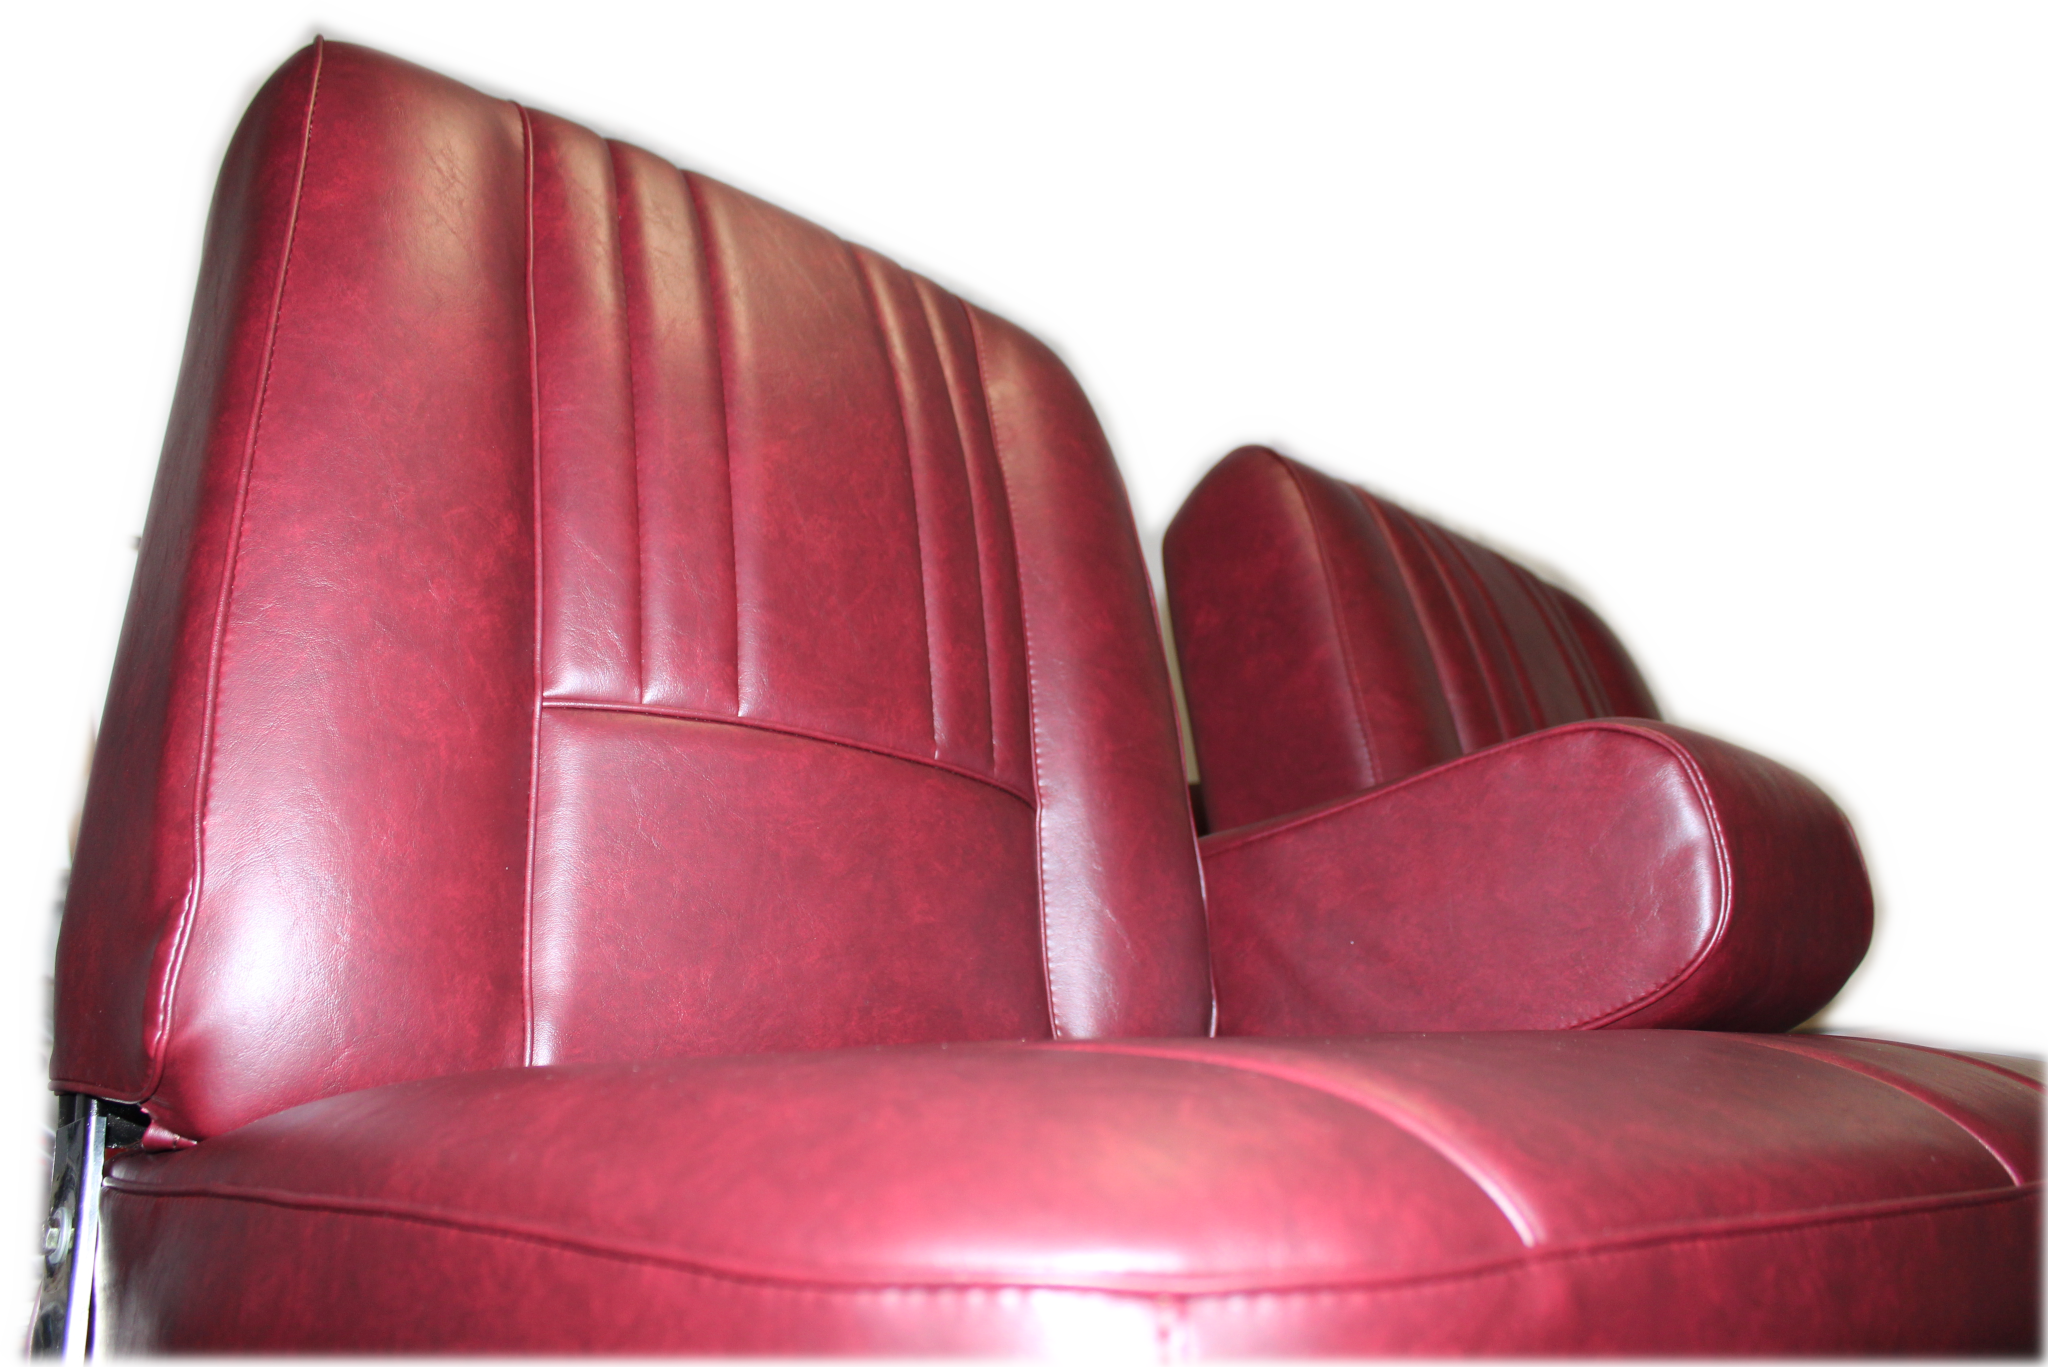
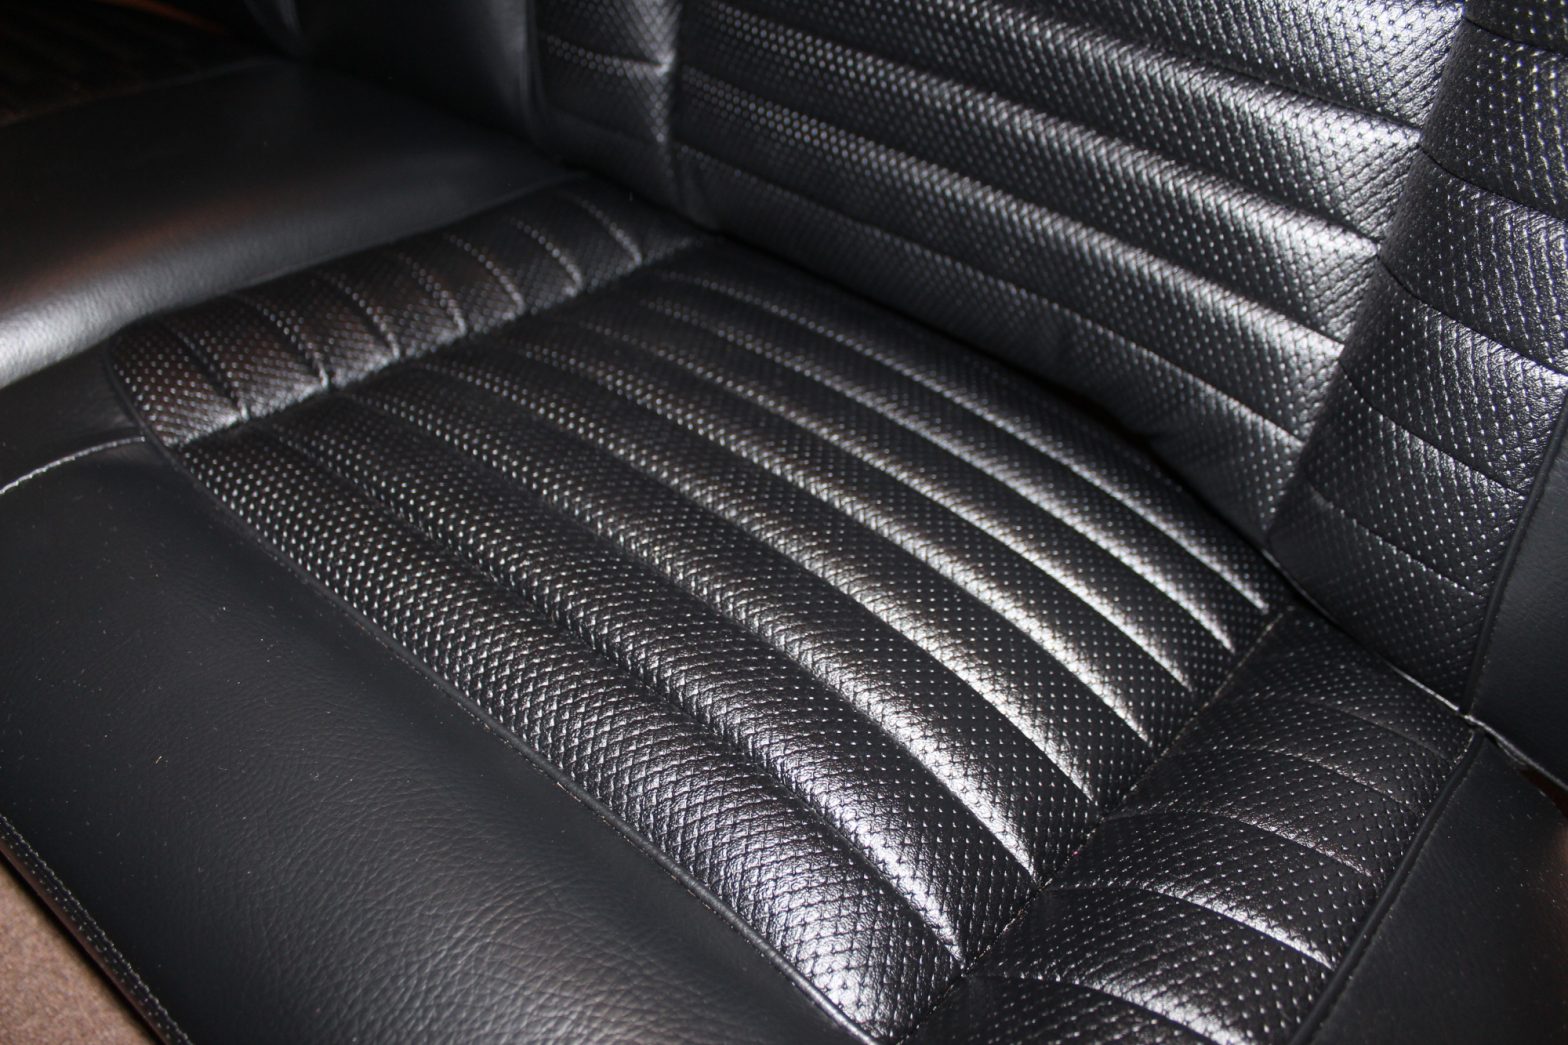
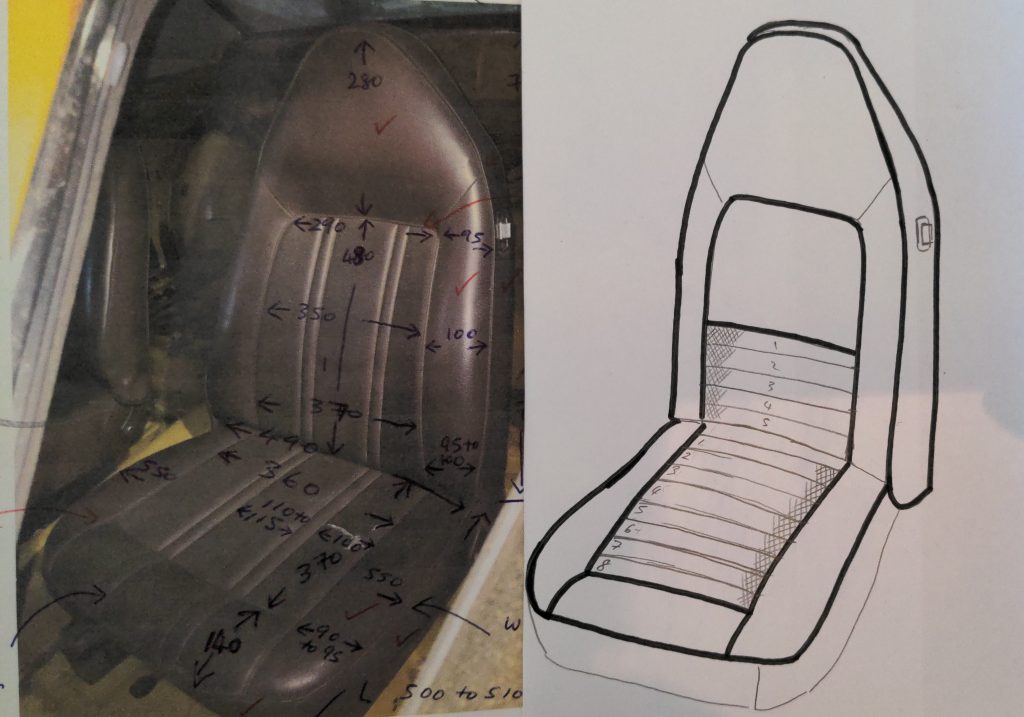
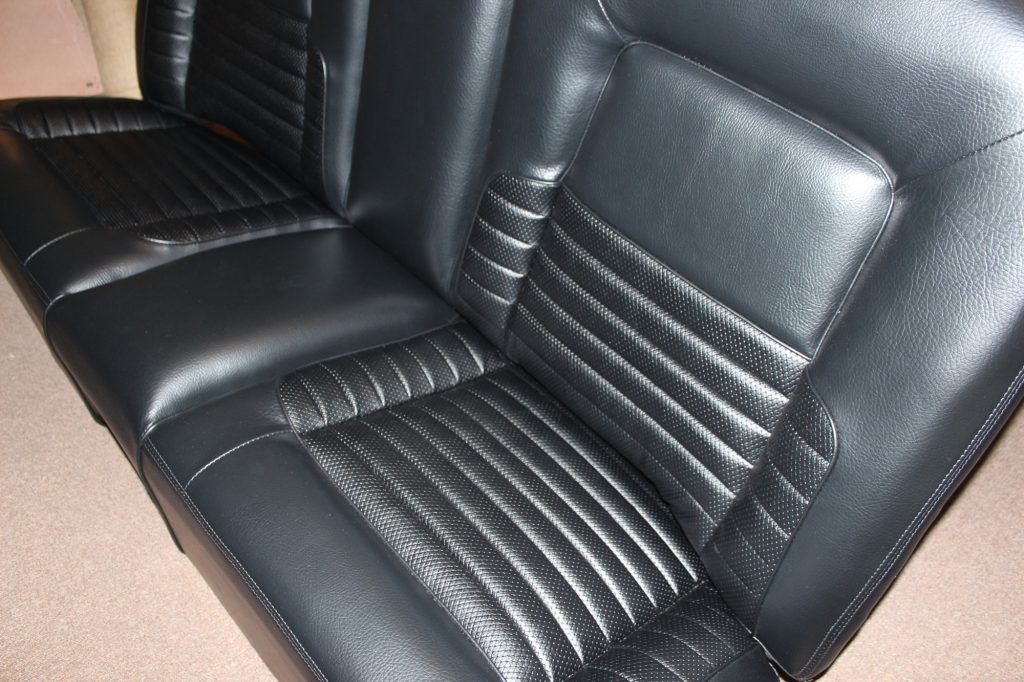
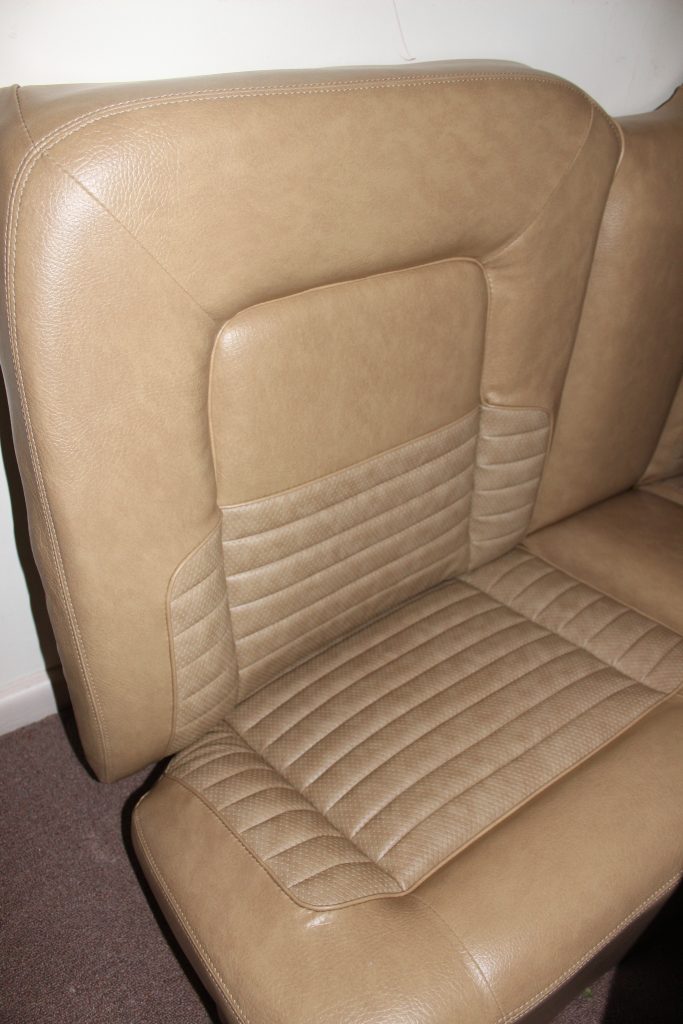
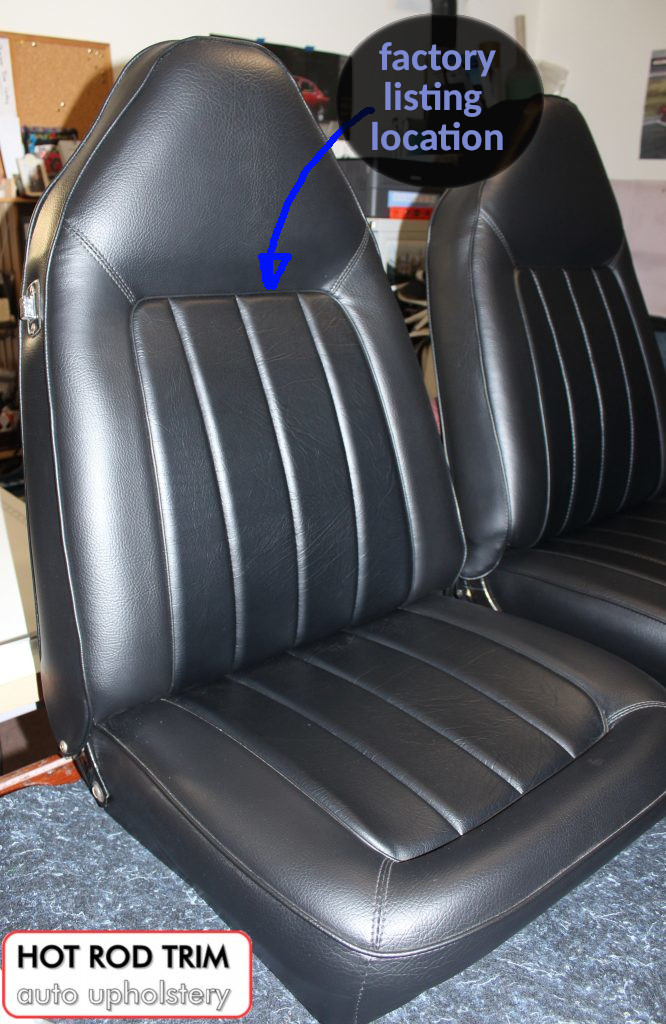
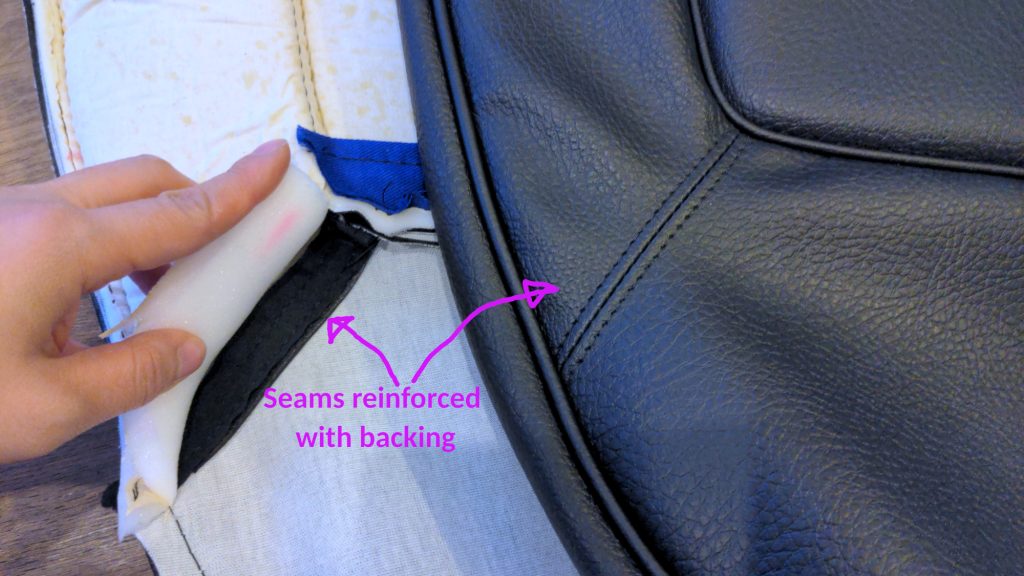
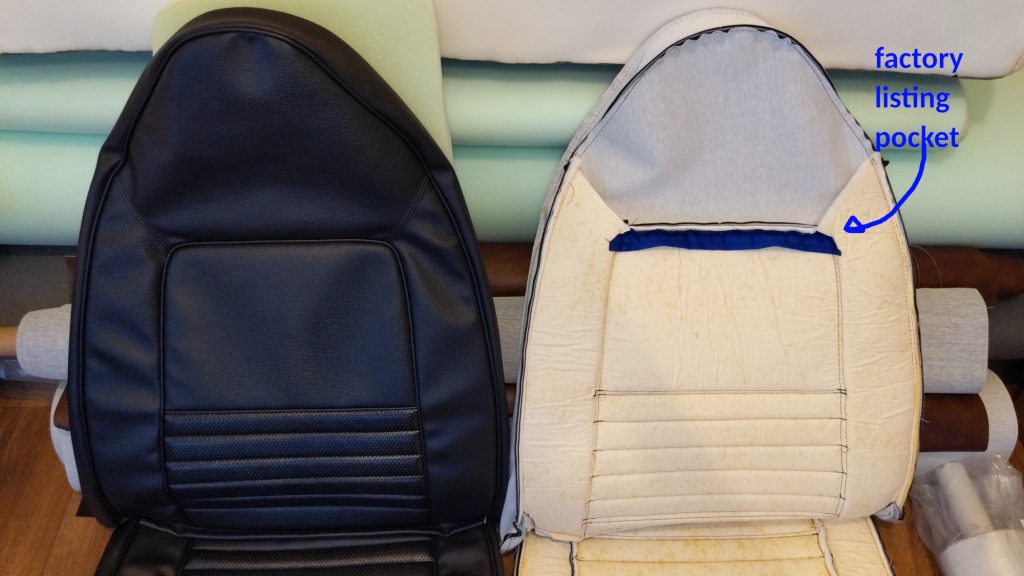
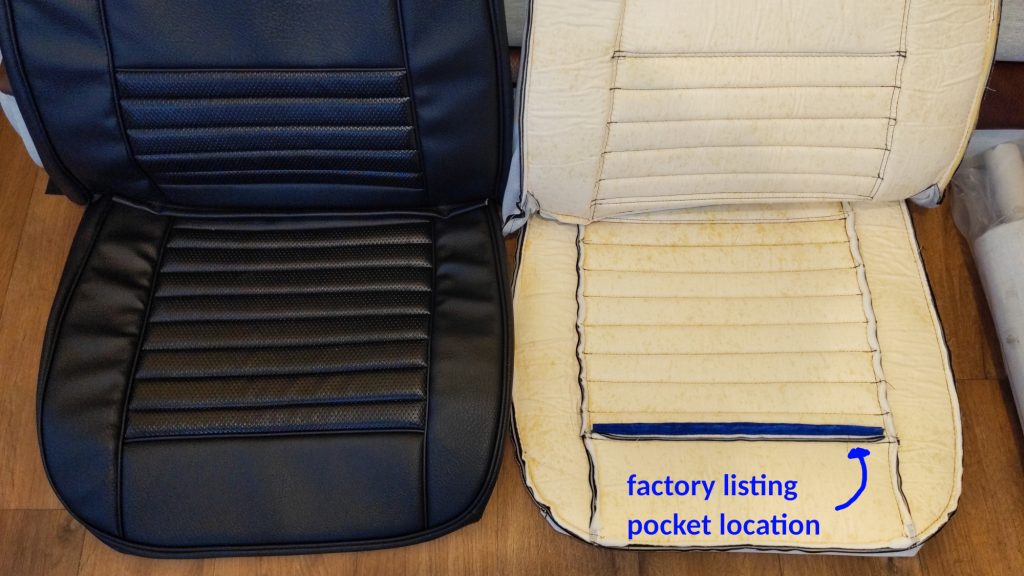
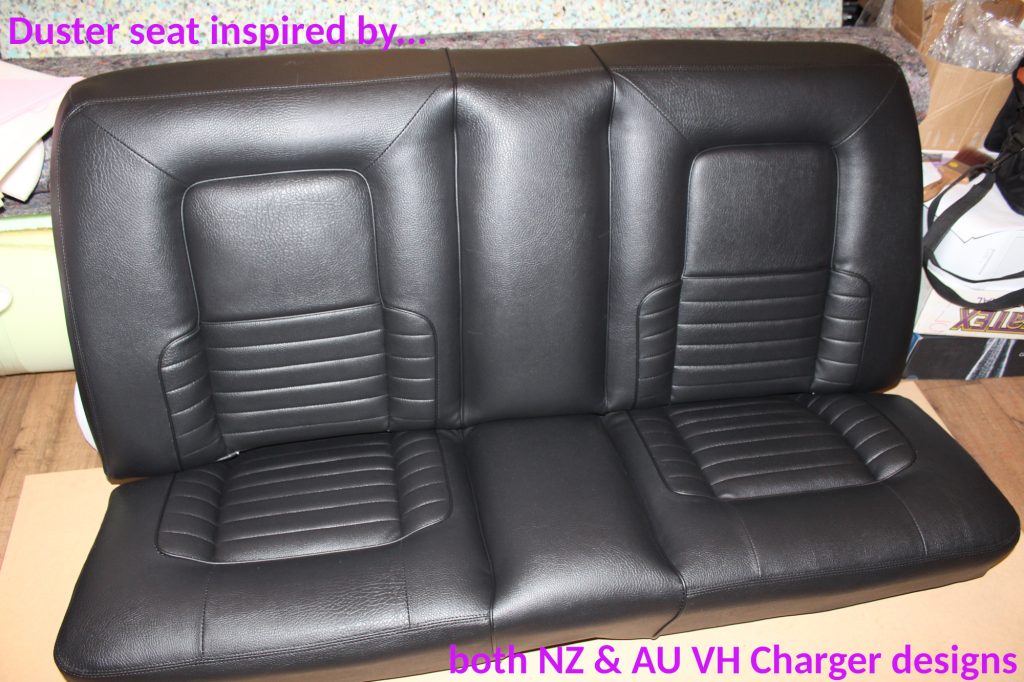
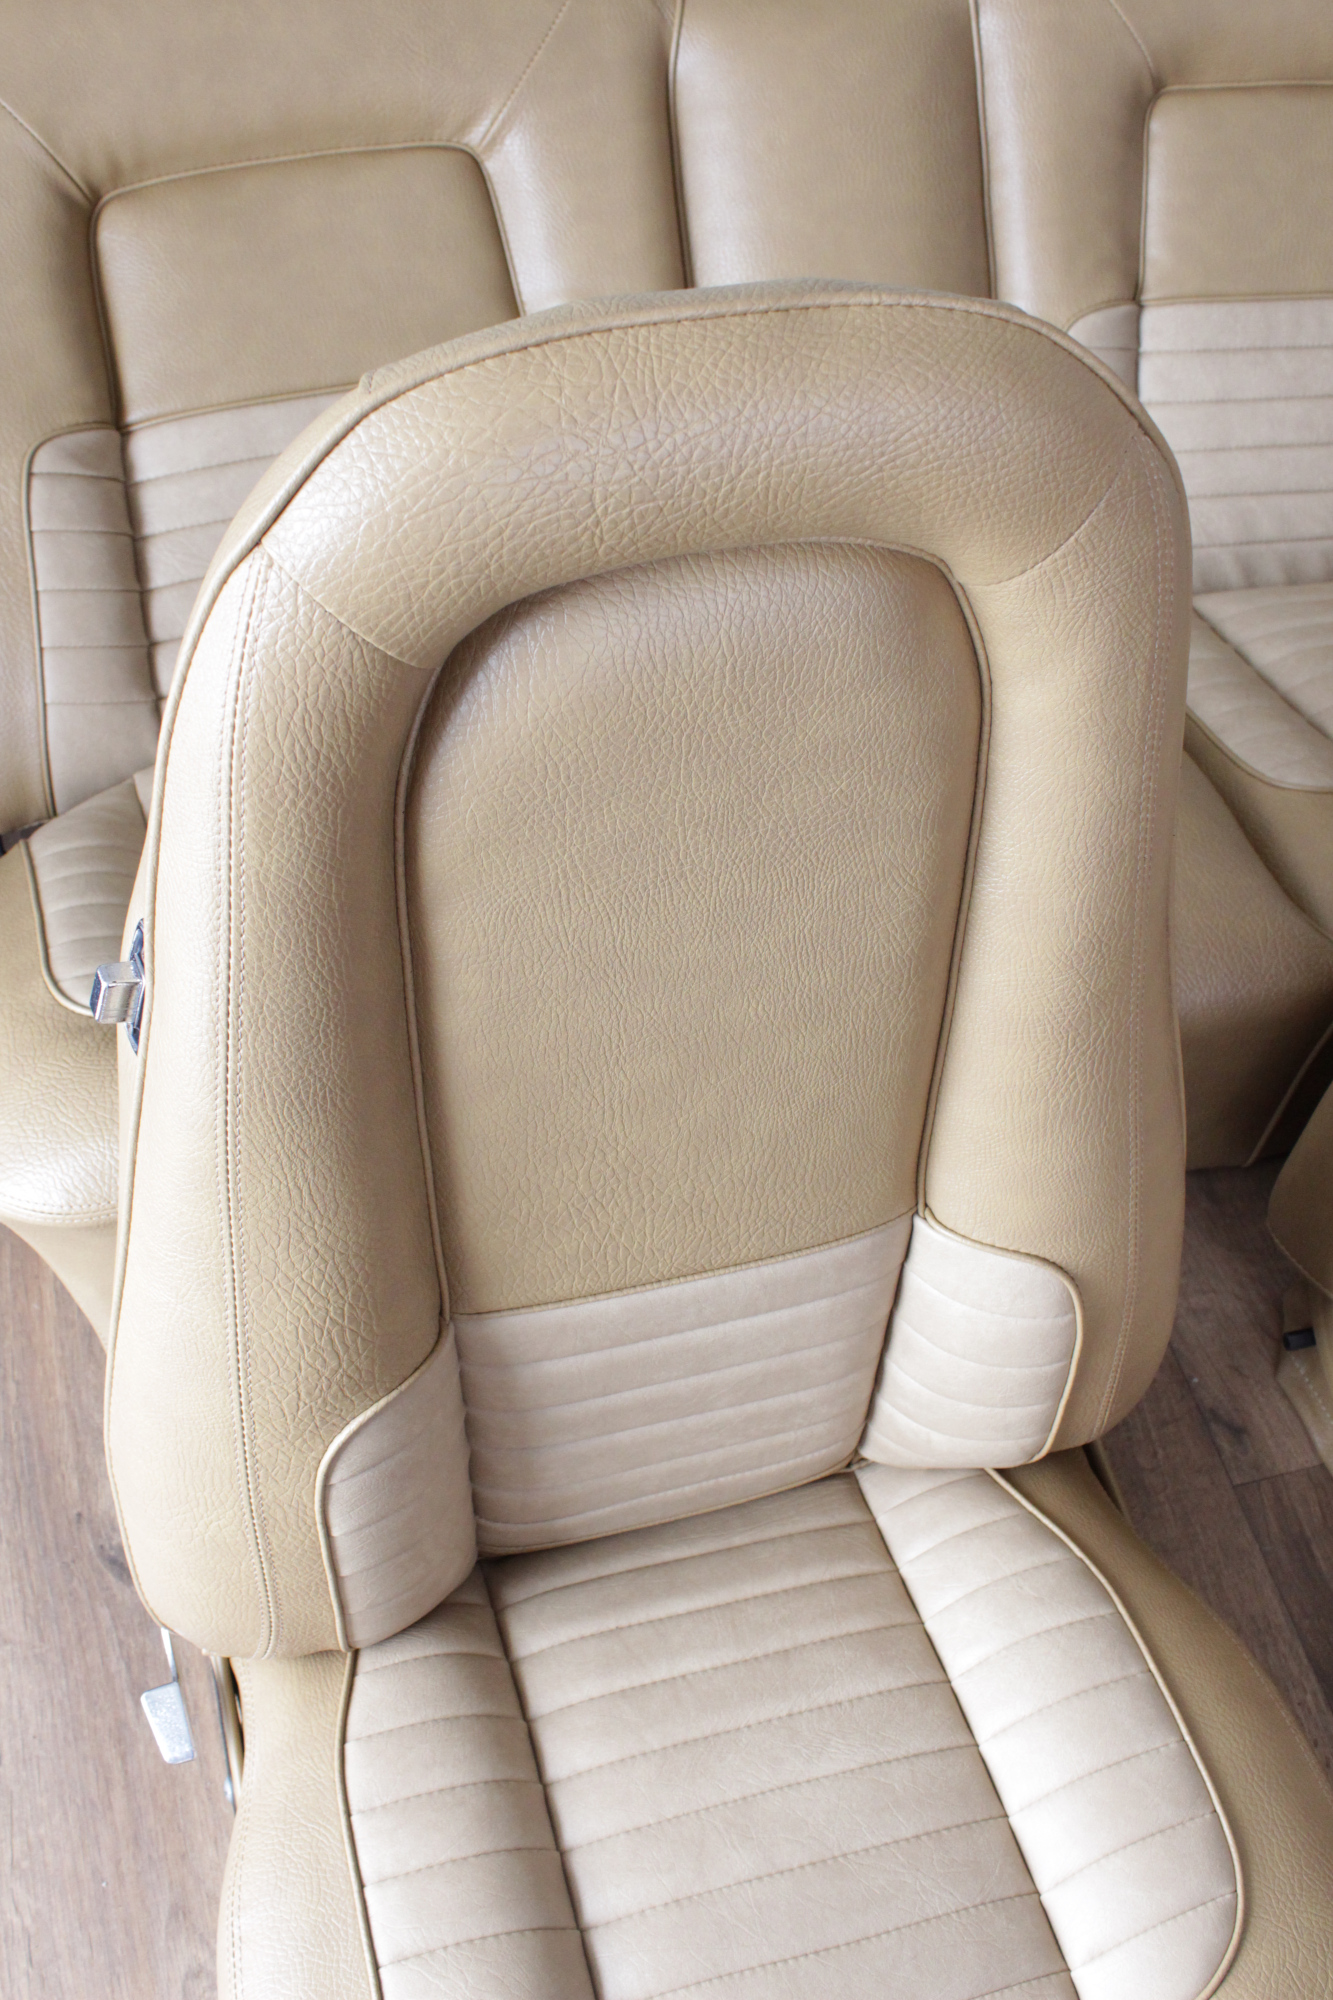
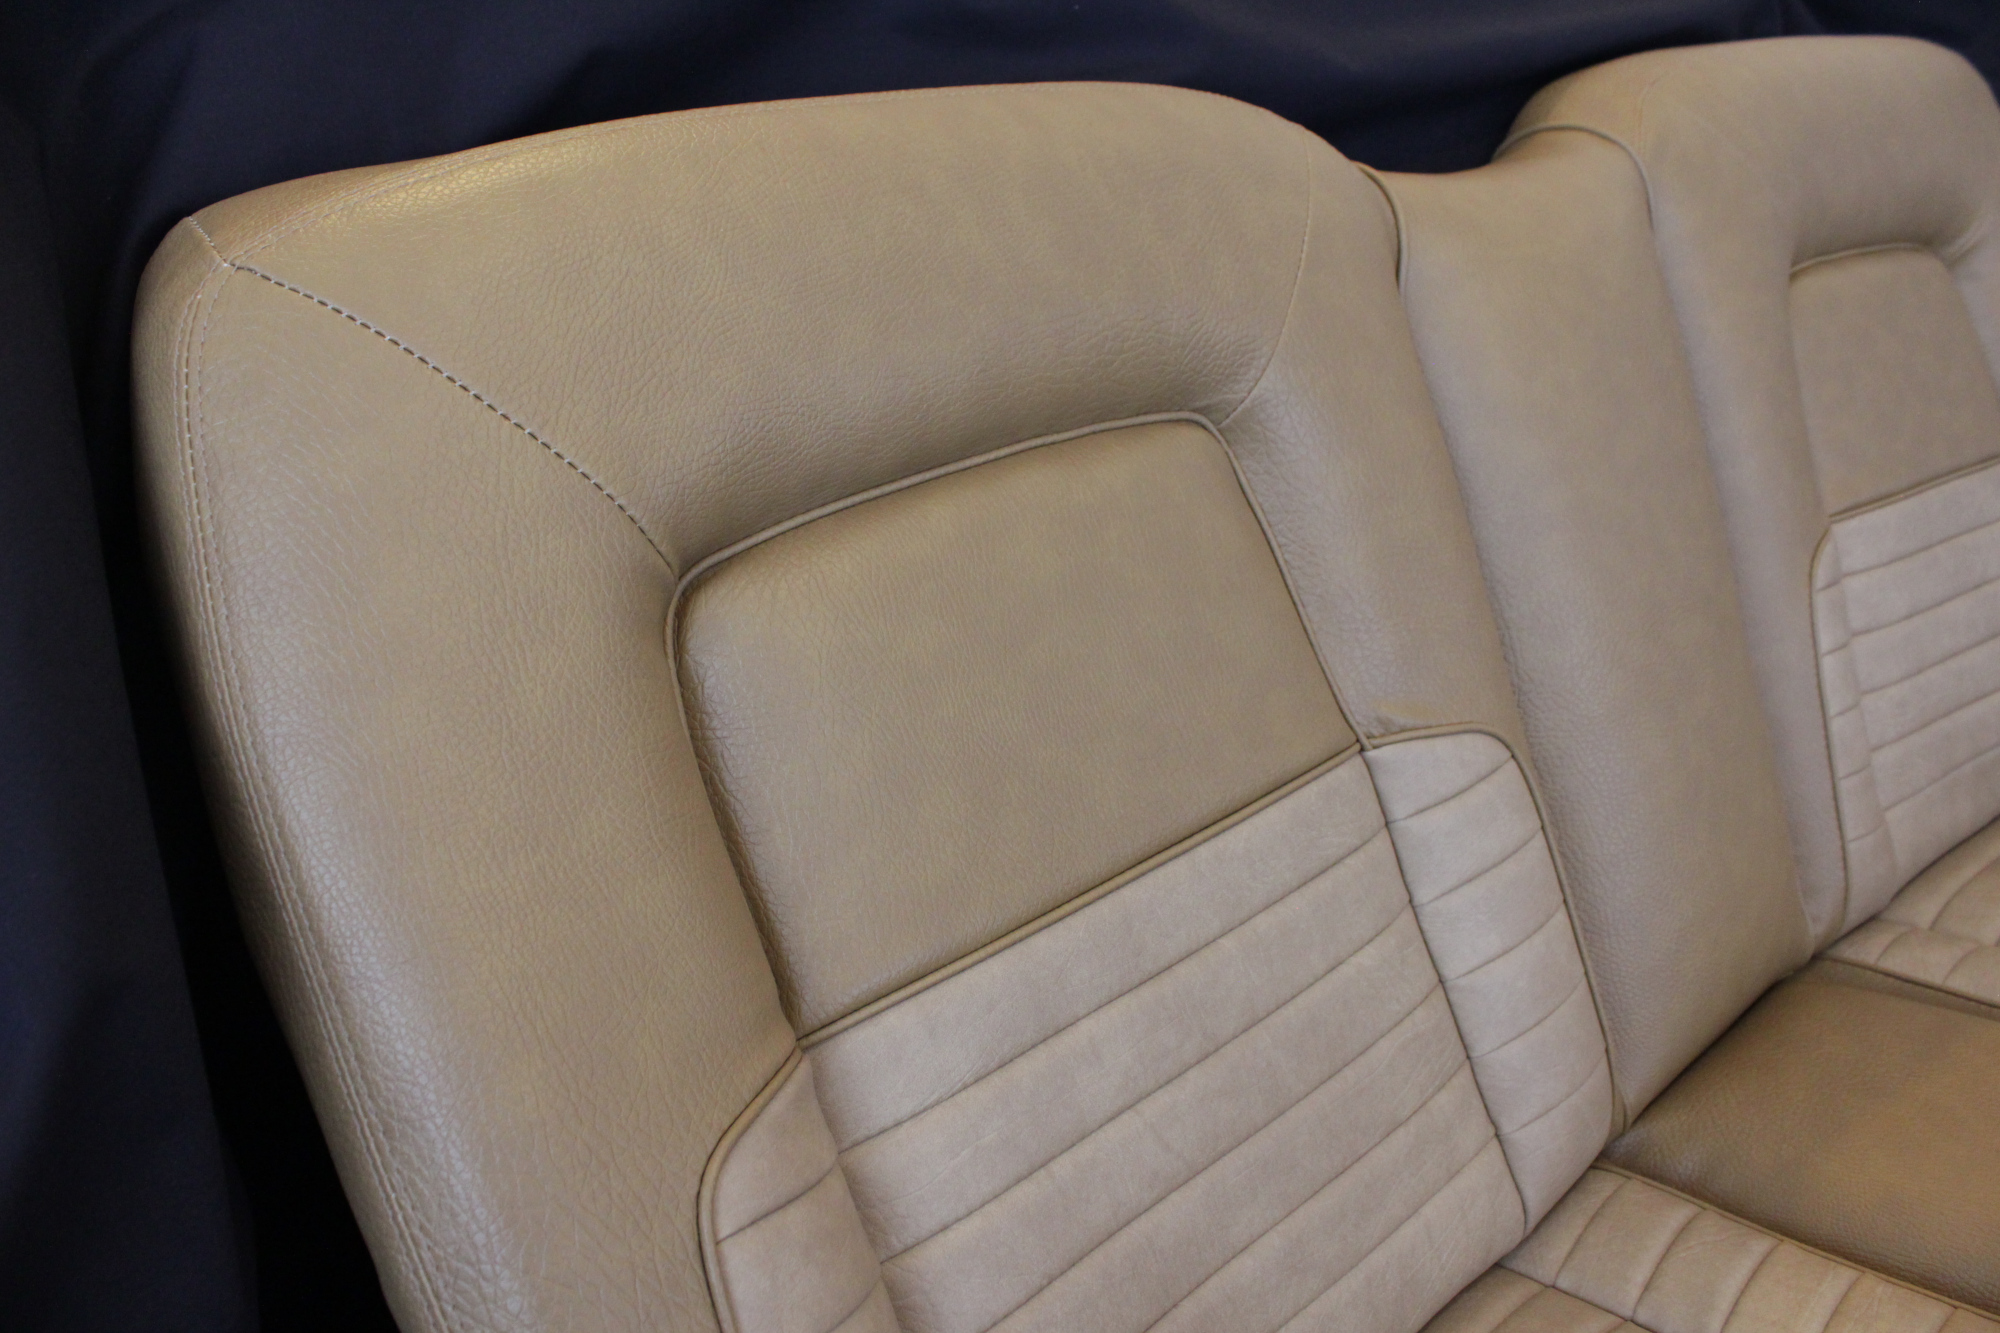
As per request to make comfortable driving seats, we retrimmed them with almost all new seat base springs, plus a number of upgraded spec springs in both back rests and bases, all new seat foam kits, and made-in-house seat skins as per factory envisioning.
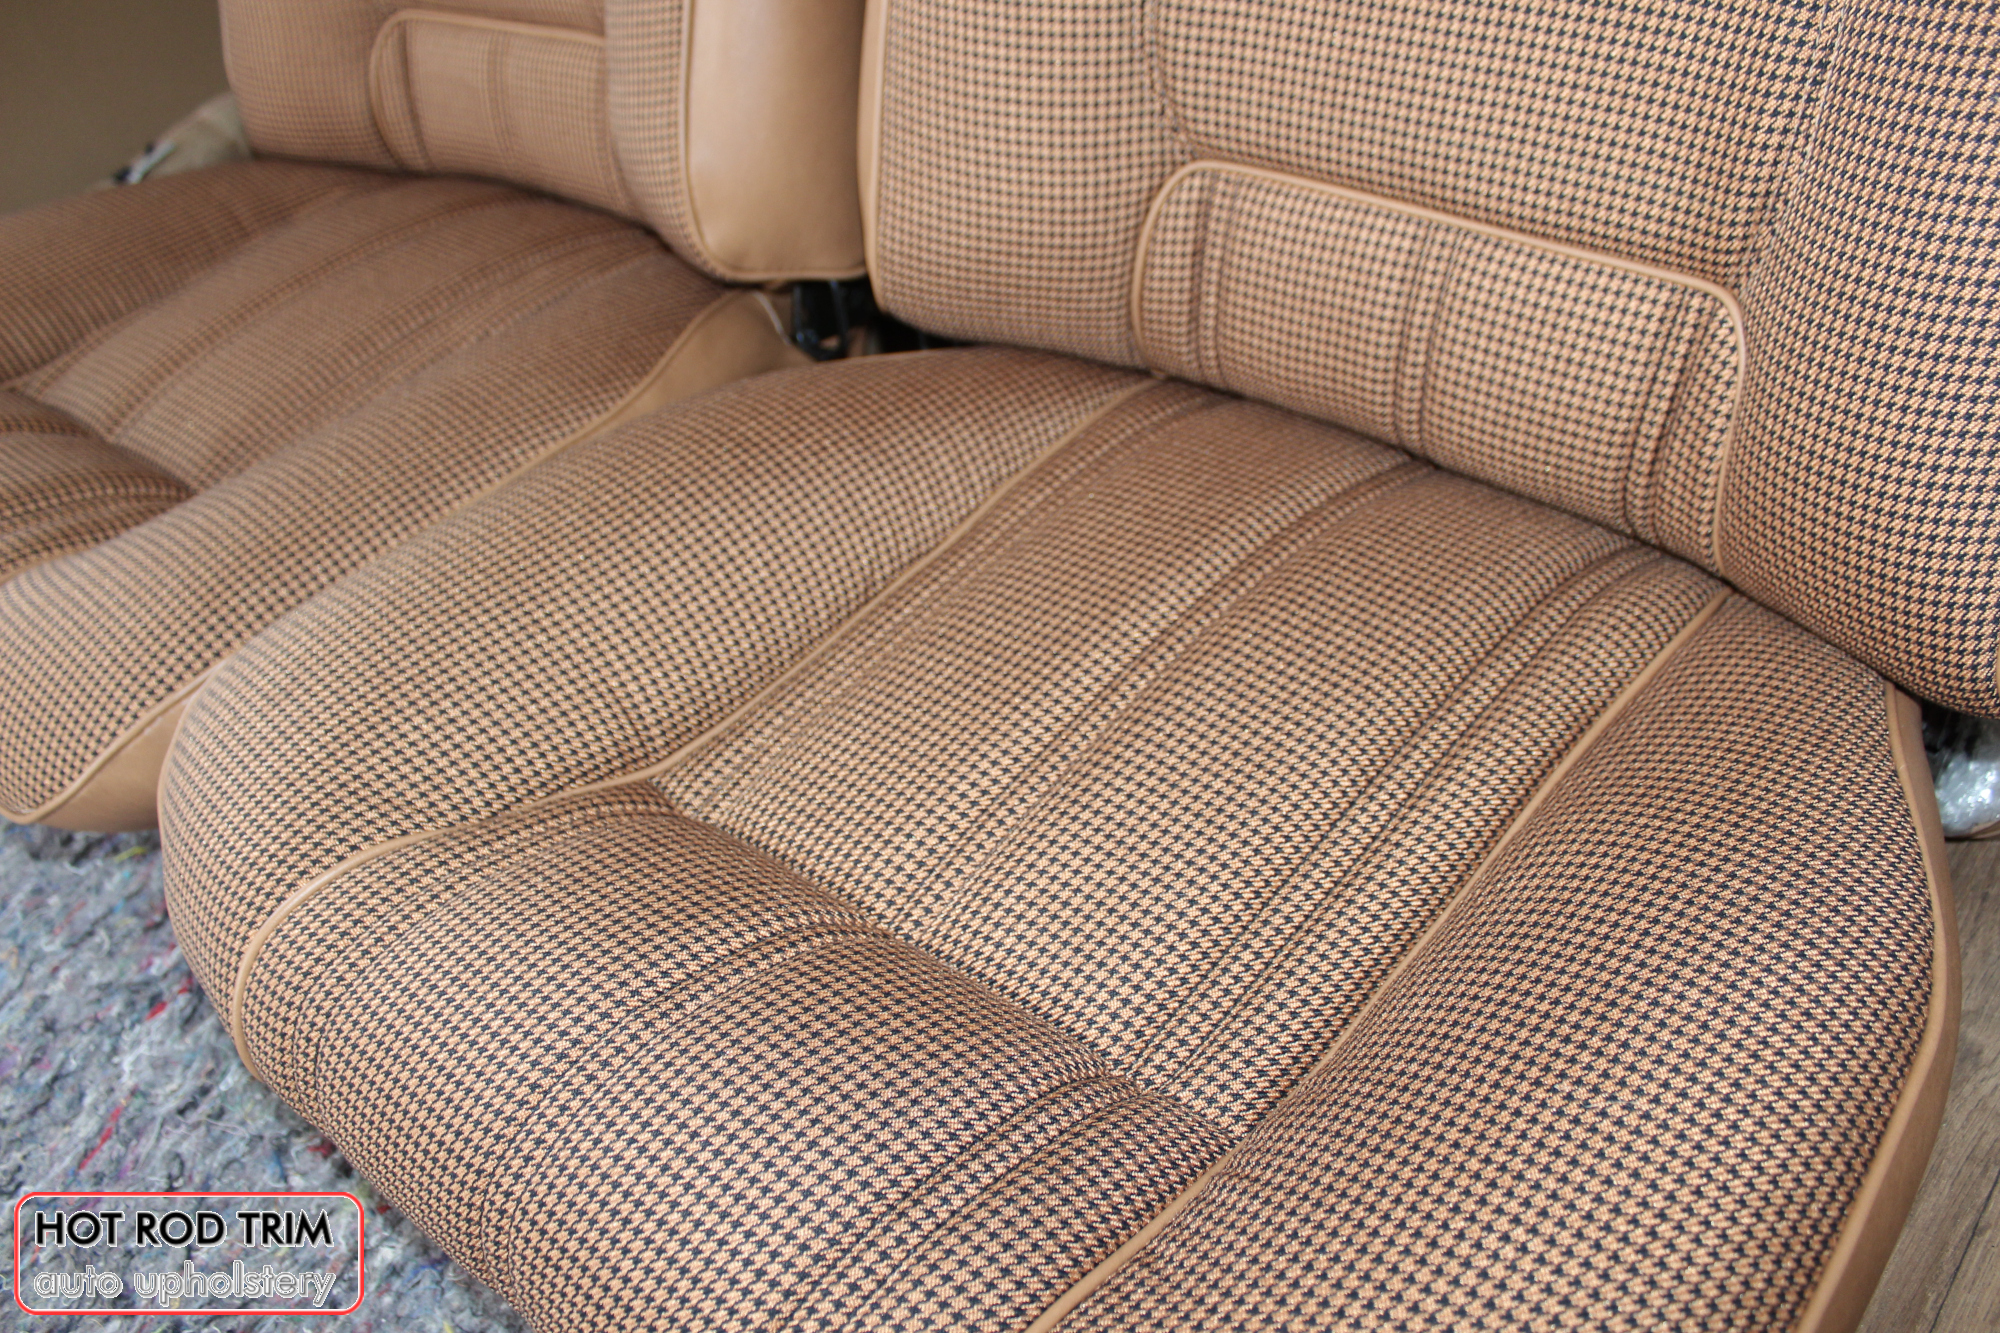
New Seat Skins/Covers/Trims made with FORD XC Houndstooth Seat cloth fabric “ginger” Falcon 500 HARDTOP V8 Fairmont GS Rally Pack Coupe material, and Novatex Vinyl “Ocher”. Also available in other cloth colours like “Dusk”, “Doeskin” cloth and vinyl colours like black, cream, camel etc. Can also make Cobra style seats with blue and black cloth fabric as per factory original.
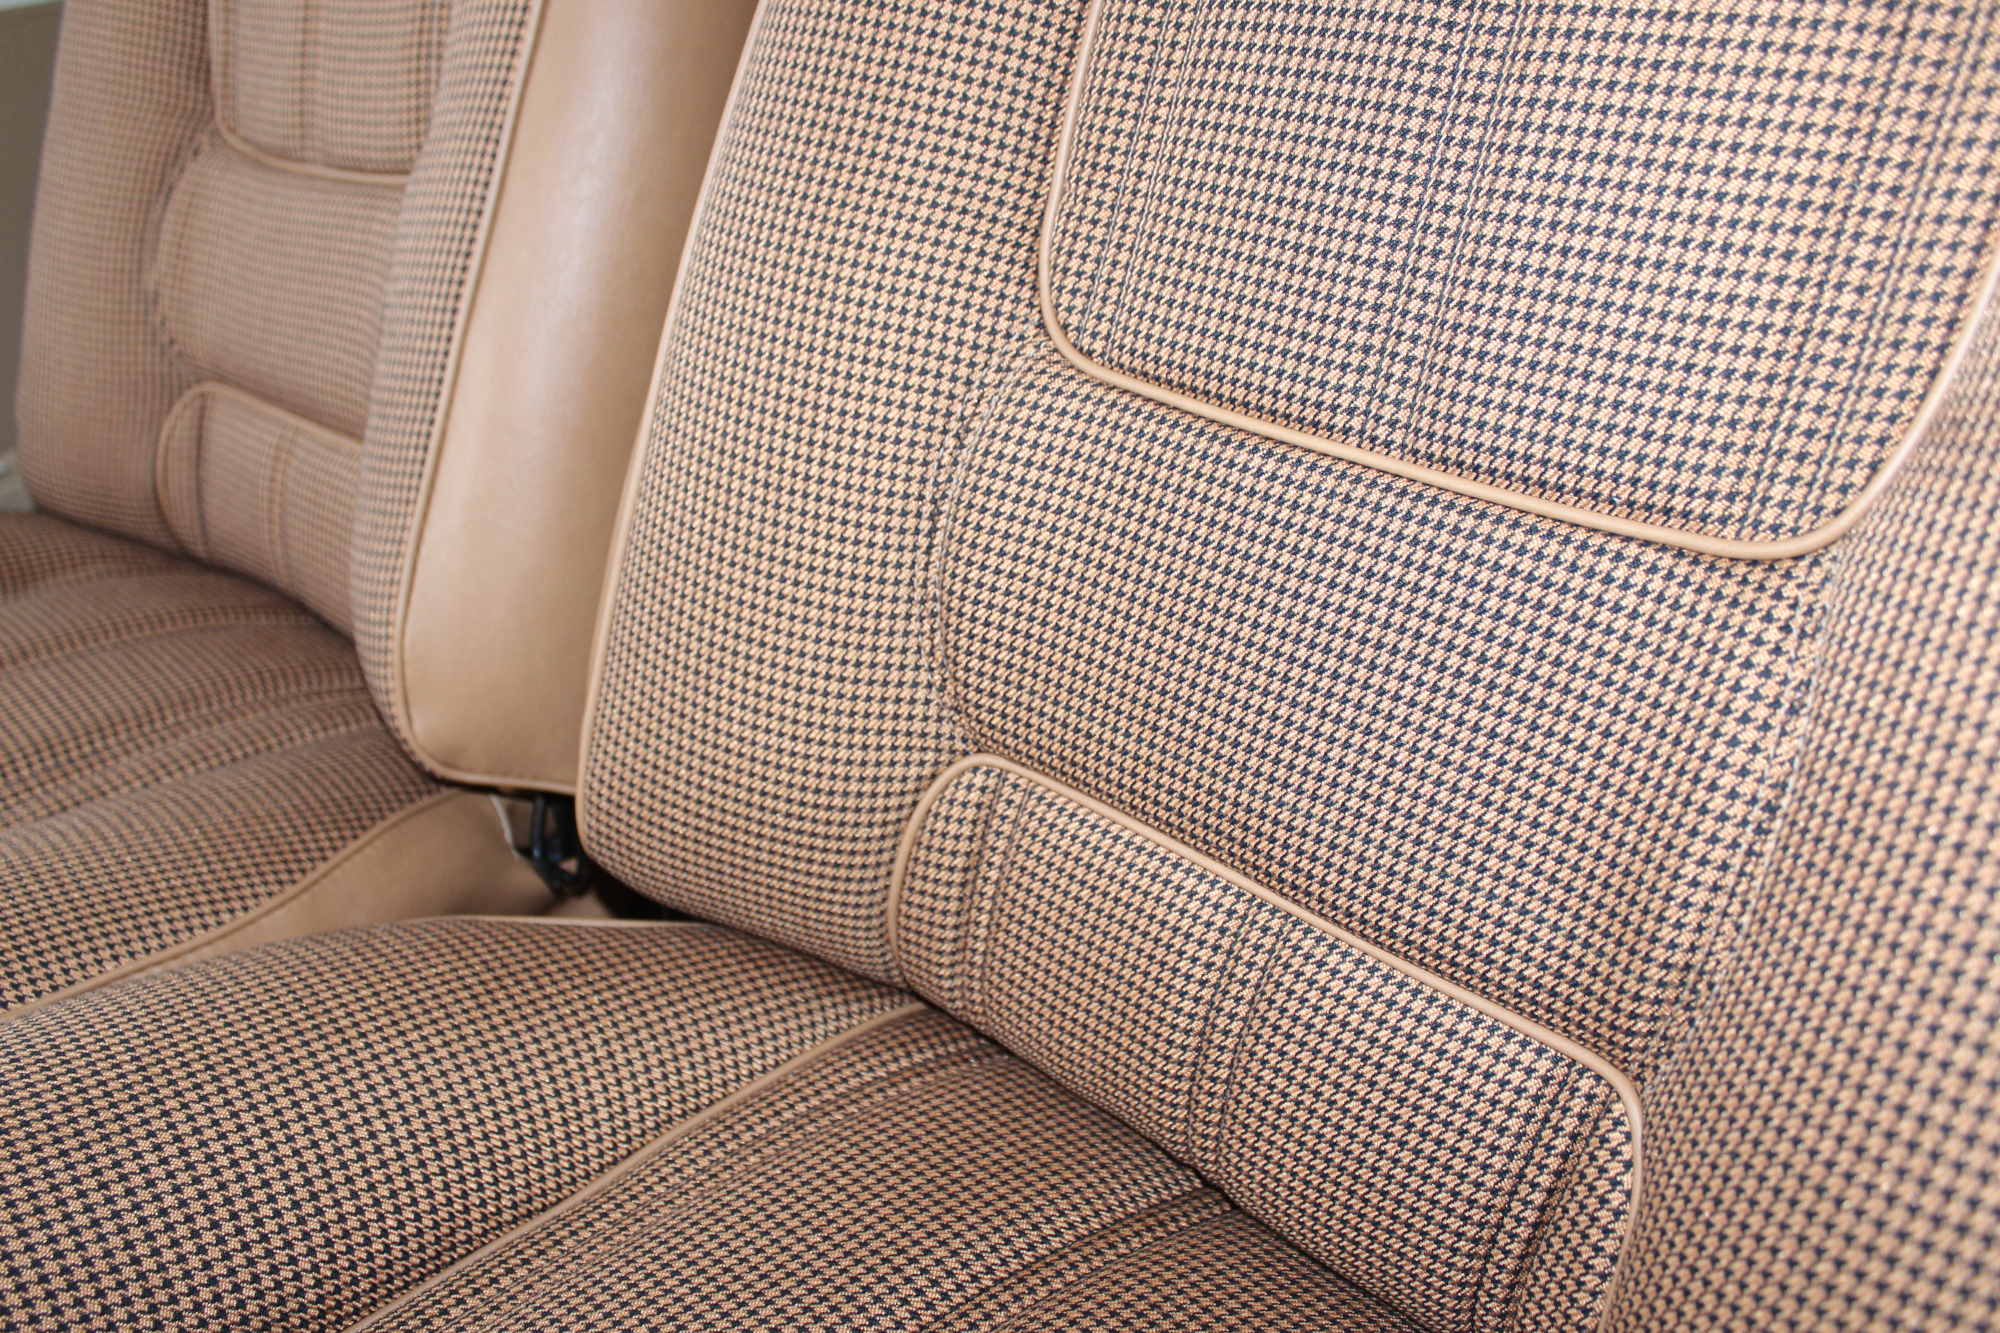
New Seat Skins/Covers/Trims made with FORD XC Houndstooth Seat cloth fabric “ginger” Falcon 500 HARDTOP V8 Fairmont GS Rally Pack Coupe material, and Novatex Vinyl “Ocher”. Also available in other cloth colours like “Dusk”, “Doeskin” cloth and vinyl colours like black, cream, camel etc. Can also make Cobra style seats with blue and black cloth fabric as per factory original.
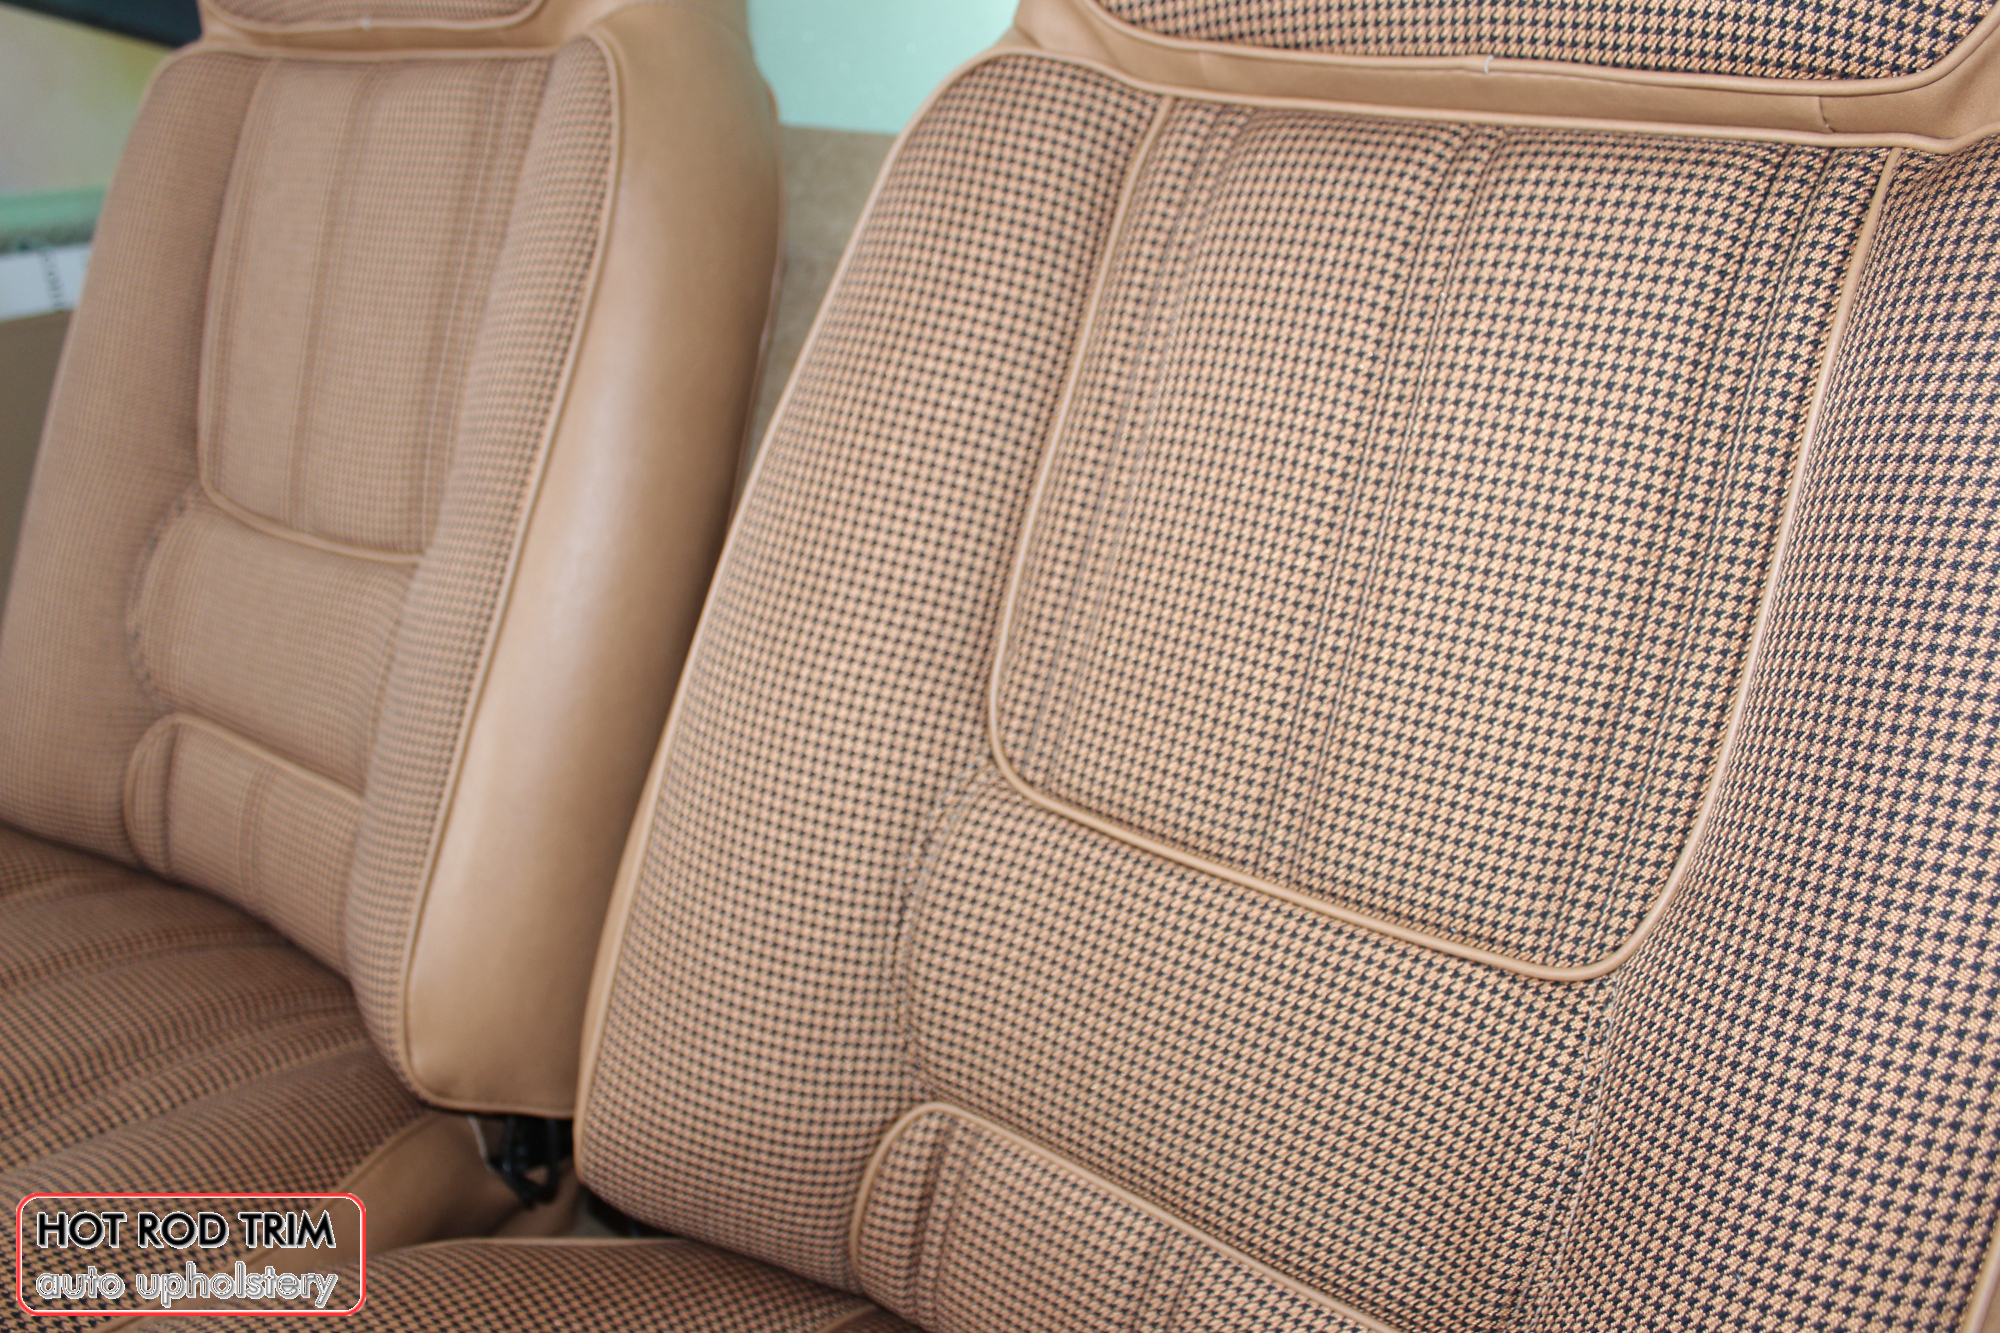
New Seat Skins/Covers/Trims made with FORD XC Houndstooth Seat cloth fabric “ginger” Falcon 500 HARDTOP V8 Fairmont GS Rally Pack Coupe material, and Novatex Vinyl “Ocher”. Also available in other cloth colours like “Dusk”, “Doeskin” cloth and vinyl colours like black, cream, camel etc. Can also make Cobra style seats with blue and black cloth fabric as per factory original.
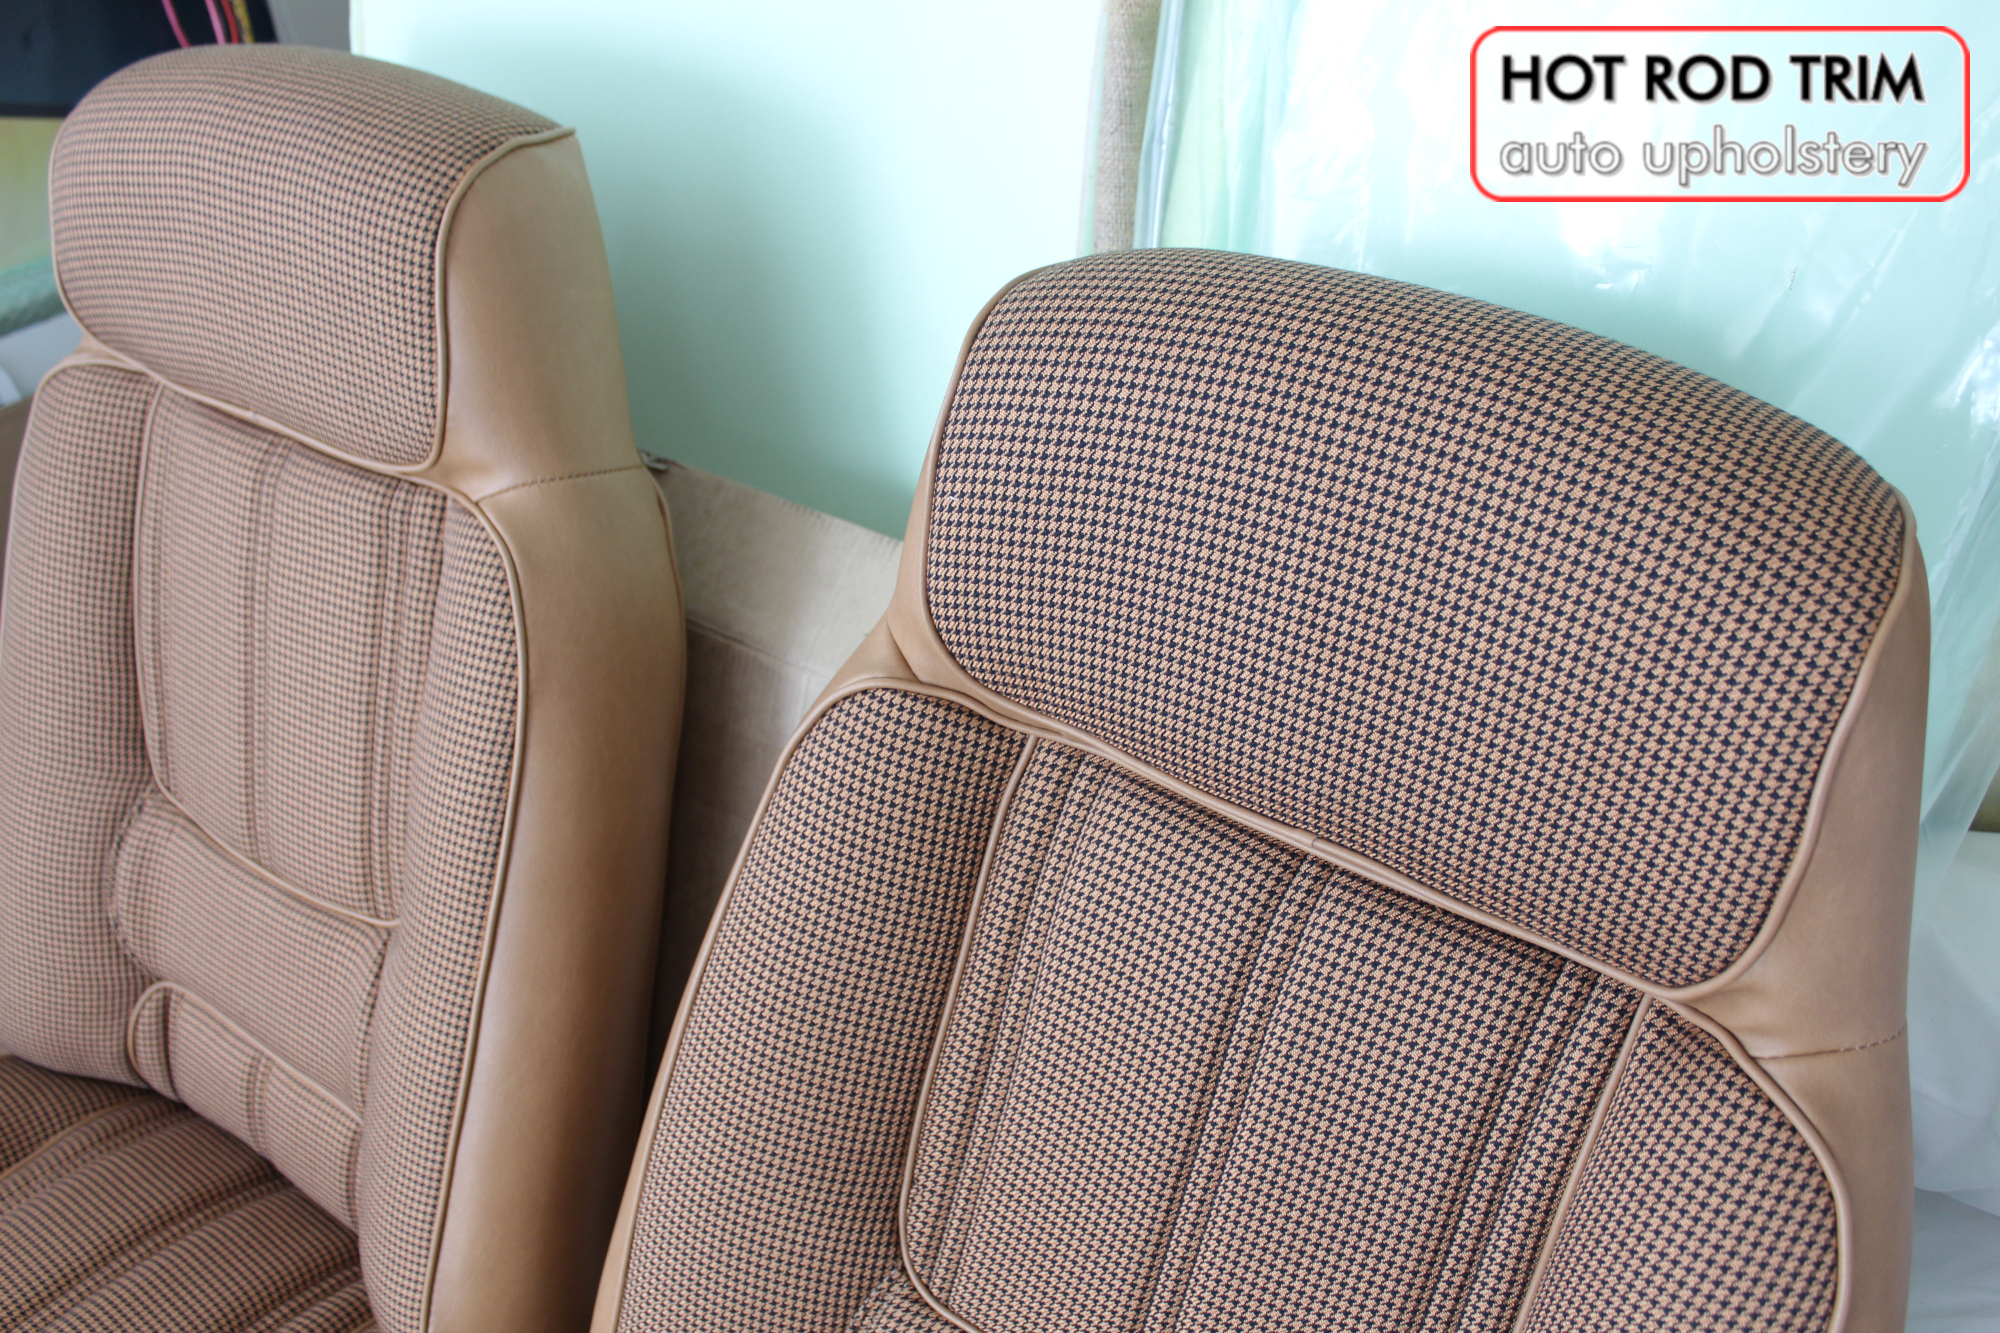
New Seat Skins/Covers/Trims made with FORD XC Houndstooth Seat cloth fabric “ginger” Falcon 500 HARDTOP V8 Fairmont GS Rally Pack Coupe material, and Novatex Vinyl “Ocher”. Also available in other cloth colours like “Dusk”, “Doeskin” cloth and vinyl colours like black, cream, camel etc. Can also make Cobra style seats with blue and black cloth fabric as per factory original.
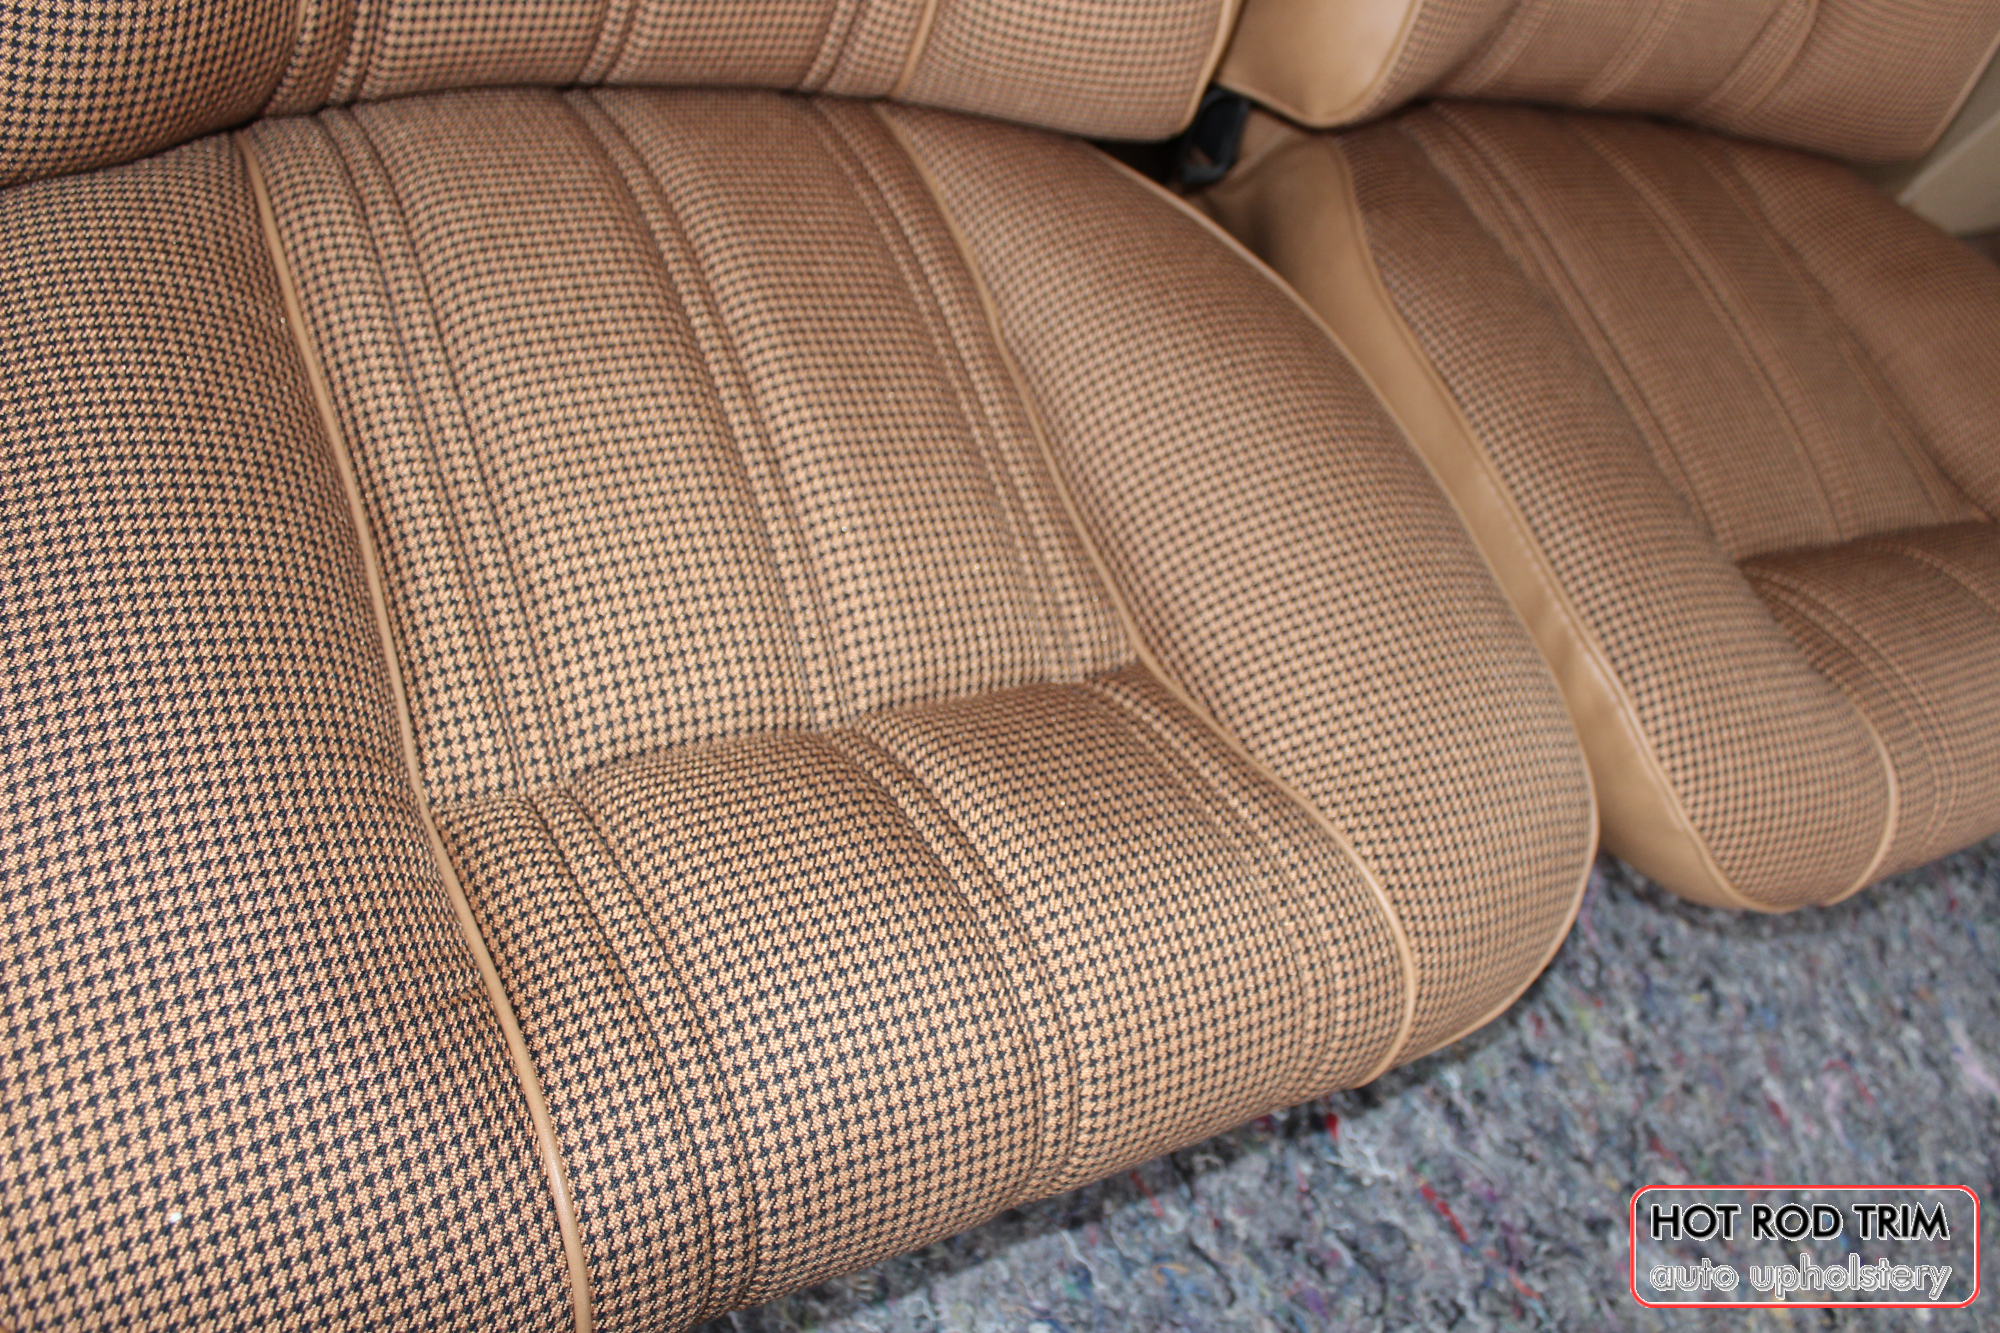
New Seat Skins/Covers/Trims made with FORD XC Houndstooth Seat cloth fabric “ginger” Falcon 500 HARDTOP V8 Fairmont GS Rally Pack Coupe material, and Novatex Vinyl “Ocher”. Also available in other cloth colours like “Dusk”, “Doeskin” cloth and vinyl colours like black, cream, camel etc. Can also make Cobra style seats with blue and black cloth fabric as per factory original.
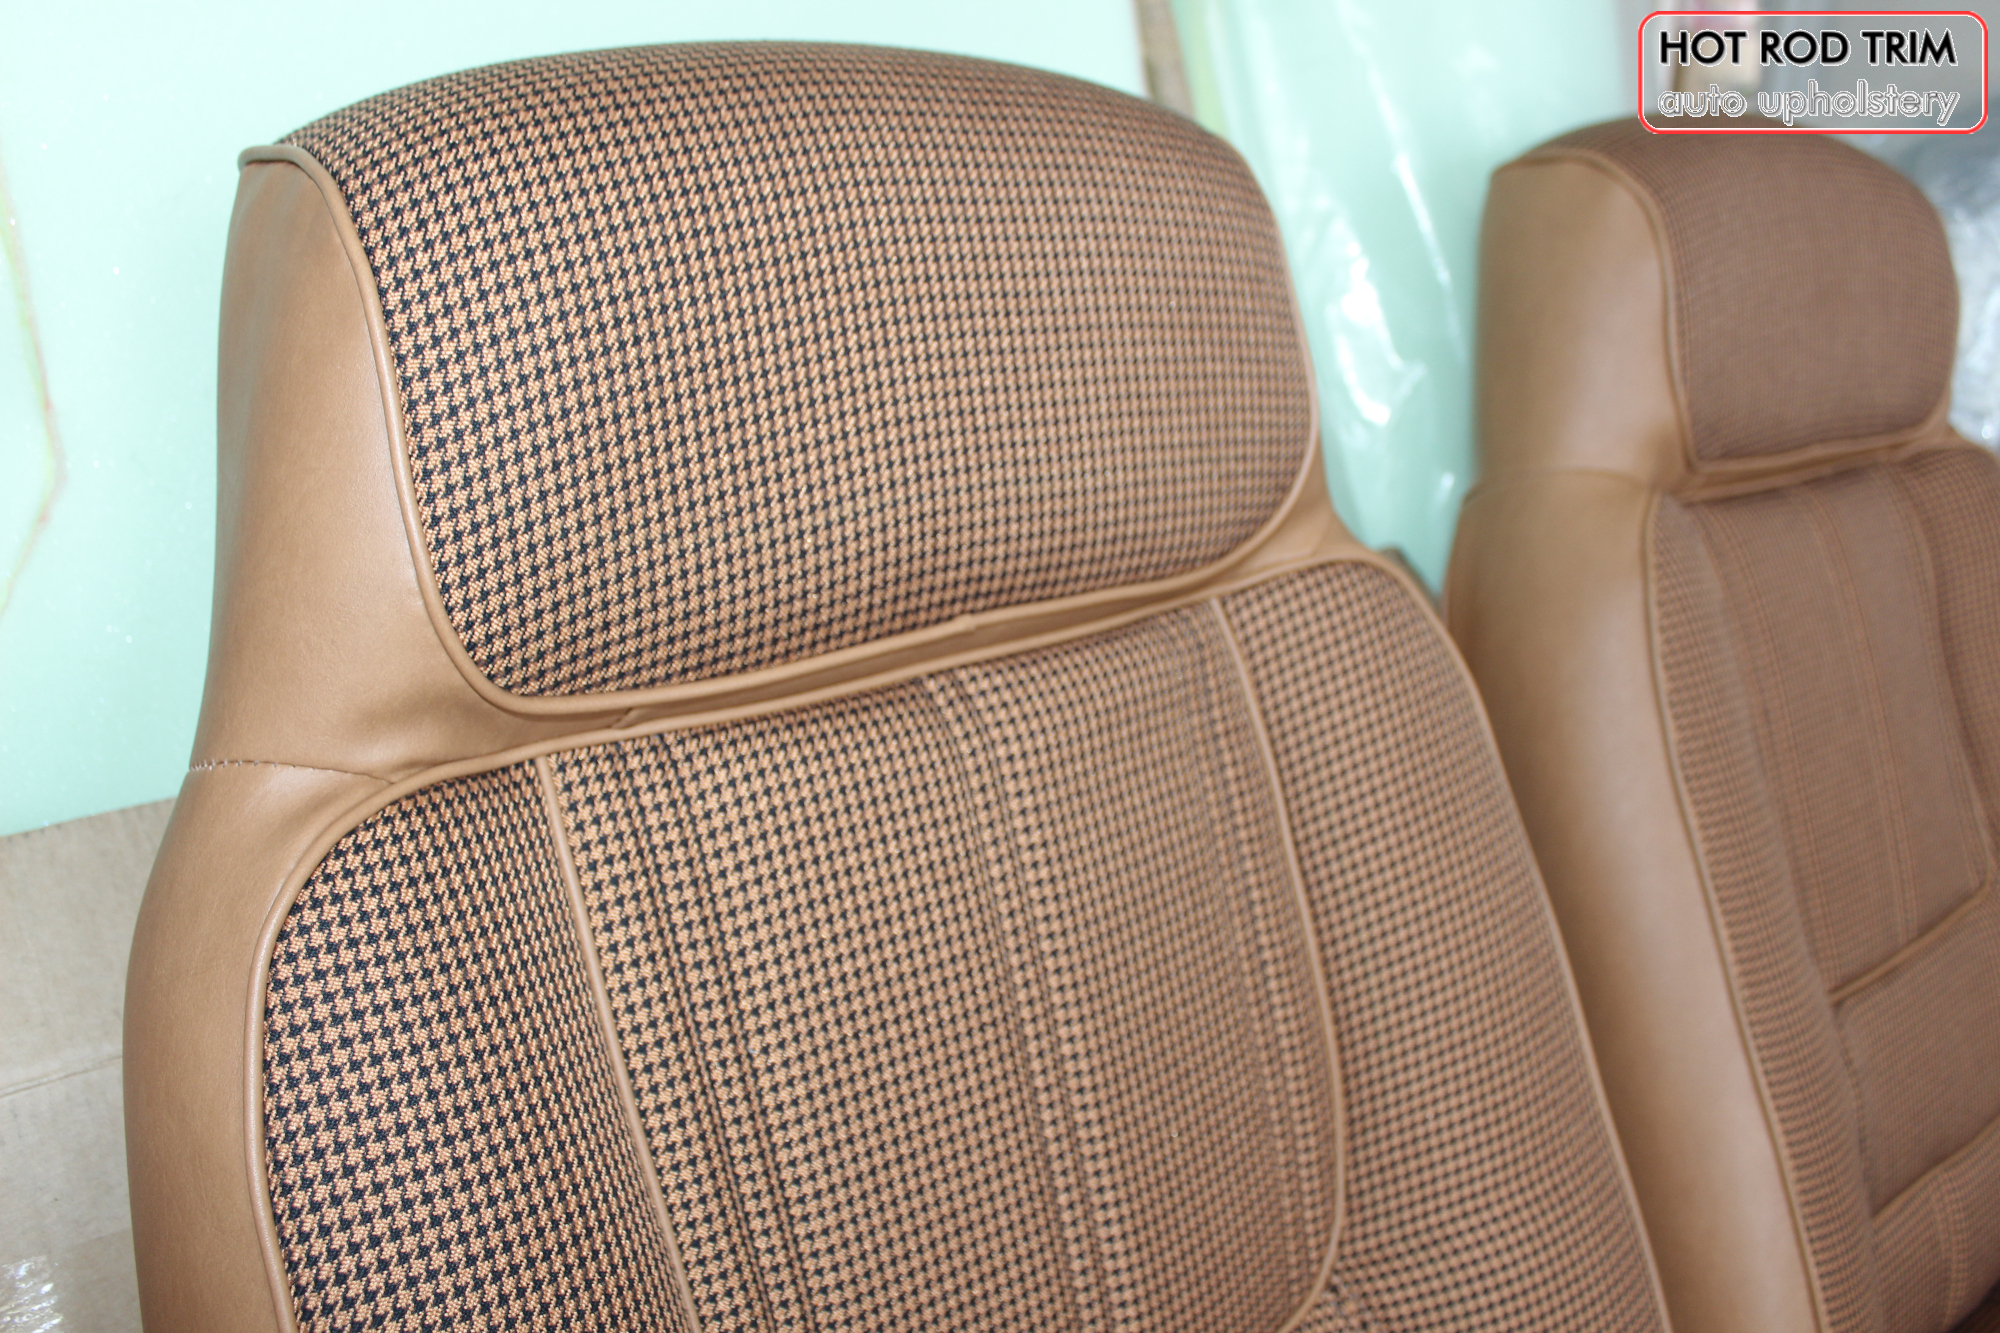
New Seat Skins/Covers/Trims made with FORD XC Houndstooth Seat cloth fabric “ginger” Falcon 500 HARDTOP V8 Fairmont GS Rally Pack Coupe material, and Novatex Vinyl “Ocher”. Also available in other cloth colours like “Dusk”, “Doeskin” cloth and vinyl colours like black, cream, camel etc. Can also make Cobra style seats with blue and black cloth fabric as per factory original.
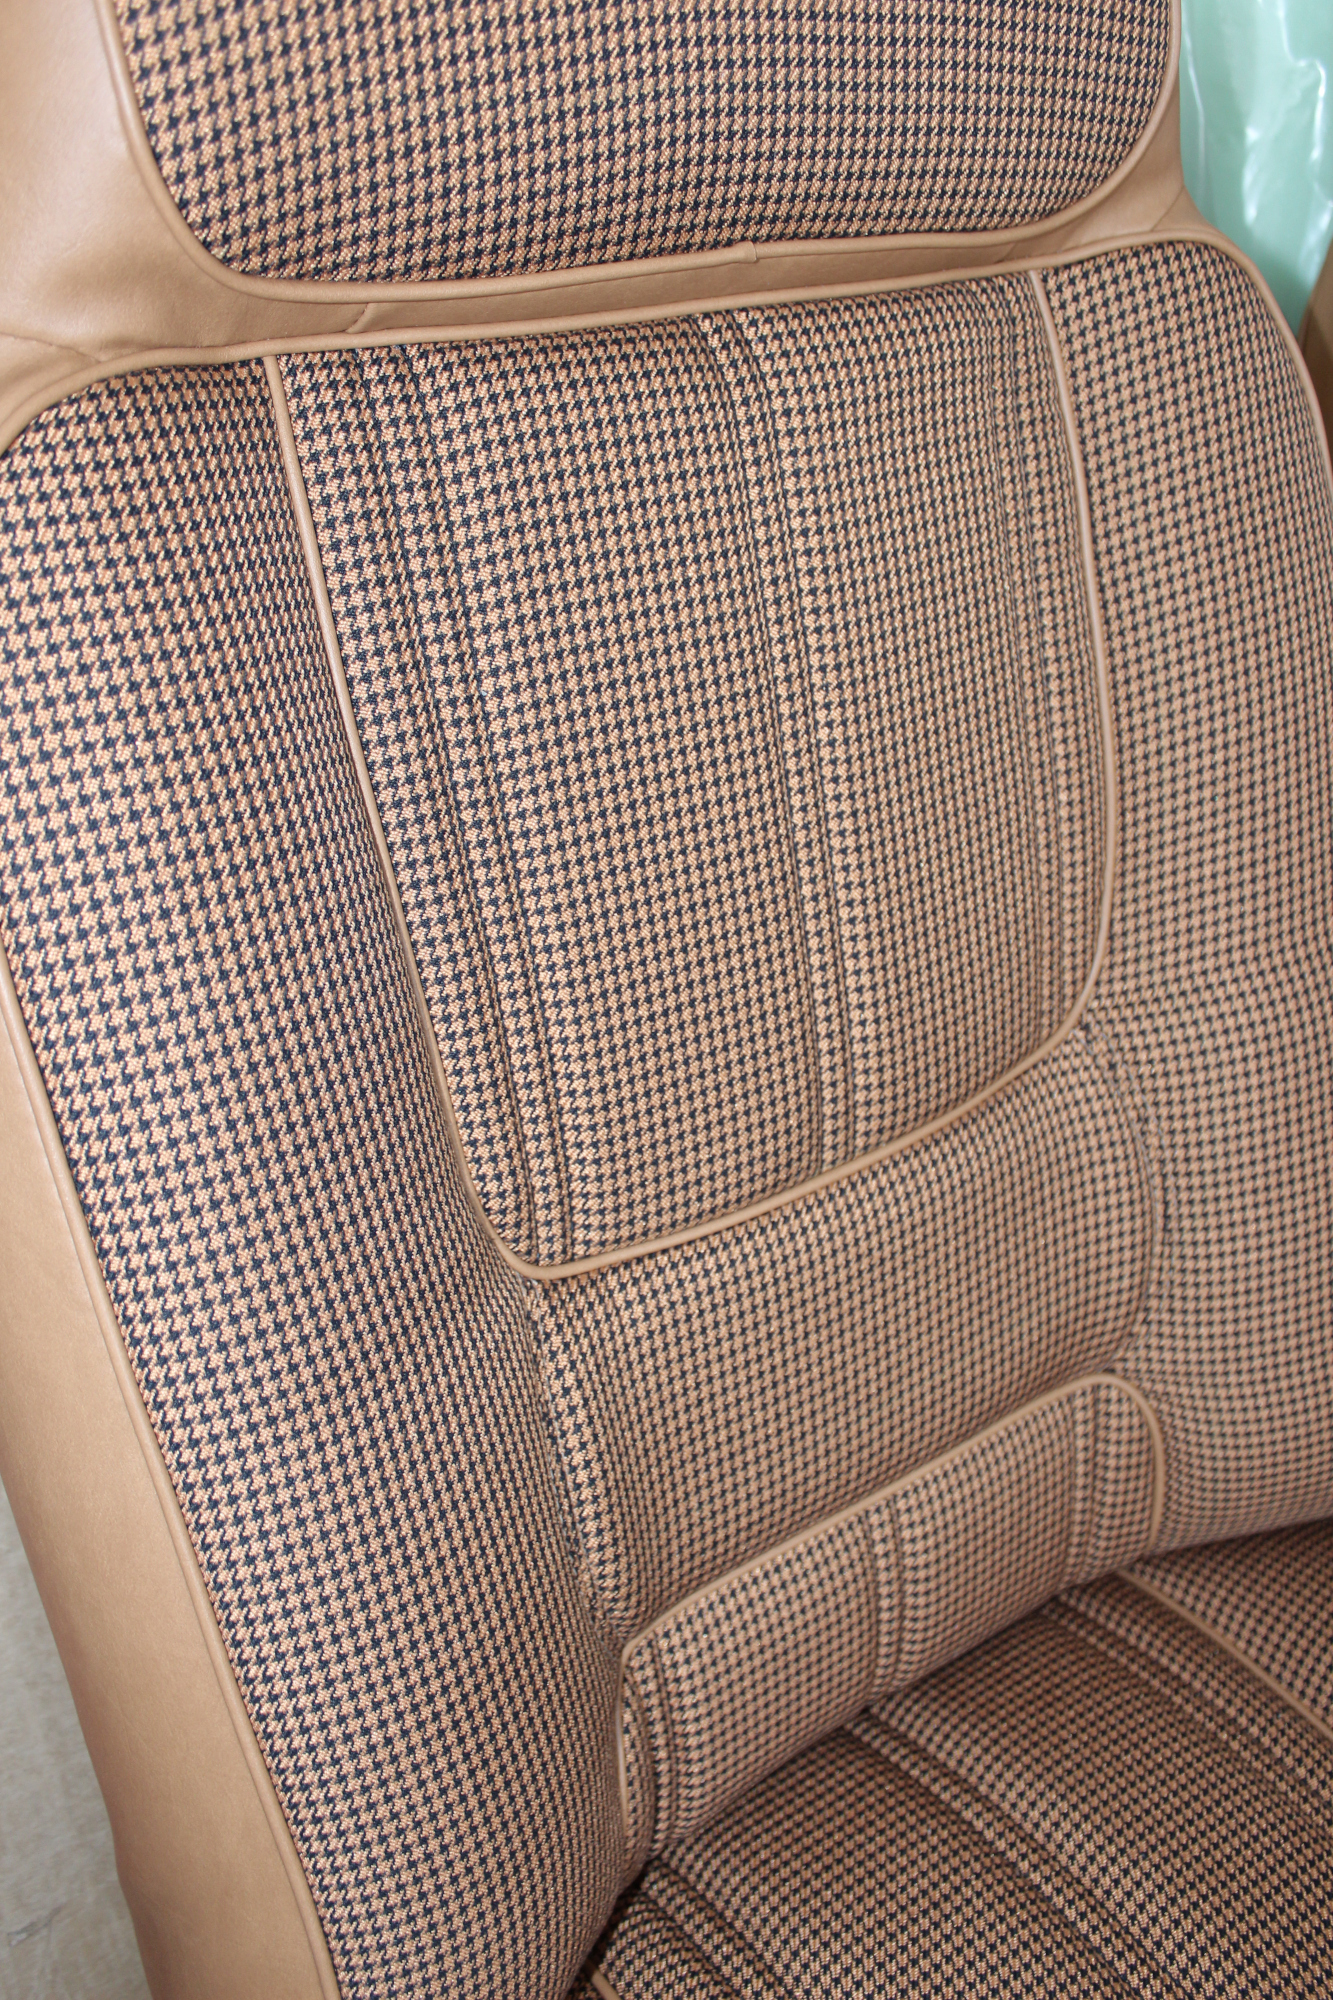
New Seat Skins/Covers/Trims made with FORD XC Houndstooth Seat cloth fabric “ginger” Falcon 500 HARDTOP V8 Fairmont GS Rally Pack Coupe material, and Novatex Vinyl “Ocher”. Also available in other cloth colours like “Dusk”, “Doeskin” cloth and vinyl colours like black, cream, camel etc. Can also make Cobra style seats with blue and black cloth fabric as per factory original.
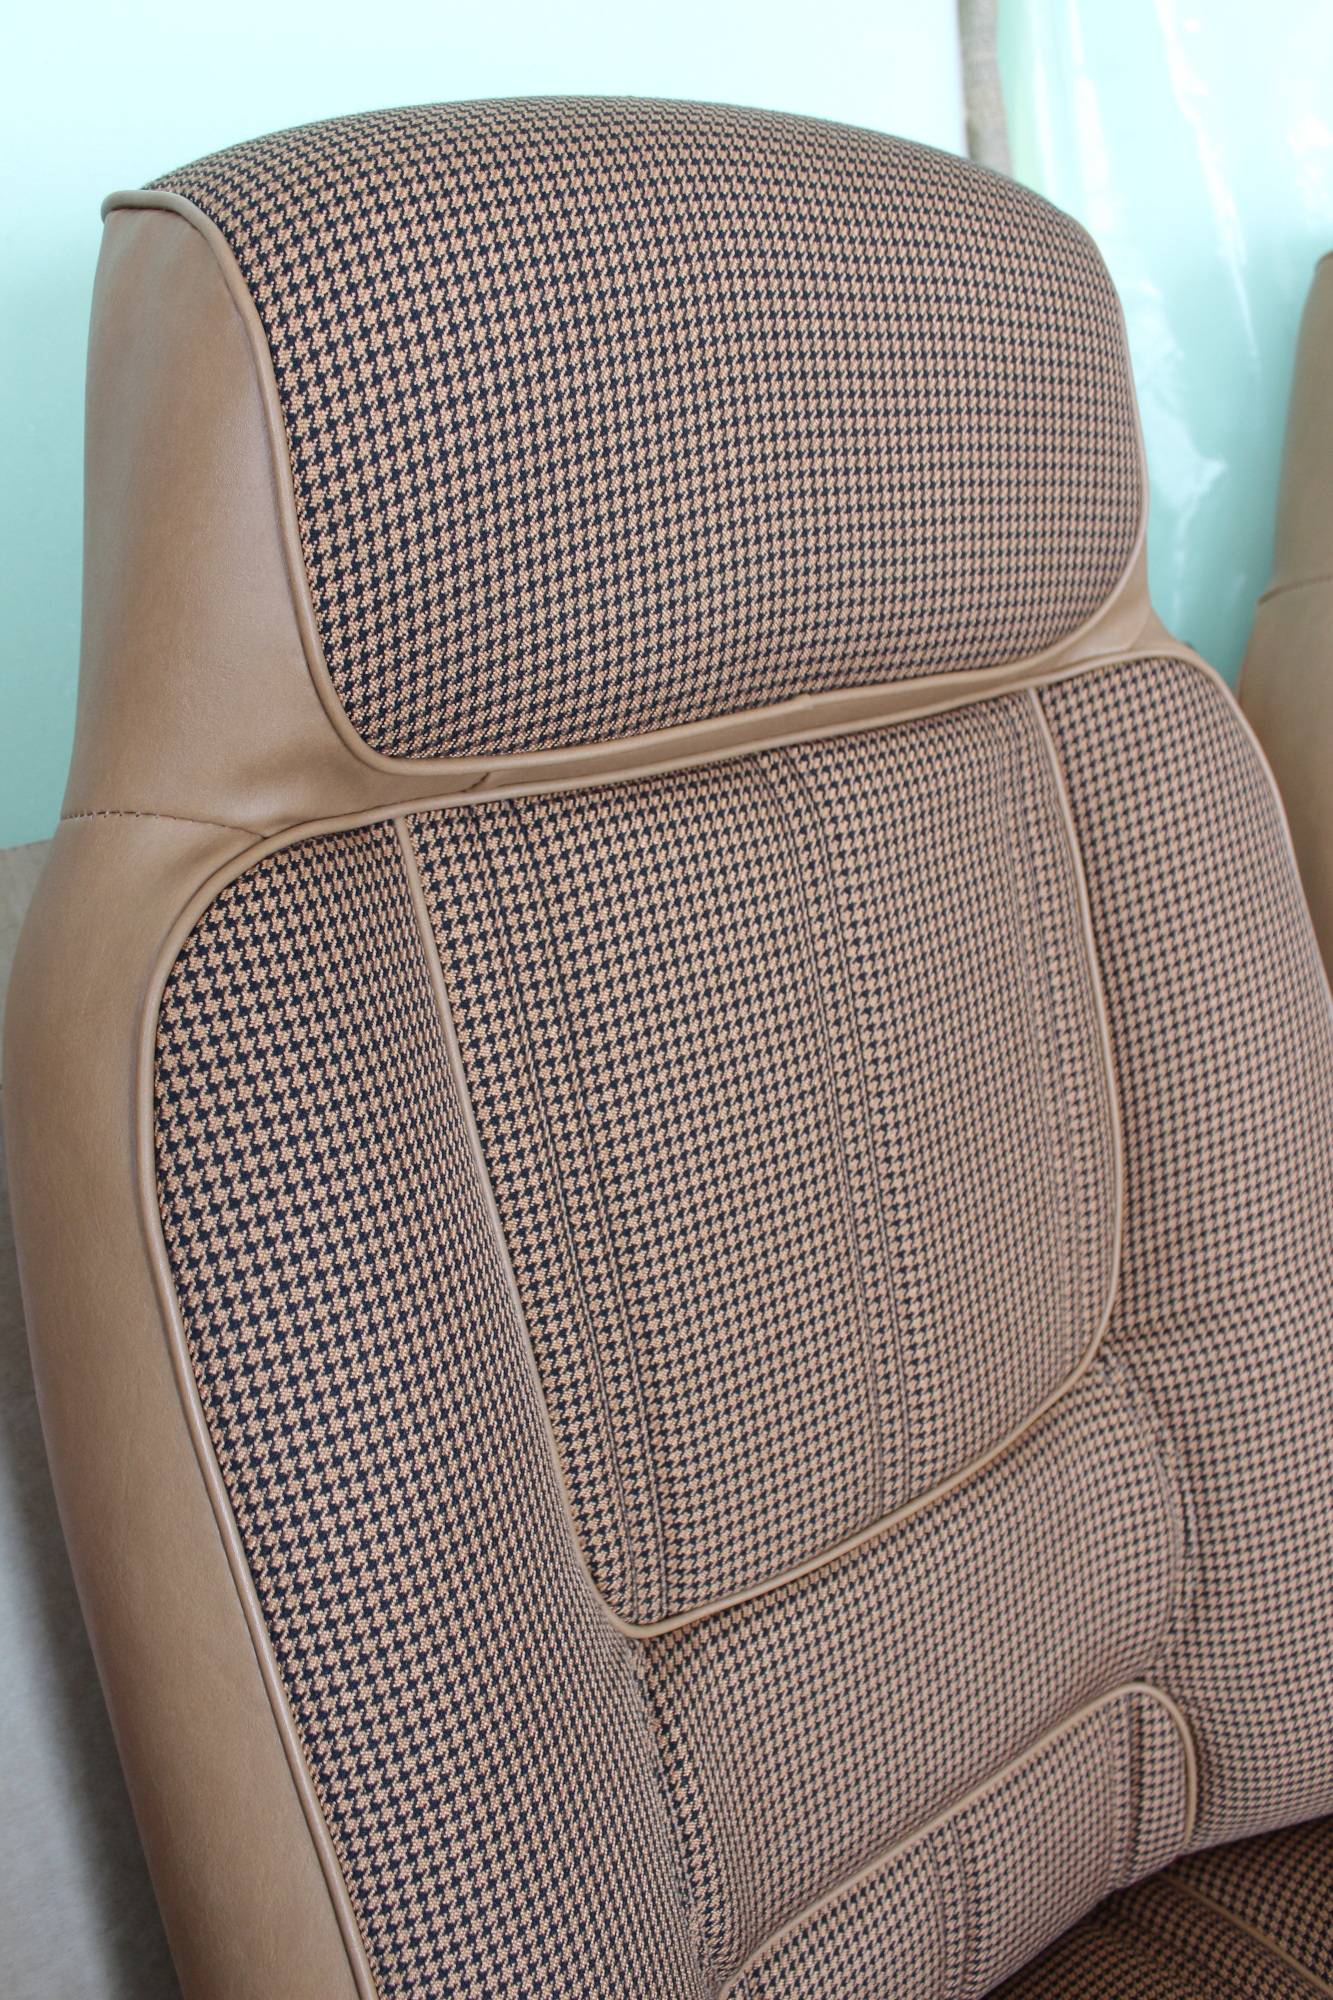
New Seat Skins/Covers/Trims made with FORD XC Houndstooth Seat cloth fabric “ginger” Falcon 500 HARDTOP V8 Fairmont GS Rally Pack Coupe material, and Novatex Vinyl “Ocher”. Also available in other cloth colours like “Dusk”, “Doeskin” cloth and vinyl colours like black, cream, camel etc. Can also make Cobra style seats with blue and black cloth fabric as per factory original.
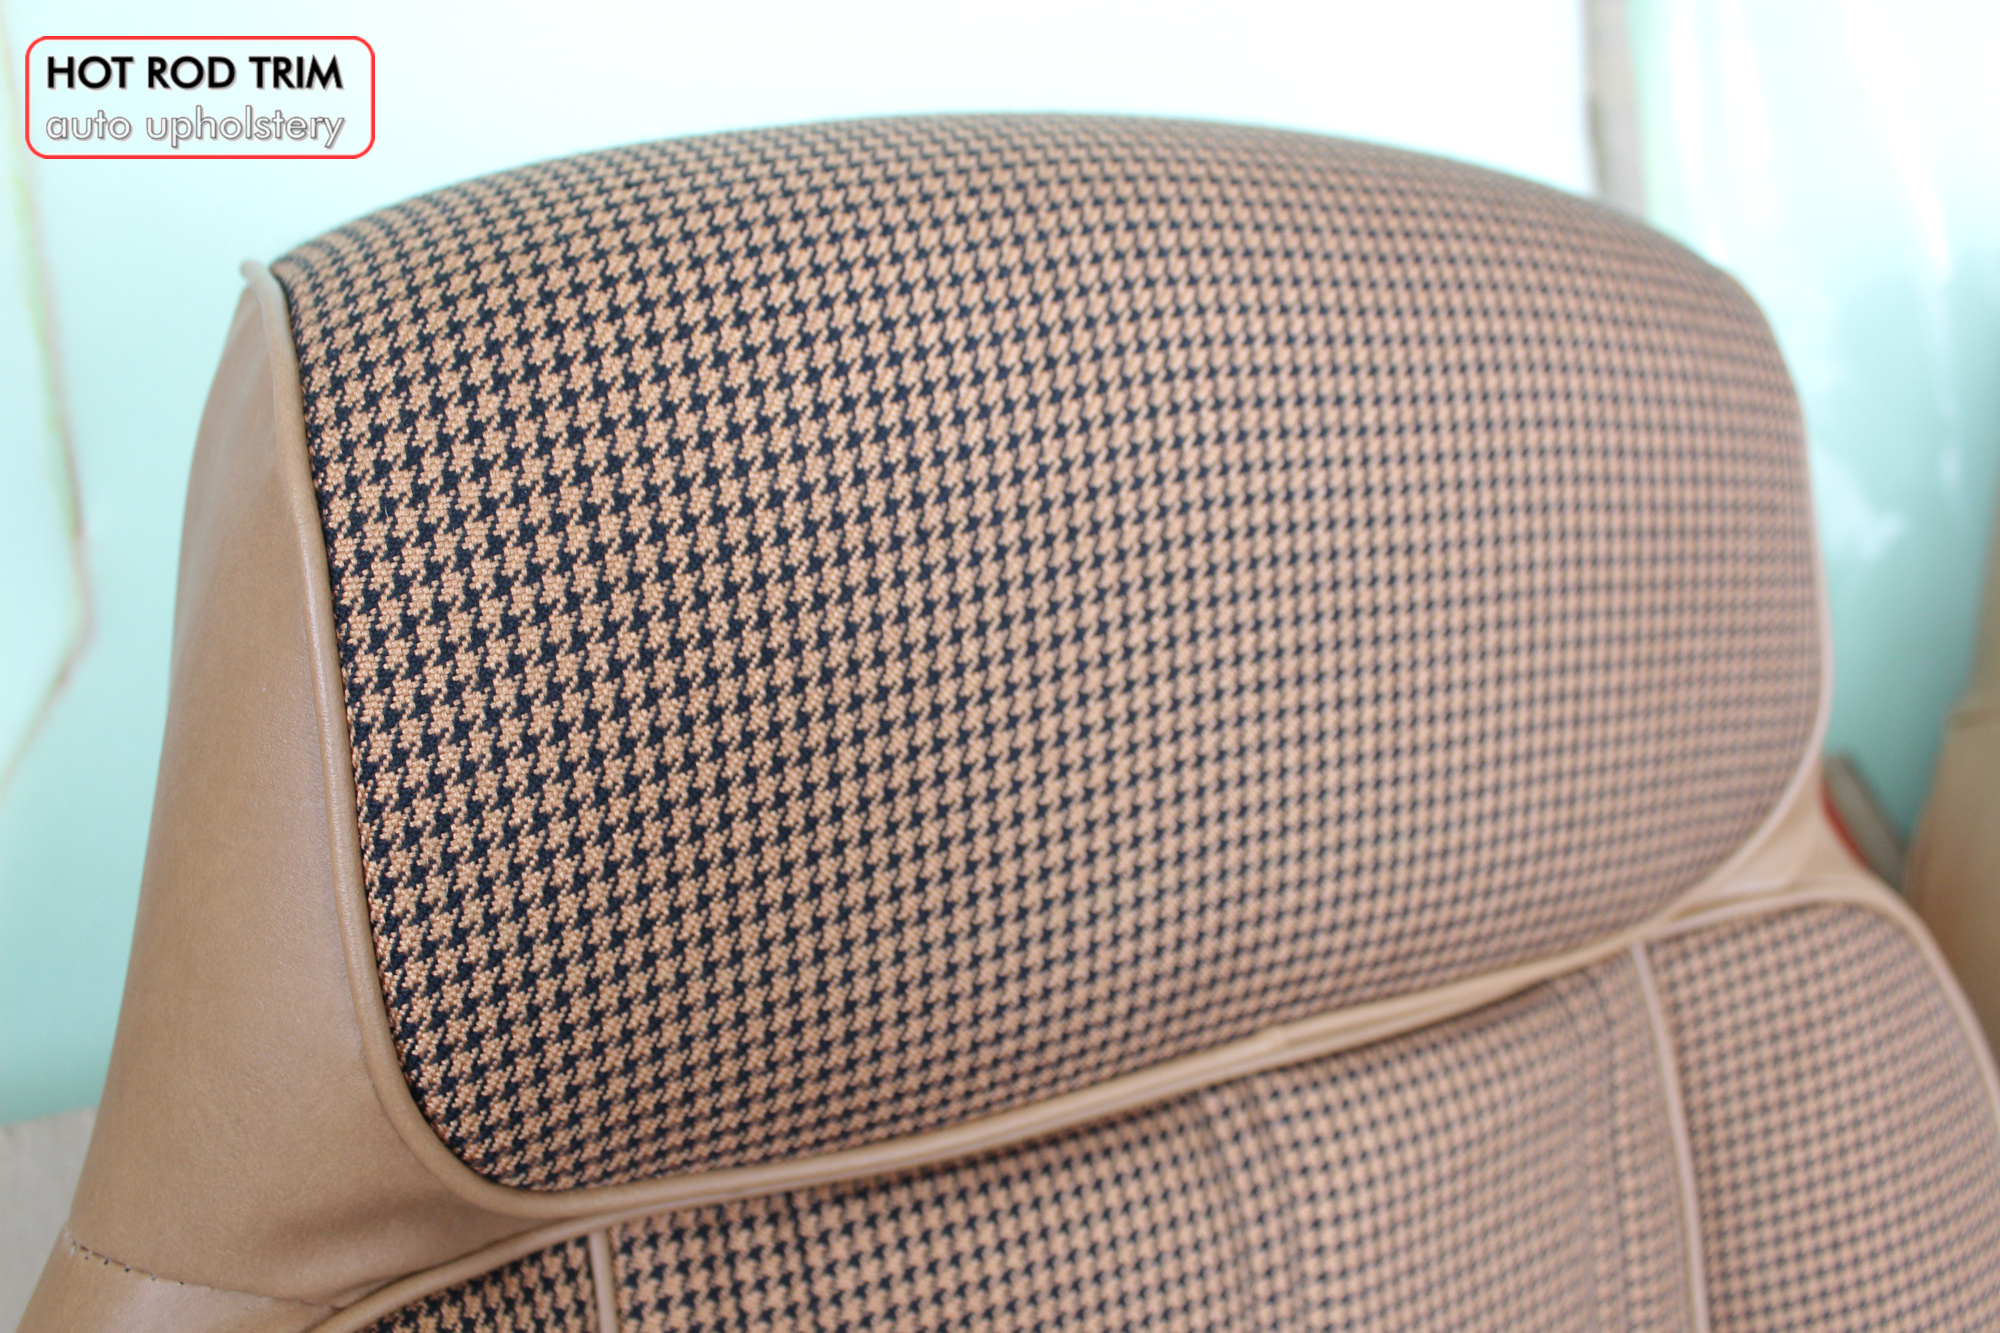
New Seat Skins/Covers/Trims made with FORD XC Houndstooth Seat cloth fabric “ginger” Falcon 500 HARDTOP V8 Fairmont GS Rally Pack Coupe material, and Novatex Vinyl “Ocher”. Also available in other cloth colours like “Dusk”, “Doeskin” cloth and vinyl colours like black, cream, camel etc. Can also make Cobra style seats with blue and black cloth fabric as per factory original.
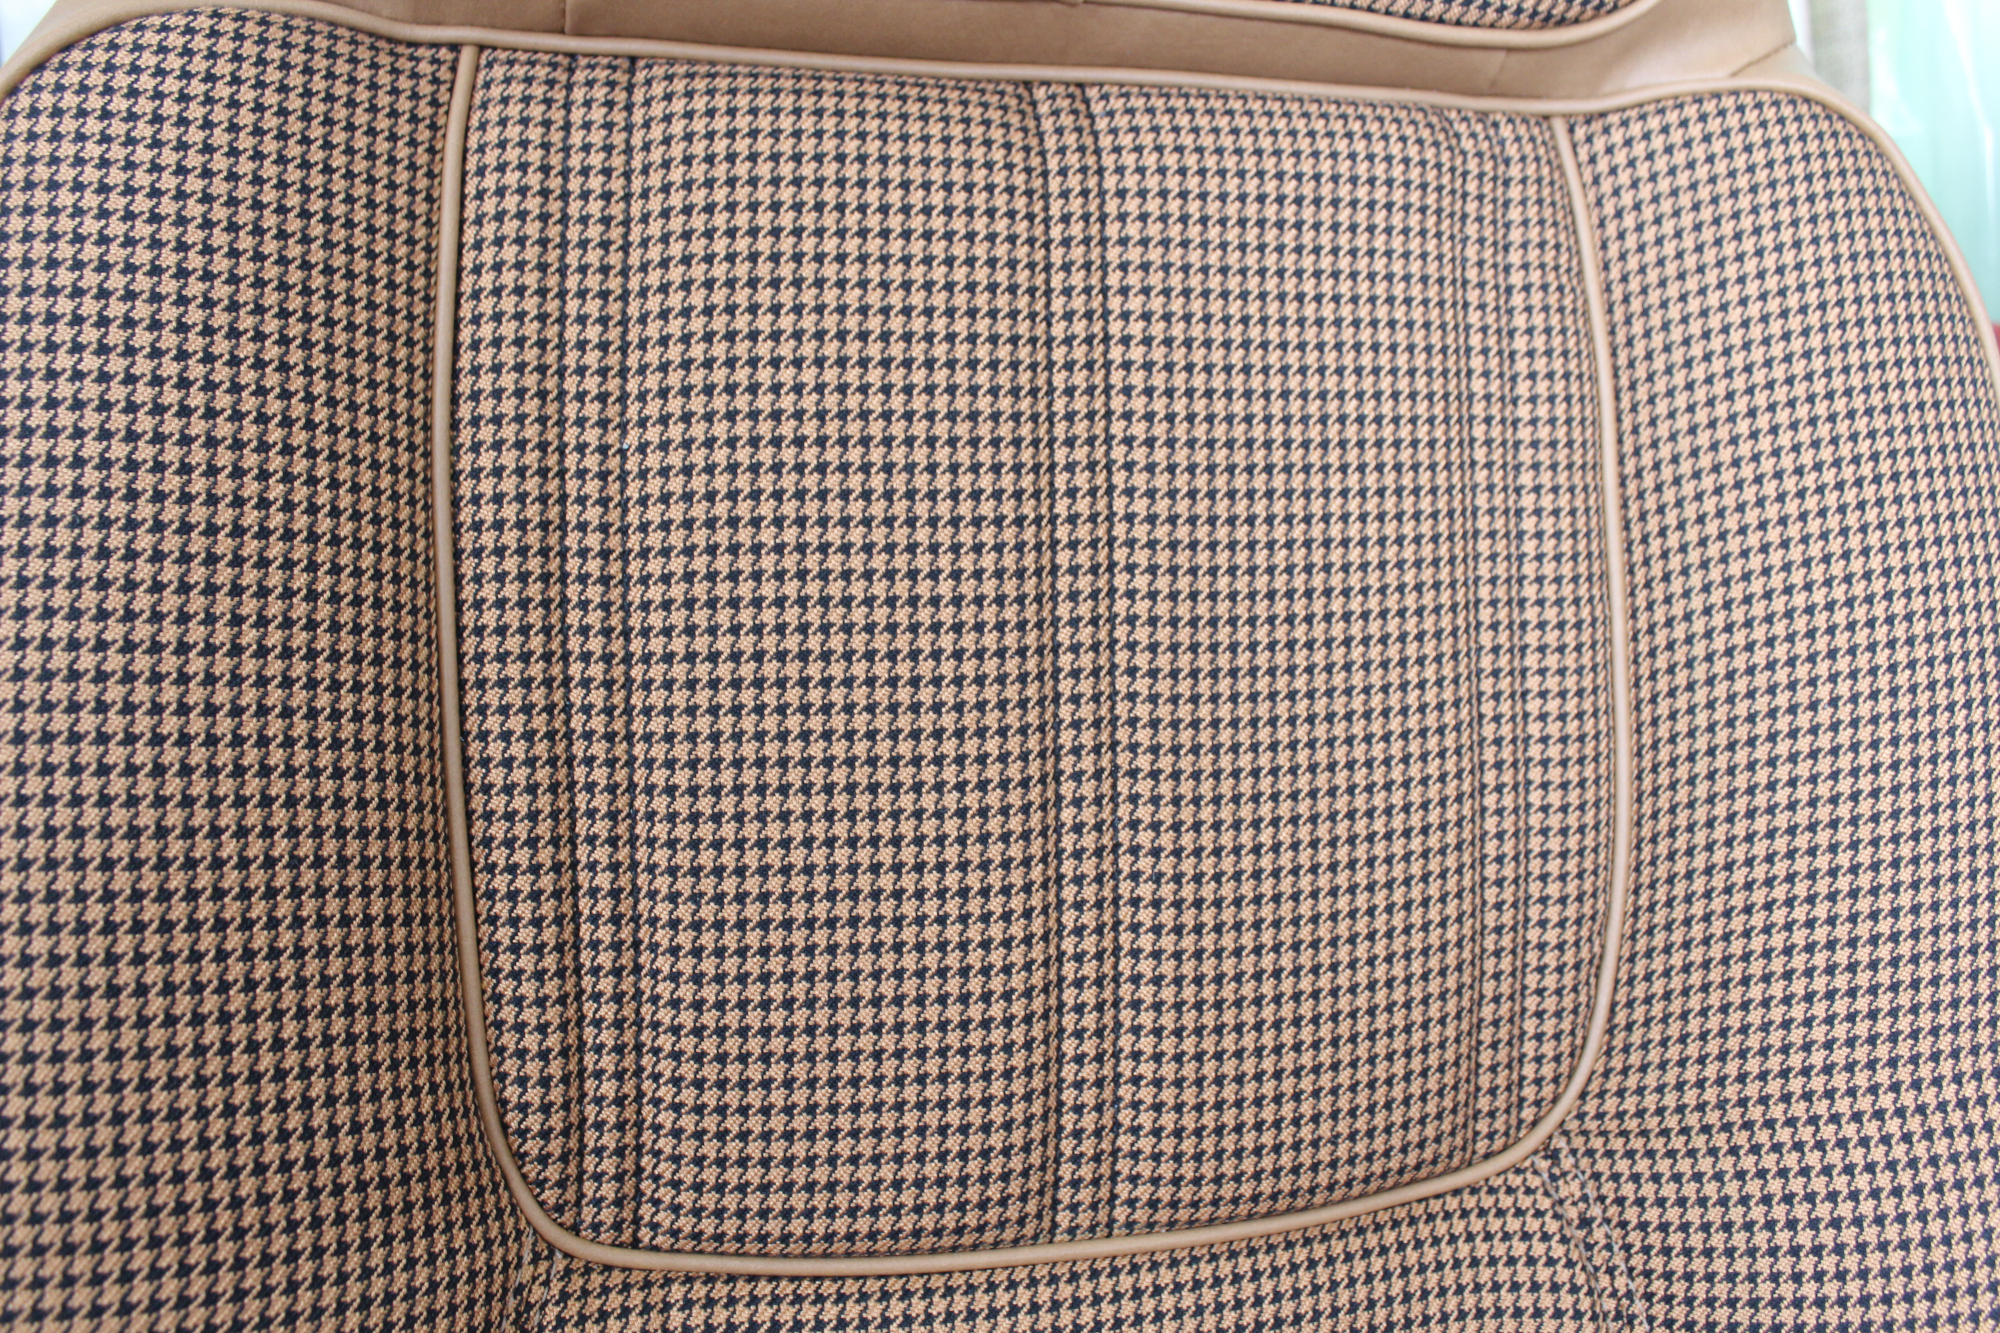
New Seat Skins/Covers/Trims made with FORD XC Houndstooth Seat cloth fabric “ginger” Falcon 500 HARDTOP V8 Fairmont GS Rally Pack Coupe material, and Novatex Vinyl “Ocher”. Also available in other cloth colours like “Dusk”, “Doeskin” cloth and vinyl colours like black, cream, camel etc. Can also make Cobra style seats with blue and black cloth fabric as per factory original.
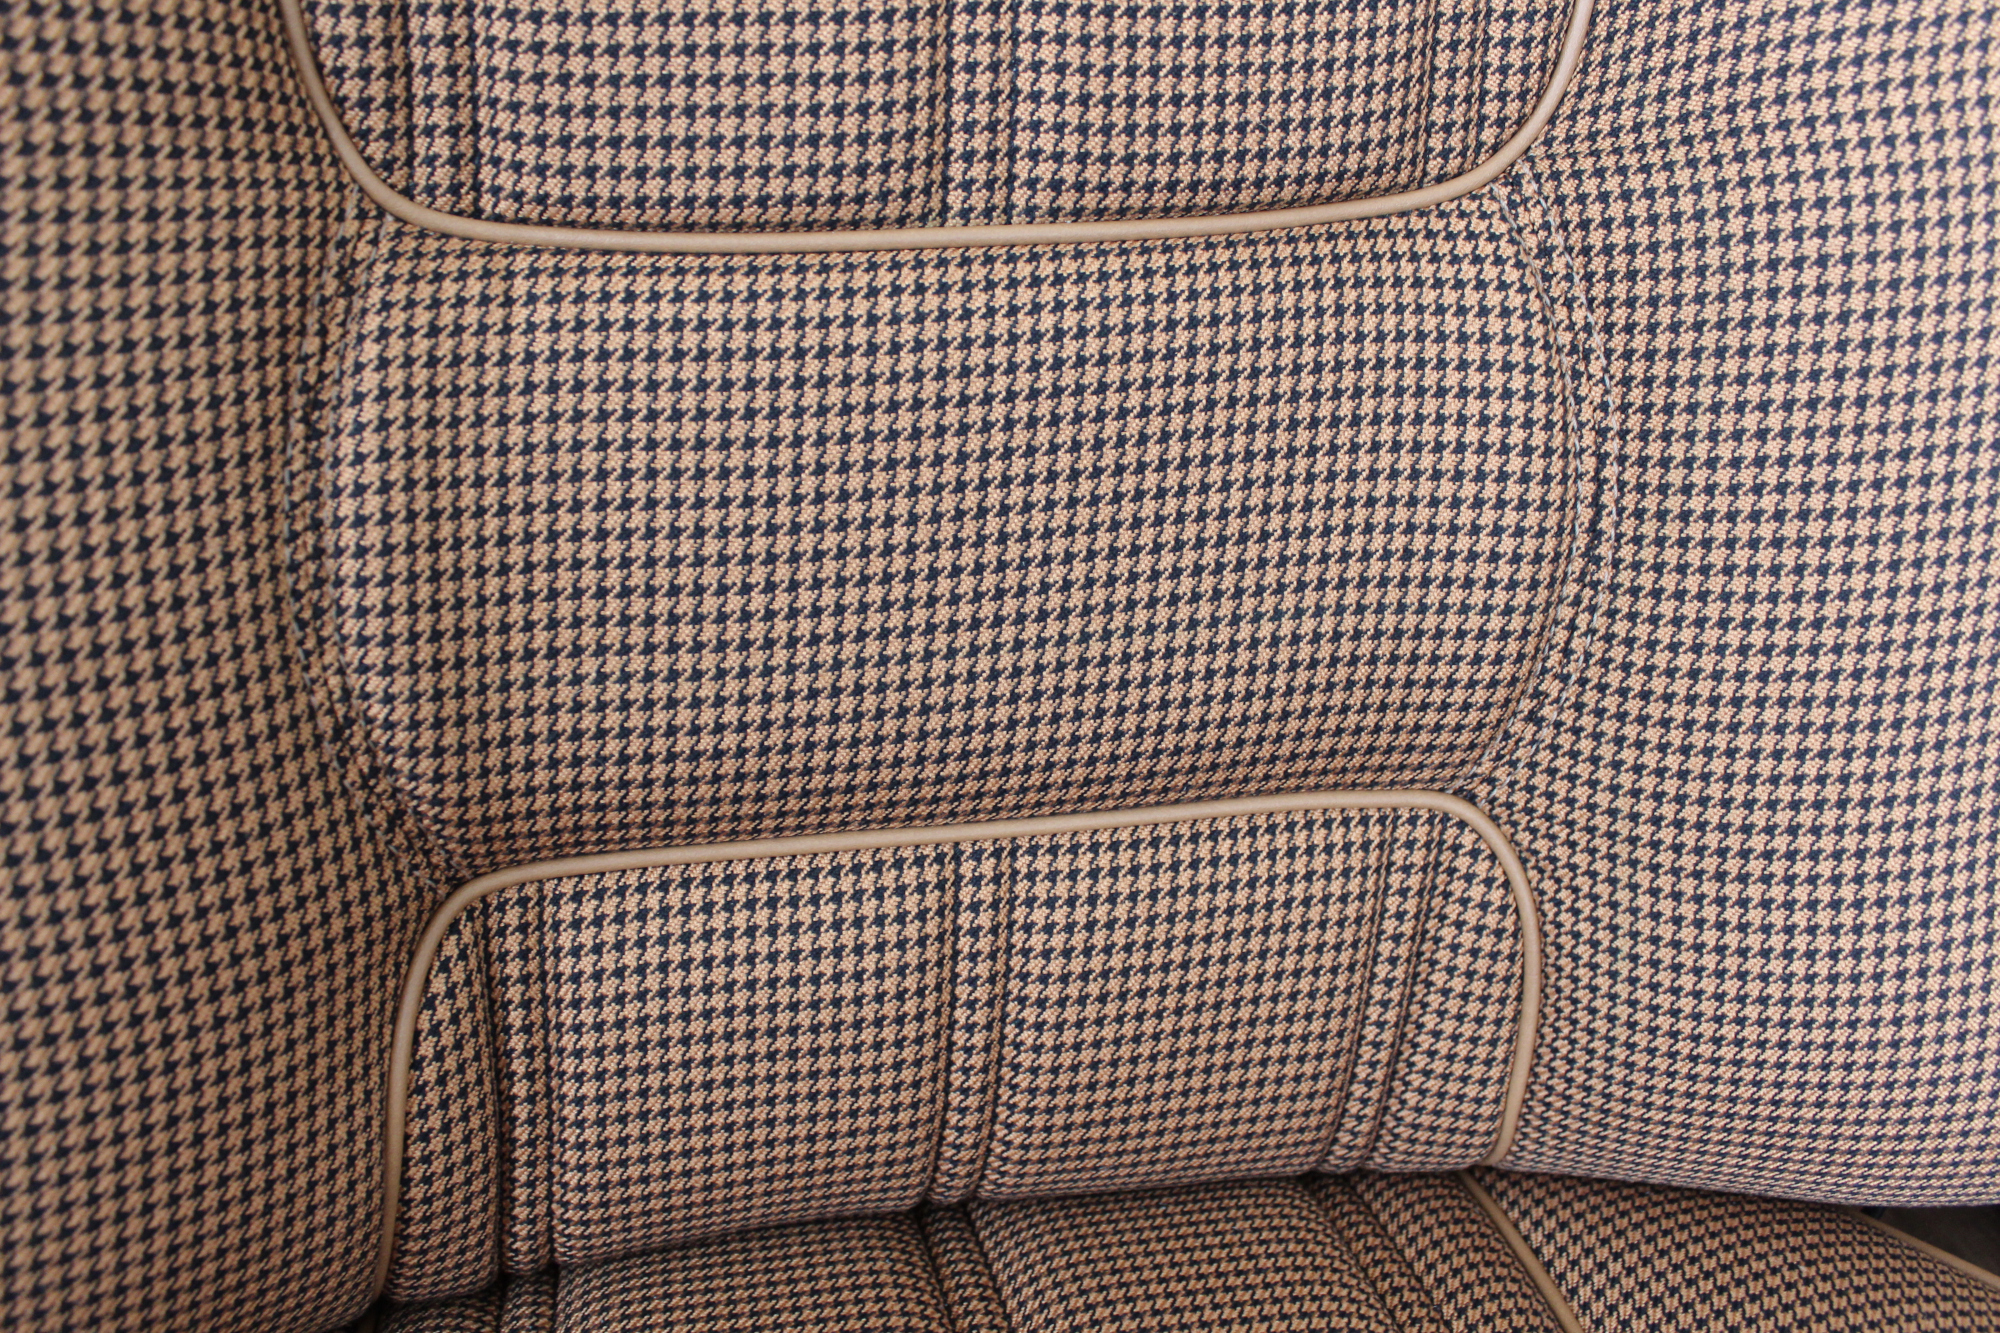
New Seat Skins/Covers/Trims made with FORD XC Houndstooth Seat cloth fabric “ginger” Falcon 500 HARDTOP V8 Fairmont GS Rally Pack Coupe material, and Novatex Vinyl “Ocher”. Also available in other cloth colours like “Dusk”, “Doeskin” cloth and vinyl colours like black, cream, camel etc. Can also make Cobra style seats with blue and black cloth fabric as per factory original.
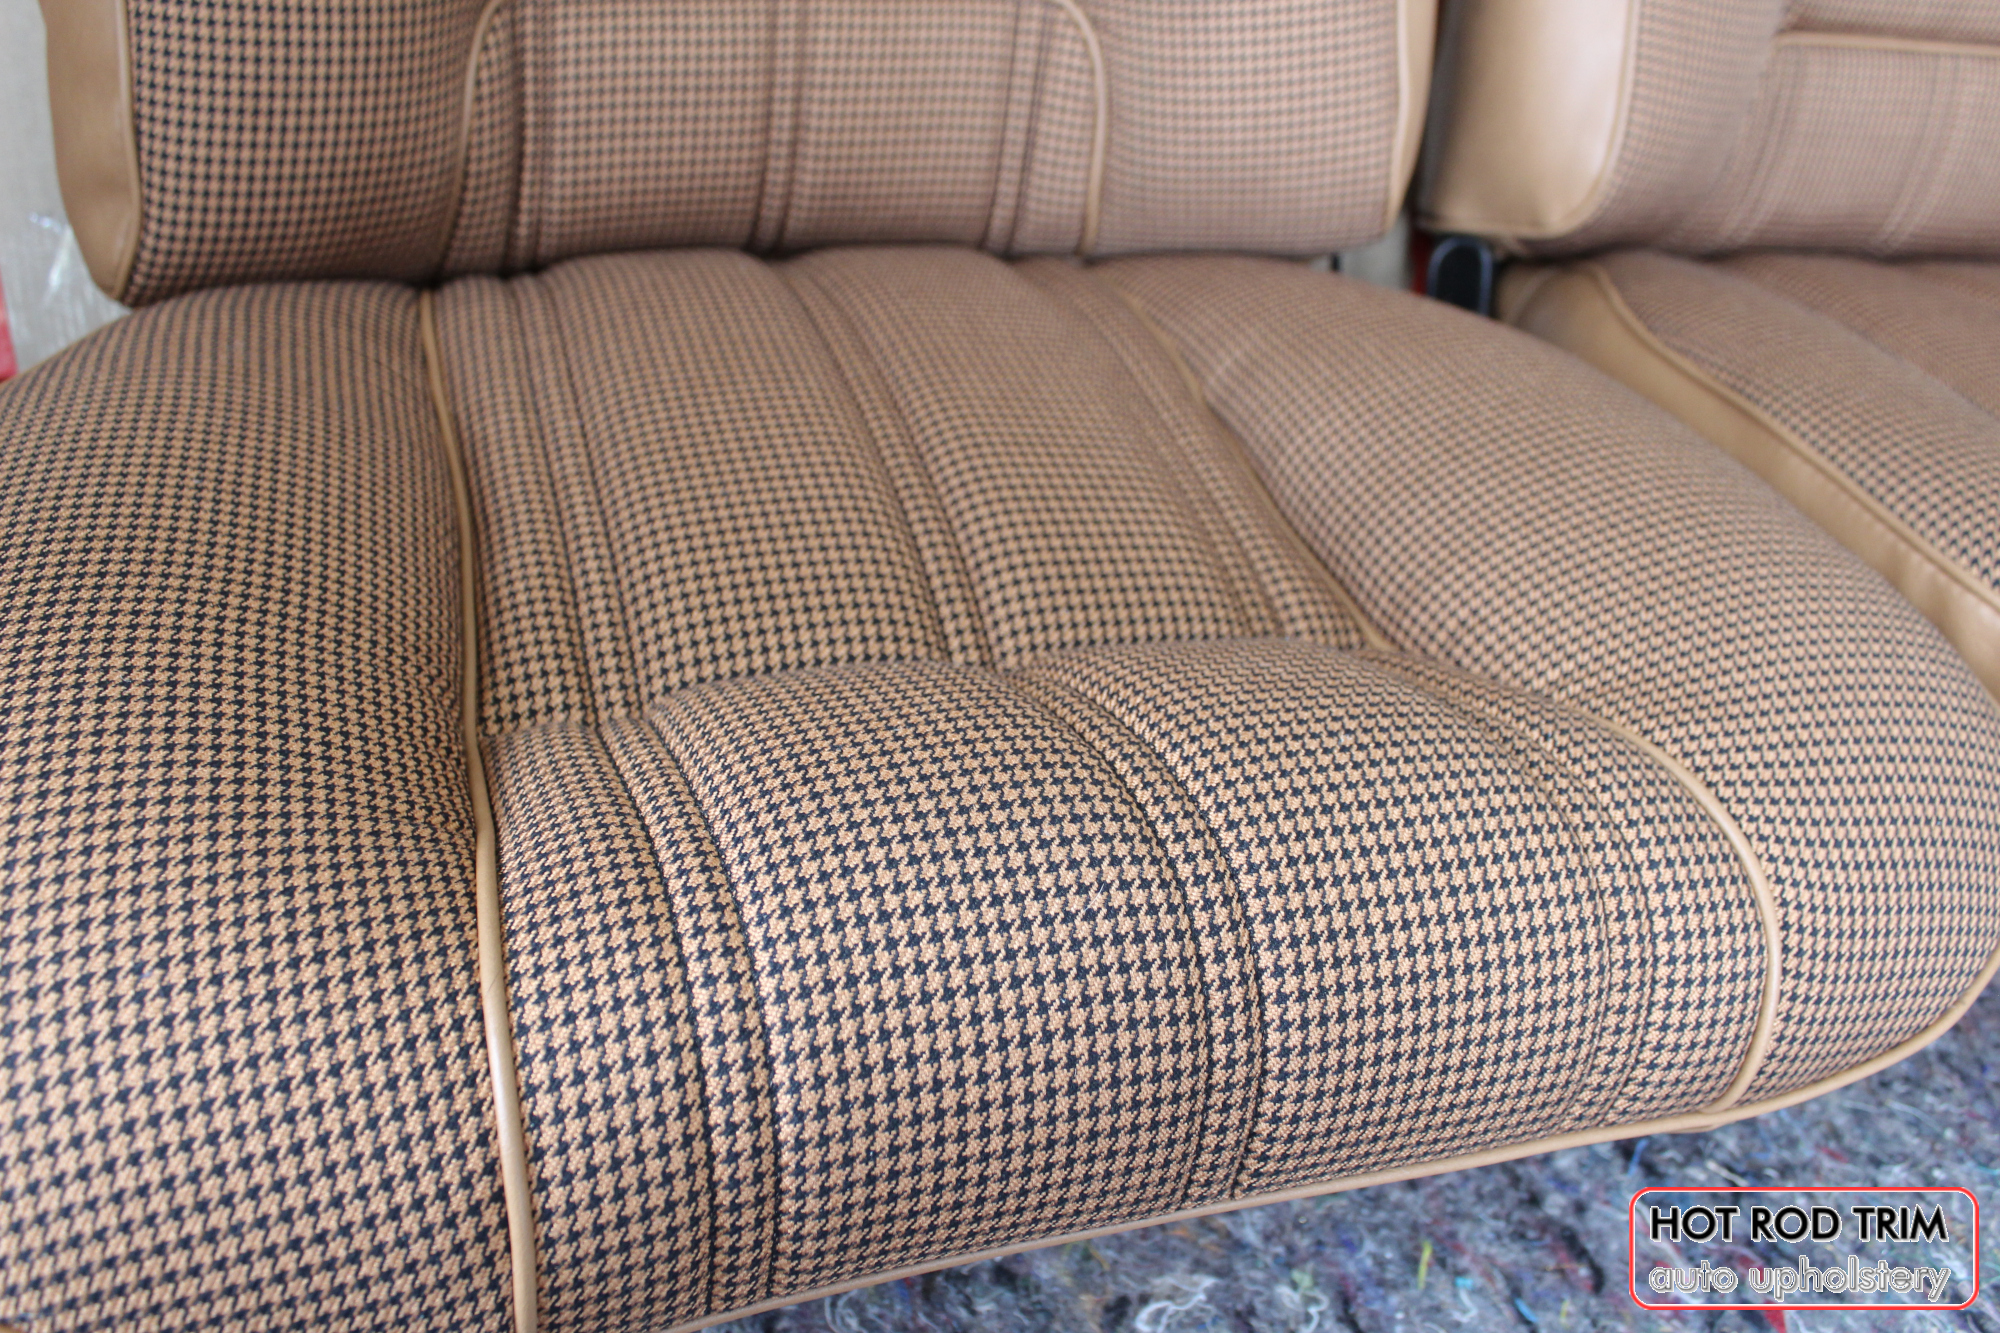
New Seat Skins/Covers/Trims made with FORD XC Houndstooth Seat cloth fabric “ginger” Falcon 500 HARDTOP V8 Fairmont GS Rally Pack Coupe material, and Novatex Vinyl “Ocher”. Also available in other cloth colours like “Dusk”, “Doeskin” cloth and vinyl colours like black, cream, camel etc. Can also make Cobra style seats with blue and black cloth fabric as per factory original.
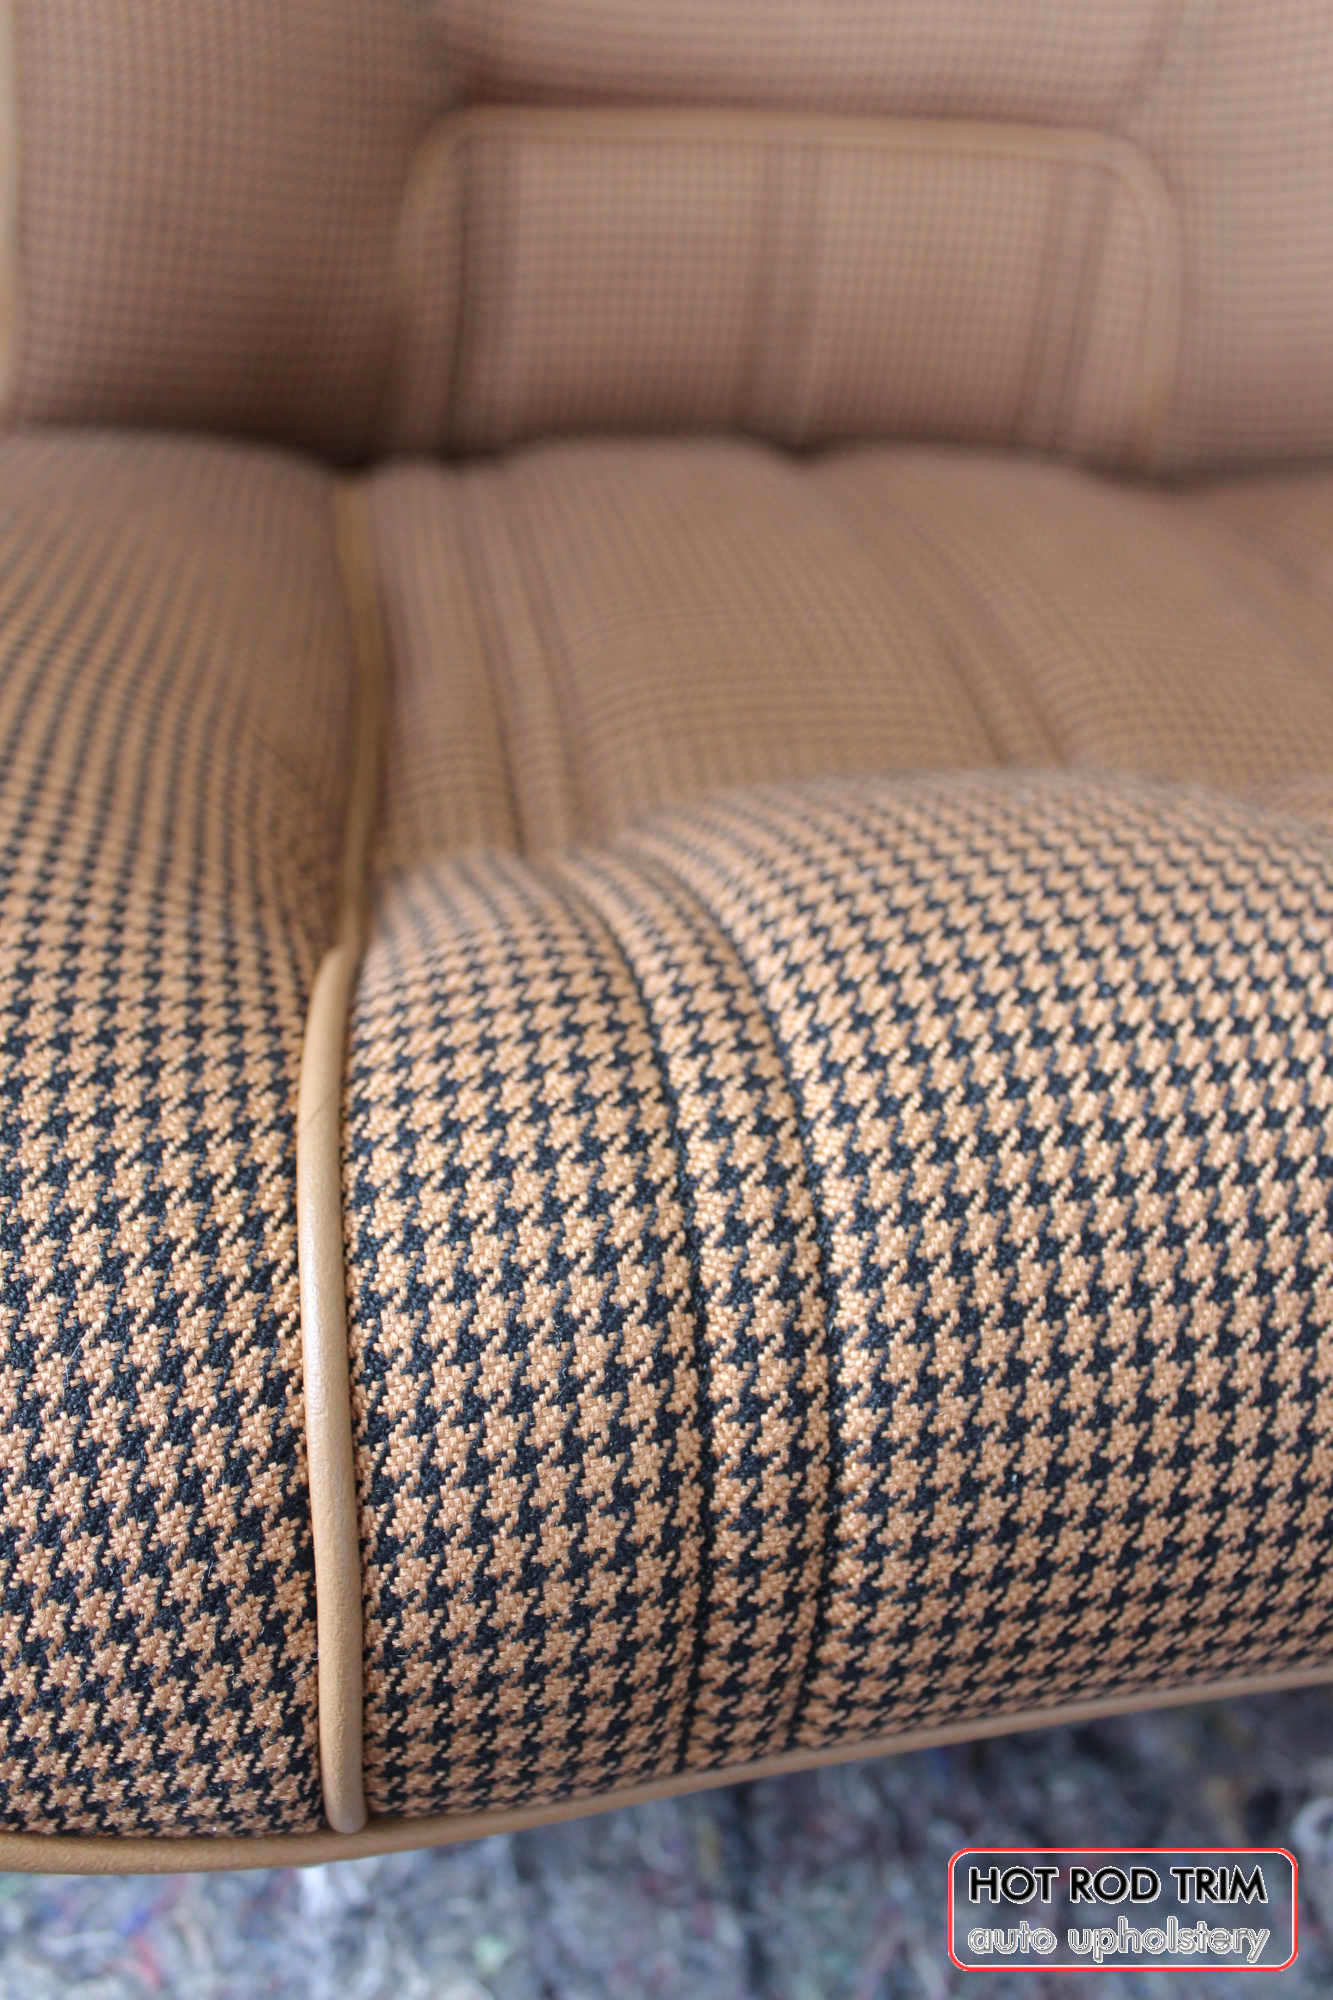
New Seat Skins/Covers/Trims made with FORD XC Houndstooth Seat cloth fabric “ginger” Falcon 500 HARDTOP V8 Fairmont GS Rally Pack Coupe material, and Novatex Vinyl “Ocher”. Also available in other cloth colours like “Dusk”, “Doeskin” cloth and vinyl colours like black, cream, camel etc. Can also make Cobra style seats with blue and black cloth fabric as per factory original.
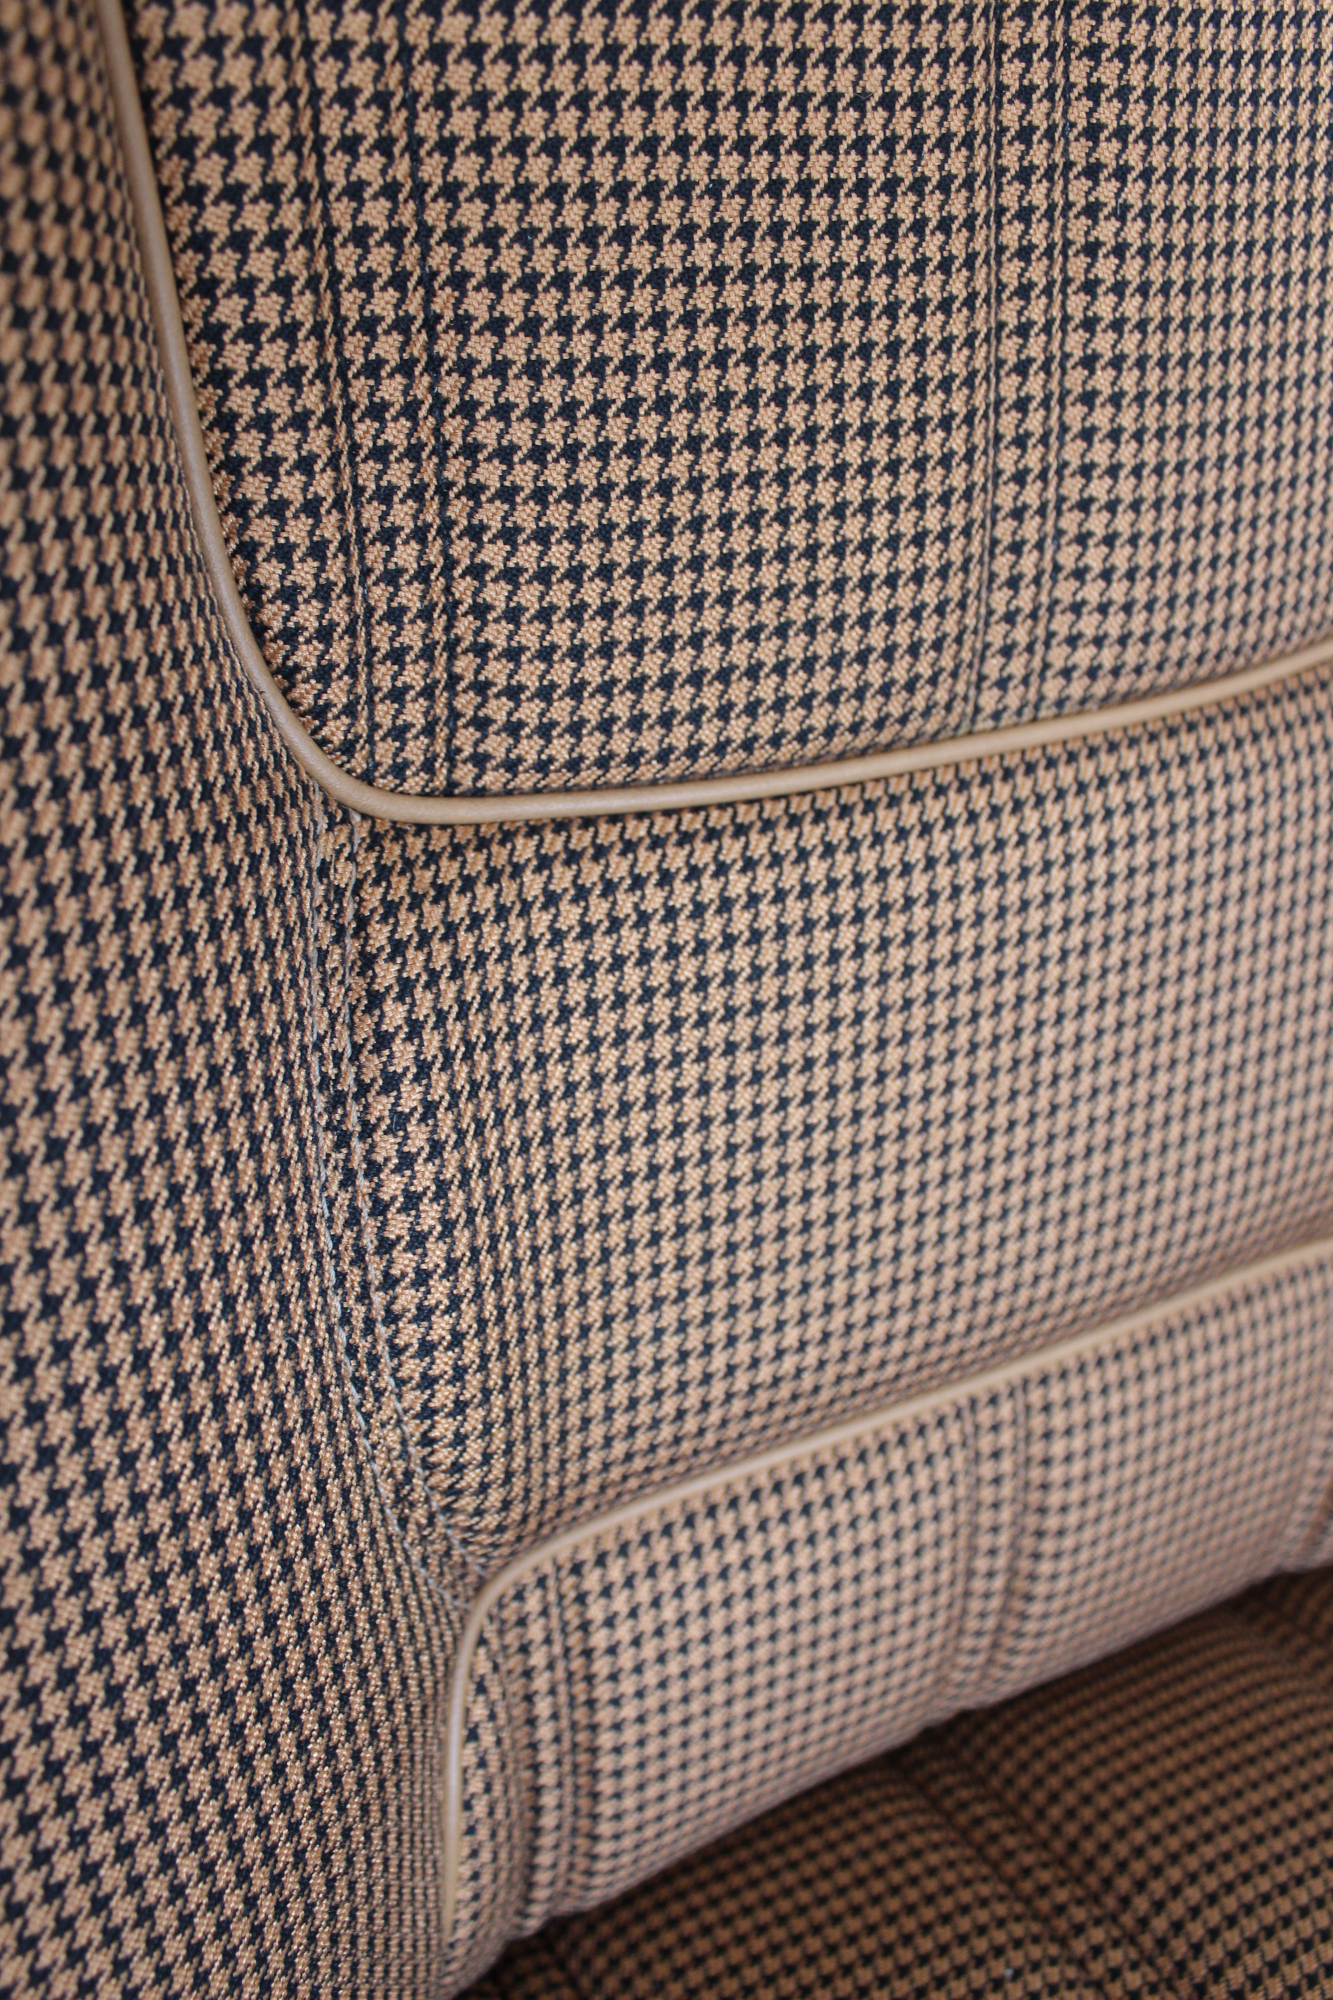
New Seat Skins/Covers/Trims made with FORD XC Houndstooth Seat cloth fabric “ginger” Falcon 500 HARDTOP V8 Fairmont GS Rally Pack Coupe material, and Novatex Vinyl “Ocher”. Also available in other cloth colours like “Dusk”, “Doeskin” cloth and vinyl colours like black, cream, camel etc. Can also make Cobra style seats with blue and black cloth fabric as per factory original.
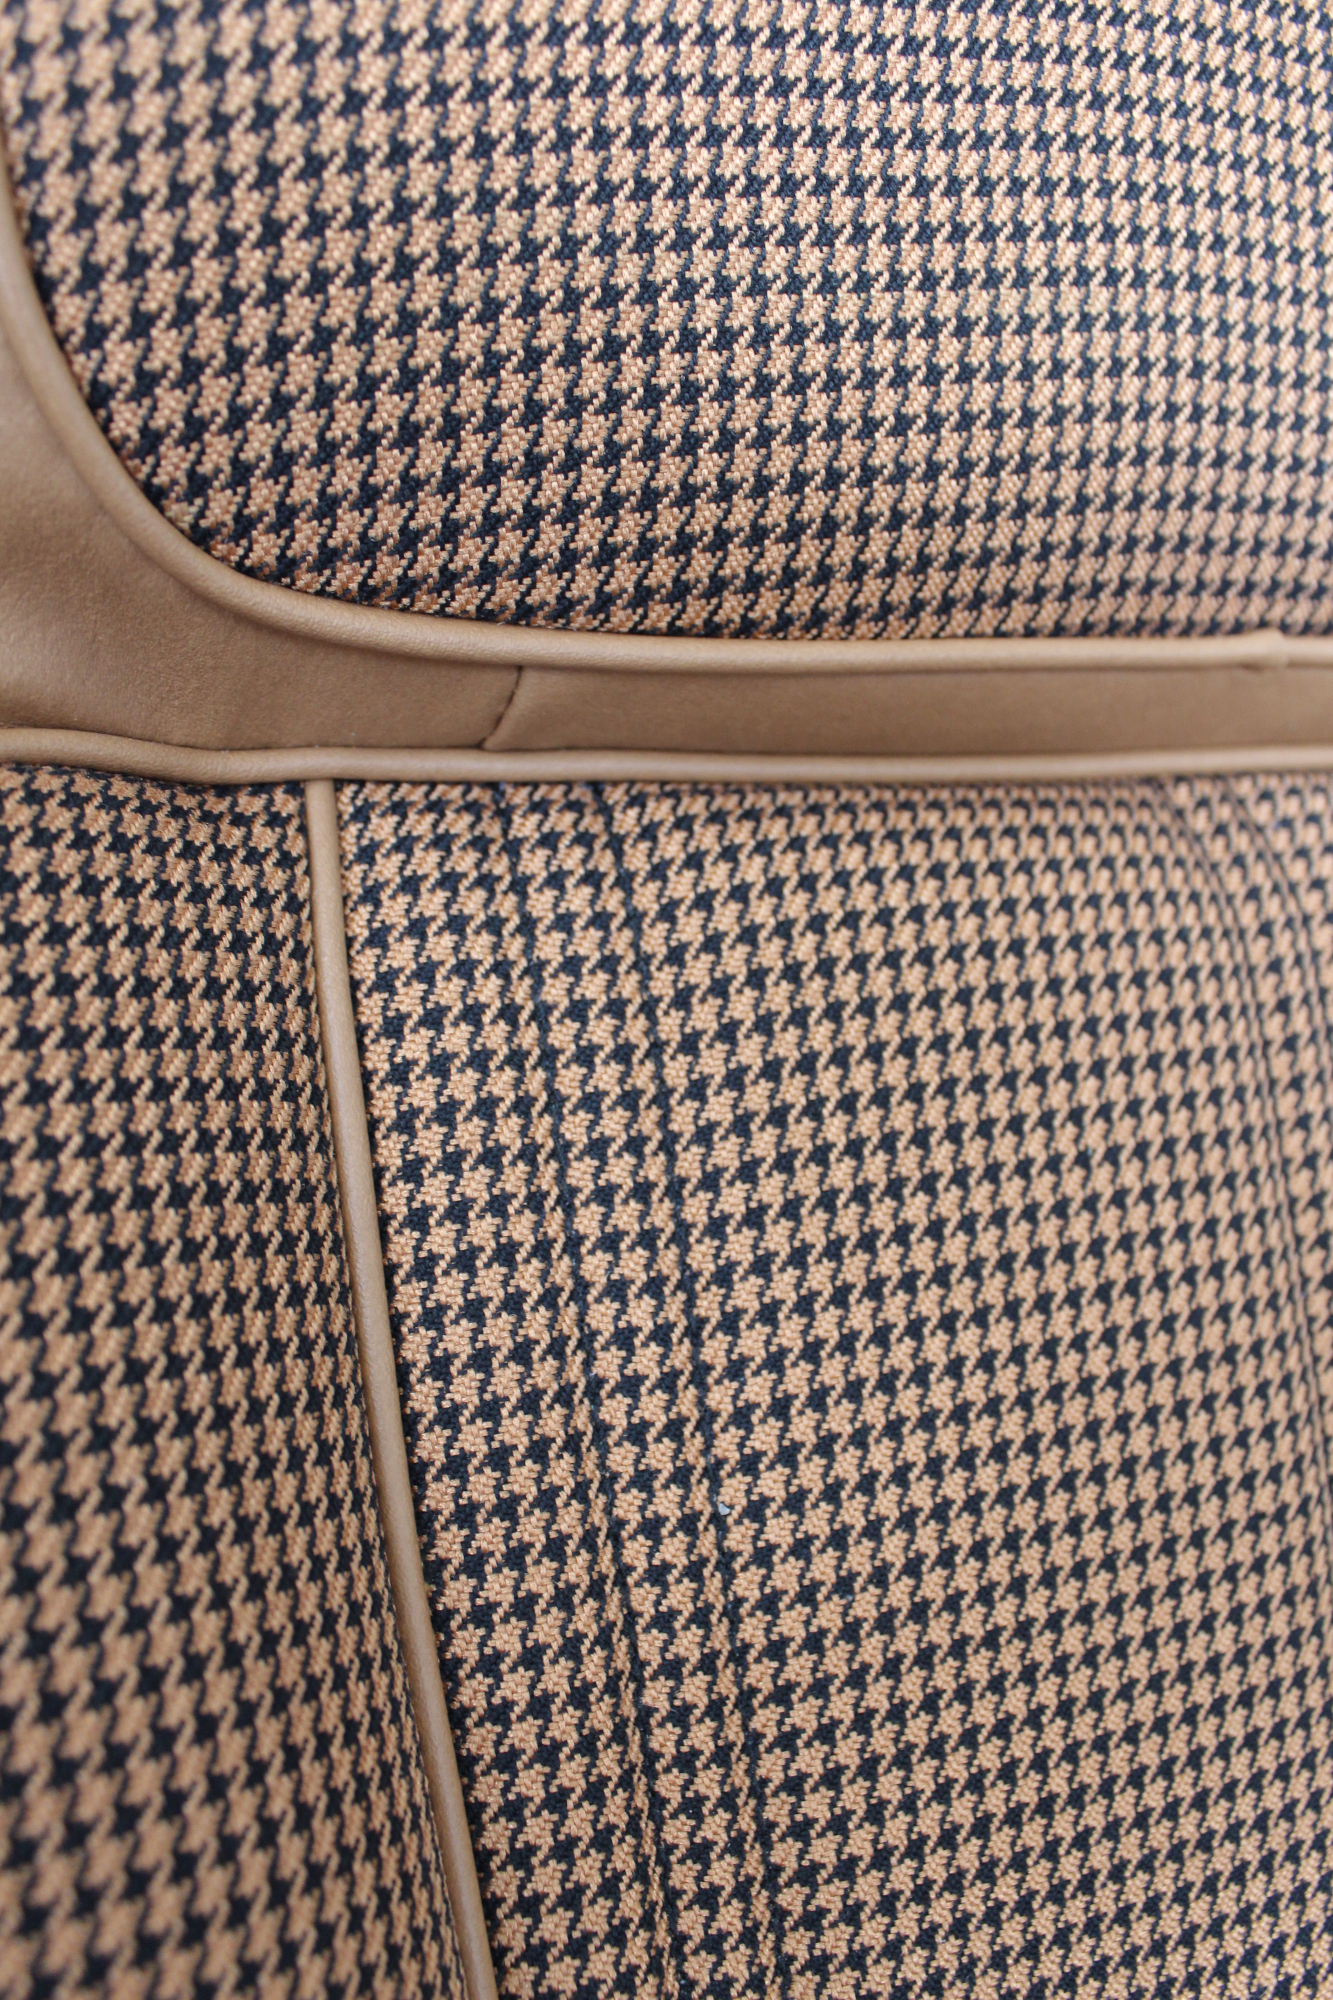
New Seat Skins/Covers/Trims made with FORD XC Houndstooth Seat cloth fabric “ginger” Falcon 500 HARDTOP V8 Fairmont GS Rally Pack Coupe material, and Novatex Vinyl “Ocher”. Also available in other cloth colours like “Dusk”, “Doeskin” cloth and vinyl colours like black, cream, camel etc. Can also make Cobra style seats with blue and black cloth fabric as per factory original.
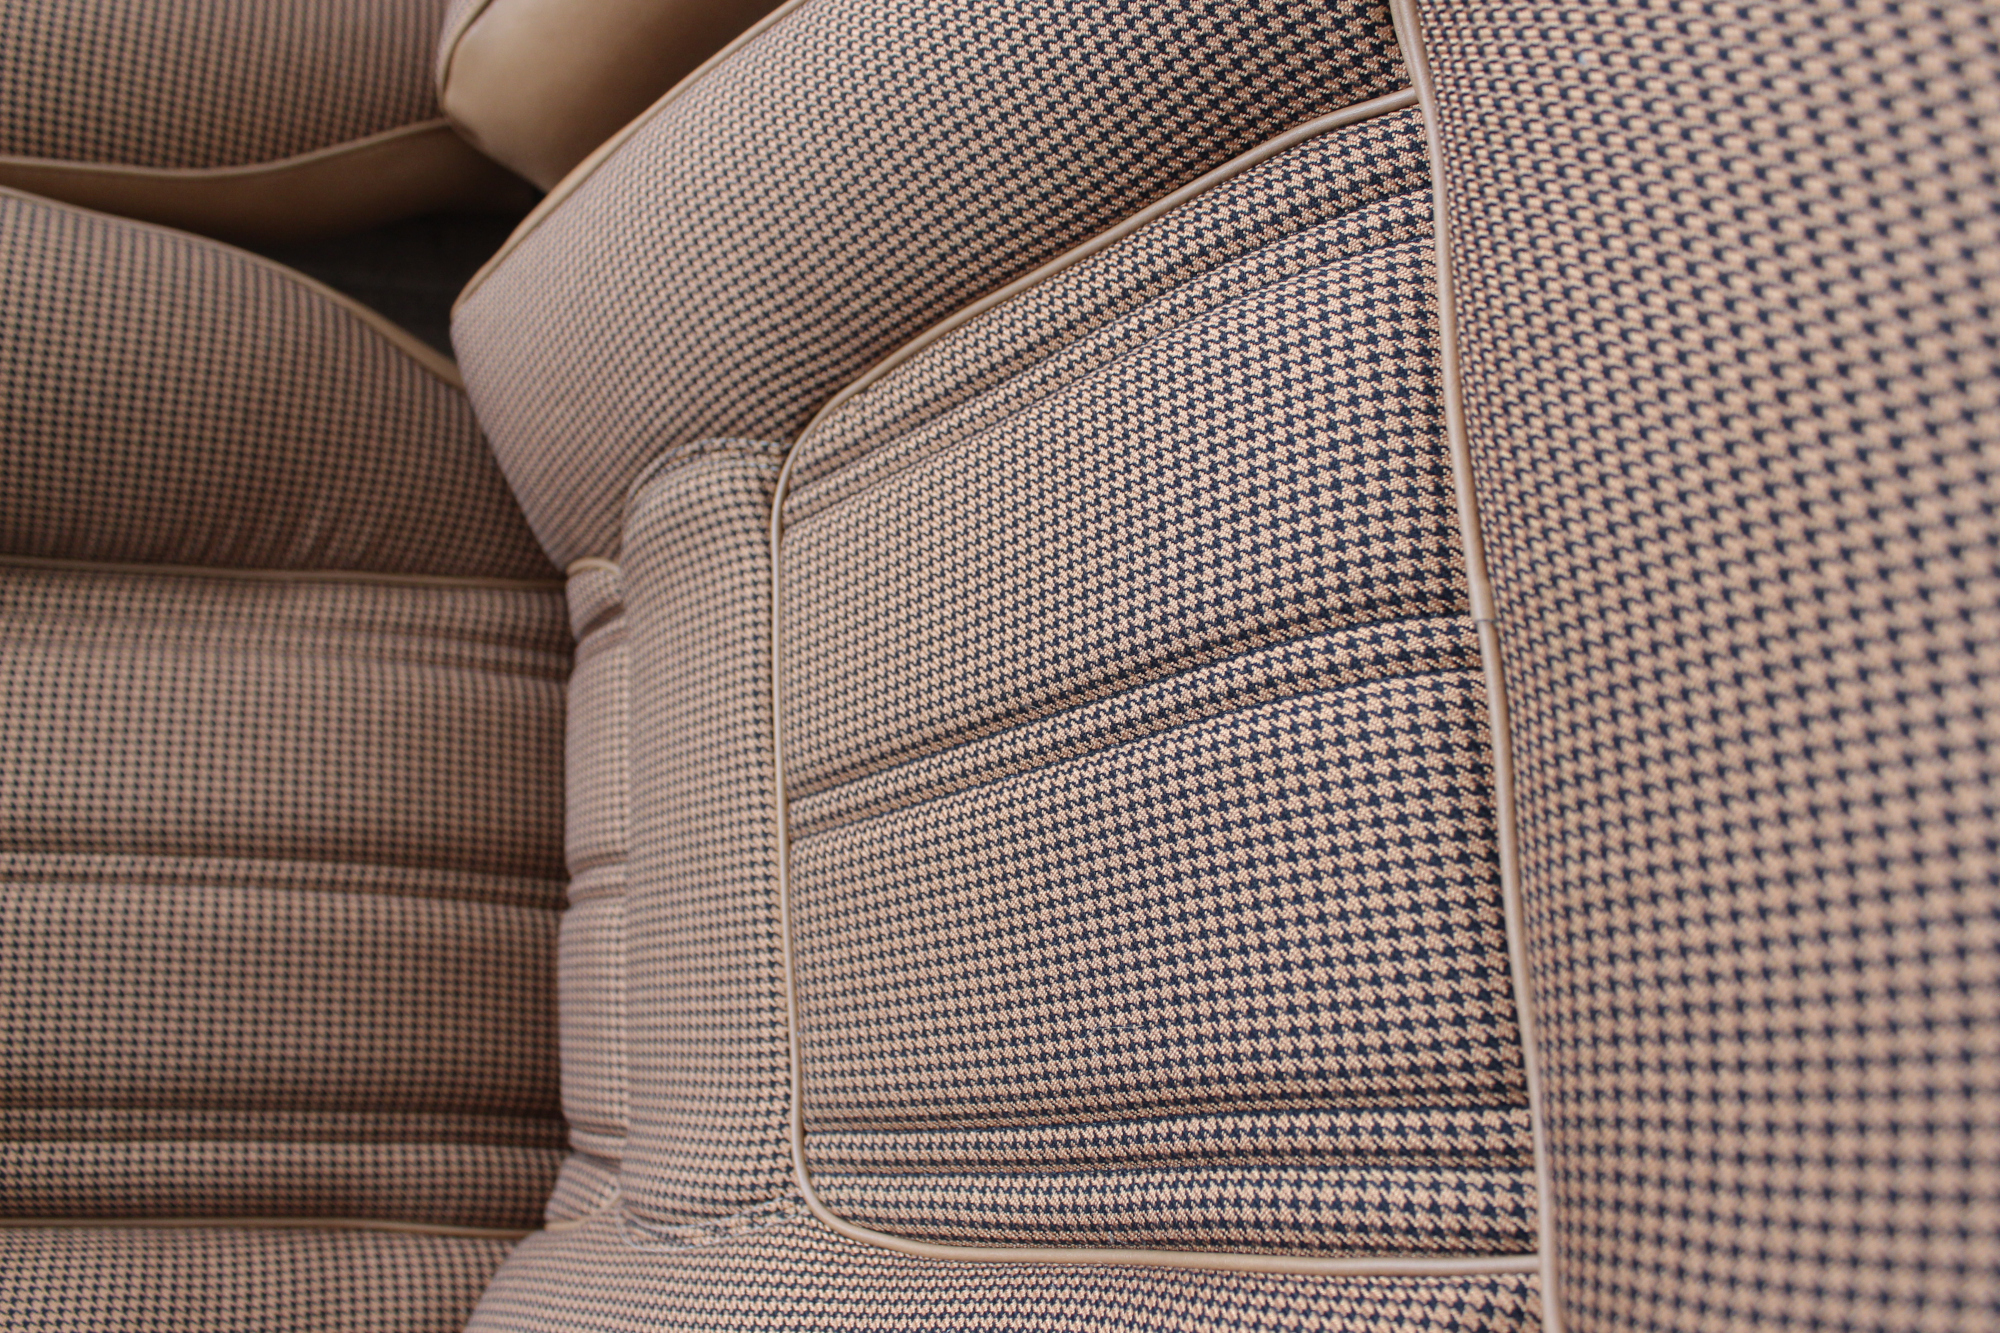
New Seat Skins/Covers/Trims made with FORD XC Houndstooth Seat cloth fabric “ginger” Falcon 500 HARDTOP V8 Fairmont GS Rally Pack Coupe material, and Novatex Vinyl “Ocher”. Also available in other cloth colours like “Dusk”, “Doeskin” cloth and vinyl colours like black, cream, camel etc. Can also make Cobra style seats with blue and black cloth fabric as per factory original.
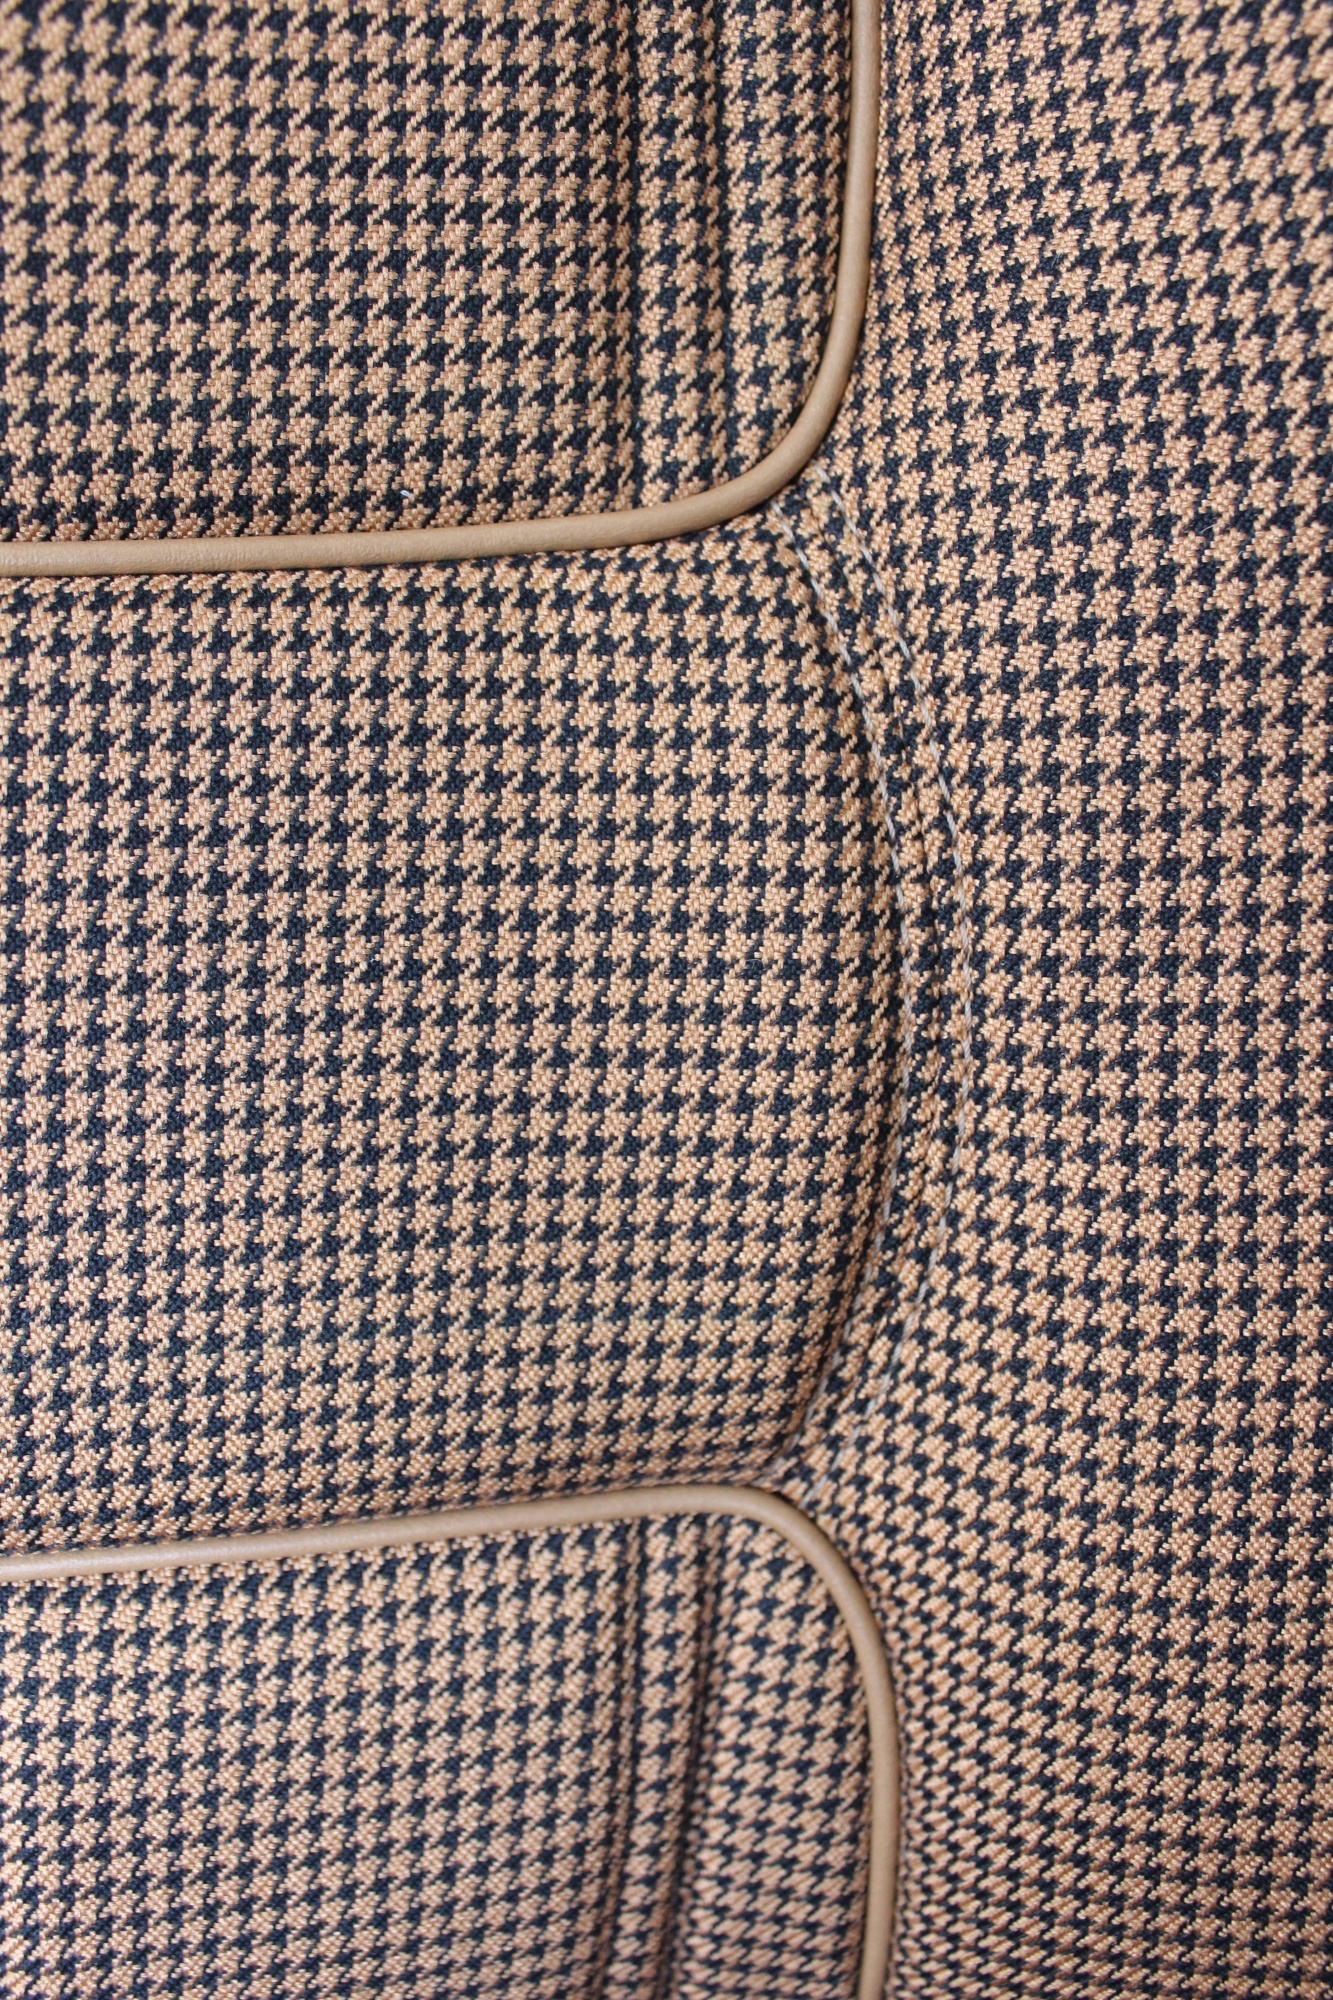
New Seat Skins/Covers/Trims made with FORD XC Houndstooth Seat cloth fabric “ginger” Falcon 500 HARDTOP V8 Fairmont GS Rally Pack Coupe material, and Novatex Vinyl “Ocher”. Also available in other cloth colours like “Dusk”, “Doeskin” cloth and vinyl colours like black, cream, camel etc. Can also make Cobra style seats with blue and black cloth fabric as per factory original.
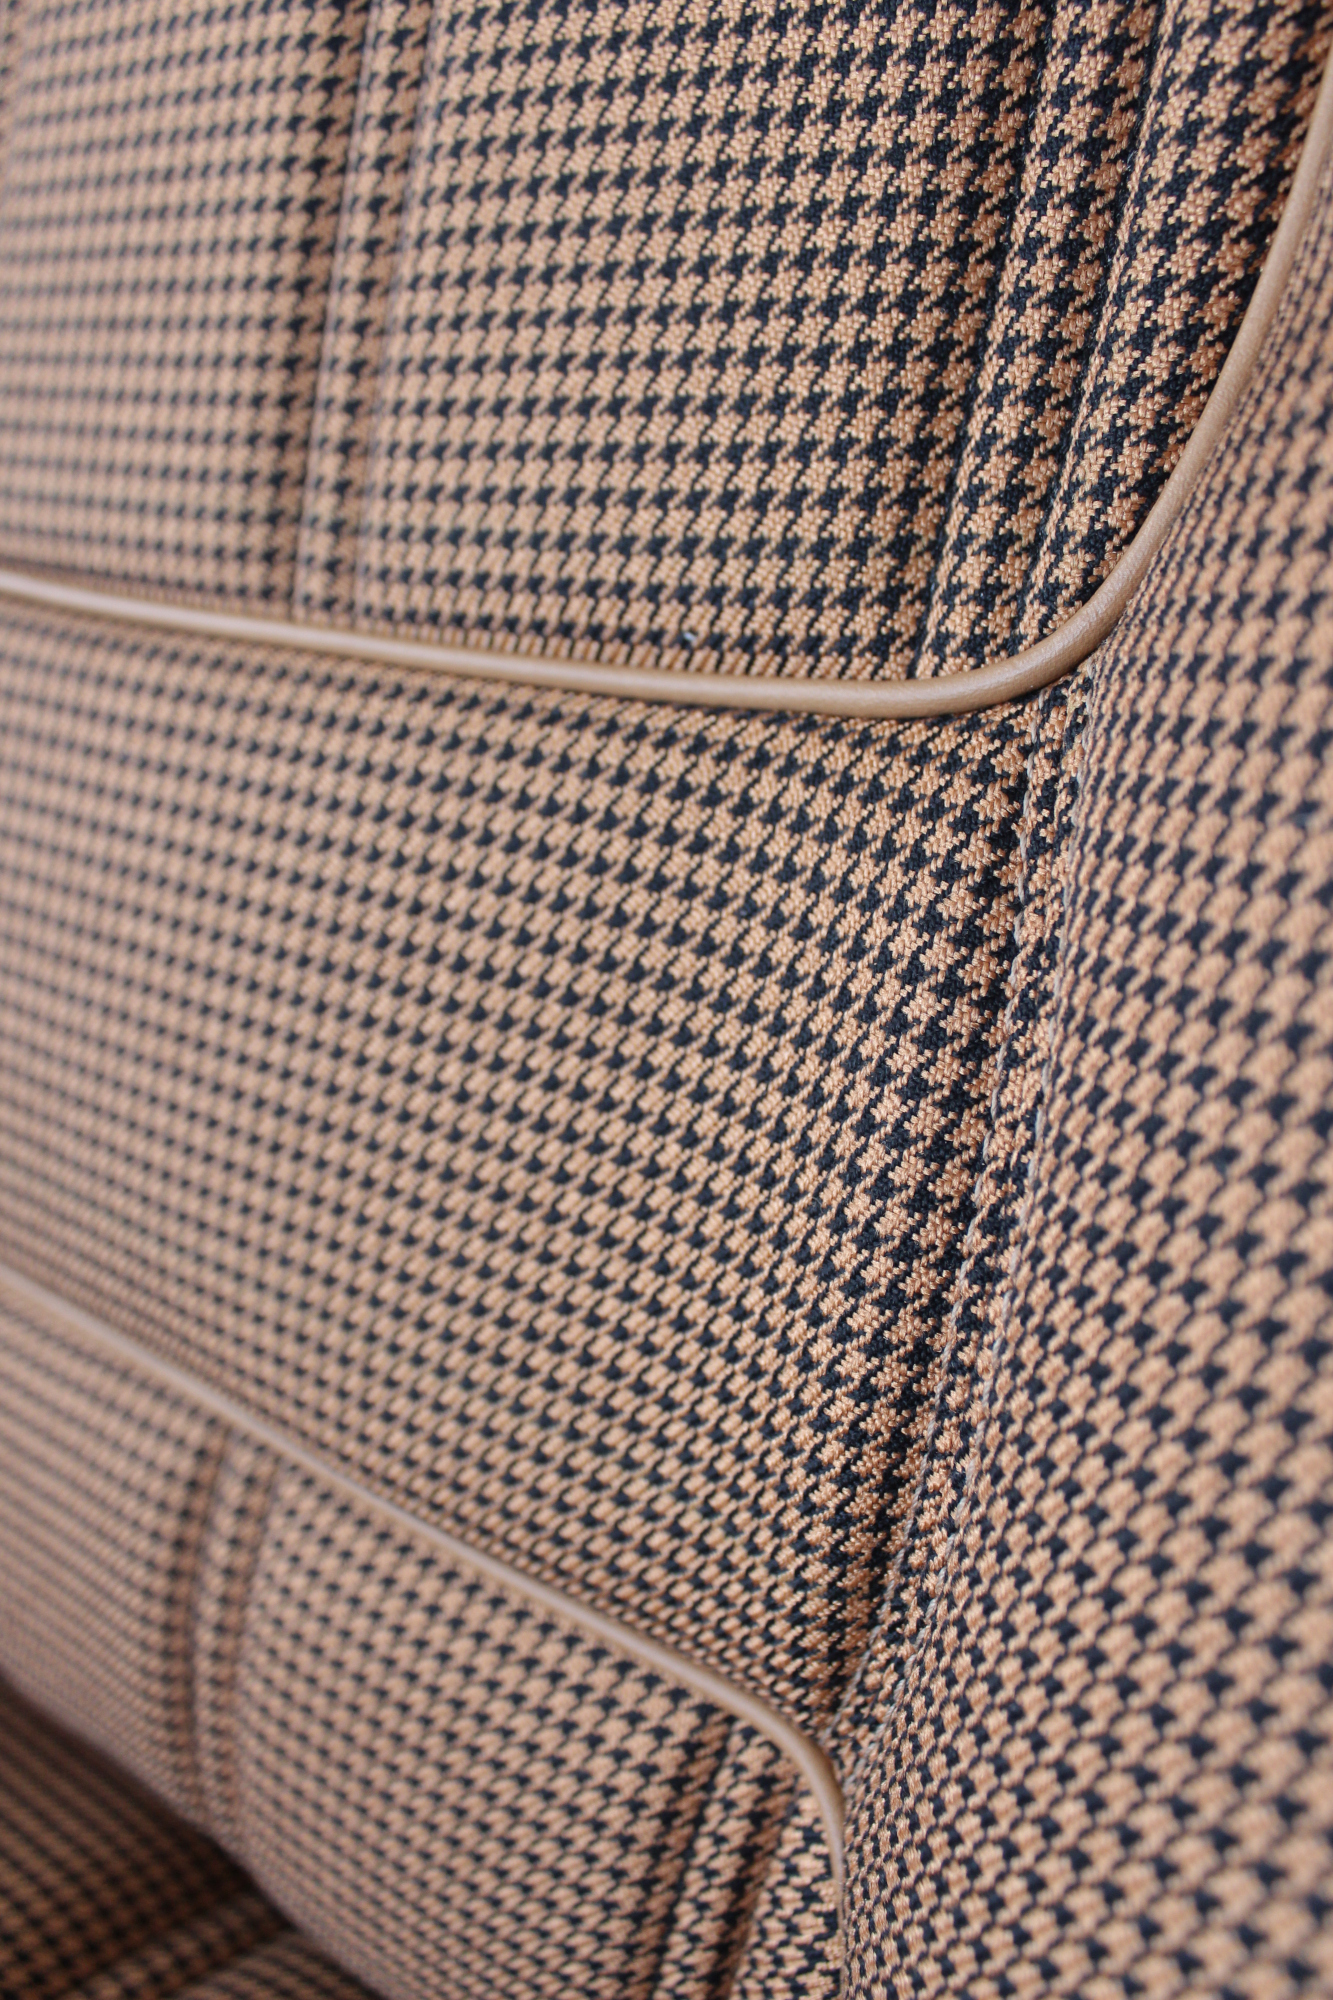
New Seat Skins/Covers/Trims made with FORD XC Houndstooth Seat cloth fabric “ginger” Falcon 500 HARDTOP V8 Fairmont GS Rally Pack Coupe material, and Novatex Vinyl “Ocher”. Also available in other cloth colours like “Dusk”, “Doeskin” cloth and vinyl colours like black, cream, camel etc. Can also make Cobra style seats with blue and black cloth fabric as per factory original.
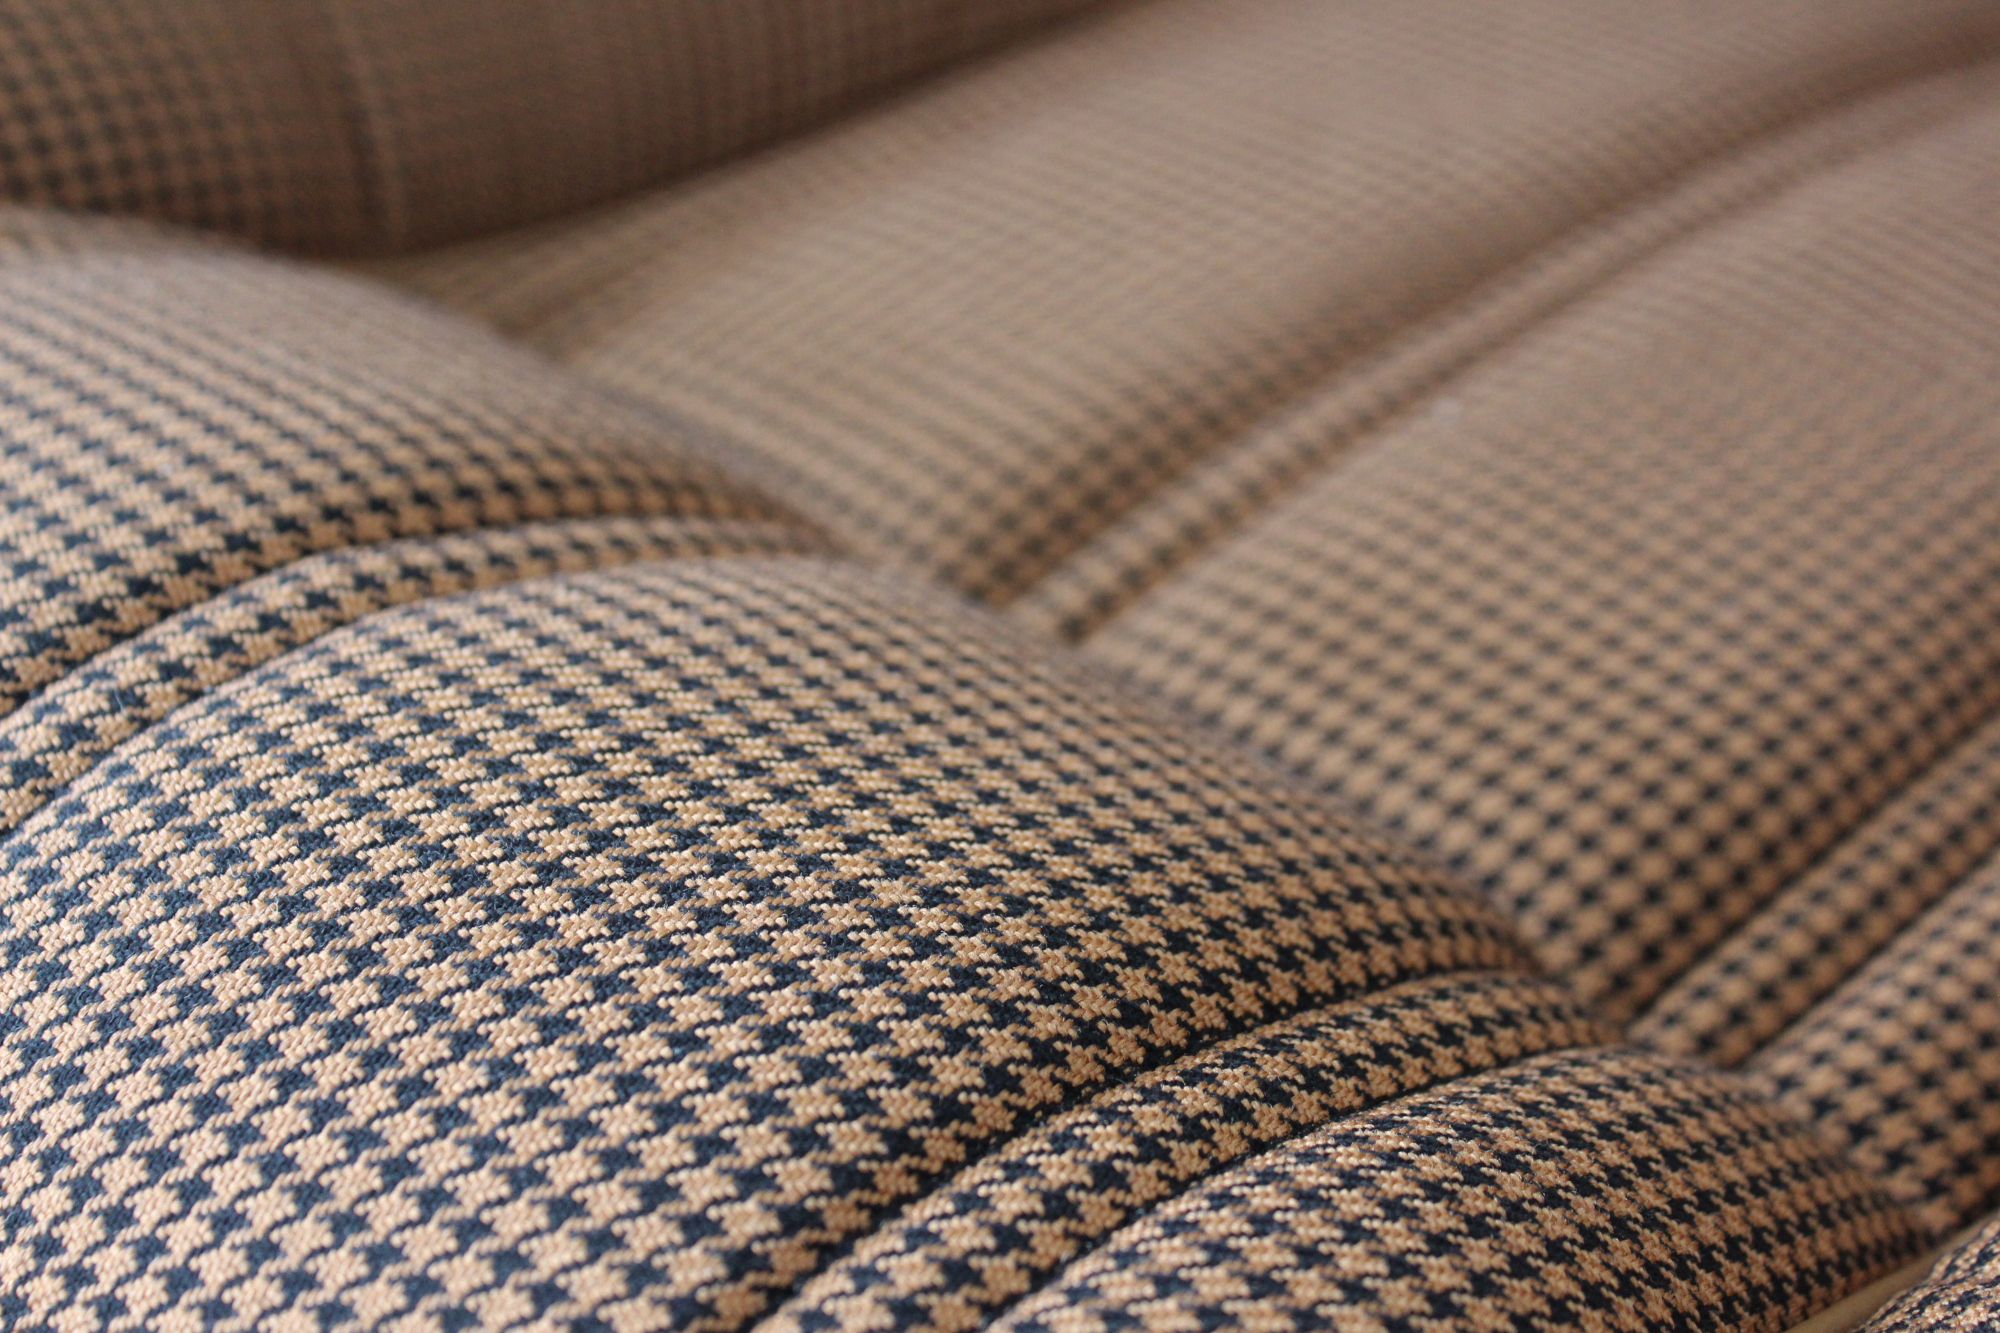
New Seat Skins/Covers/Trims made with FORD XC Houndstooth Seat cloth fabric “ginger” Falcon 500 HARDTOP V8 Fairmont GS Rally Pack Coupe material, and Novatex Vinyl “Ocher”. Also available in other cloth colours like “Dusk”, “Doeskin” cloth and vinyl colours like black, cream, camel etc. Can also make Cobra style seats with blue and black cloth fabric as per factory original.
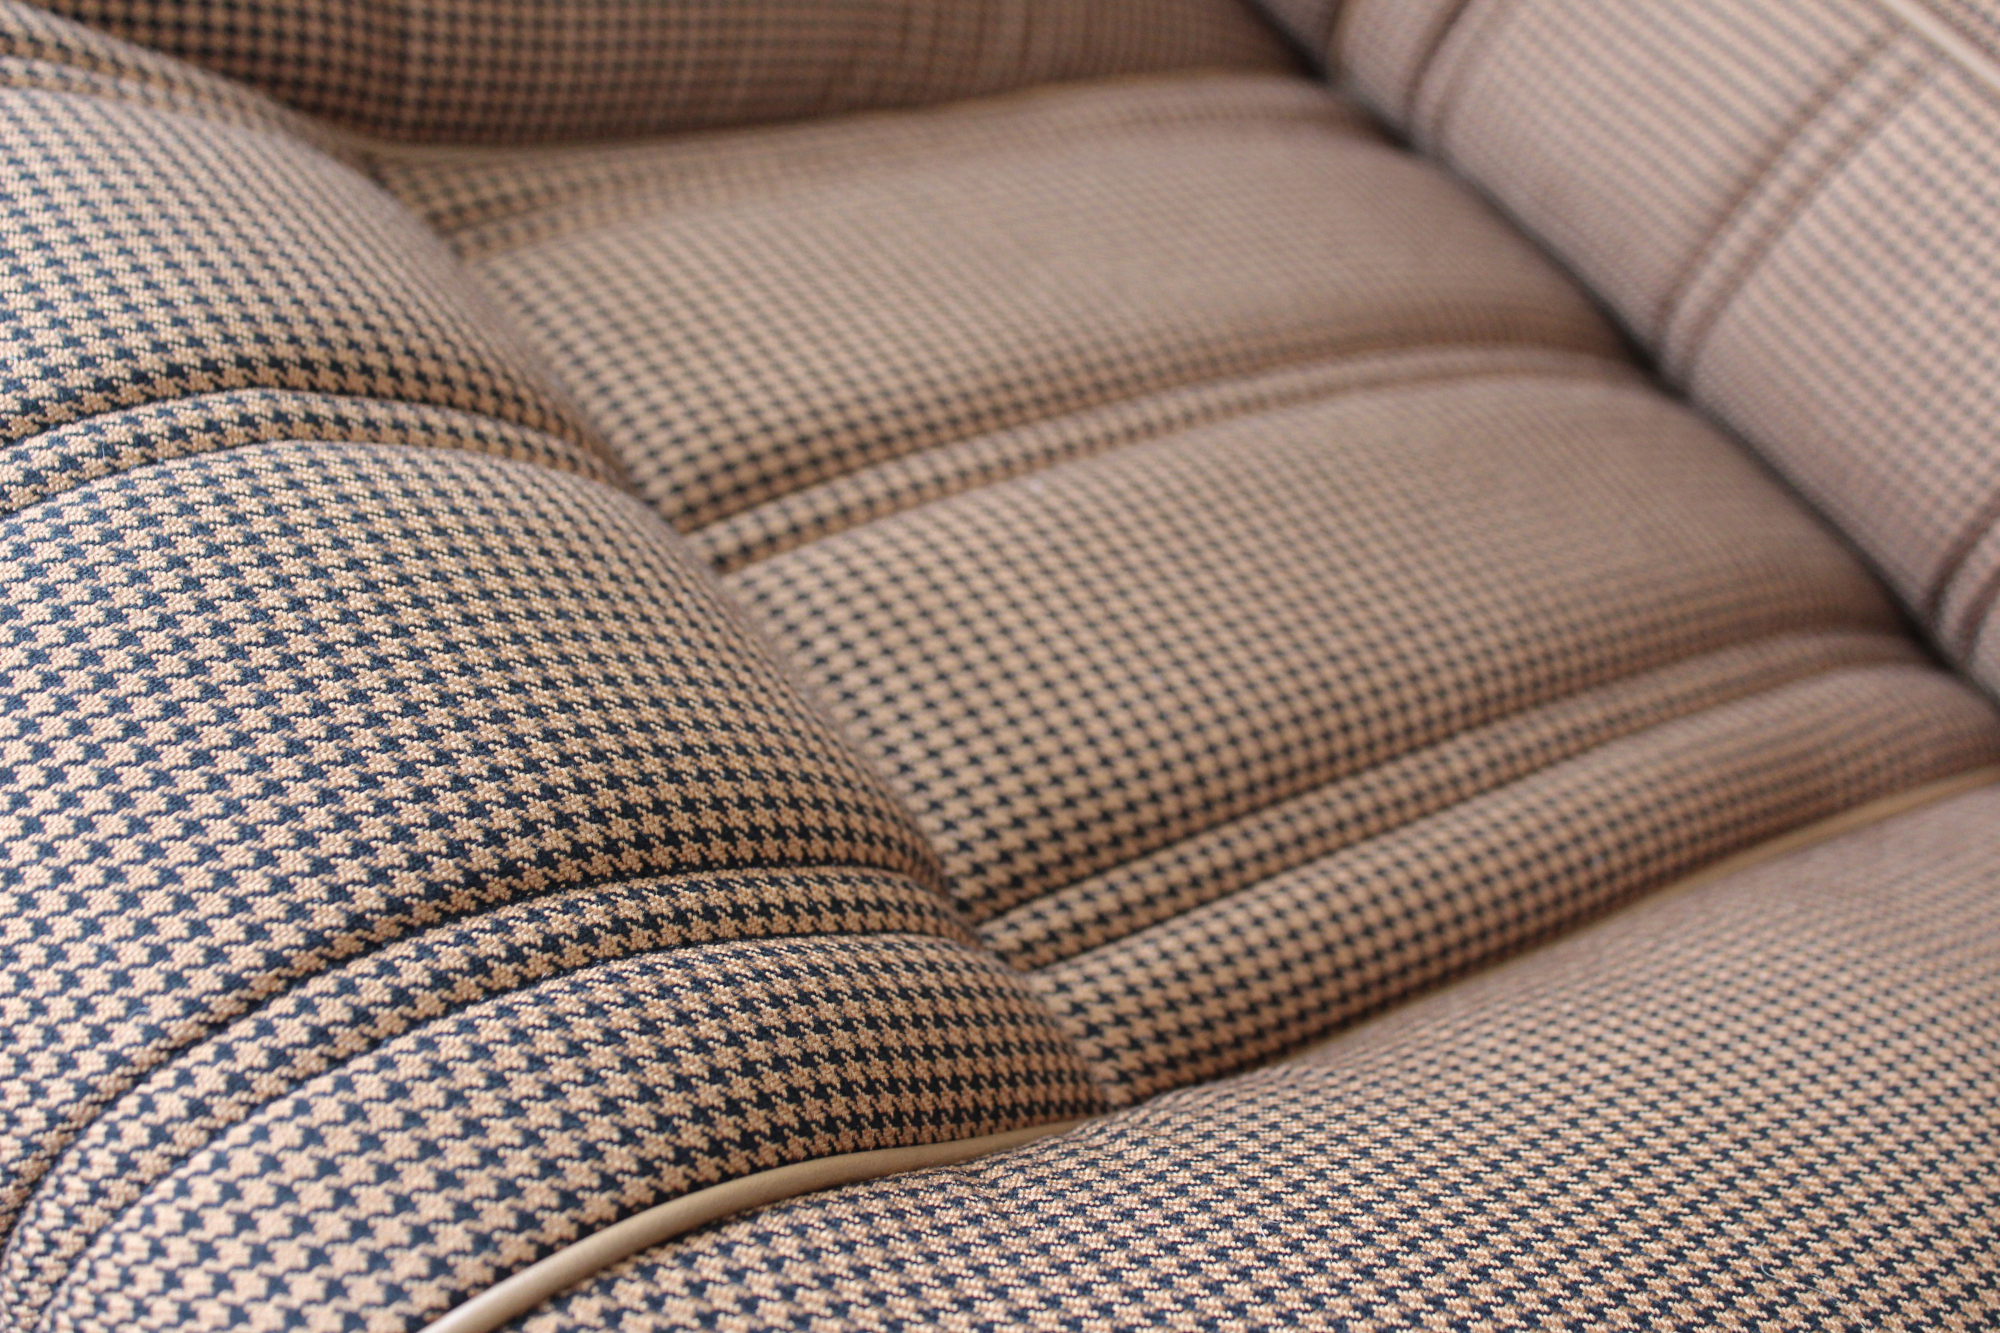
New Seat Skins/Covers/Trims made with FORD XC Houndstooth Seat cloth fabric “ginger” Falcon 500 HARDTOP V8 Fairmont GS Rally Pack Coupe material, and Novatex Vinyl “Ocher”. Also available in other cloth colours like “Dusk”, “Doeskin” cloth and vinyl colours like black, cream, camel etc. Can also make Cobra style seats with blue and black cloth fabric as per factory original.
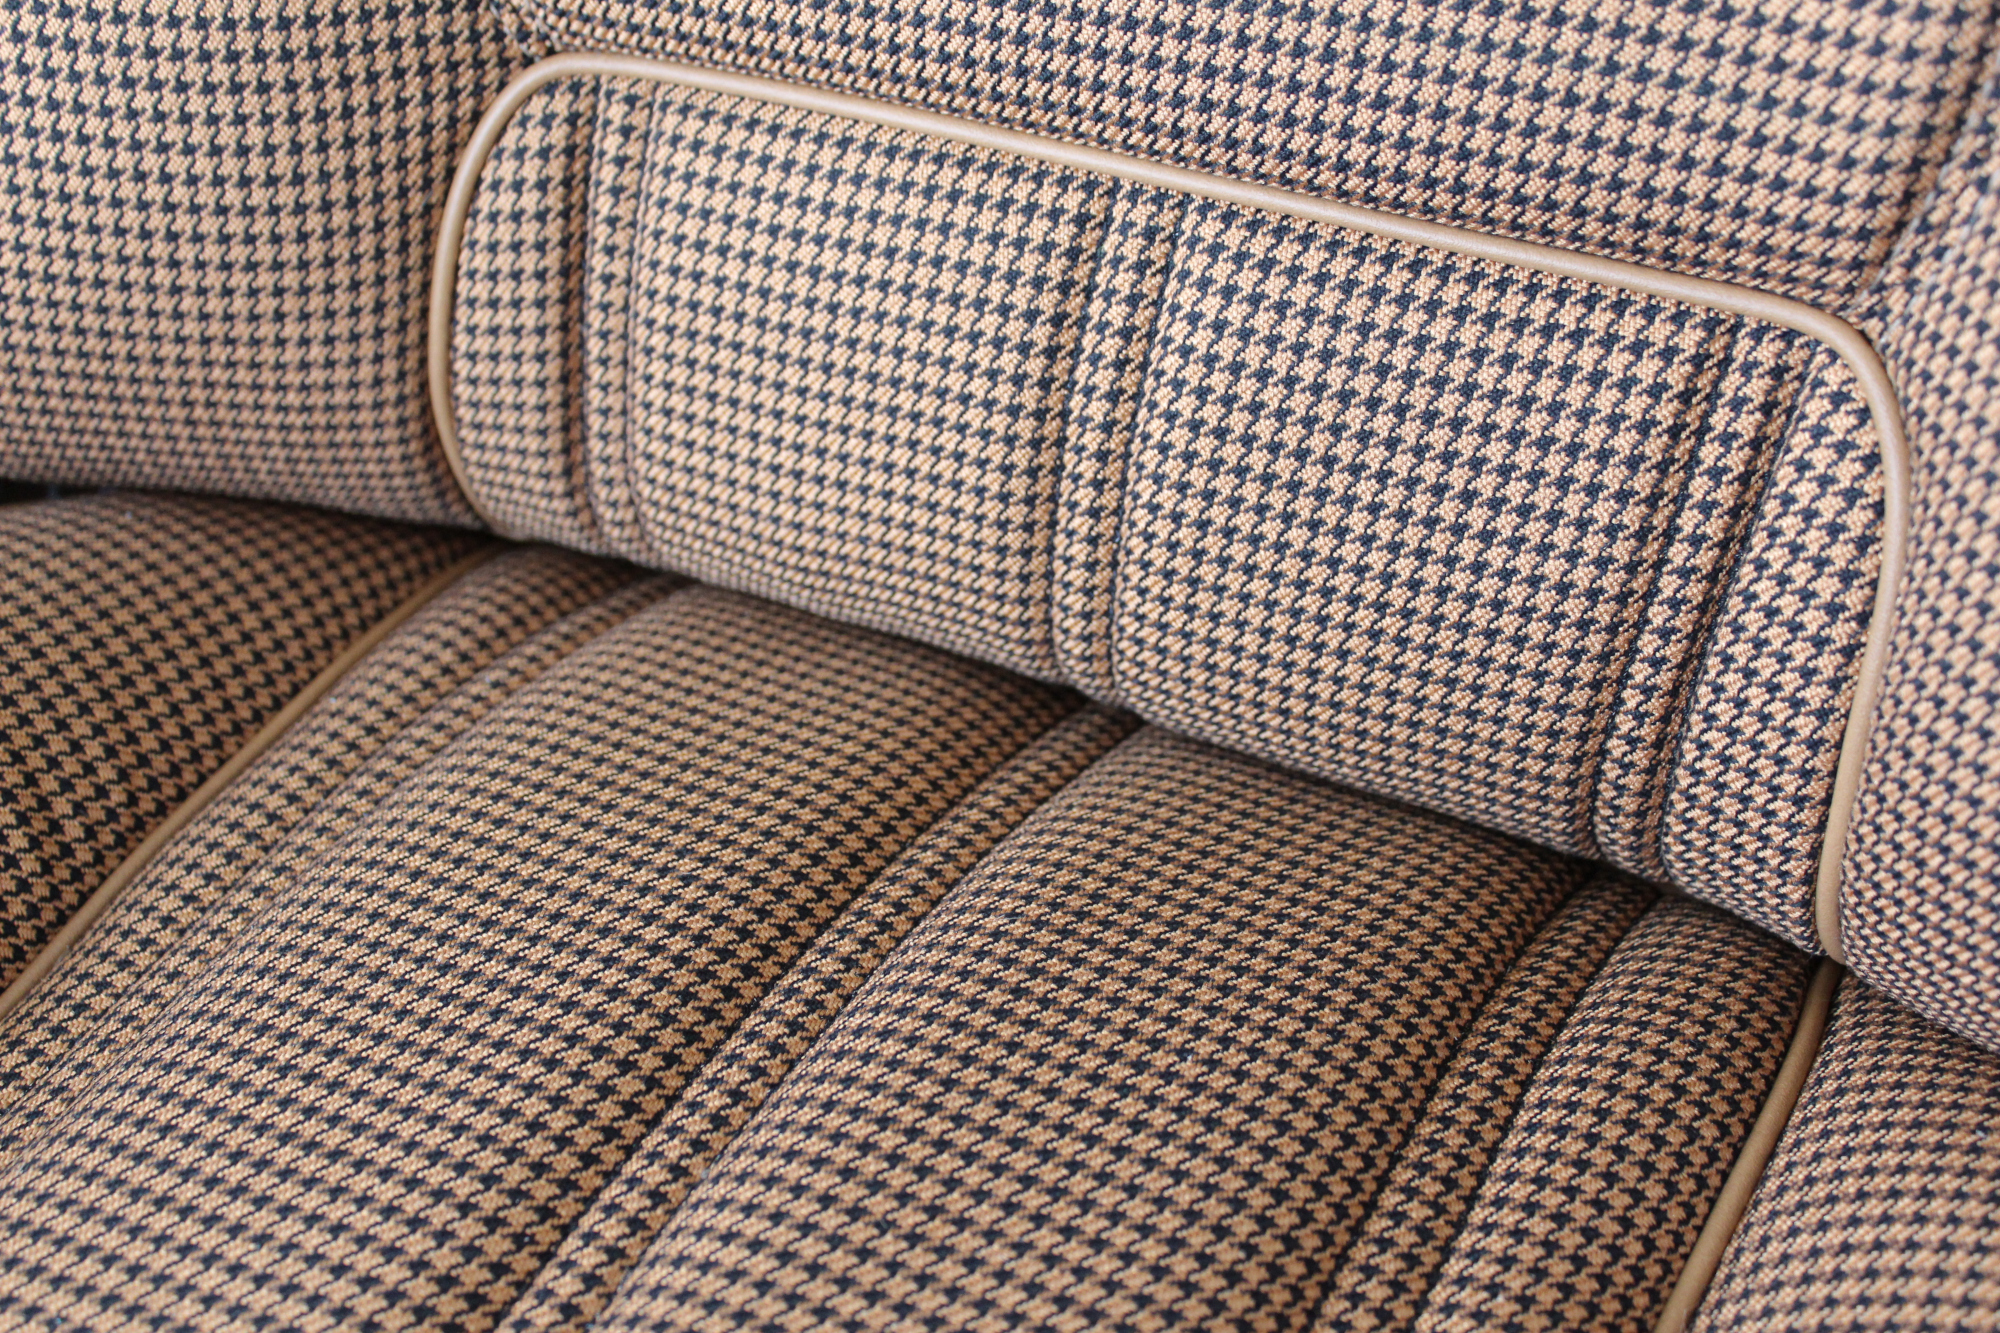
New Seat Skins/Covers/Trims made with FORD XC Houndstooth Seat cloth fabric “ginger” Falcon 500 HARDTOP V8 Fairmont GS Rally Pack Coupe material, and Novatex Vinyl “Ocher”. Also available in other cloth colours like “Dusk”, “Doeskin” cloth and vinyl colours like black, cream, camel etc. Can also make Cobra style seats with blue and black cloth fabric as per factory original.
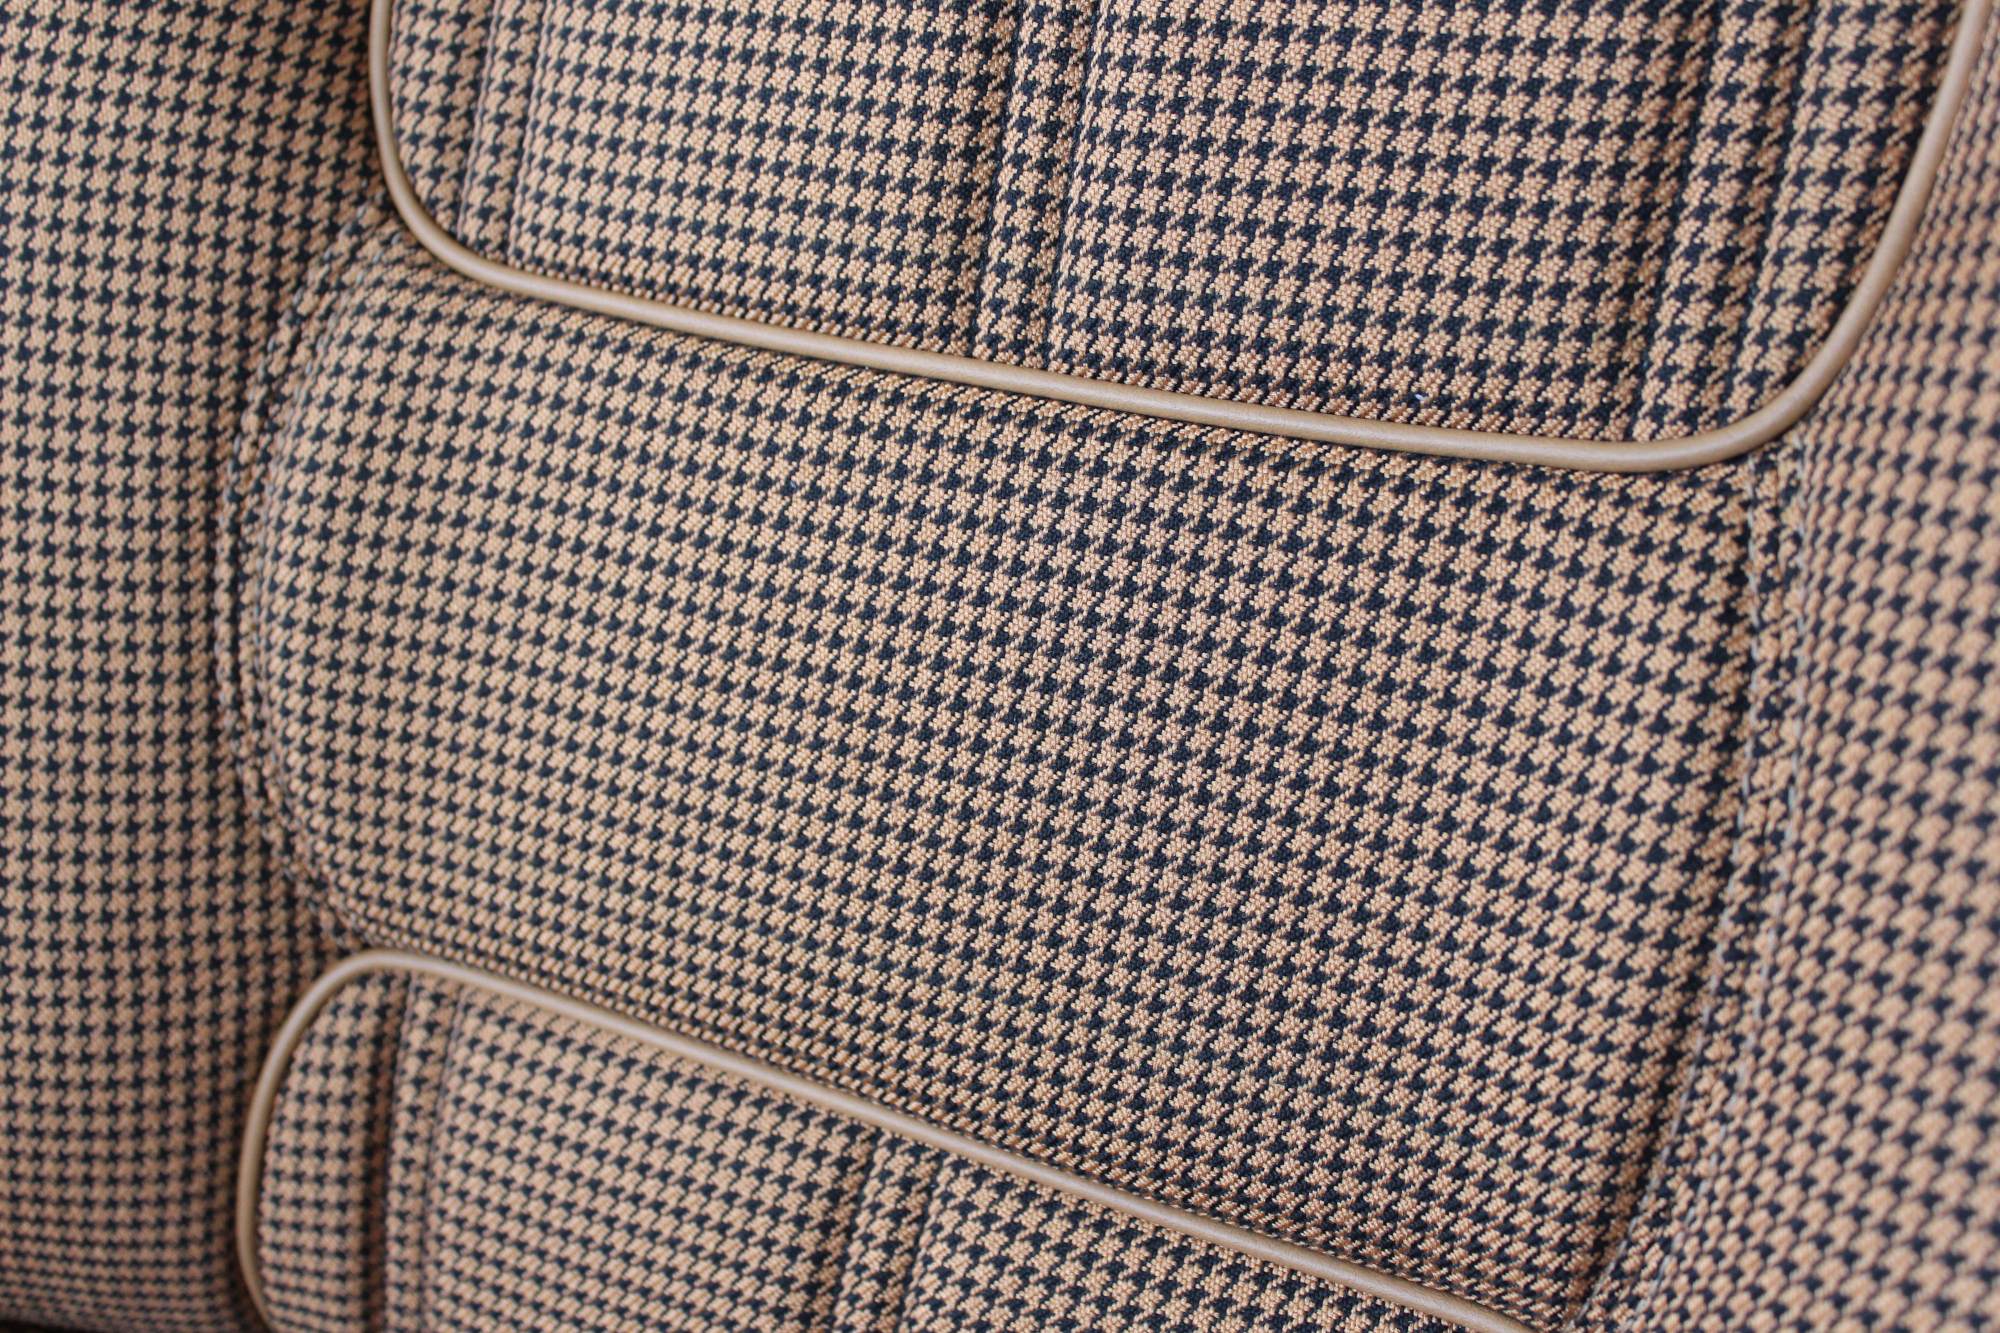
New Seat Skins/Covers/Trims made with FORD XC Houndstooth Seat cloth fabric “ginger” Falcon 500 HARDTOP V8 Fairmont GS Rally Pack Coupe material, and Novatex Vinyl “Ocher”. Also available in other cloth colours like “Dusk”, “Doeskin” cloth and vinyl colours like black, cream, camel etc. Can also make Cobra style seats with blue and black cloth fabric as per factory original.
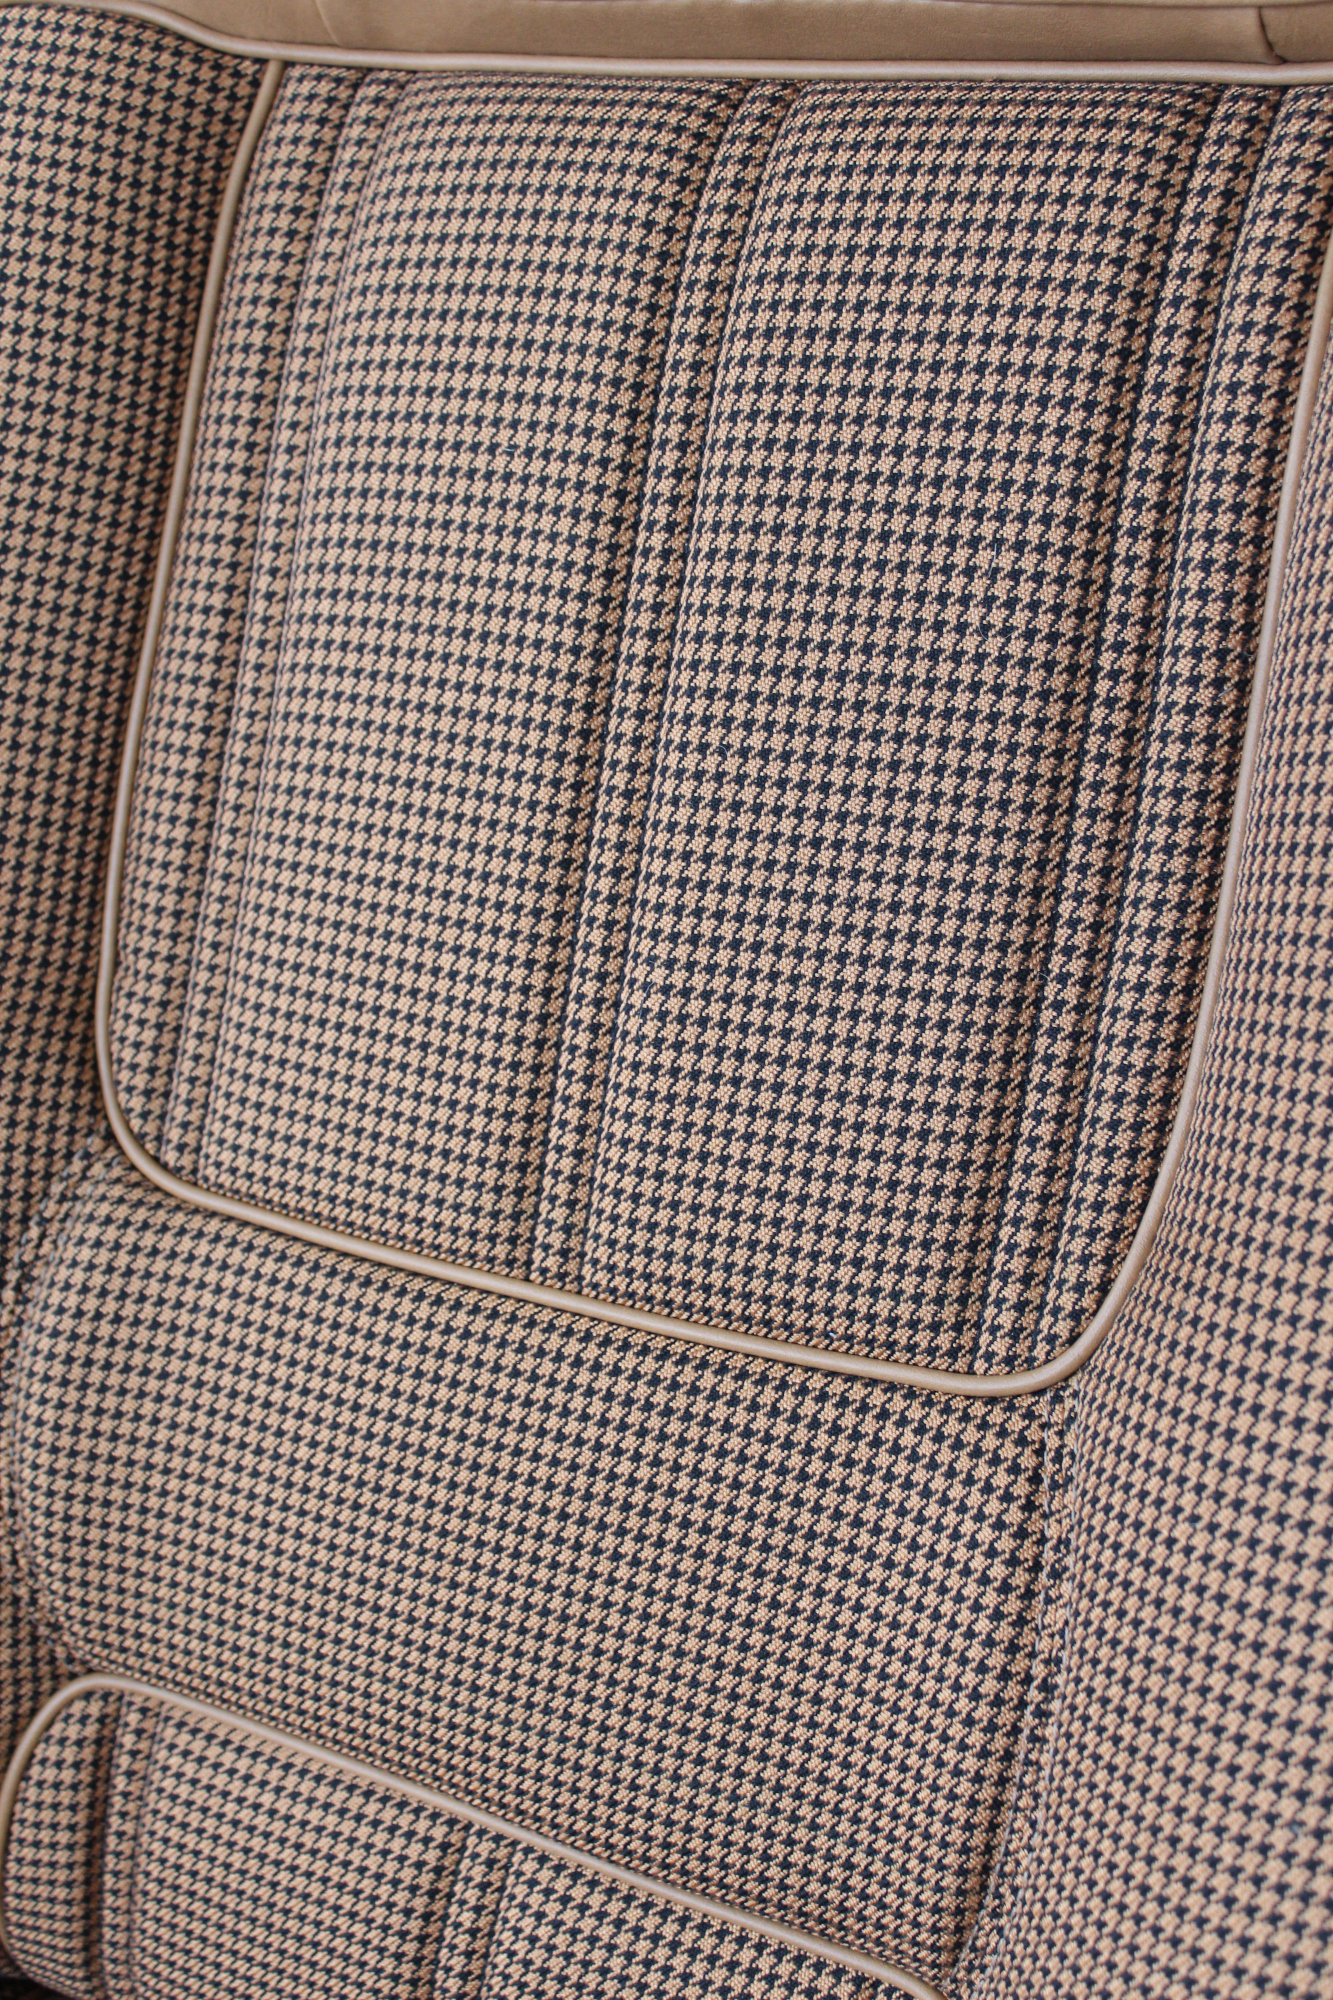
New Seat Skins/Covers/Trims made with FORD XC Houndstooth Seat cloth fabric “ginger” Falcon 500 HARDTOP V8 Fairmont GS Rally Pack Coupe material, and Novatex Vinyl “Ocher”. Also available in other cloth colours like “Dusk”, “Doeskin” cloth and vinyl colours like black, cream, camel etc. Can also make Cobra style seats with blue and black cloth fabric as per factory original.
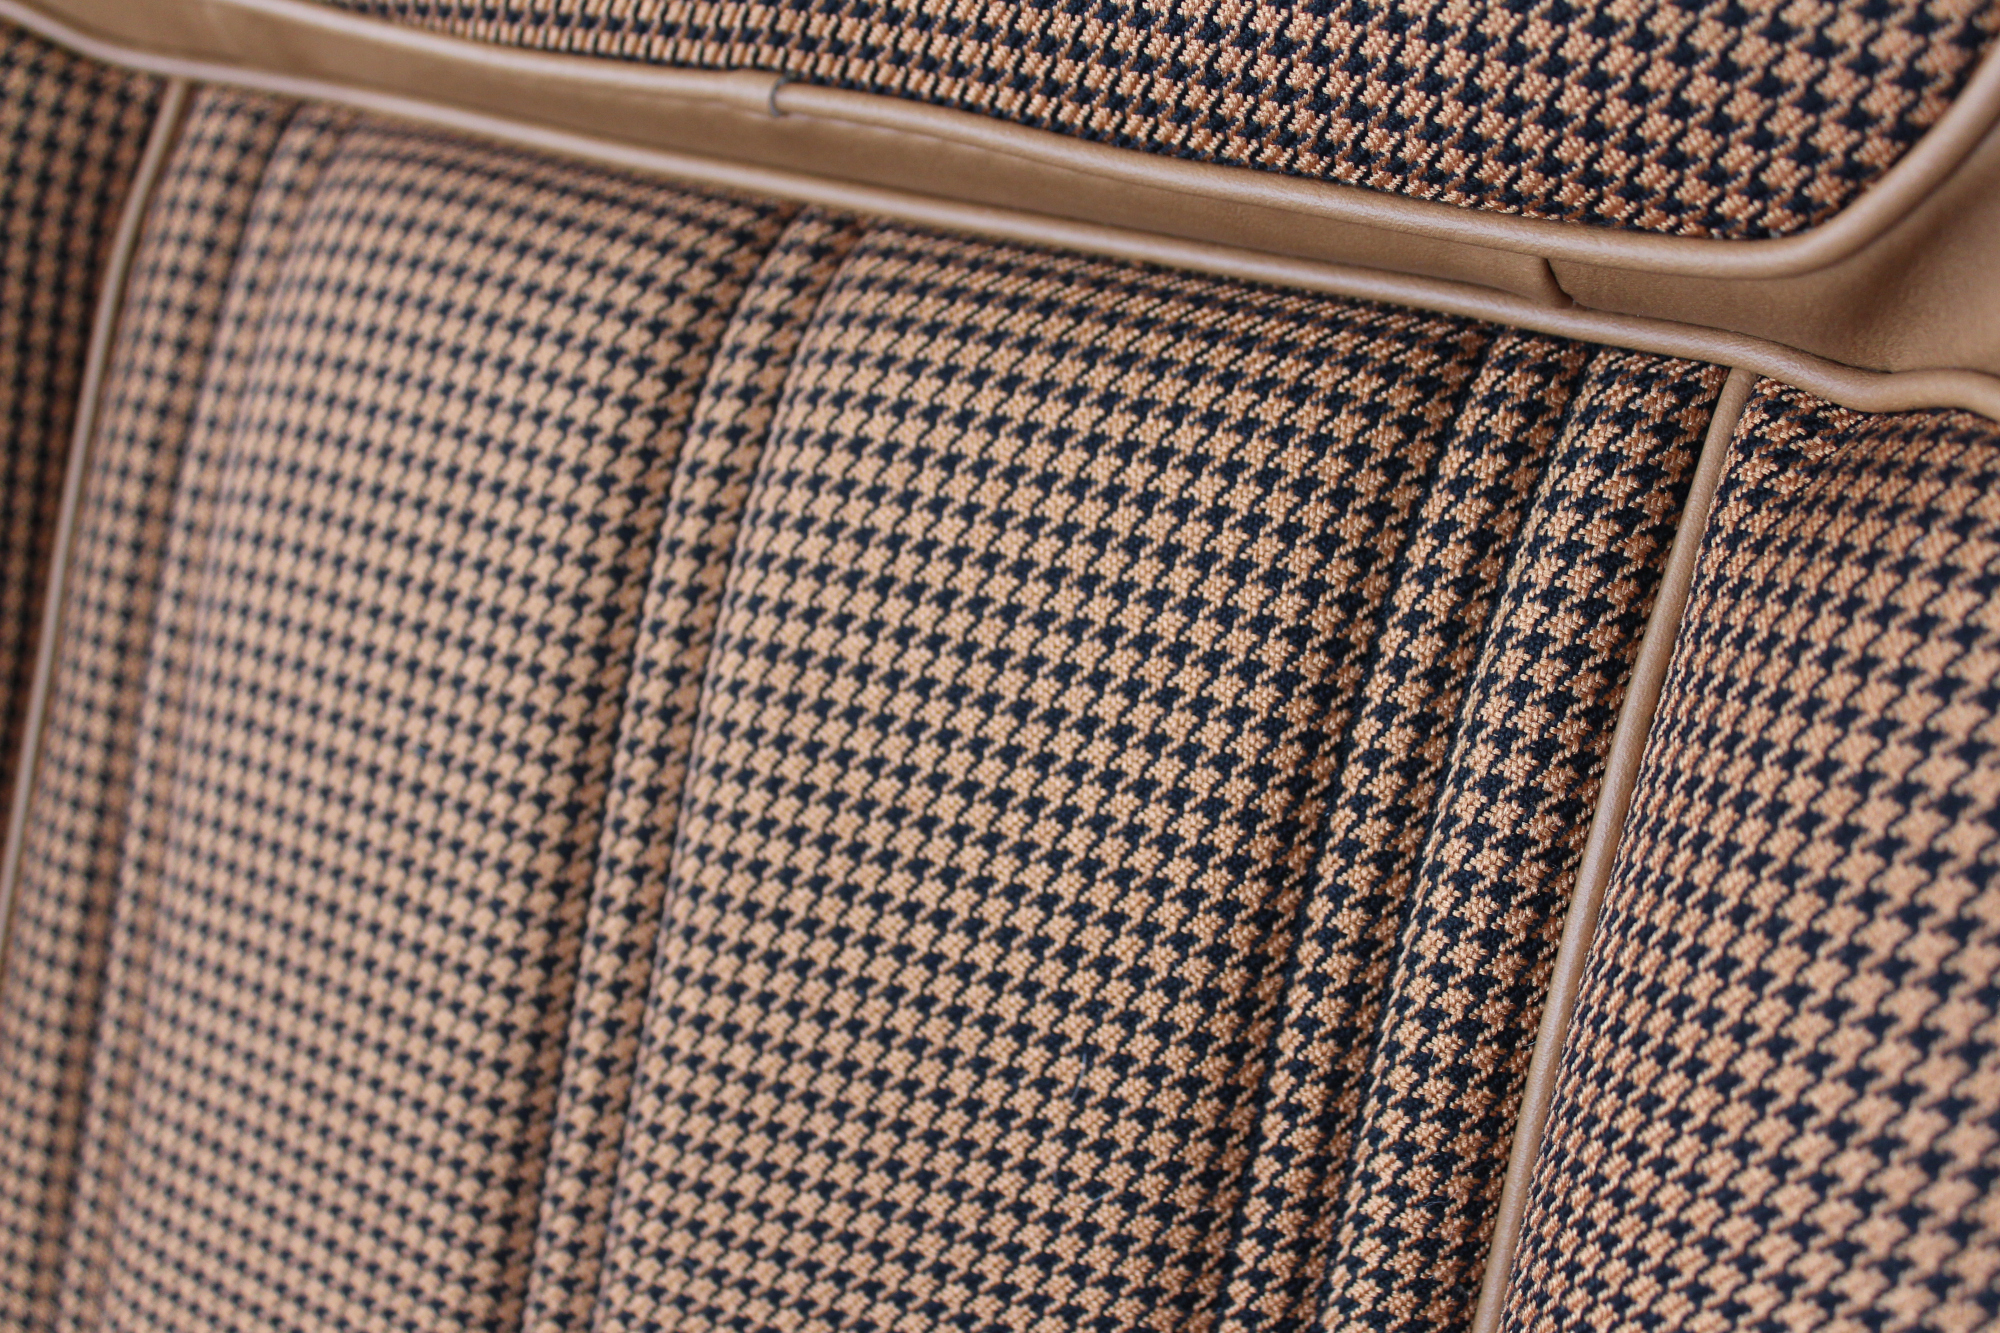
New Seat Skins/Covers/Trims made with FORD XC Houndstooth Seat cloth fabric “ginger” Falcon 500 HARDTOP V8 Fairmont GS Rally Pack Coupe material, and Novatex Vinyl “Ocher”. Also available in other cloth colours like “Dusk”, “Doeskin” cloth and vinyl colours like black, cream, camel etc. Can also make Cobra style seats with blue and black cloth fabric as per factory original.
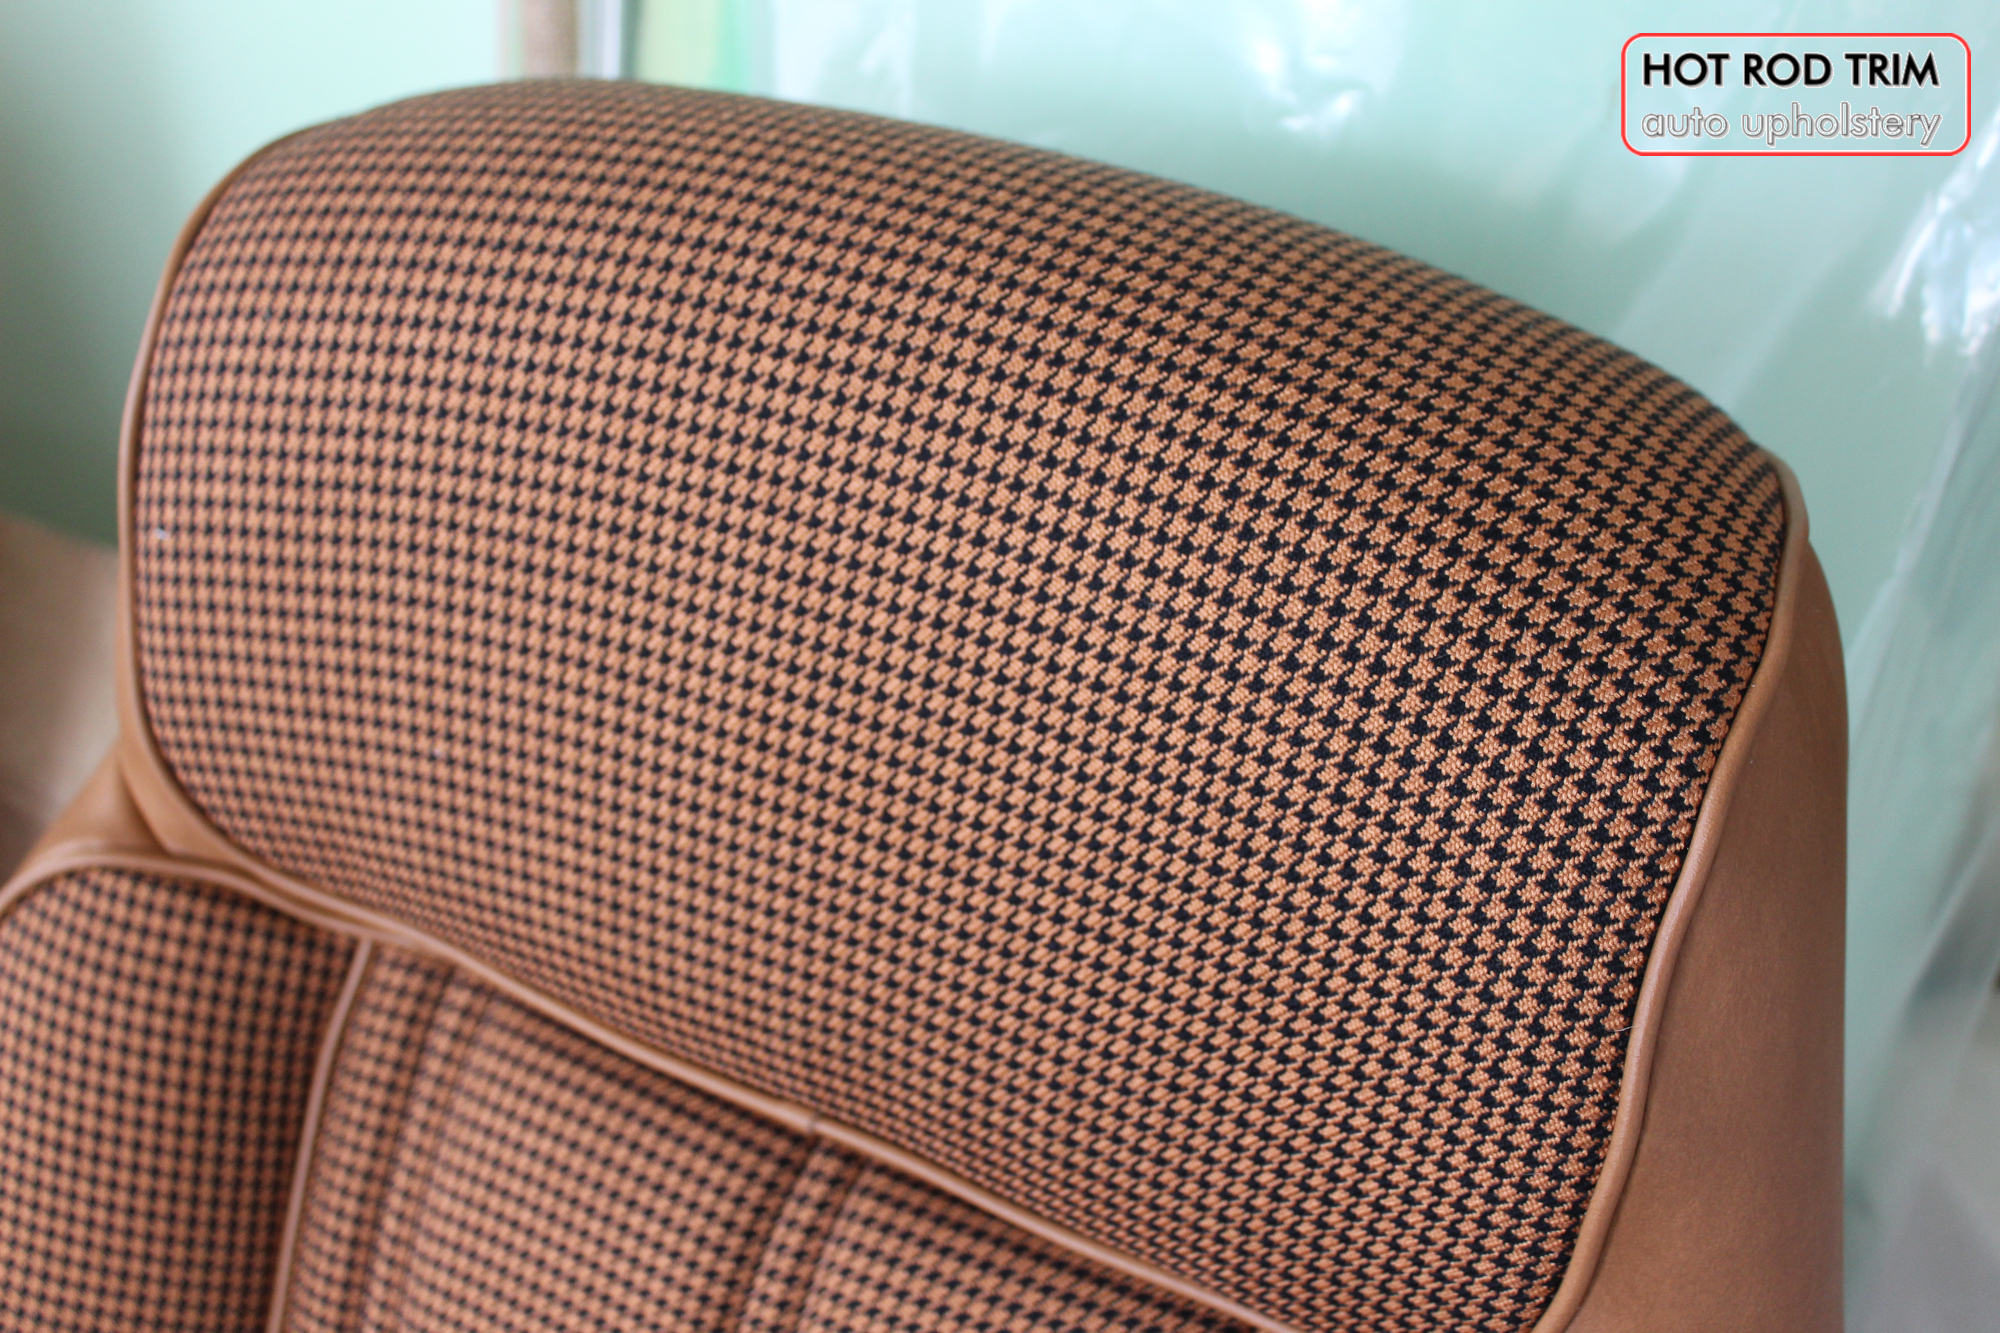
New Seat Skins/Covers/Trims made with FORD XC Houndstooth Seat cloth fabric “ginger” Falcon 500 HARDTOP V8 Fairmont GS Rally Pack Coupe material, and Novatex Vinyl “Ocher”. Also available in other cloth colours like “Dusk”, “Doeskin” cloth and vinyl colours like black, cream, camel etc. Can also make Cobra style seats with blue and black cloth fabric as per factory original.
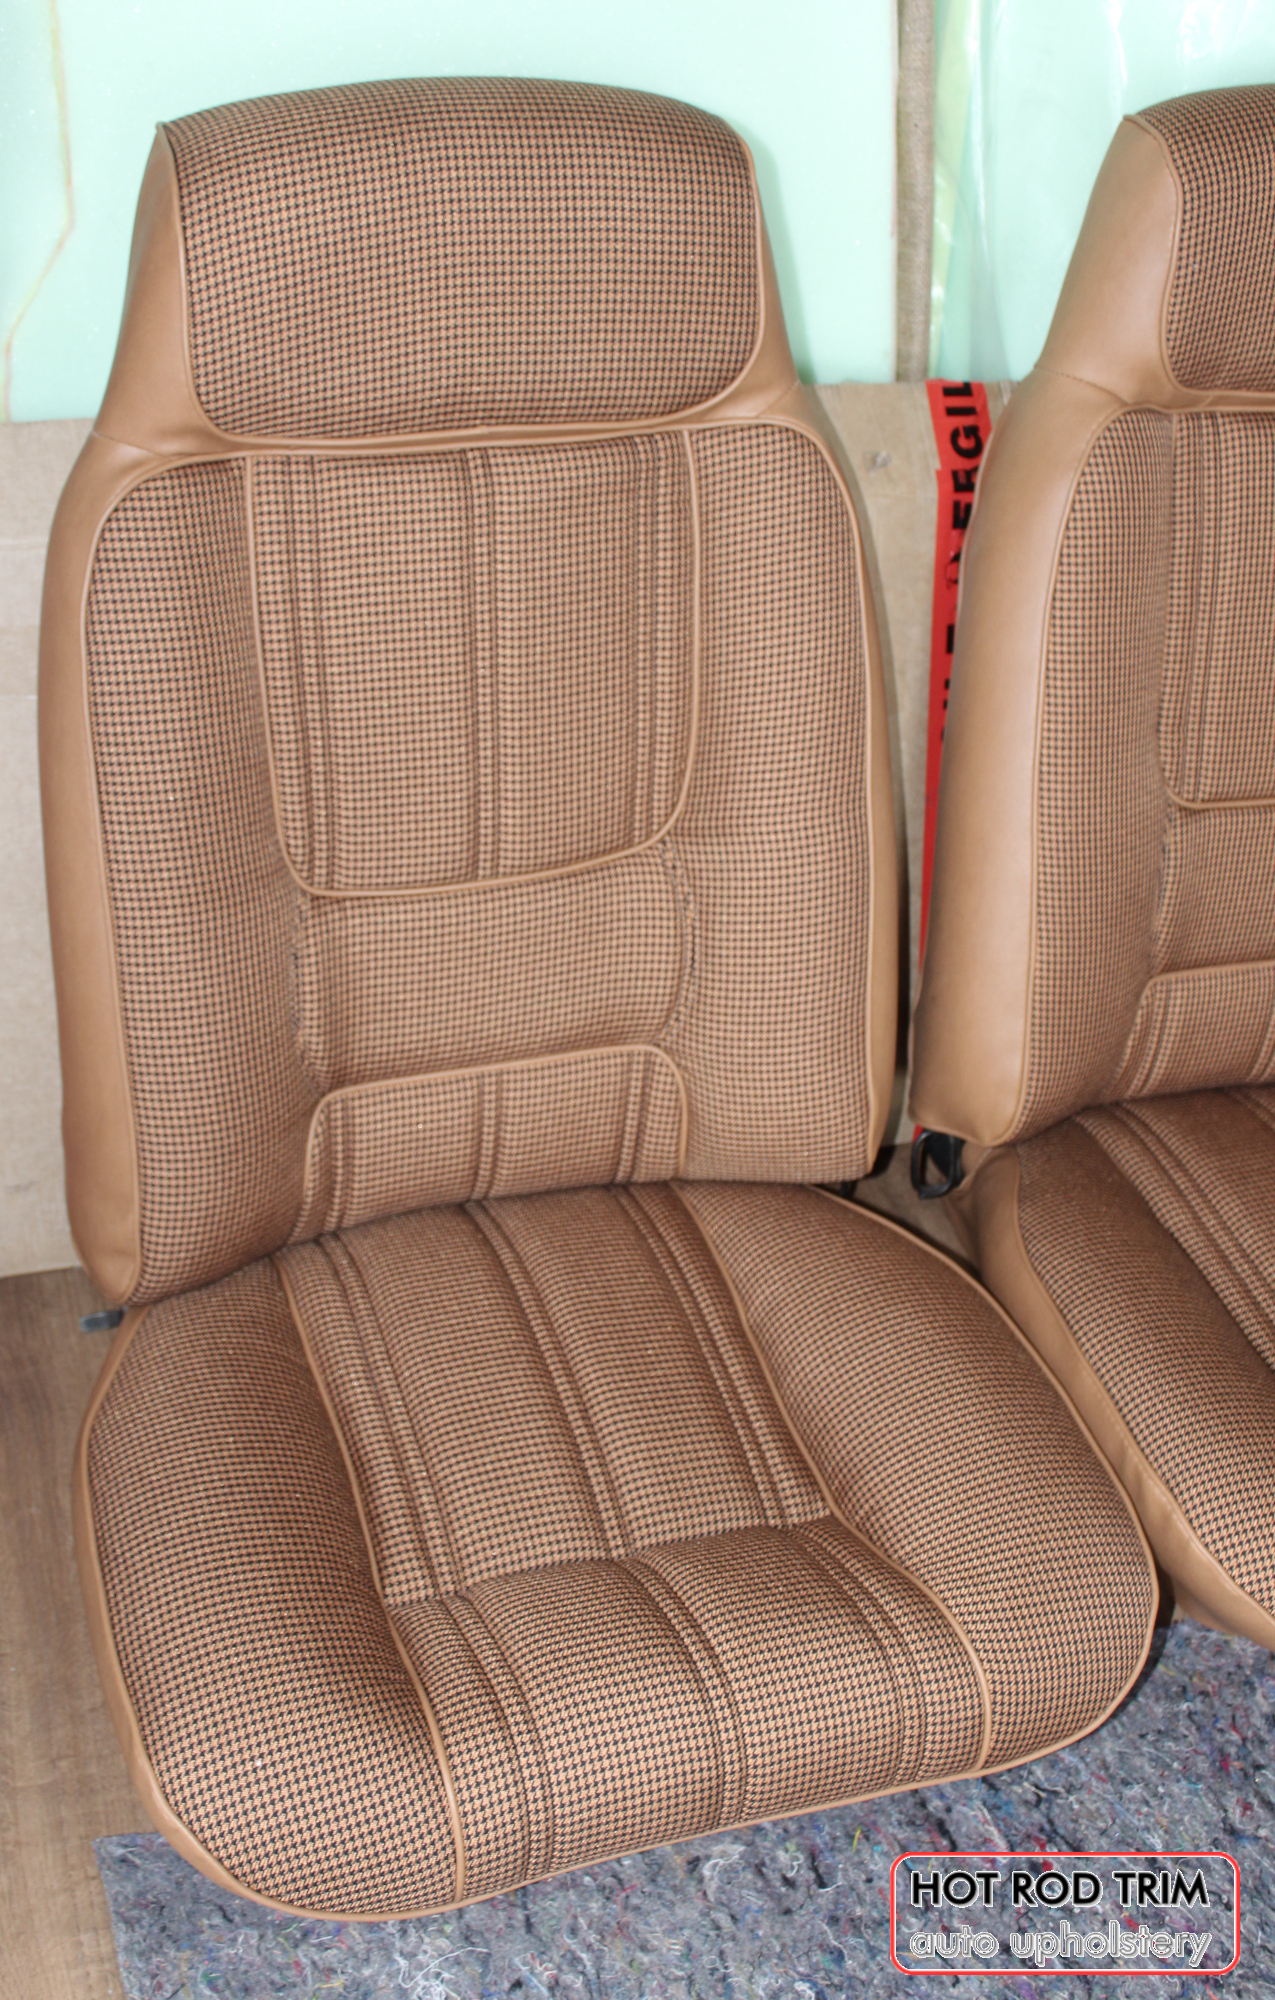
New Seat Skins/Covers/Trims made with FORD XC Houndstooth Seat cloth fabric “ginger” Falcon 500 HARDTOP V8 Fairmont GS Rally Pack Coupe material, and Novatex Vinyl “Ocher”. Also available in other cloth colours like “Dusk”, “Doeskin” cloth and vinyl colours like black, cream, camel etc. Can also make Cobra style seats with blue and black cloth fabric as per factory original.
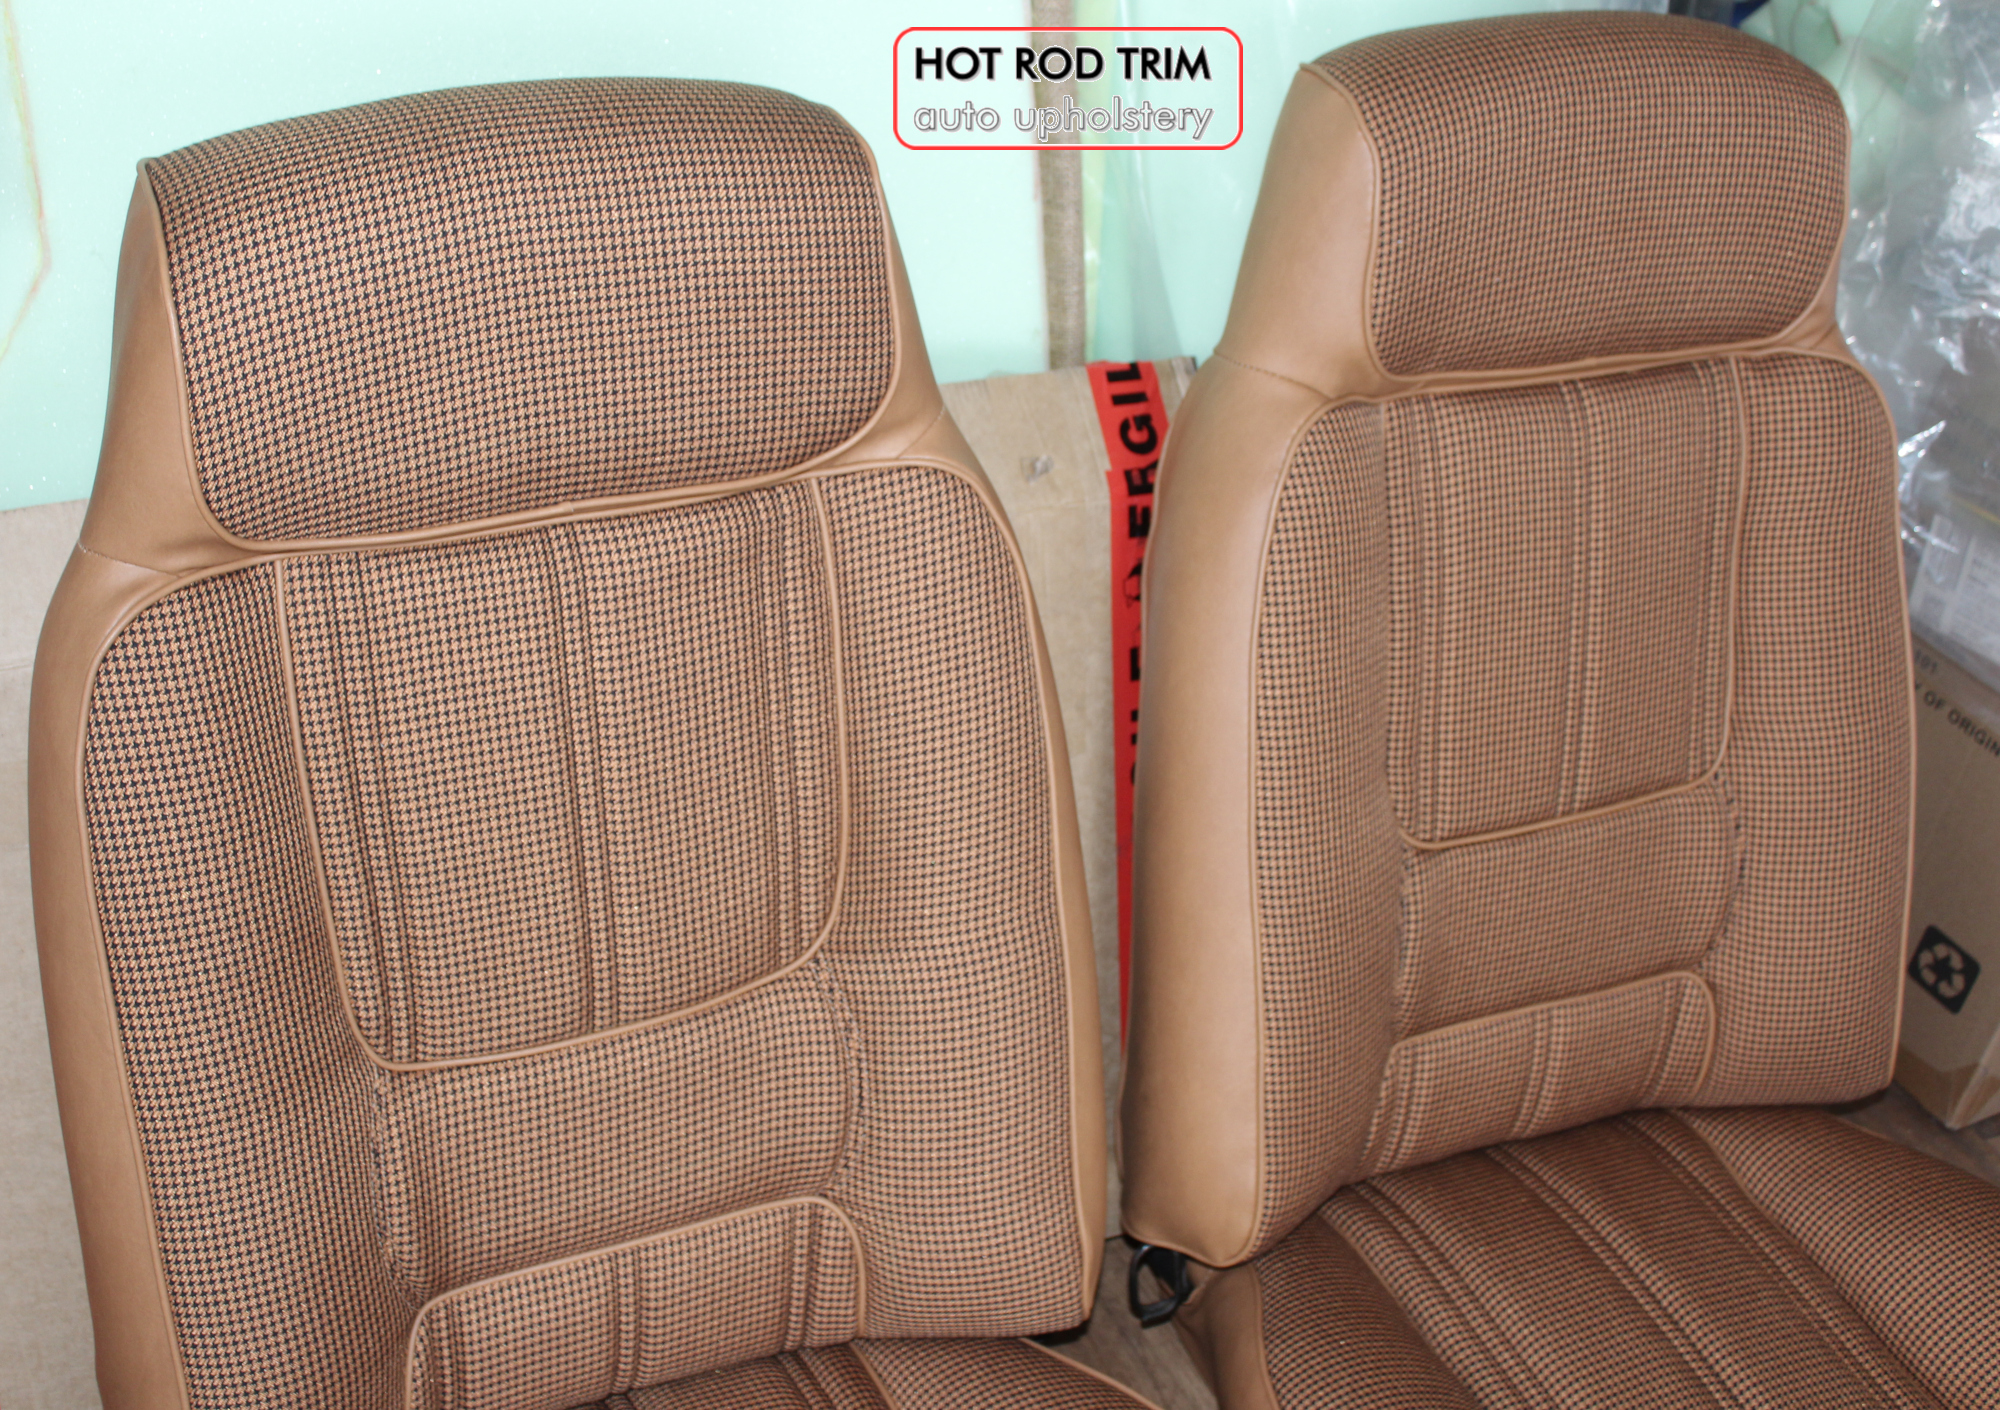
New Seat Skins/Covers/Trims made with FORD XC Houndstooth Seat cloth fabric “ginger” Falcon 500 HARDTOP V8 Fairmont GS Rally Pack Coupe material, and Novatex Vinyl “Ocher”. Also available in other cloth colours like “Dusk”, “Doeskin” cloth and vinyl colours like black, cream, camel etc. Can also make Cobra style seats with blue and black cloth fabric as per factory original.
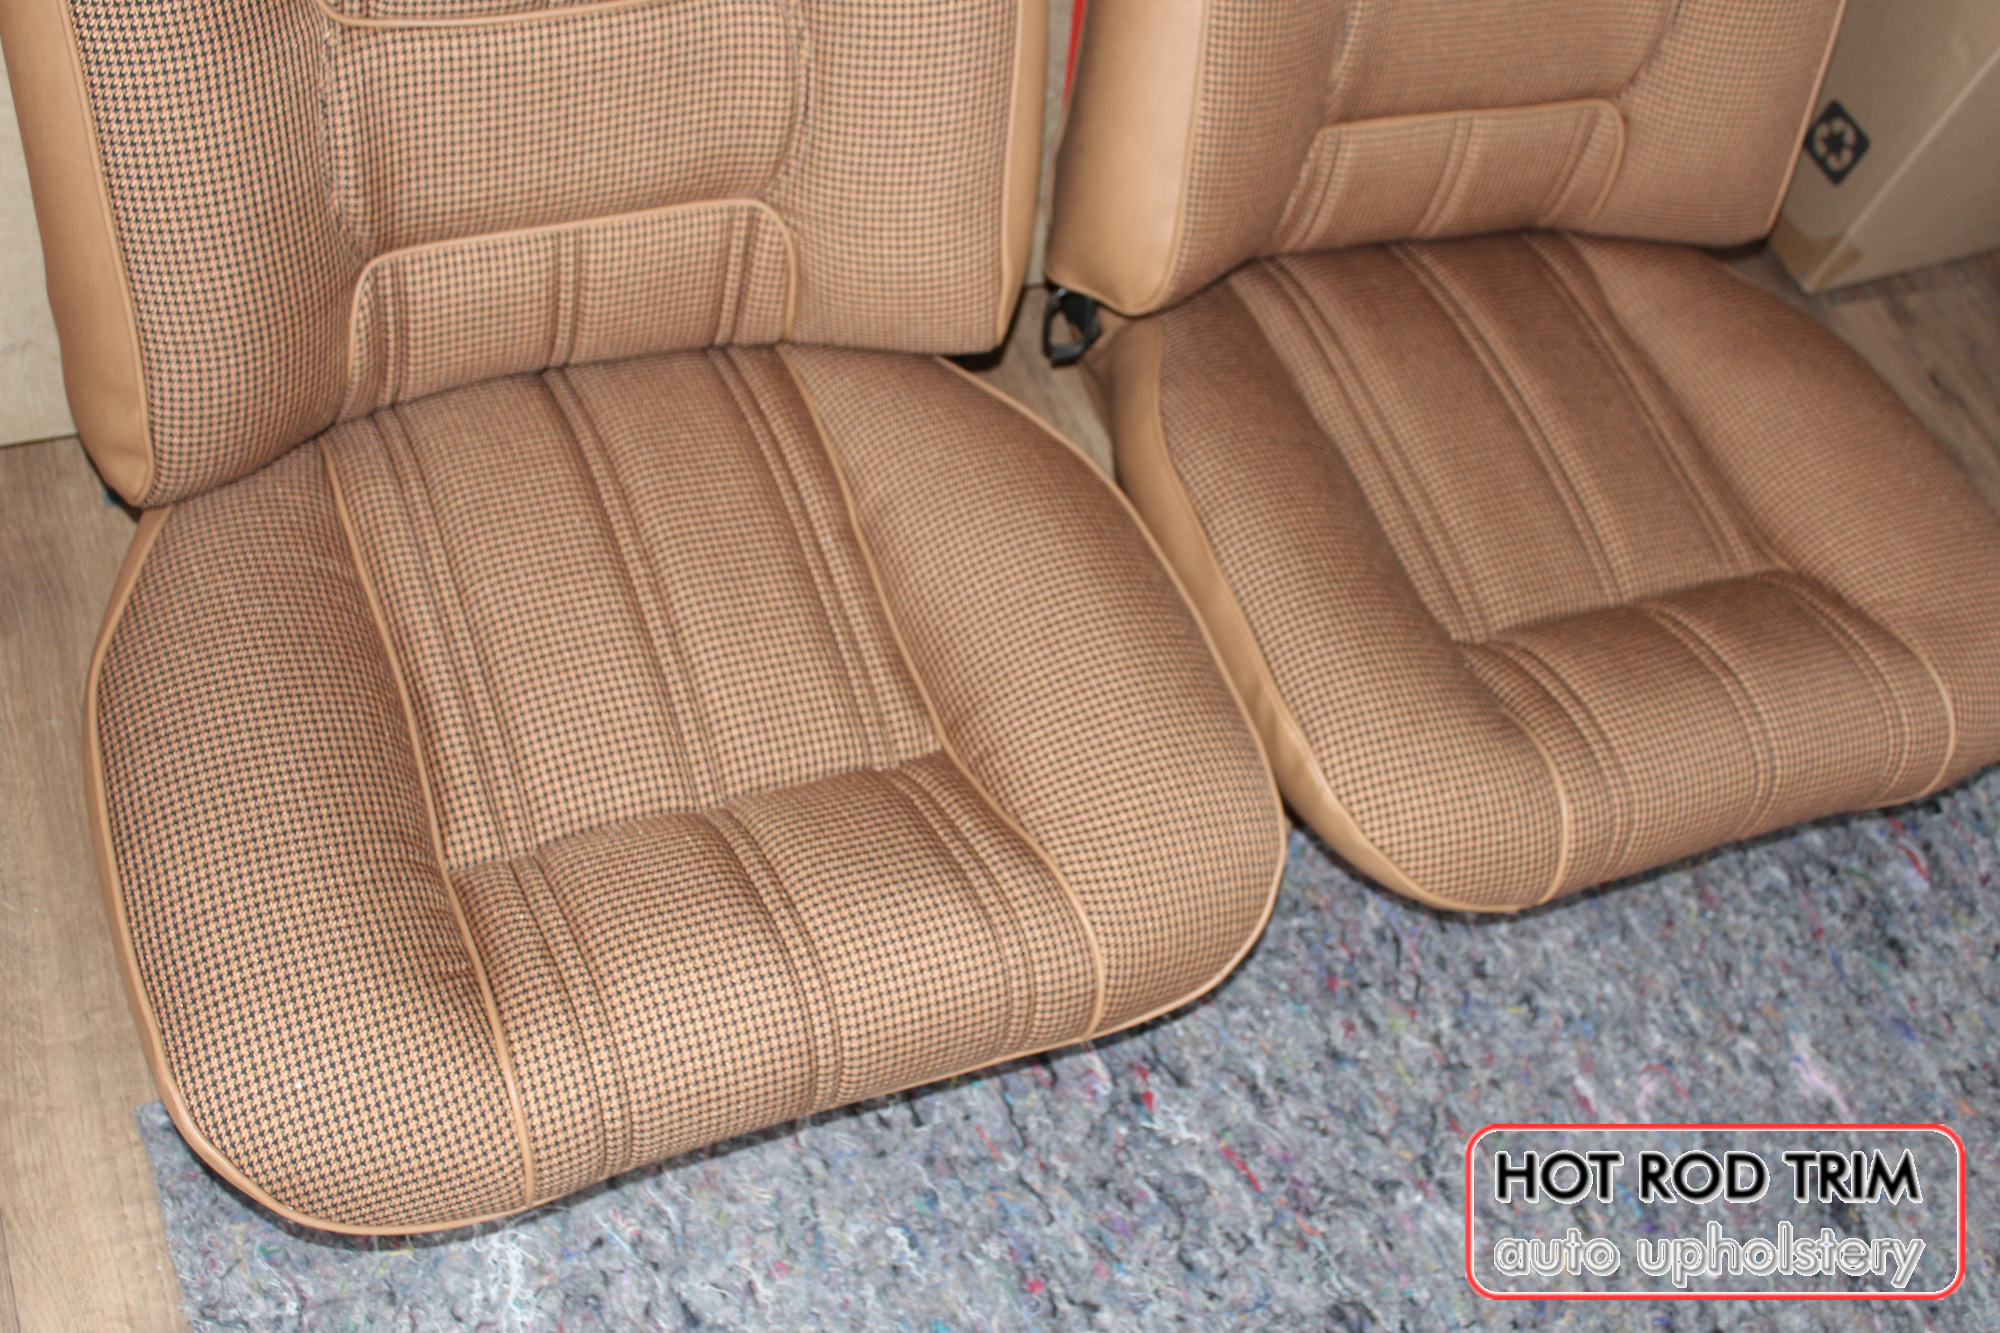
New Seat Skins/Covers/Trims made with FORD XC Houndstooth Seat cloth fabric “ginger” Falcon 500 HARDTOP V8 Fairmont GS Rally Pack Coupe material, and Novatex Vinyl “Ocher”. Also available in other cloth colours like “Dusk”, “Doeskin” cloth and vinyl colours like black, cream, camel etc. Can also make Cobra style seats with blue and black cloth fabric as per factory original.